
Trick or Treat Bunting
0
Posted on 15th October 2026 by Papermill Direct
Filed under Projects and Cards by Type, Home decor, Seasonal Crafts, Halloween Paper Crafts, Bunting
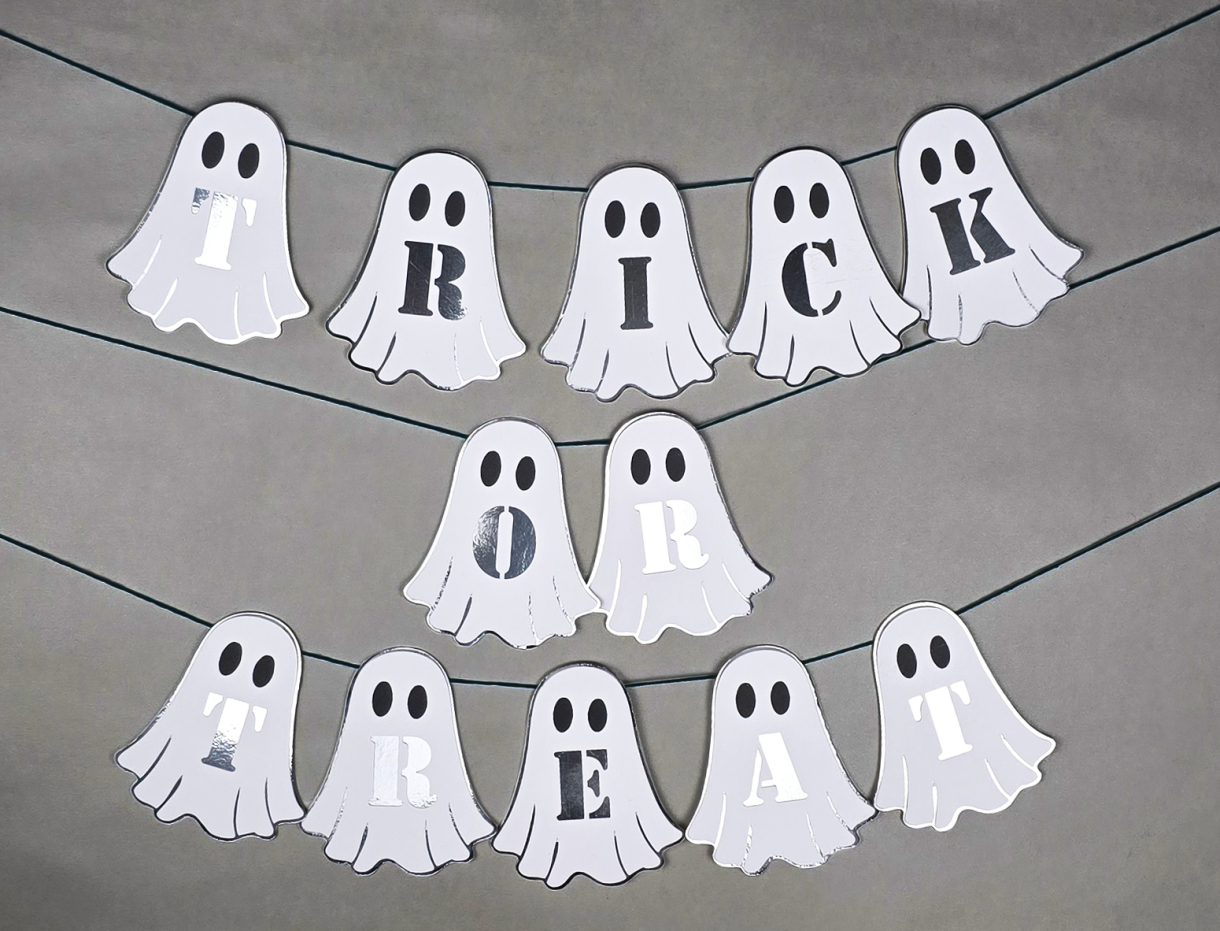
Suspended across a porch, framed in a front window, or strung along a garden fence, bunting adds instant festive charm without requiring a full-scale yard display. Halloween-inspired bunting is one of the easiest, most impactful ways to signal that your home is ready for ghosts and ghouls to knock on your door.
Creating your own custom bunting stands out as a genuine labor of love, often sparking conversations and encouraging a sense of neighborhood connection. It lets families know your house is a warm, safe, and enthusiastic stop on their Halloween route. Most parents and guardians won't visit houses that haven't decorated for Halloween to avoid upsetting any neighbours who don't enjoy the holiday. For those of us who love the season, finding ways to let our neighbours know they are welcome is just another wonderful opportunity to get a little creative!
DIY bunting lets you customize your colours and themes; whether you prefer playful ghosts, vintage bats, or rustic pumpkins, it gives your home a unique character that off-the-shelf decor can't match. Create your Handmade bunting with high-quality card, so that it's reusable year after year, and far more eco-friendly than cheap single-use plastic trims destined for a landfill.
Follow along with our blog on how to create this adorable Trick or Treat Bunting.
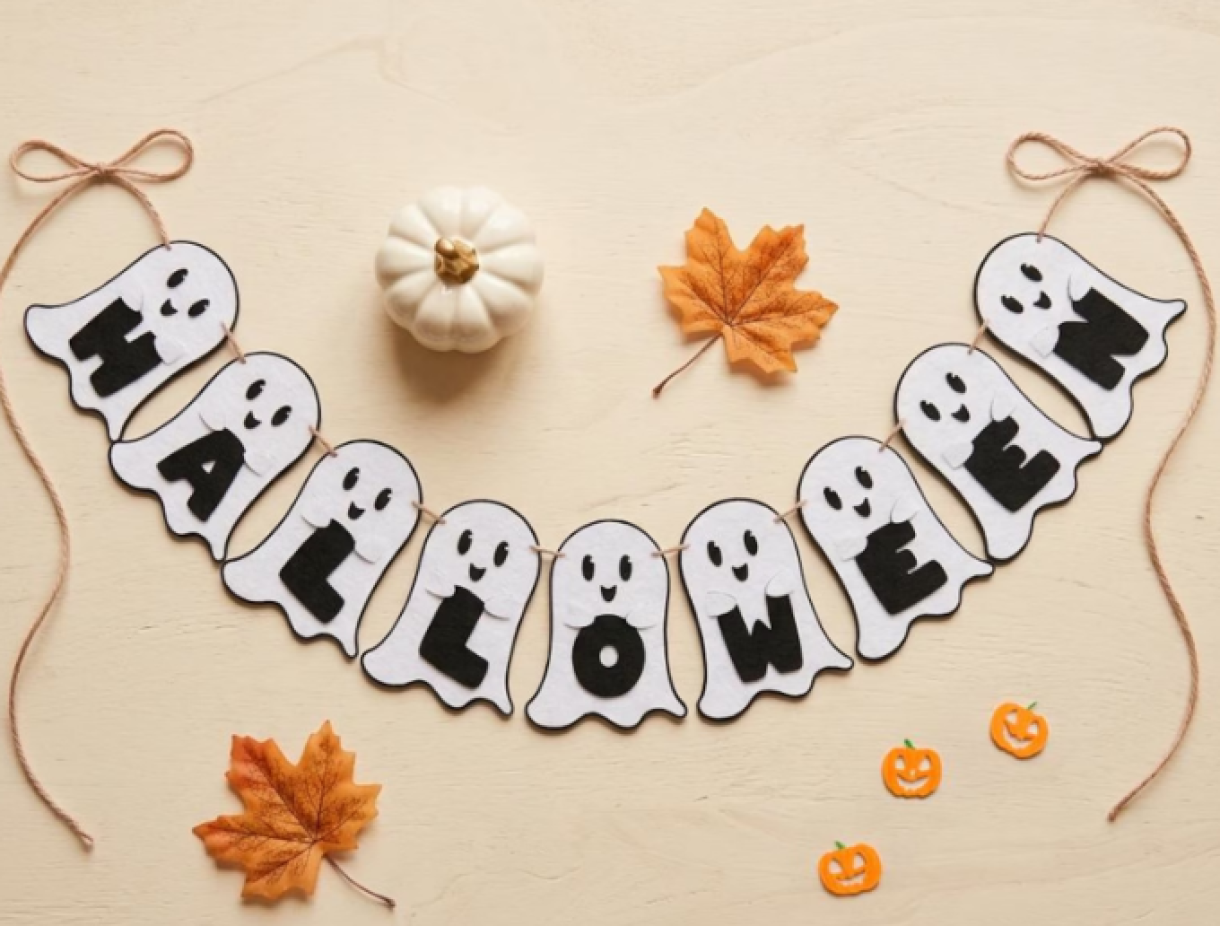
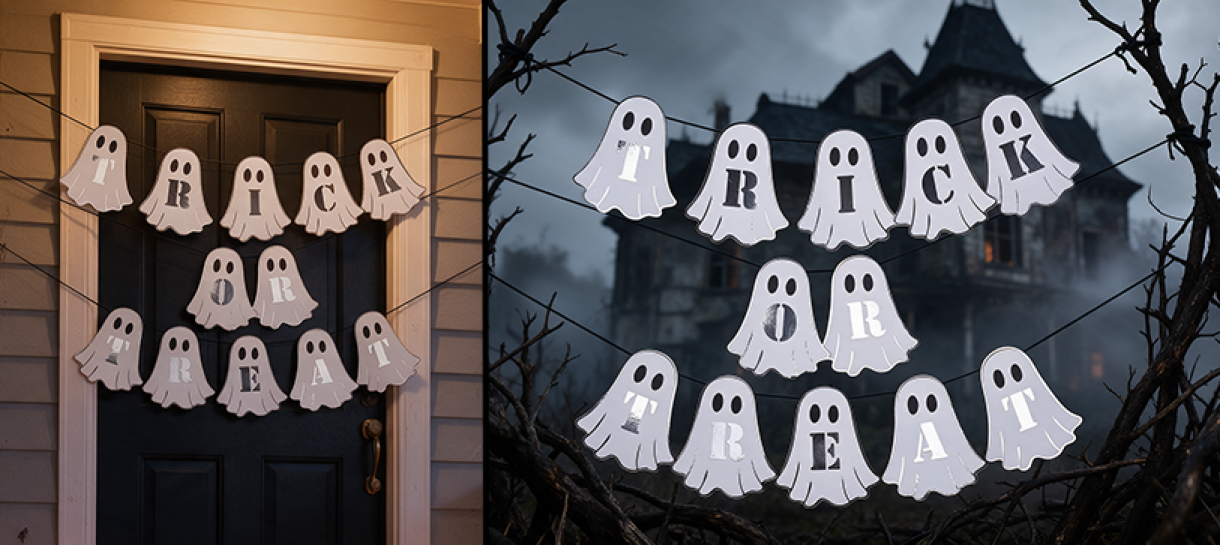
I was inspired by this image (left) from GetWonder to create our Halloween bunting. I thought the ghosts looked really sweet and fit the Halloween theme without being scary to any younger children who might be Trick-or-Treating.

I used this image (right) by NexoraCreativeArt as my base, but I removed the pumpkin with Photoshop to make placing the letters a little easier.
You could use any ghost image that you have though; it doesn't have to be this specific one, but this one is very cute!

Once I had an image that I could use to create the ghost file with my Silhouette Cameo it was time to pick my card!
Although I loved my inspiration image, I knew I was going to place the bunting outside my house on Halloween. Because of this, I wanted to use a card that would reflect light and be better seen on the night.
I decided to use Silver Mirror Card 270gsm and Super Smooth Card 250gsm.
What you'll need:
Silver Mirror Card 270gsm
(Backing Card)New Super Smooth White Card 250gsm
(Front Card)Black Plain Card 240gsm
(For the eyes)- Tape / Glue Stick / 3D Foam Squares
- Cutting Machine ( We used a Silhouette Cameo)
- String
I placed my ghost image into the Silhouette file and used the trace tool to separate the layers. For the front image, I decided to edit out the arms using the point editing tool. I then 'bubble' tool the create the backing card.
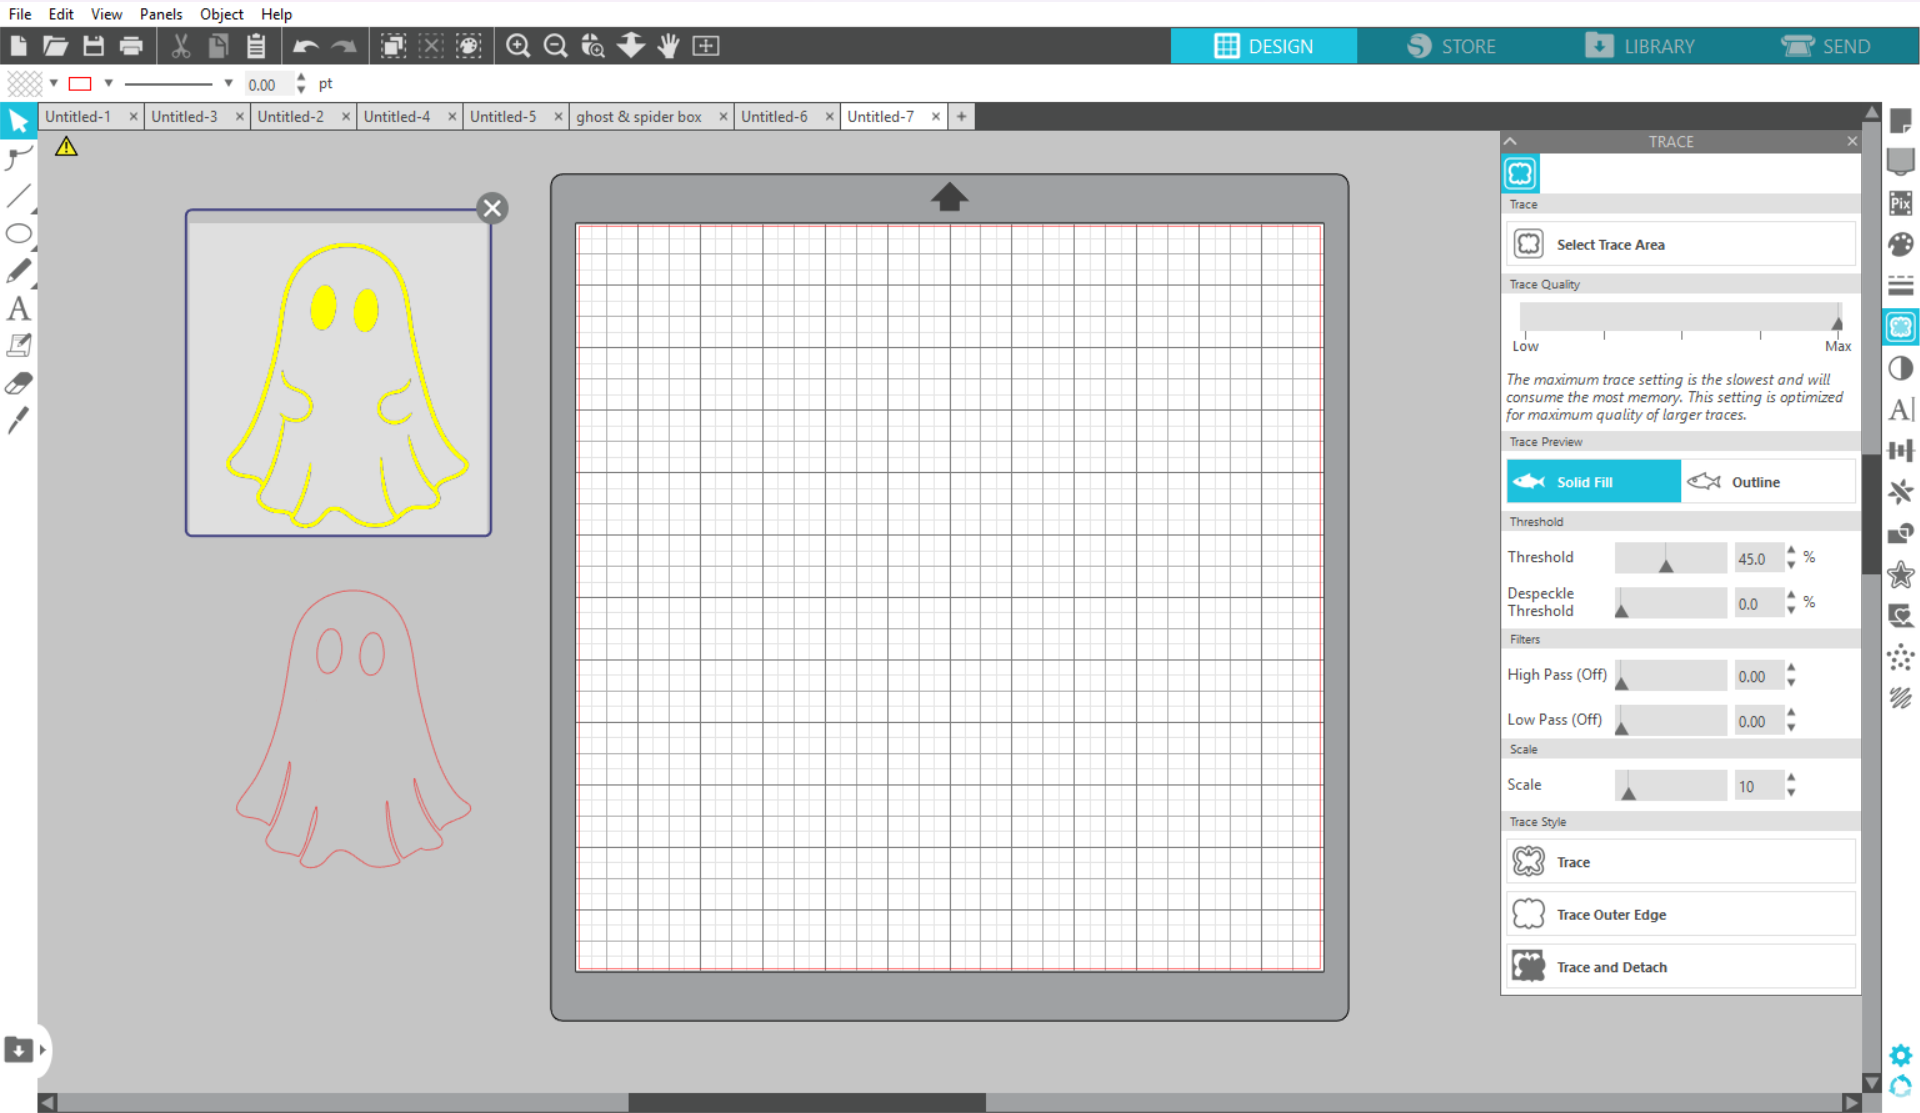
I added two holes to the backing image so that I could string the bunting when complete
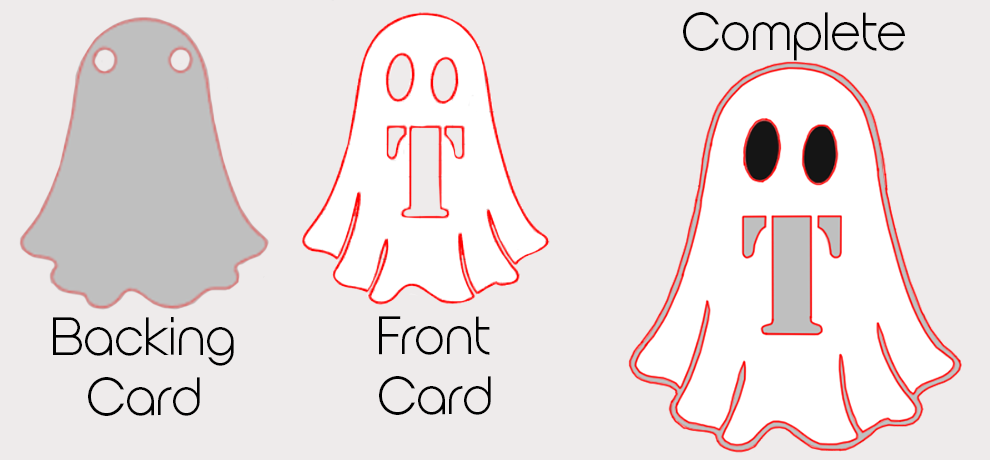
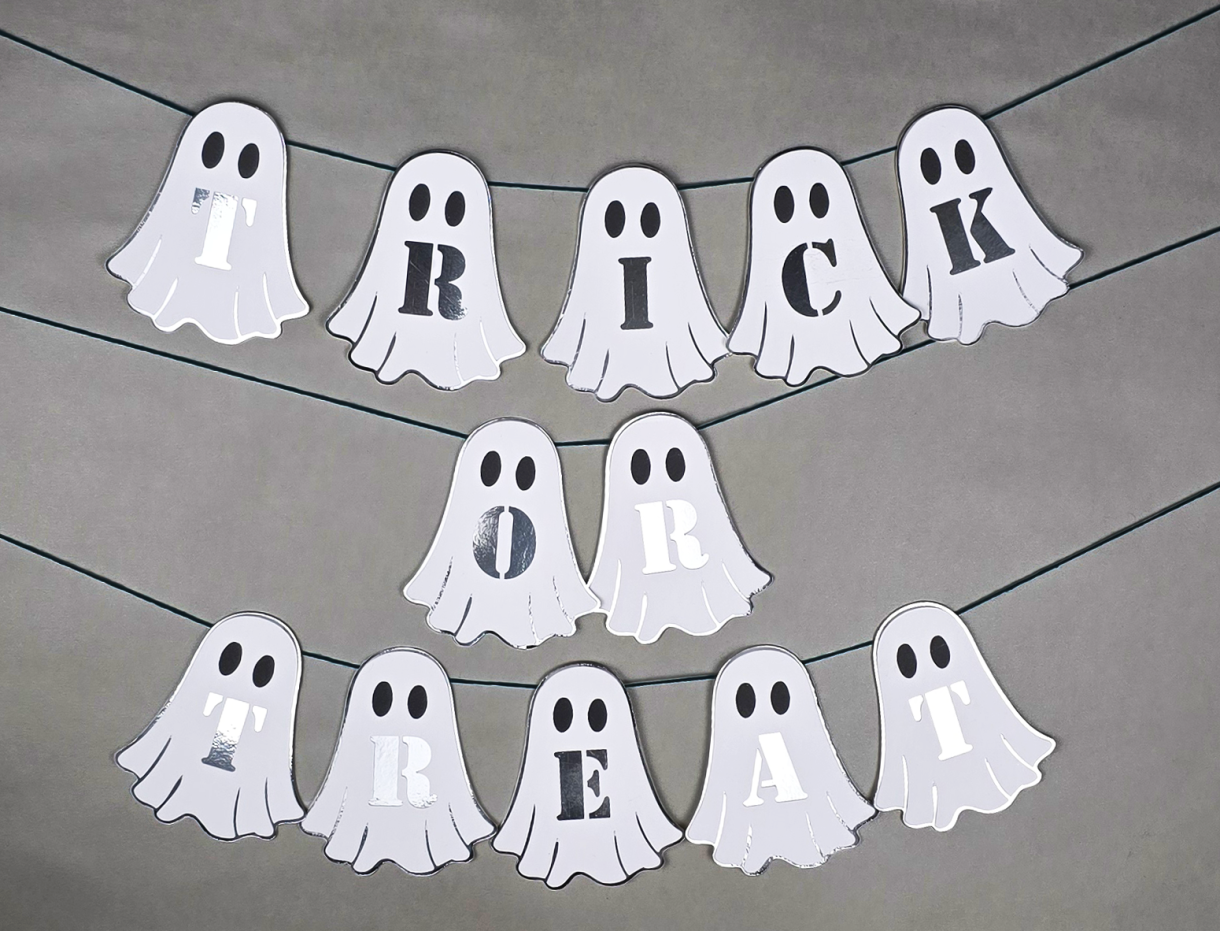
I added a single letter to each ghost front to spell: TRICK OR TREAT.
I used a stencil font because I HATE having to add the centres of letters back onto the card after cutting
I also created x12 ovals to go behind the eyes, as I thought the ghost would look better with black eyes rather than silver.
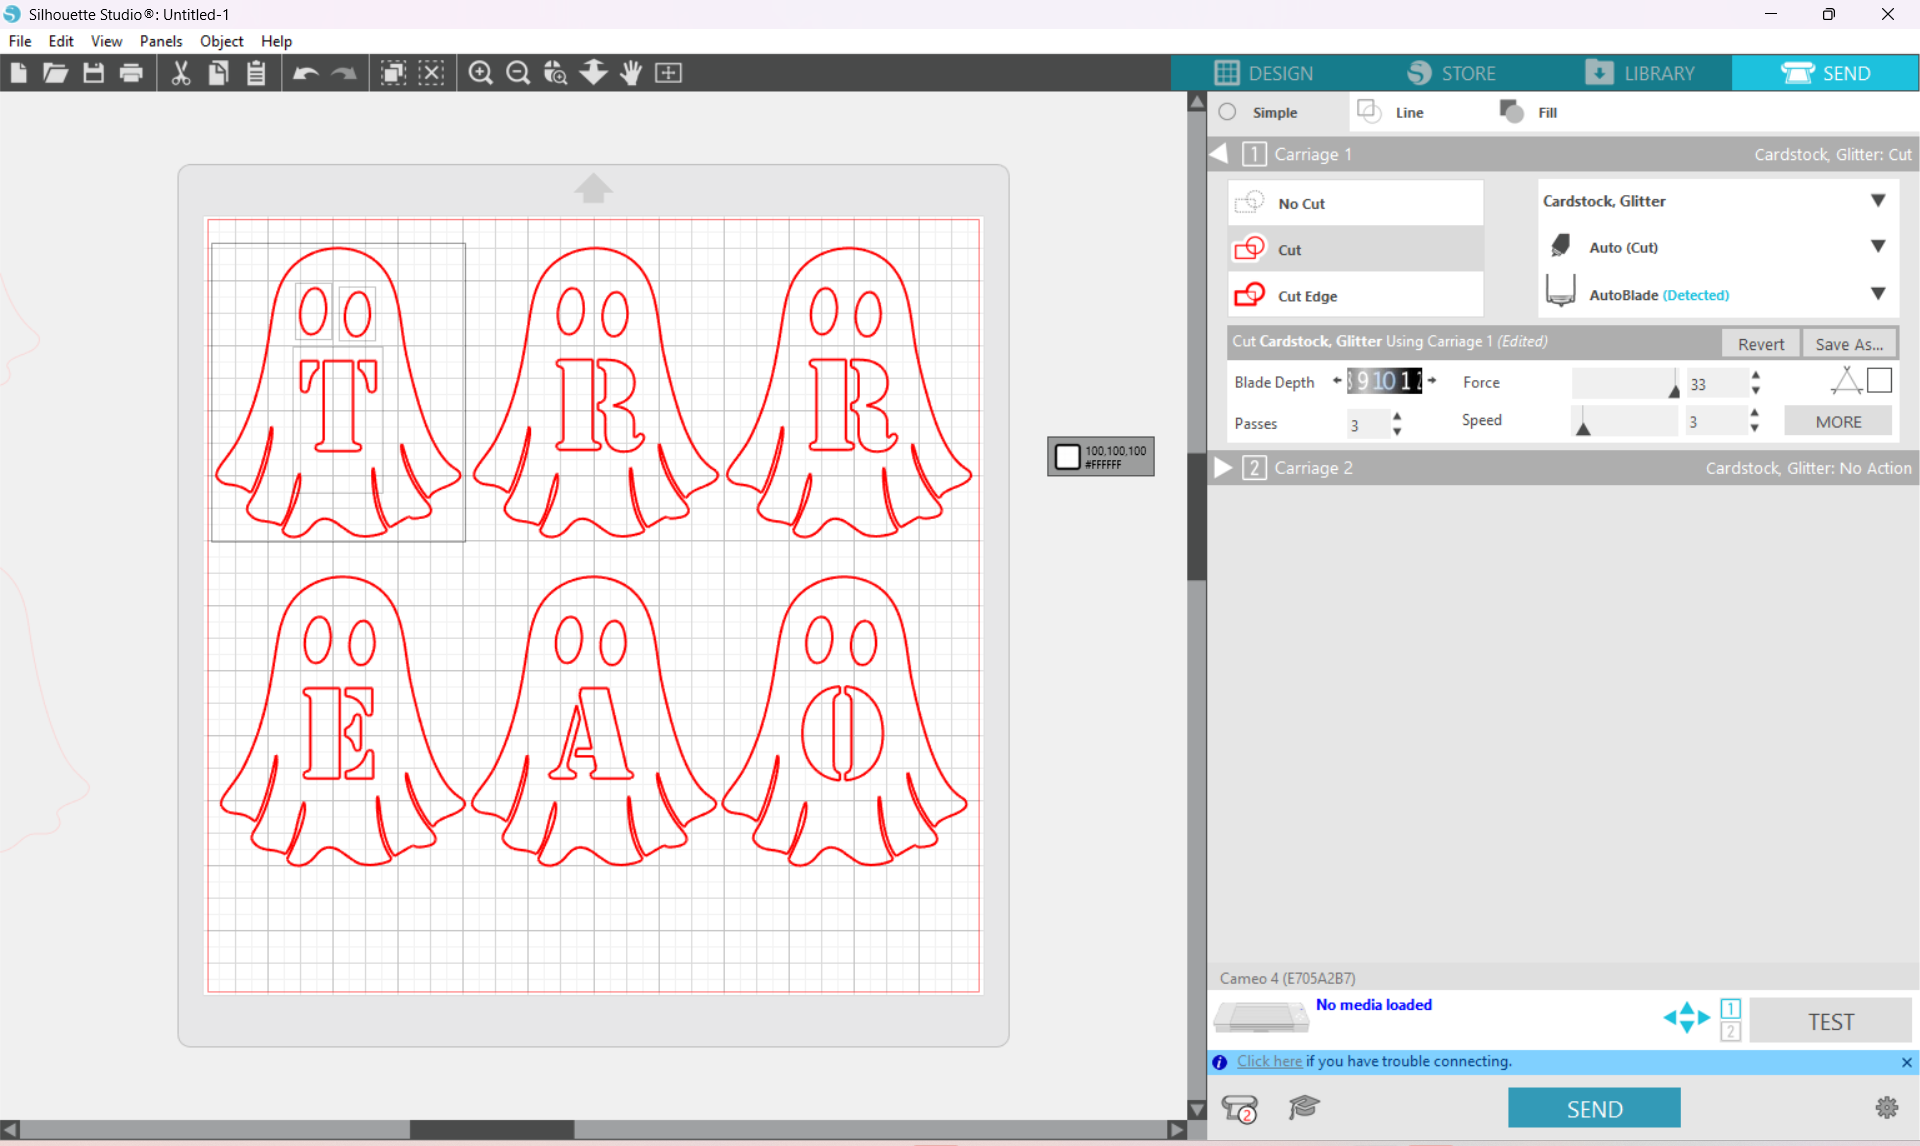
You could cut the letters and eyes individually if you wanted them to be a different colour from the backing card. I wanted the silver mirror card to show through the letter cuts and thought adding the black oval behind the white card would be quicker than adding 24 individual circles for the eyes!
I then organised my cutting images so I could cut x4 ghosts from an A4 sheet or x6 ghosts from a 12"x12" sheet.
The bunting I made measures 115mm x 100mm, but if you want to make yours larger, then resize the image to suit your desired size.
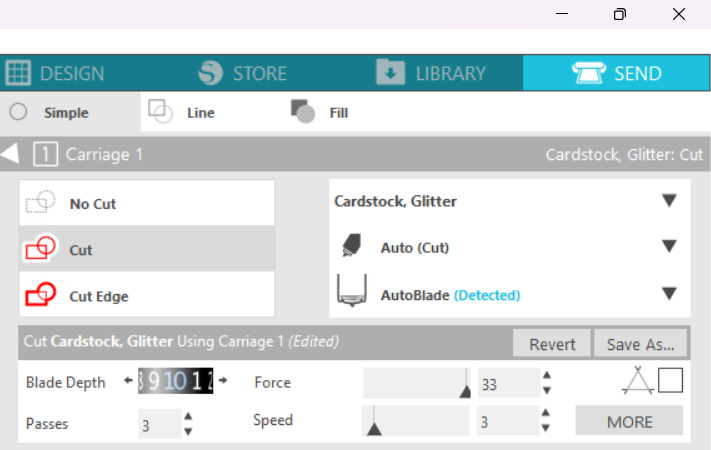
I used these settings to cut my card:
If you're using different cards, then you may need to adjust the settings to suit the card you're cutting.
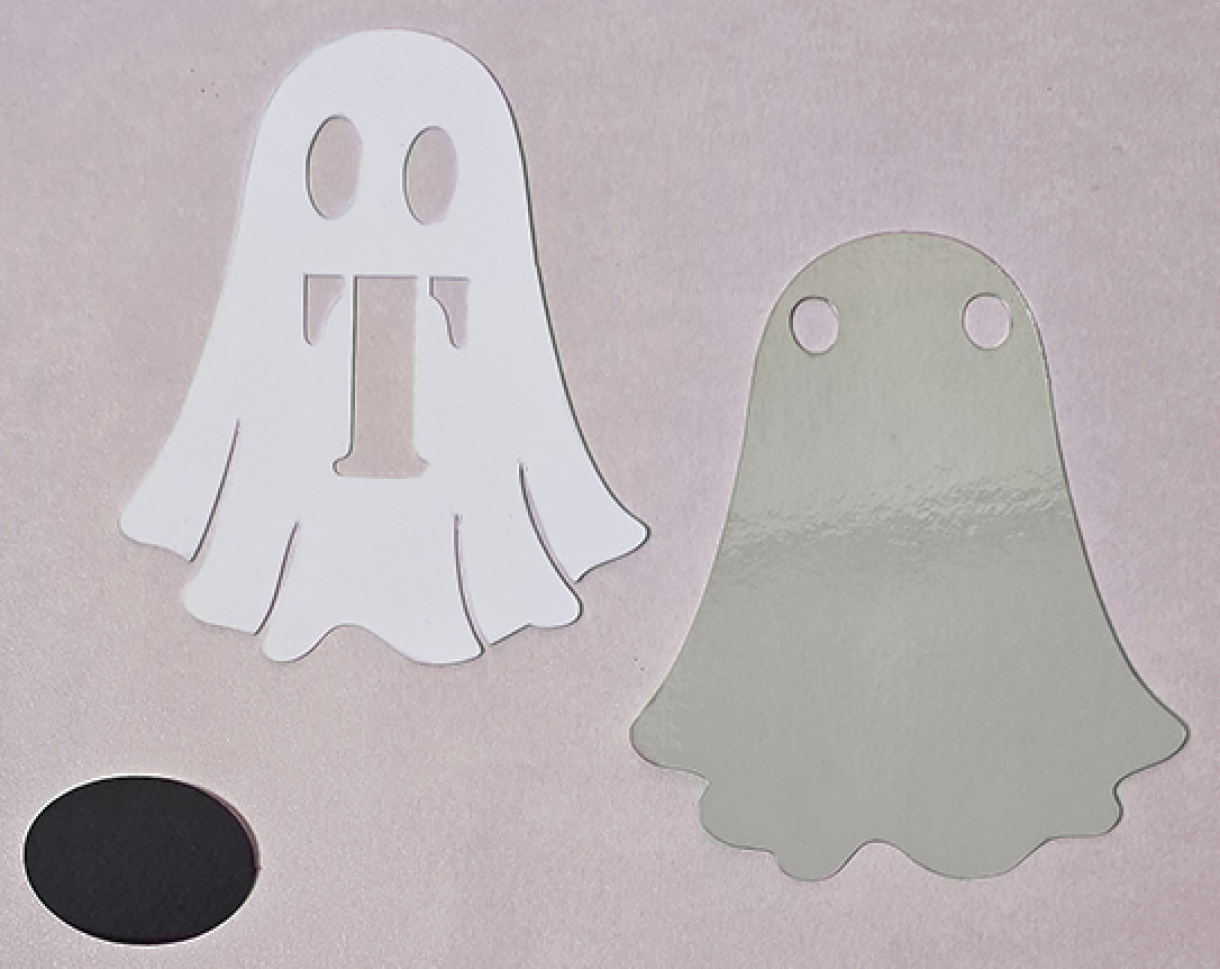
After everything was cut, I laid it out to make sure everything was correct before I started sticking it together.
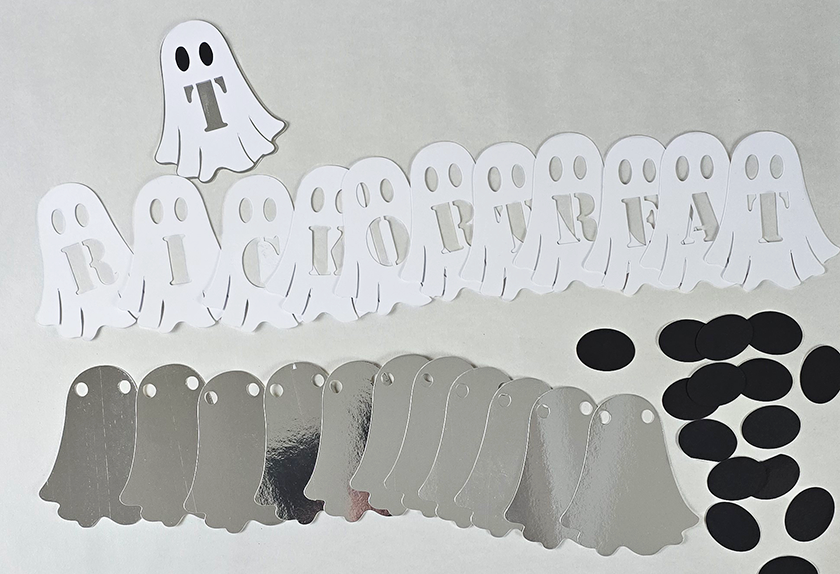
I then stuck all of the black circles to the back of all the white ghost fronts.
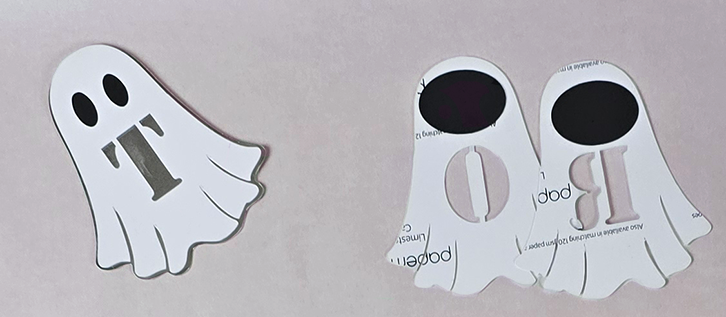
I used a glue stick to stick the layers together but would recommend using double-sided pads OR threading your bunting before gluing it all together!


Nobody has commented yet
Be the first to comment on this article by using the form below.