Cardmaking Tutorial - Paper Pieced Stained Glass Effect - Woodware Stamps
1
Posted on 8th August 2017 by Nicole Mullen
Filed under All Papercraft Tutorials, Card Making Ideas, Papercraft Disciplines And Techniques

Hi everyone,
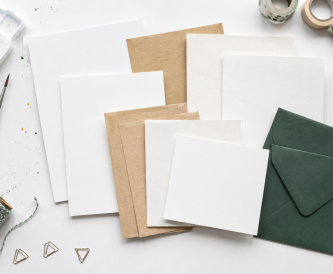
Nicole here to share a fun card using paper piecing to create a fun effect using a fun Woodware stamp. I used a lot of scraps of my Papermilldirect card on this one too so that is an added bonus. I used:
- Papermilldirect Dark Green Card
- Papermilldirect Daffodil Yellow Card
- Papermilldirect Pastel Blue Card
- Papermilldirect White Plain Card
- Papermilldirect Buff Smooth Card
- Papermilldirect Gosgrain Gold Card
- Woodware Mosaic Flower Window Stamp
- Papermilldirect Card Blanks
- MISTI stamping tool
- Black Archival ink
- Scissors
- Glue pen
I started out by gathering all my colours of card, by selecting my scraps and finding the colours I felt worked with the image and worked well together. I wanted to use the gold to edge the frame of the window.

I then stamped the Mosaic window effect stamp on the Plain White card. This was going to be the base of my image. I used my MIsti stamping tool as this allowed me to repeat stamp to get a good impression. With a stamp of this size I find it helps a lot.


I then stamped the stamp on my coloured pieces. I didn't worry about stamping the entire image again, but just made sure I got the parts I needed on the colour I needed. For example the green card needed the leaves part of the image stamped on it and the rest of the image didn't matter at all. I did this for all my colours.


Then it was a case of cutting and sticking. I used a combination of scissors and craft knife for the cutting. I started with the gold trim. I inked the cut edges with black ink before sticking it onto the white background so that it looked neater. I used a glue pen to adhere all the pieces down and made sure it stayed within the stamped lines. It was rather like colouring in, but with sticking down paper instead of colouring.

I then inlayed the blue inside the gold frame. I added the leaves onto this, added the flowers on top of the blue, and the brown centers of the flowers on top of the flowers. Working in layers this way built up the image in a very easy way. I used the glue pen for it all and made sure not to put too much glue near the edges so that it didn't squeeze out.


Once everything was done I cut the white panel down to fit onto the front of a Papermilldirect coloured card blank, in Daffodil yellow - this perfectly matched the yellow sunflowers on the image. I stuck the panel onto this card and it was done. I will add the sentiment to the inside to leave the effect on the front to have the most impact.

I would love to know what you think of this technique and if you would try it at all. Let me know in the comments, or on our Facebook page, and share if you try it on any projects!


1 thought on “Cardmaking Tutorial - Paper Pieced Stained Glass Effect - Woodware Stamps”
catherine pierson
17th June 2018 at 2:37 a.m.
Where are the pictures to go with the tutorial?