You're Sweet! Handmade Card Tutorial
1
Posted on 11th April 2013 by Sharon Nettleship
Filed under All Papercraft Tutorials, Design Team
Hiya , Shary here and today I'd like to show you a lovely quick and easy tutorial for a cute card. This card is great because you know all those little bits of leftover Papermill card that you just can't part with and you put away for another day but never get round to using? Well this card solves that problem!
Take a look
This card would make a great older child's card, nice and colourful.  So onto the tutorial
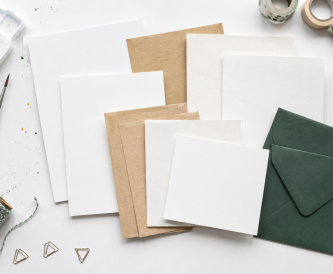
  Cut an A4 piece of Papermill Direct Linen white card into a 5 1/2" card. I used a machine to sew a lilac border around the edge but you could easily use a pen and doodle the border.
 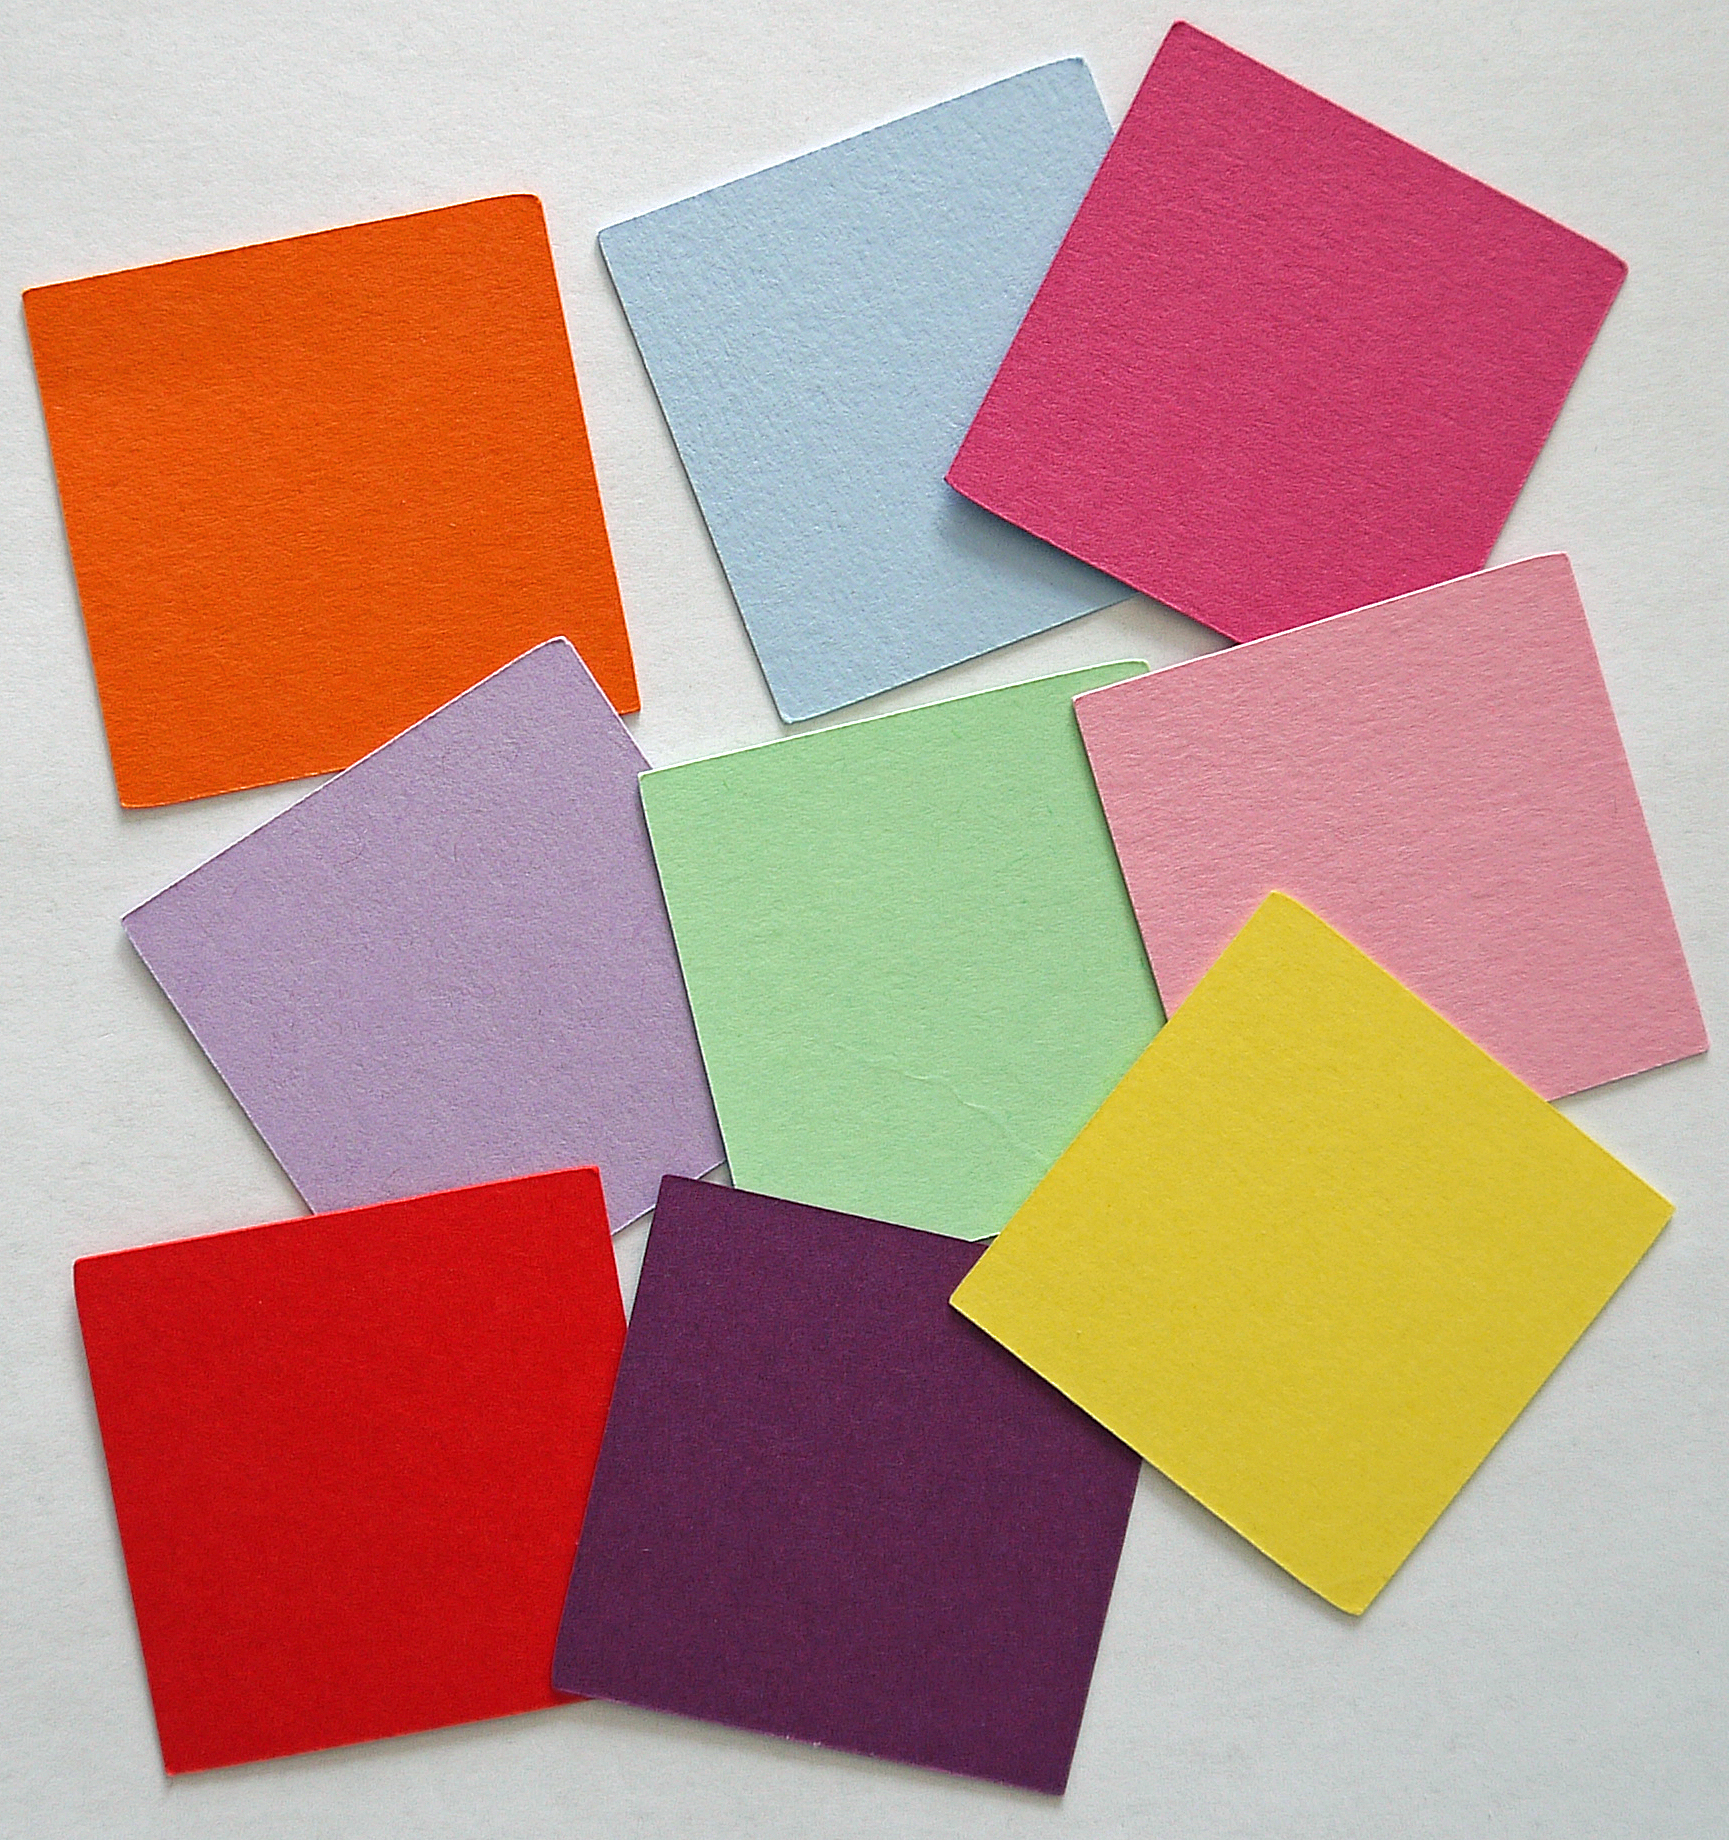 Cut 9 pieces of card each a different colour. They should measure 4cm x 4cm. Using a neutral ink (I used a Tim Holtz - Aged Paper distress ink) , lightly ink the edges. This will help them to stand out.
  Next cut out 9 pieces of white linen card measuring 3.8cm x 3.8cm. Again ink lightly around the edges.
  Make yourself a little jelly bean template so that they remain all the same size and cut out 9 in different coloured card. One of them you will need to make little holes to look like eyes and a mouth. These are then inked and I also added a little white highlight with a pen.
 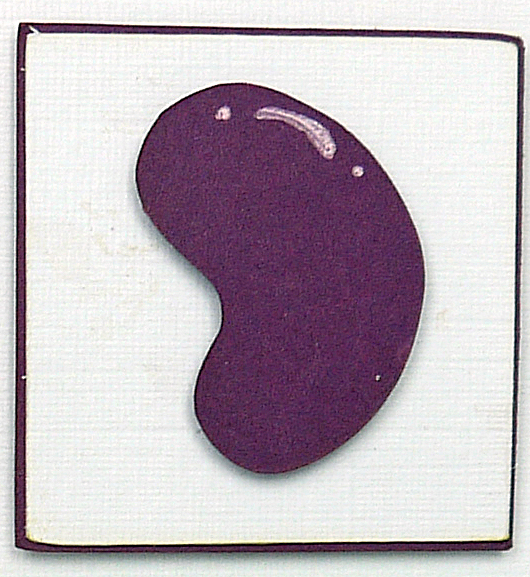 Now you need to assemble the squares. Using a wet glue adhere the white card squares to the coloured squares and then using 3D pads adhere the same colour jelly bean to the middle of the white card.
 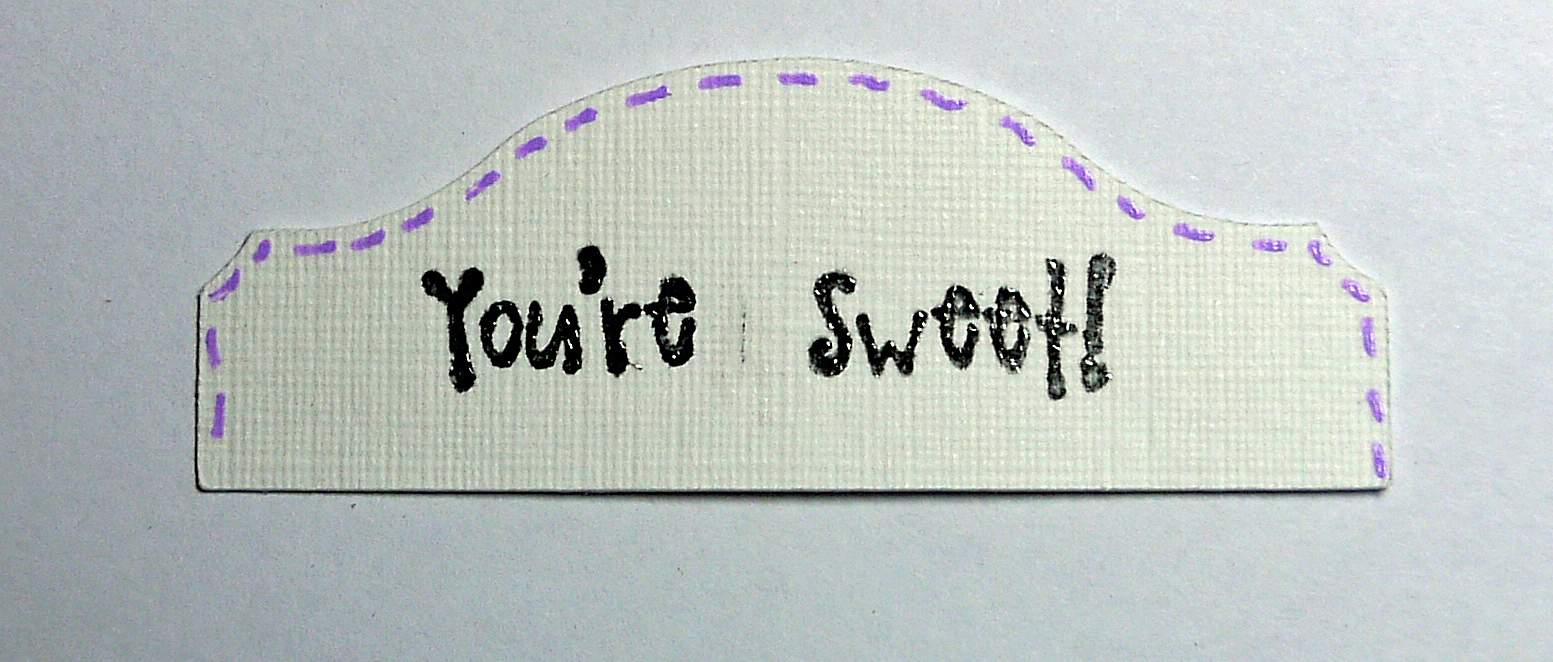 Make a little tab from the white linen card and add a sentiment. I drew the lilac stitching this time around the tab.
  Now to assemble the card. Using 3D pads I adhered all the squares onto the card. I found it best to do the top 2 corners first , then the bottom 2 corners for easy placement of the rest. Just add the tab next by putting a little wet glue along the bottom and adhering to the top side of the card. I hope you enjoyed my tutorial for this fun card and will have a go at making it yourself. We'd love to see your jelly bean cards!! See you next time Shary x


1 thought on “You're Sweet! Handmade Card Tutorial”
Barbara Daines
11th April 2013 at 2:23 p.m.