Glitzy 'Deck the Halls' Christmas Card
0
Posted on 8th December 2020 by Hannah Williams
Filed under

For this card you will need:
- Cricut Machine
- Cricut Black Pen 0.4 Noir
- Cricut 'Deck the Halls' Template
- Celeste Sirio Colour Card 290gsm
- Shiny Blue Sirio Pearl Double-sided Paper 125gsm
- Arena Ivory Rough 120gsm Paper
- Arena Ivory Rough 300gsm Card
- Embossing Powder: Aurora Sparkle 10ml
- Heat Tool
- WOW! Embossing Pen
- Coloured Markers
- Double Sided Tape
- Foam Tape
- Scissors
Once you have all of your supplies, open up the Cricut template and begin cutting/drawing and scoring each piece.

This first Cricut layout is for the Arena Ivory Rough 300gsm Card. You will need the Cricut pen for this layout too.

This second Cricut layout is for Arena Ivory Rough 120gsm Paper. You will need the Cricut Pen and Cricut Score tool for this layout.

This third layout is for Celeste Sirio Colour Card 290gsm

And the fourth and final layout is for Shiny Blue Sirio Pearl Double-sided Paper 125gsm.
After you have all of your pieces cut out fold and crease your base card and insert pieces. Once your insert is folded and creased unfold it and lay a few strips of double sided on either side of the fold. Lay the insert over your base card, line it up so that it is centred on all four sides and then press the taped centre down. You should now have your card base with the Merry Christmas insert stuck inside.


Next we are going to add some glittery details. First take the dusting pad, this will remove any static from the card-stock making sure that the embossing powder won't stick to the entire piece of card. Using the WOW! Embossing Pen draw inside the pen lines in the deck the halls piece. Try not to go over the black lines with this. Do this under a light so that you can see where you have already drawn, it will appear shiny. Once complete pour your embossing powder over the piece and tap off the excess. Using your heat tool, gently heat the embossed elements slowly. Don't hold the heat tool in one spot too long as this can curl your card, keep it moving to avoid this. Once it is fully transformed take your small rectangle piece in the colour Shiny Blue Sirio Pearl Double-sided Paper 125gsm and stick the deck the halls piece onto this, making sure it is centred.


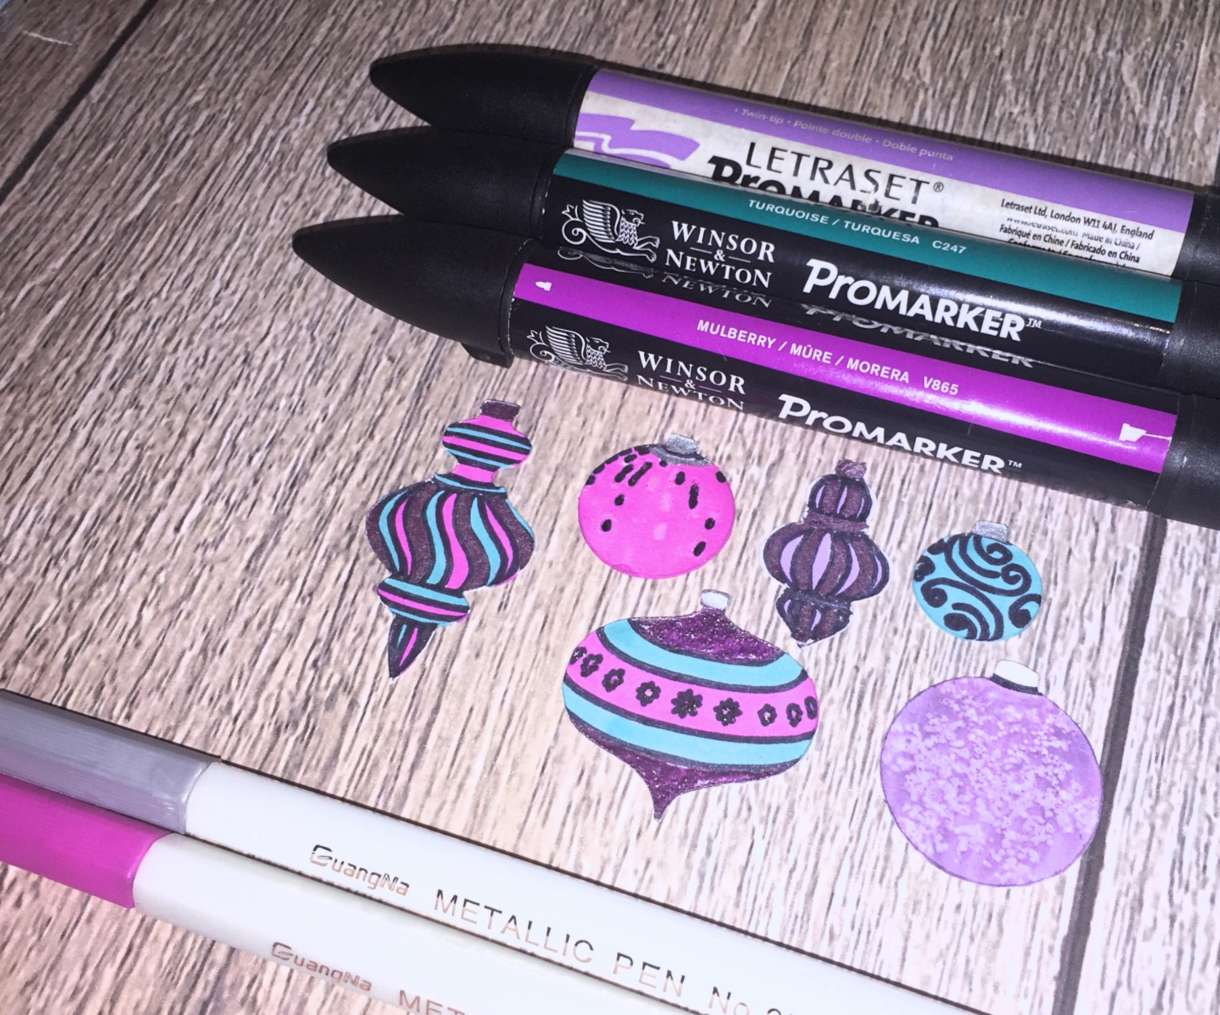
Next for the baubles. I used some pro markers, metallic markers and the same embossing powder used on the deck the halls piece. Colour these however you wish, add some sparkle to a couple of the baubles for extra glamour. I used a small snowflake clear stamp with an embossing ink pad to stamp on this design onto the plain round bauble. But again use your creativity here. If you are embossing elements follow the same steps used for the deck the halls piece.
The last step is putting all the pieces together. Back your white rectangle with the stars and lines drawn on and back it onto the corresponding piece in the colour Shiny Blue Sirio Pearl Double-sided Paper 125gsm using double sided tape. Next stick the baubles and the deck the halls backed pieces onto the front of the card. Do this using 3D foam tape to add an extra layer of dimension to your card. Arrange the baubles as shown in the image below.


And that's it! You now have a beautiful card to send to your loved ones this Christmas.
Thanks for following this tutorial!
Merry Christmas


Nobody has commented yet
Be the first to comment on this article by using the form below.