Anniversary Card Tutorial using Lustre Print Silver Papers
4
Posted on 1st November 2016 by Angela Dodson
Filed under Card Making Ideas, All Papercraft Tutorials, Projects And Cards By Type, Anniversary Card Ideas, Design Team
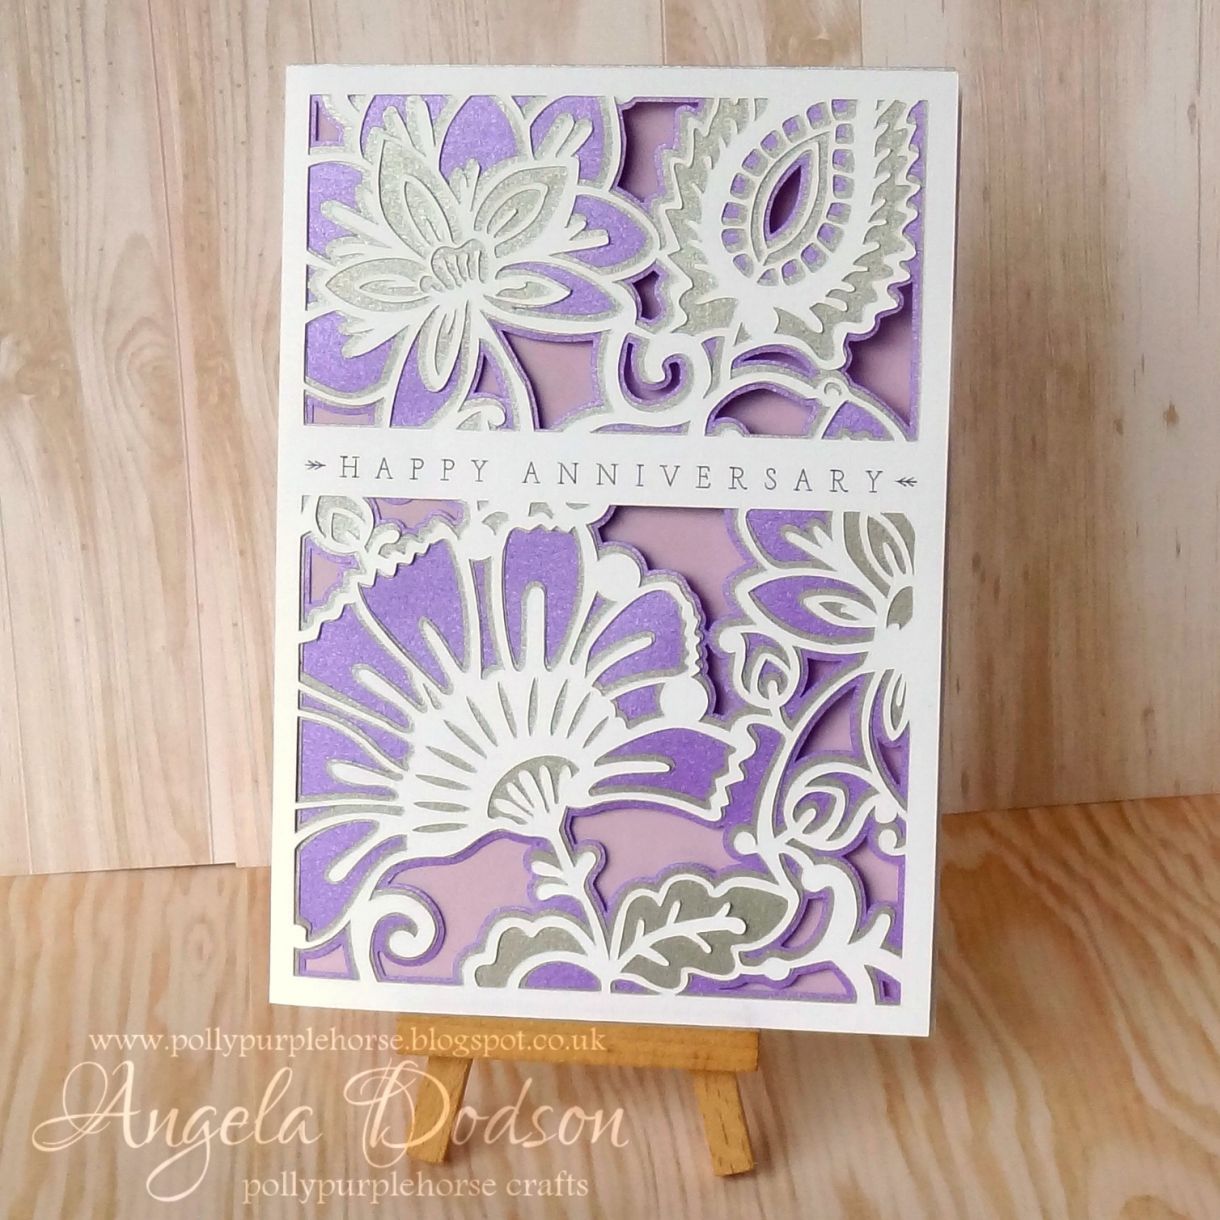
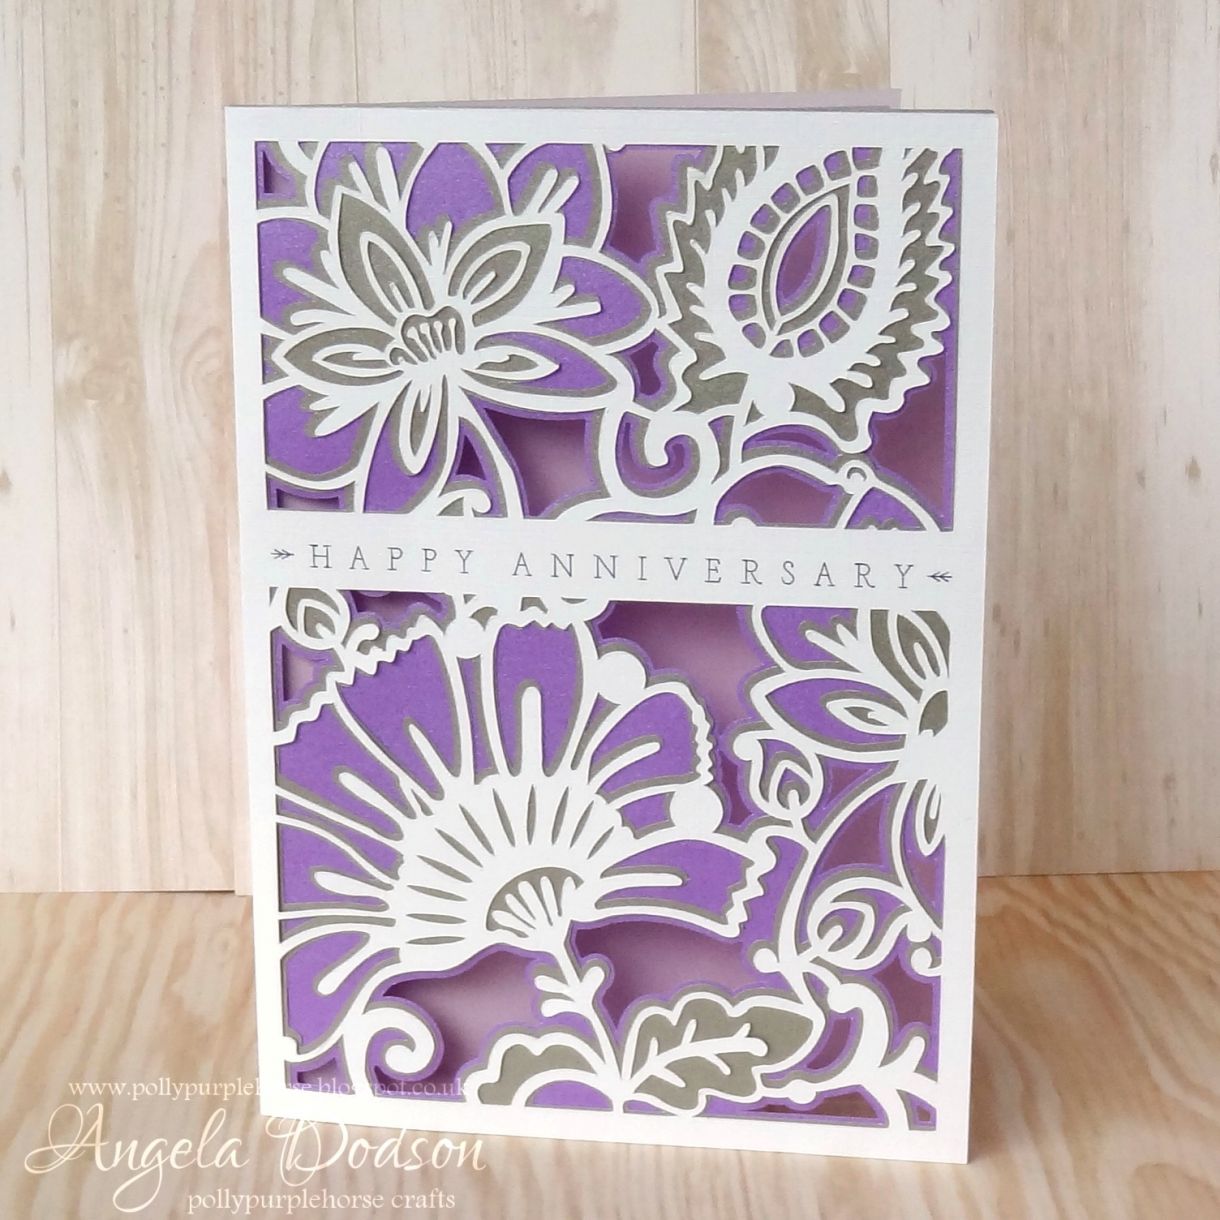
Hello, it’s Angela here to share a card design with you. This week I’ve been testing out some of the brand new Lustre Print Silver papers to create this Anniversary card. The Lustre Print Silver papers are part of a brand new range of cards and papers with a gorgeous sparkle, lustre or glitter special finish. Why not check out the full range, you will love the gorgeous finishes and colours.
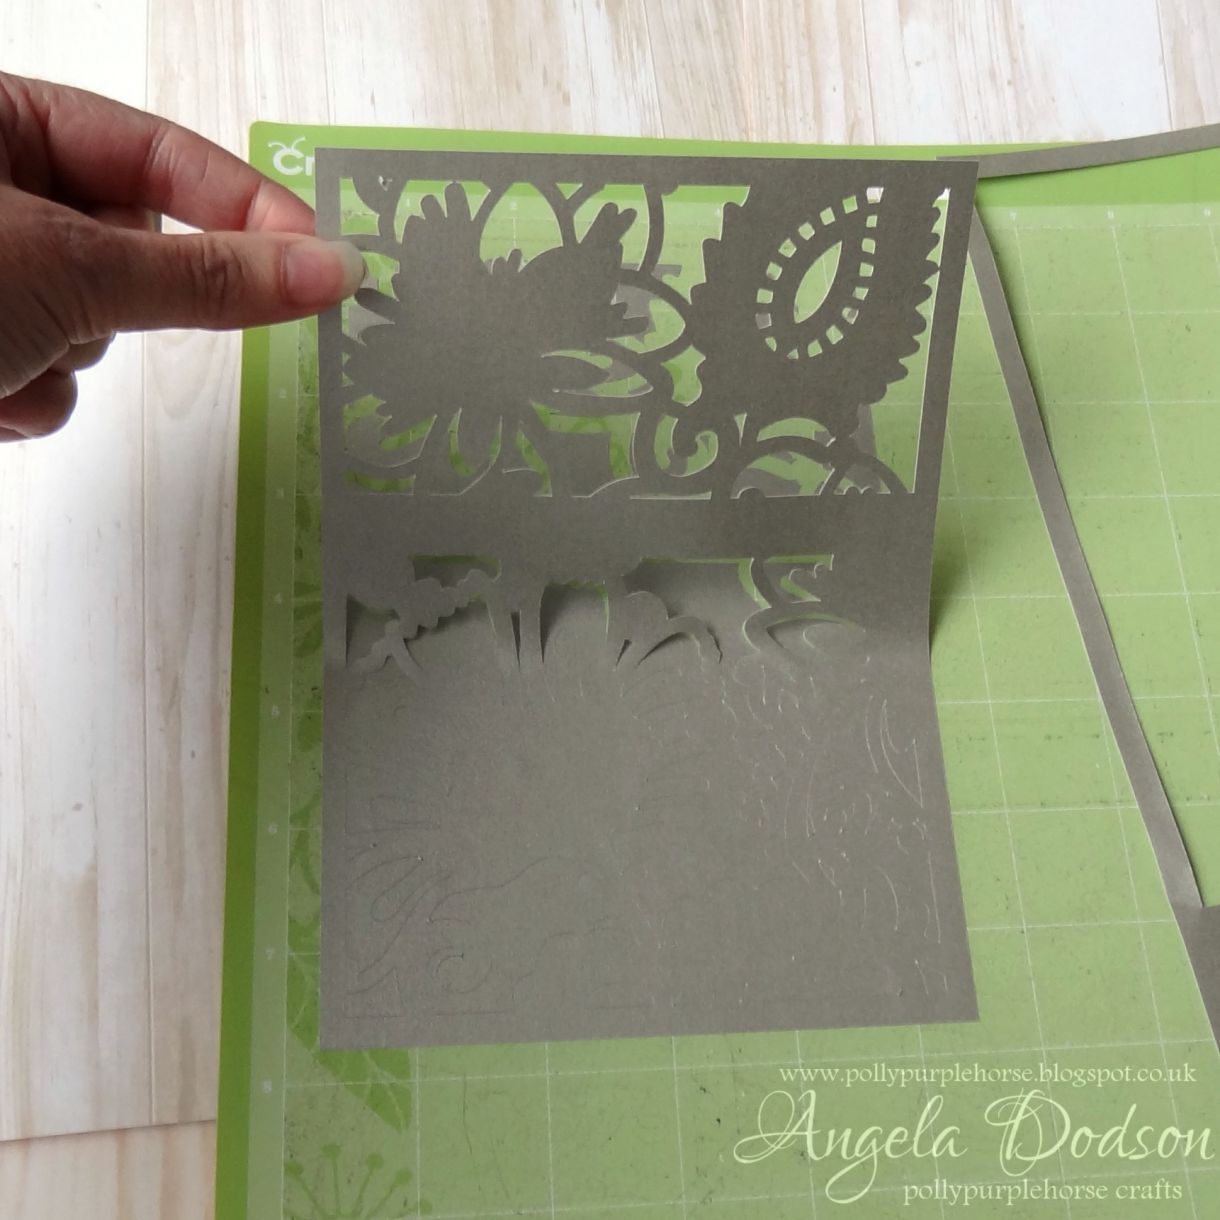
I often use a Cricut Explore to cut my designs and know that it is really important to use great quality cardstocks and papers to achieve a neat professional finish. I often get asked ‘what is the best brand, or gsm to use’ and ‘what setting should I use for card or for paper’ and I always recommend Papermilldirect as this is what I use myself. Now the settings at which you cut your card or paper on are very important too and so I have experimented to find the best setting for the new 100gsm Lustre papers. I have found that they cut an absolute dream on Custom Setting ‘Pearl Paper 0-12mm’ . By selecting this setting the Explore will do a double cut, but the first cut is a light score, which gently cuts into the special finish without tearing or dragging and then completes with it’s 2nd cut. This is an automatic double cut, so you don’t need to load it twice, just press the cut button and it will cut it perfectly for you.
If you wish to cut the Anniversary Card I have used, the Design Space file can be found on Cricut
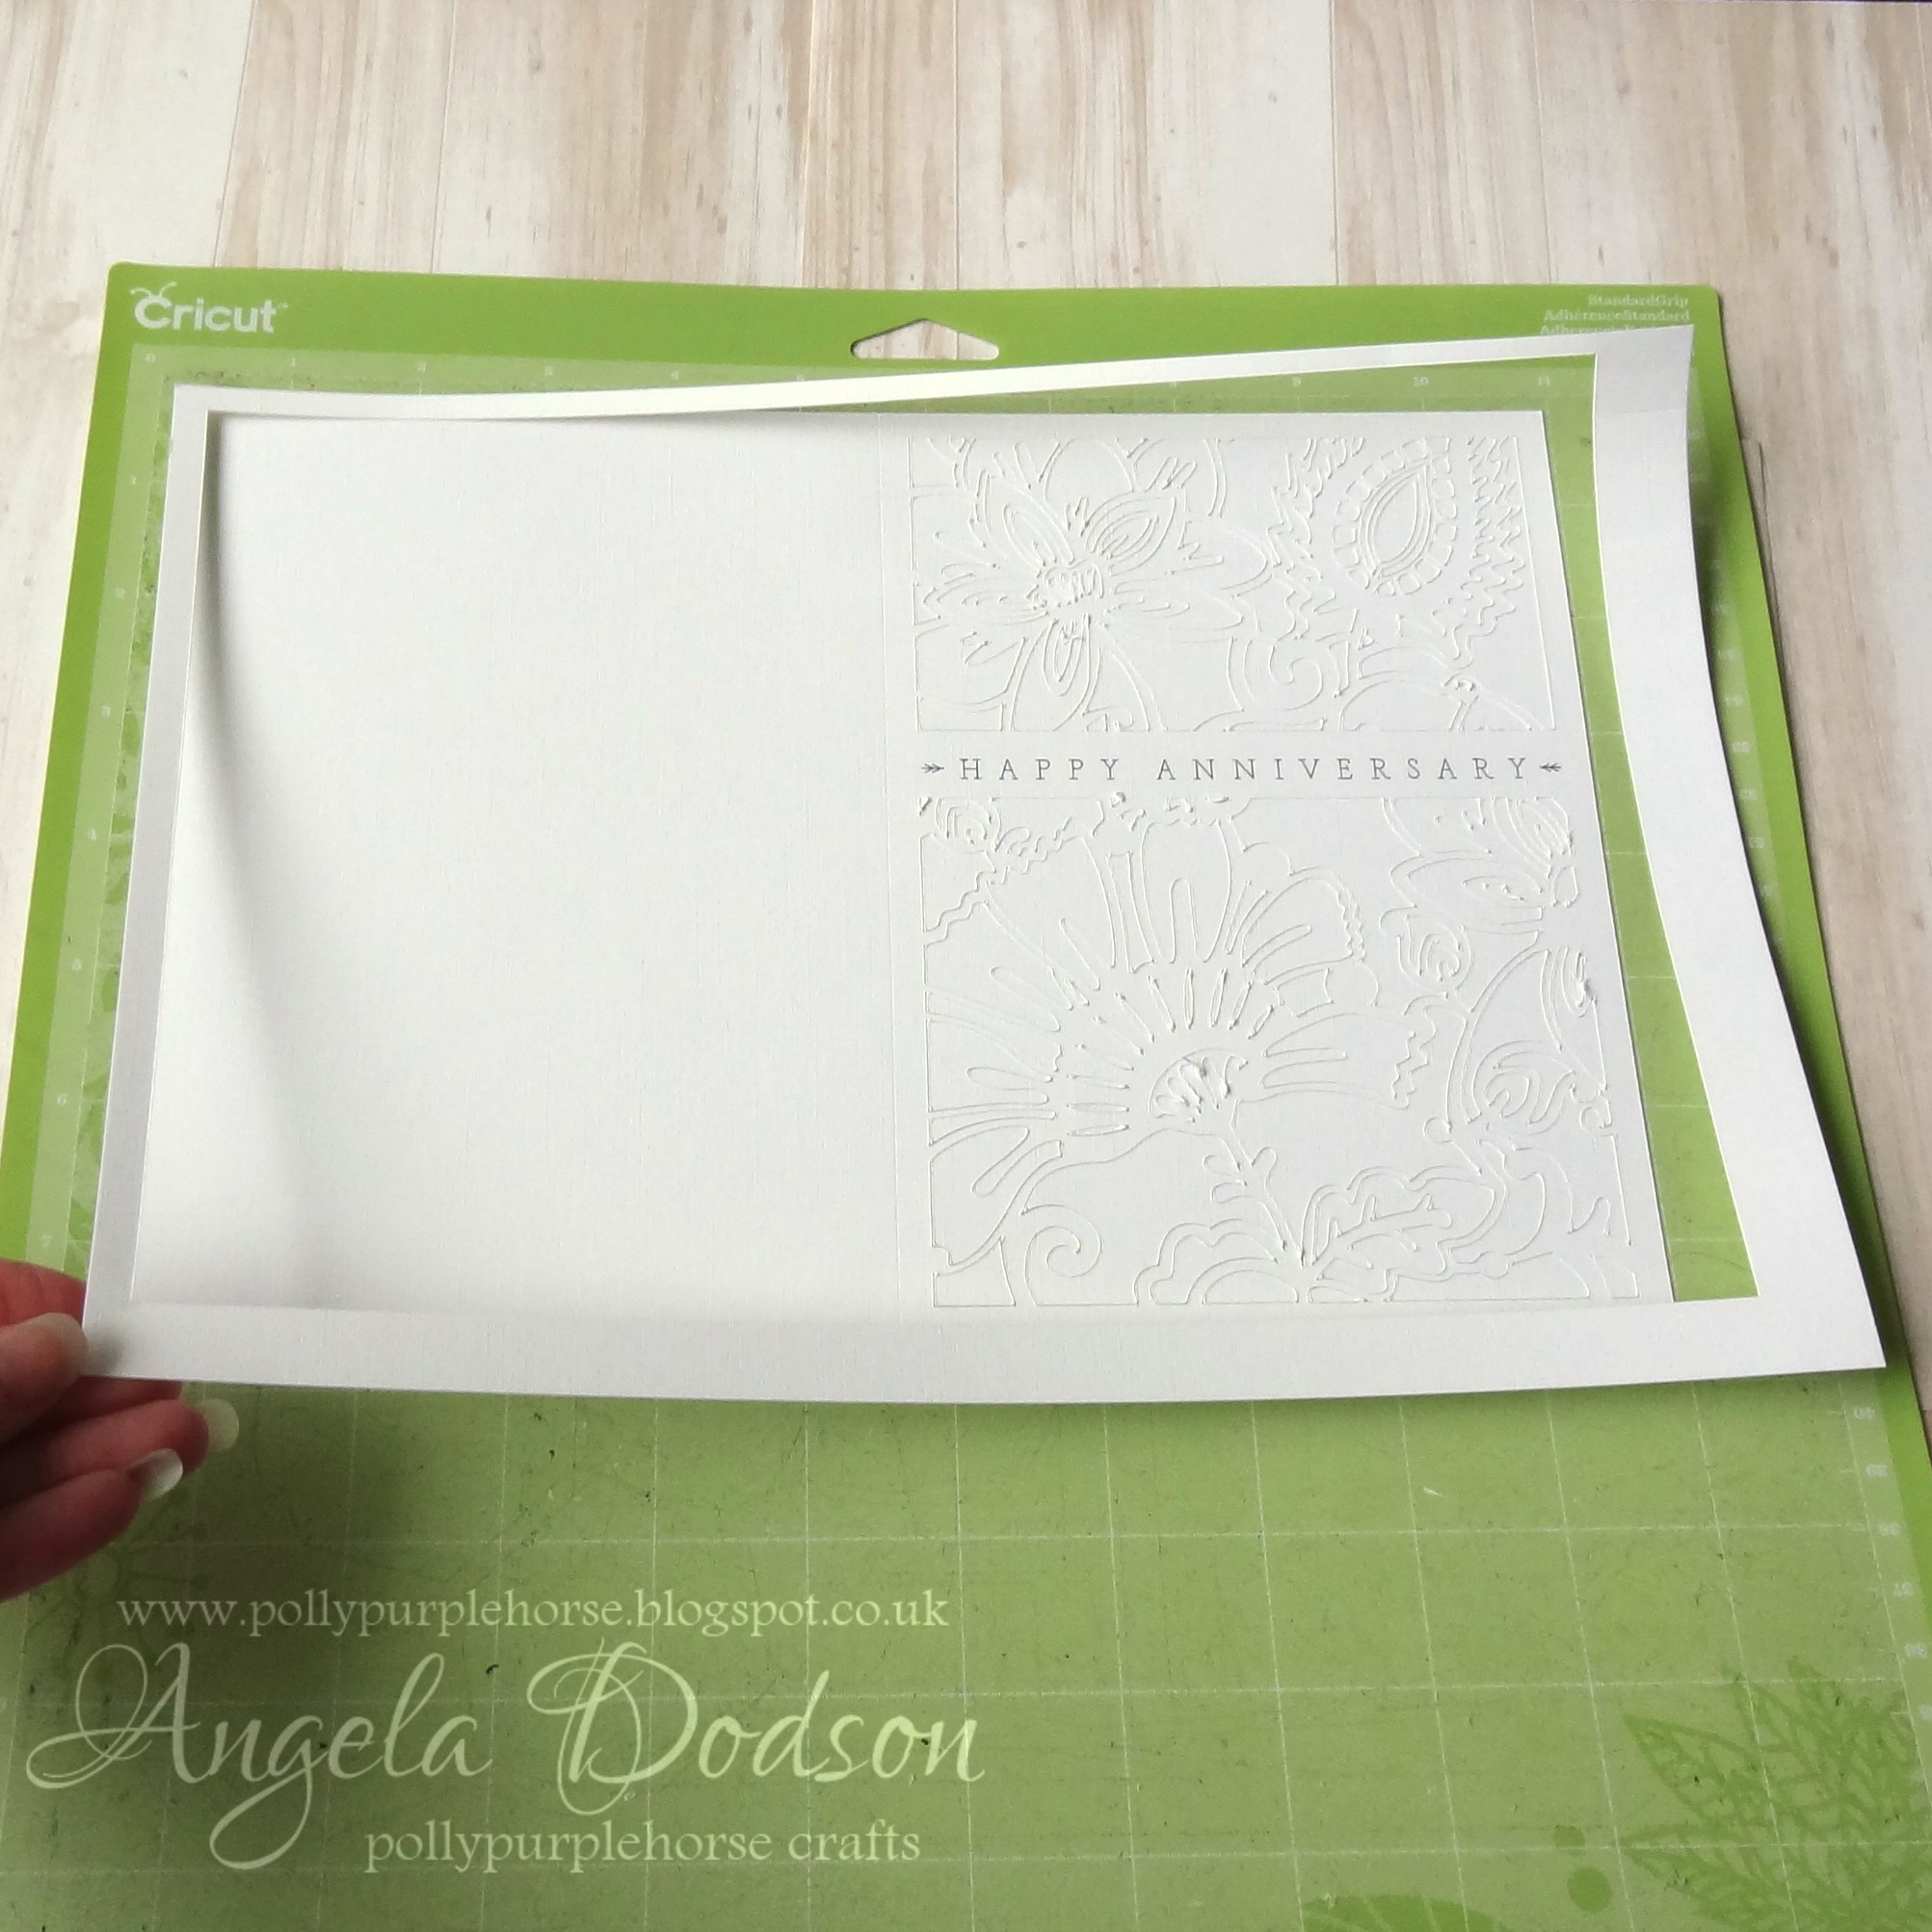
Cut Card Front from papermilldirect A4 Plain White Card (I used Cardstock+ for this). My black Cricut pen has run out and so I am using a Pilot V5 Hi-Tecpoint 0.5 in black to write on the card front. These pens fit into the pen holder without having to make any alterations to it, but please be careful when inserting pens and don’t force them, just insert as you would the normal cricut pens. The Explore will prompt you when to insert the pen and the scoring stylus.
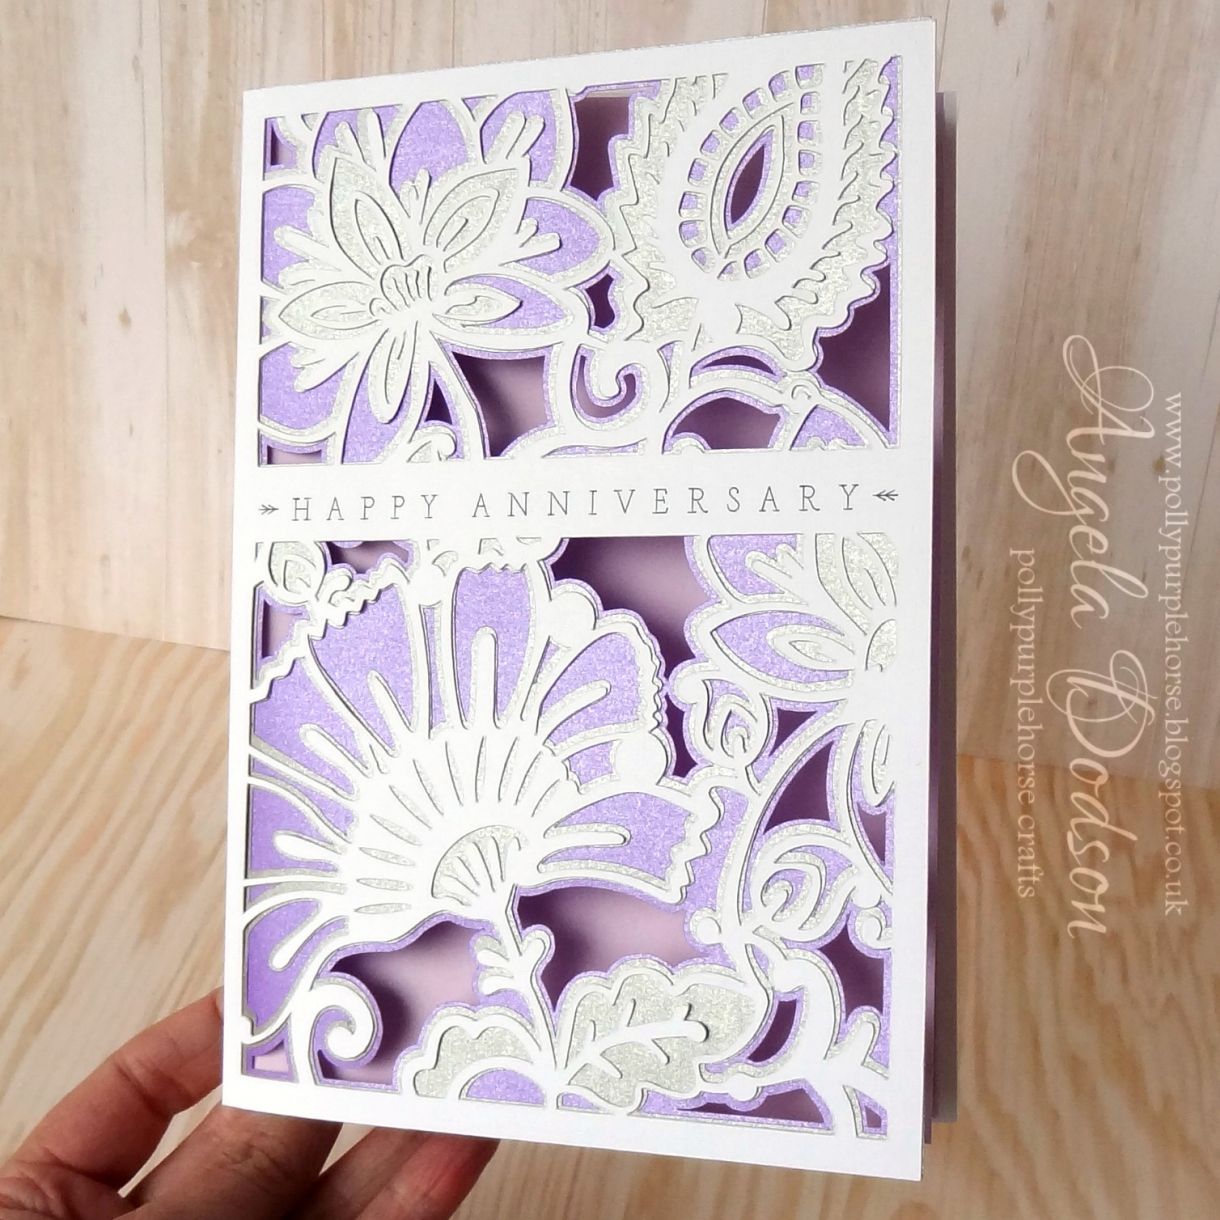
Cut the 2 Lustre Print Silver 100gsm panels, 1 in Periwinkle and 1 in Mercury. Use Custom setting ‘Pearl Paper 0-12mm)

Layer the 2 lustre paper panels using dabs of clear drying glue, or your preferred adhesive, but use sparingly. When layered panels are dry, adhere to the back of the card front panel, so the full layered effect is achieved. Again use a clear drying glue sparingly. You may wish to use a glue pen to adhere small sections.
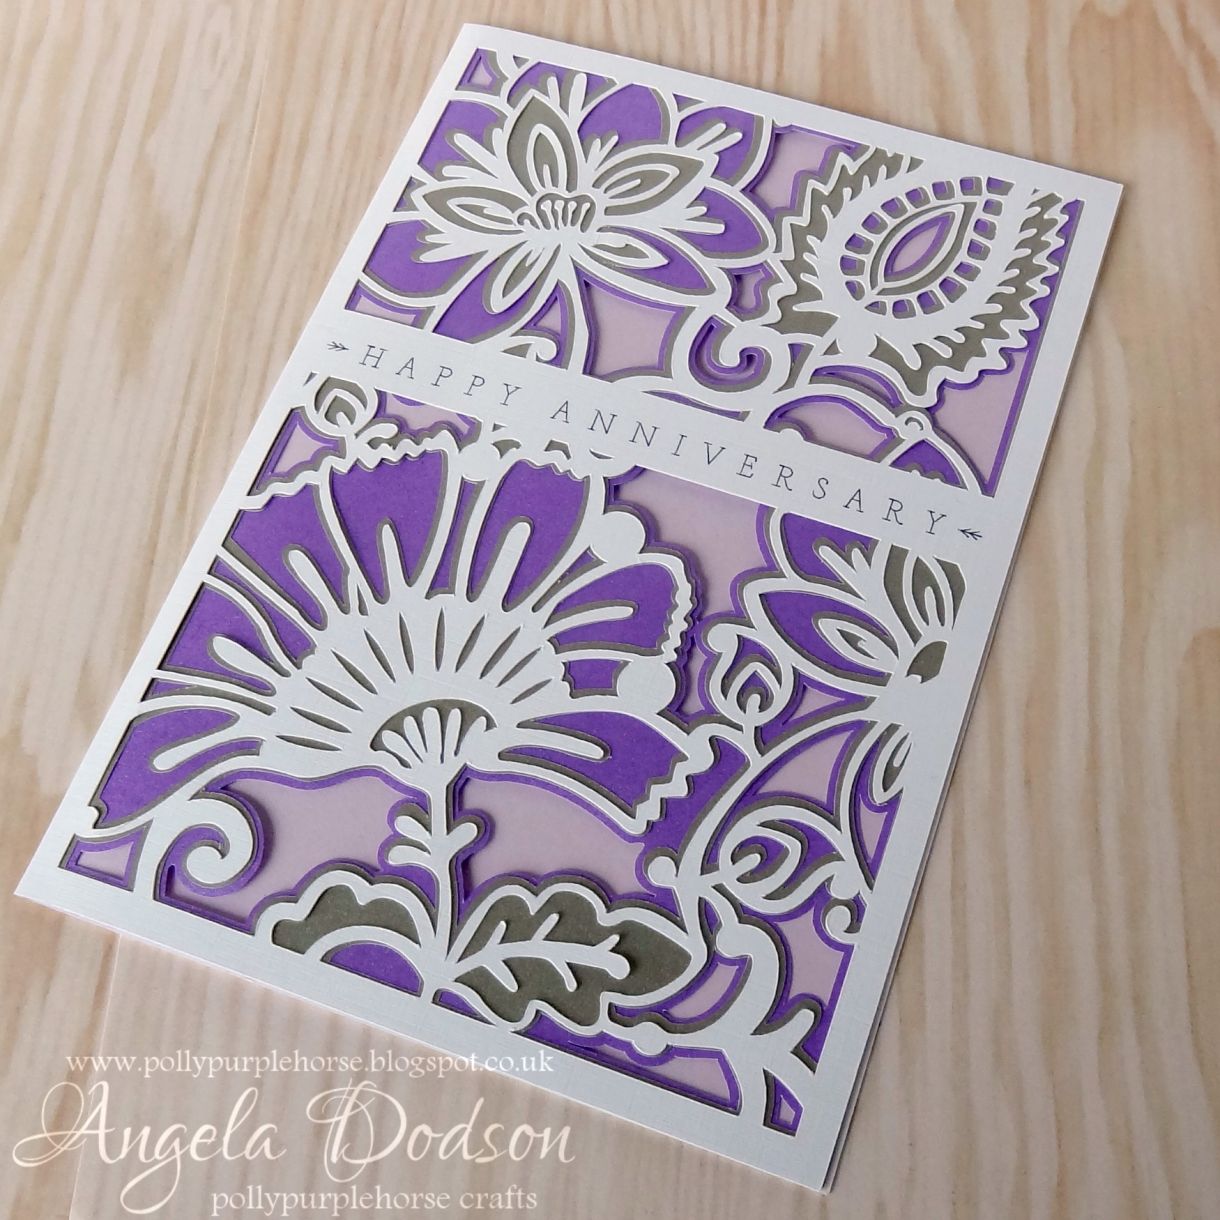
Cut an insert from PMD Pastel Lilac 80gsm. You can either let the Explore cut this using the setting as above, or simply score and fold an A4 sheet of the paper and trim to size. I have added the insert as I would normally with just a small strip of d/s tape so it moves freely when the card is open. You could of course attach it to the layered panel front to encapsulate the layered design if you prefer. I just liked the effect of the shadows and depth it gave by leaving it free.
Products Used:
Cricut Design Space Link: https://cricut.com/en-gb/
Plain White Card – Papermilldirect
Lustre Print Silver Periwinkle – 100gsm – papermilldirect
Lustre Print Silver Mercury – 100gsm – Papermilldirect
Pastel Lilac – 80gsm - Papermilldirect
Adhesives: Clear Drying Glue, d/s tape, glue pen


4 thoughts on “Anniversary Card Tutorial using Lustre Print Silver Papers”
Jesenia
19th April 2017 at 12:17 a.m.
webnet
15th March 2017 at 8:55 a.m.
Angela Dodson
08th November 2016 at 5:29 p.m.
Jan Marshall
03rd November 2016 at 11:07 a.m.