Mother’s Day Card Tutorial
0
Posted on 5th March 2013 by Sharon Nettleship
Filed under All Papercraft Tutorials, Design Team, Seasonal Crafts, Mothers Day Crafts
Hello Shary here and today I'd like to show you a step by step tutorial for a Mother's Day Card. This card is nice and simple to make and all you need is some of your favourite Papermill Direct cardstock and some punches or dies. Remember you don't have to use my colours you could use some lovely orange, yellow and green card for a Spring theme.
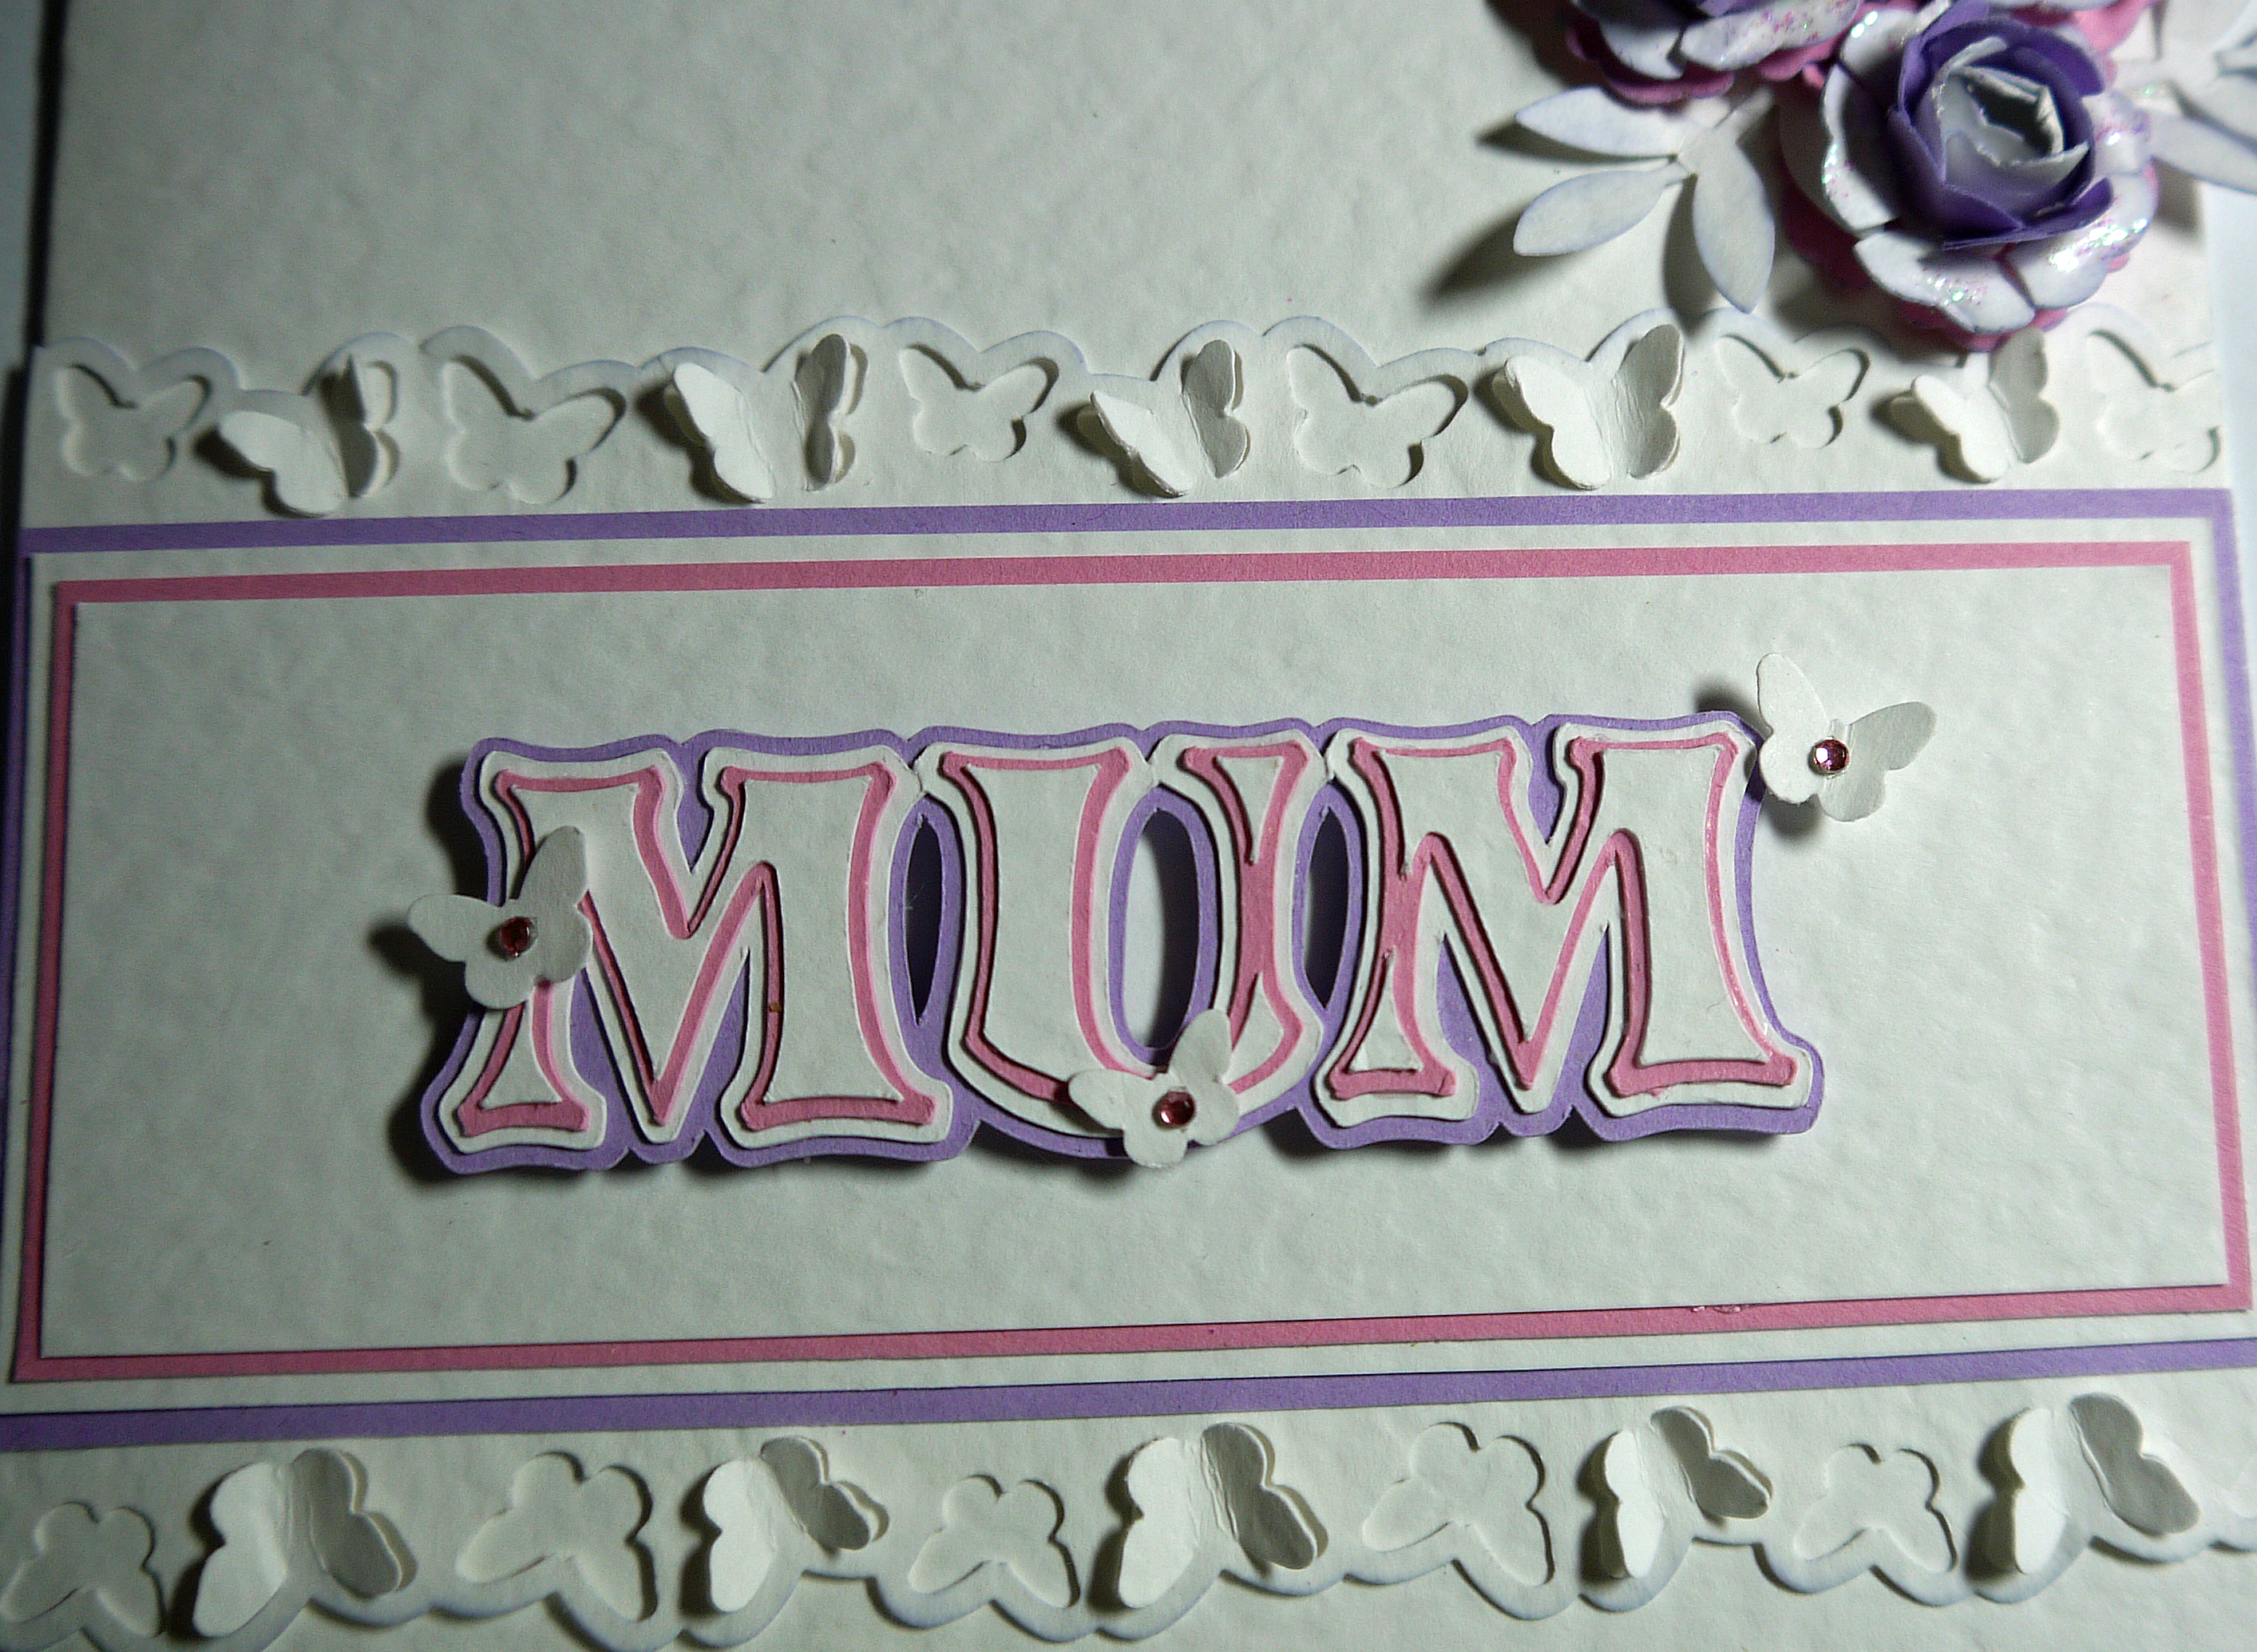
Here's my Mother's Day card

Materials:
12.7cms x 12.7cms
White hammered card
Border & Flower Punch
12.7cms x 5cms - New Lilac Smooth card
Die Cut Letters
12.4cms x 4.7cms - White hammered card
Lilac ink 12.1cms x 4.4cms - Pink Sorbet Smooth card
Gems 11.8cms x 4.1cms - White hammered card
Stickles/Glitter
Instructions:
Step 1. Taking a piece of white hammered A4 card cut out a card blank measuring 12.7 x 12.7 cms.
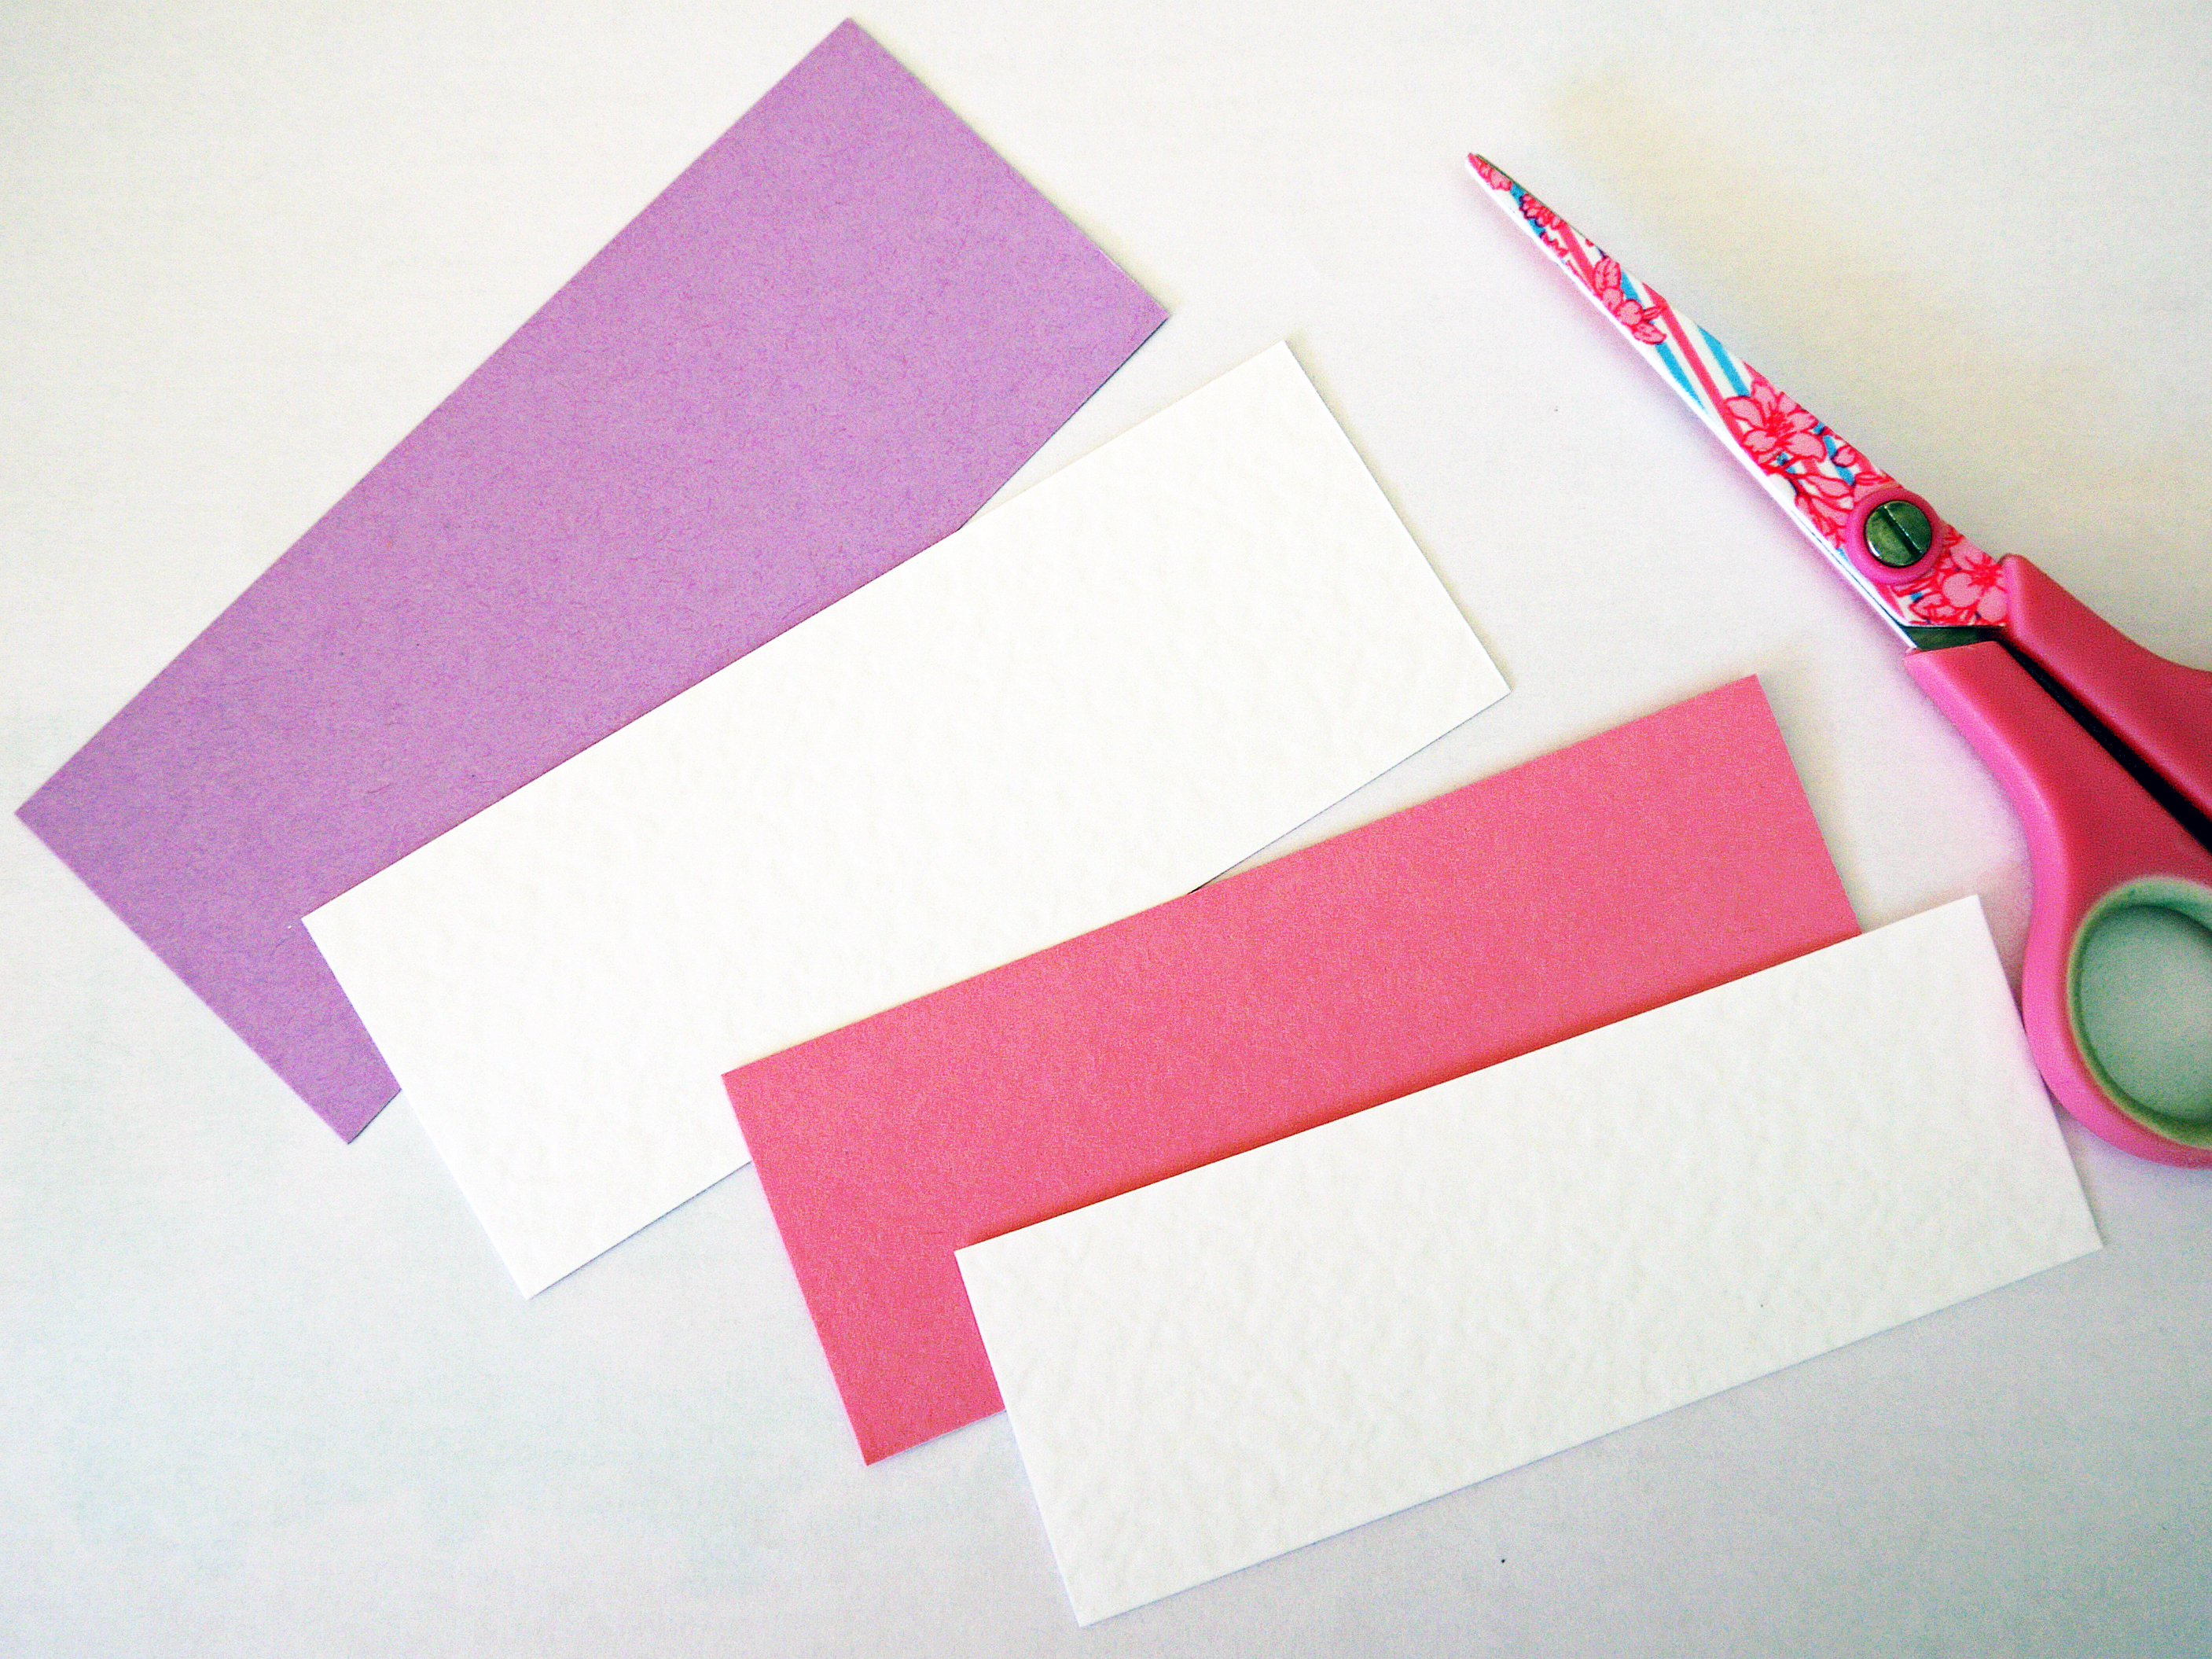
Step 2. To make the central layers take a sheet of New Lilac card and cut a piece 12.7 x 5cms. Using the White Hammered card , cut two pieces, one 12.4cms x 4.7cms and another 11.8cms x 4.1cms. Finally take a sheet of Pink Sorbet and cut to 12.1cms x 4.4cms.
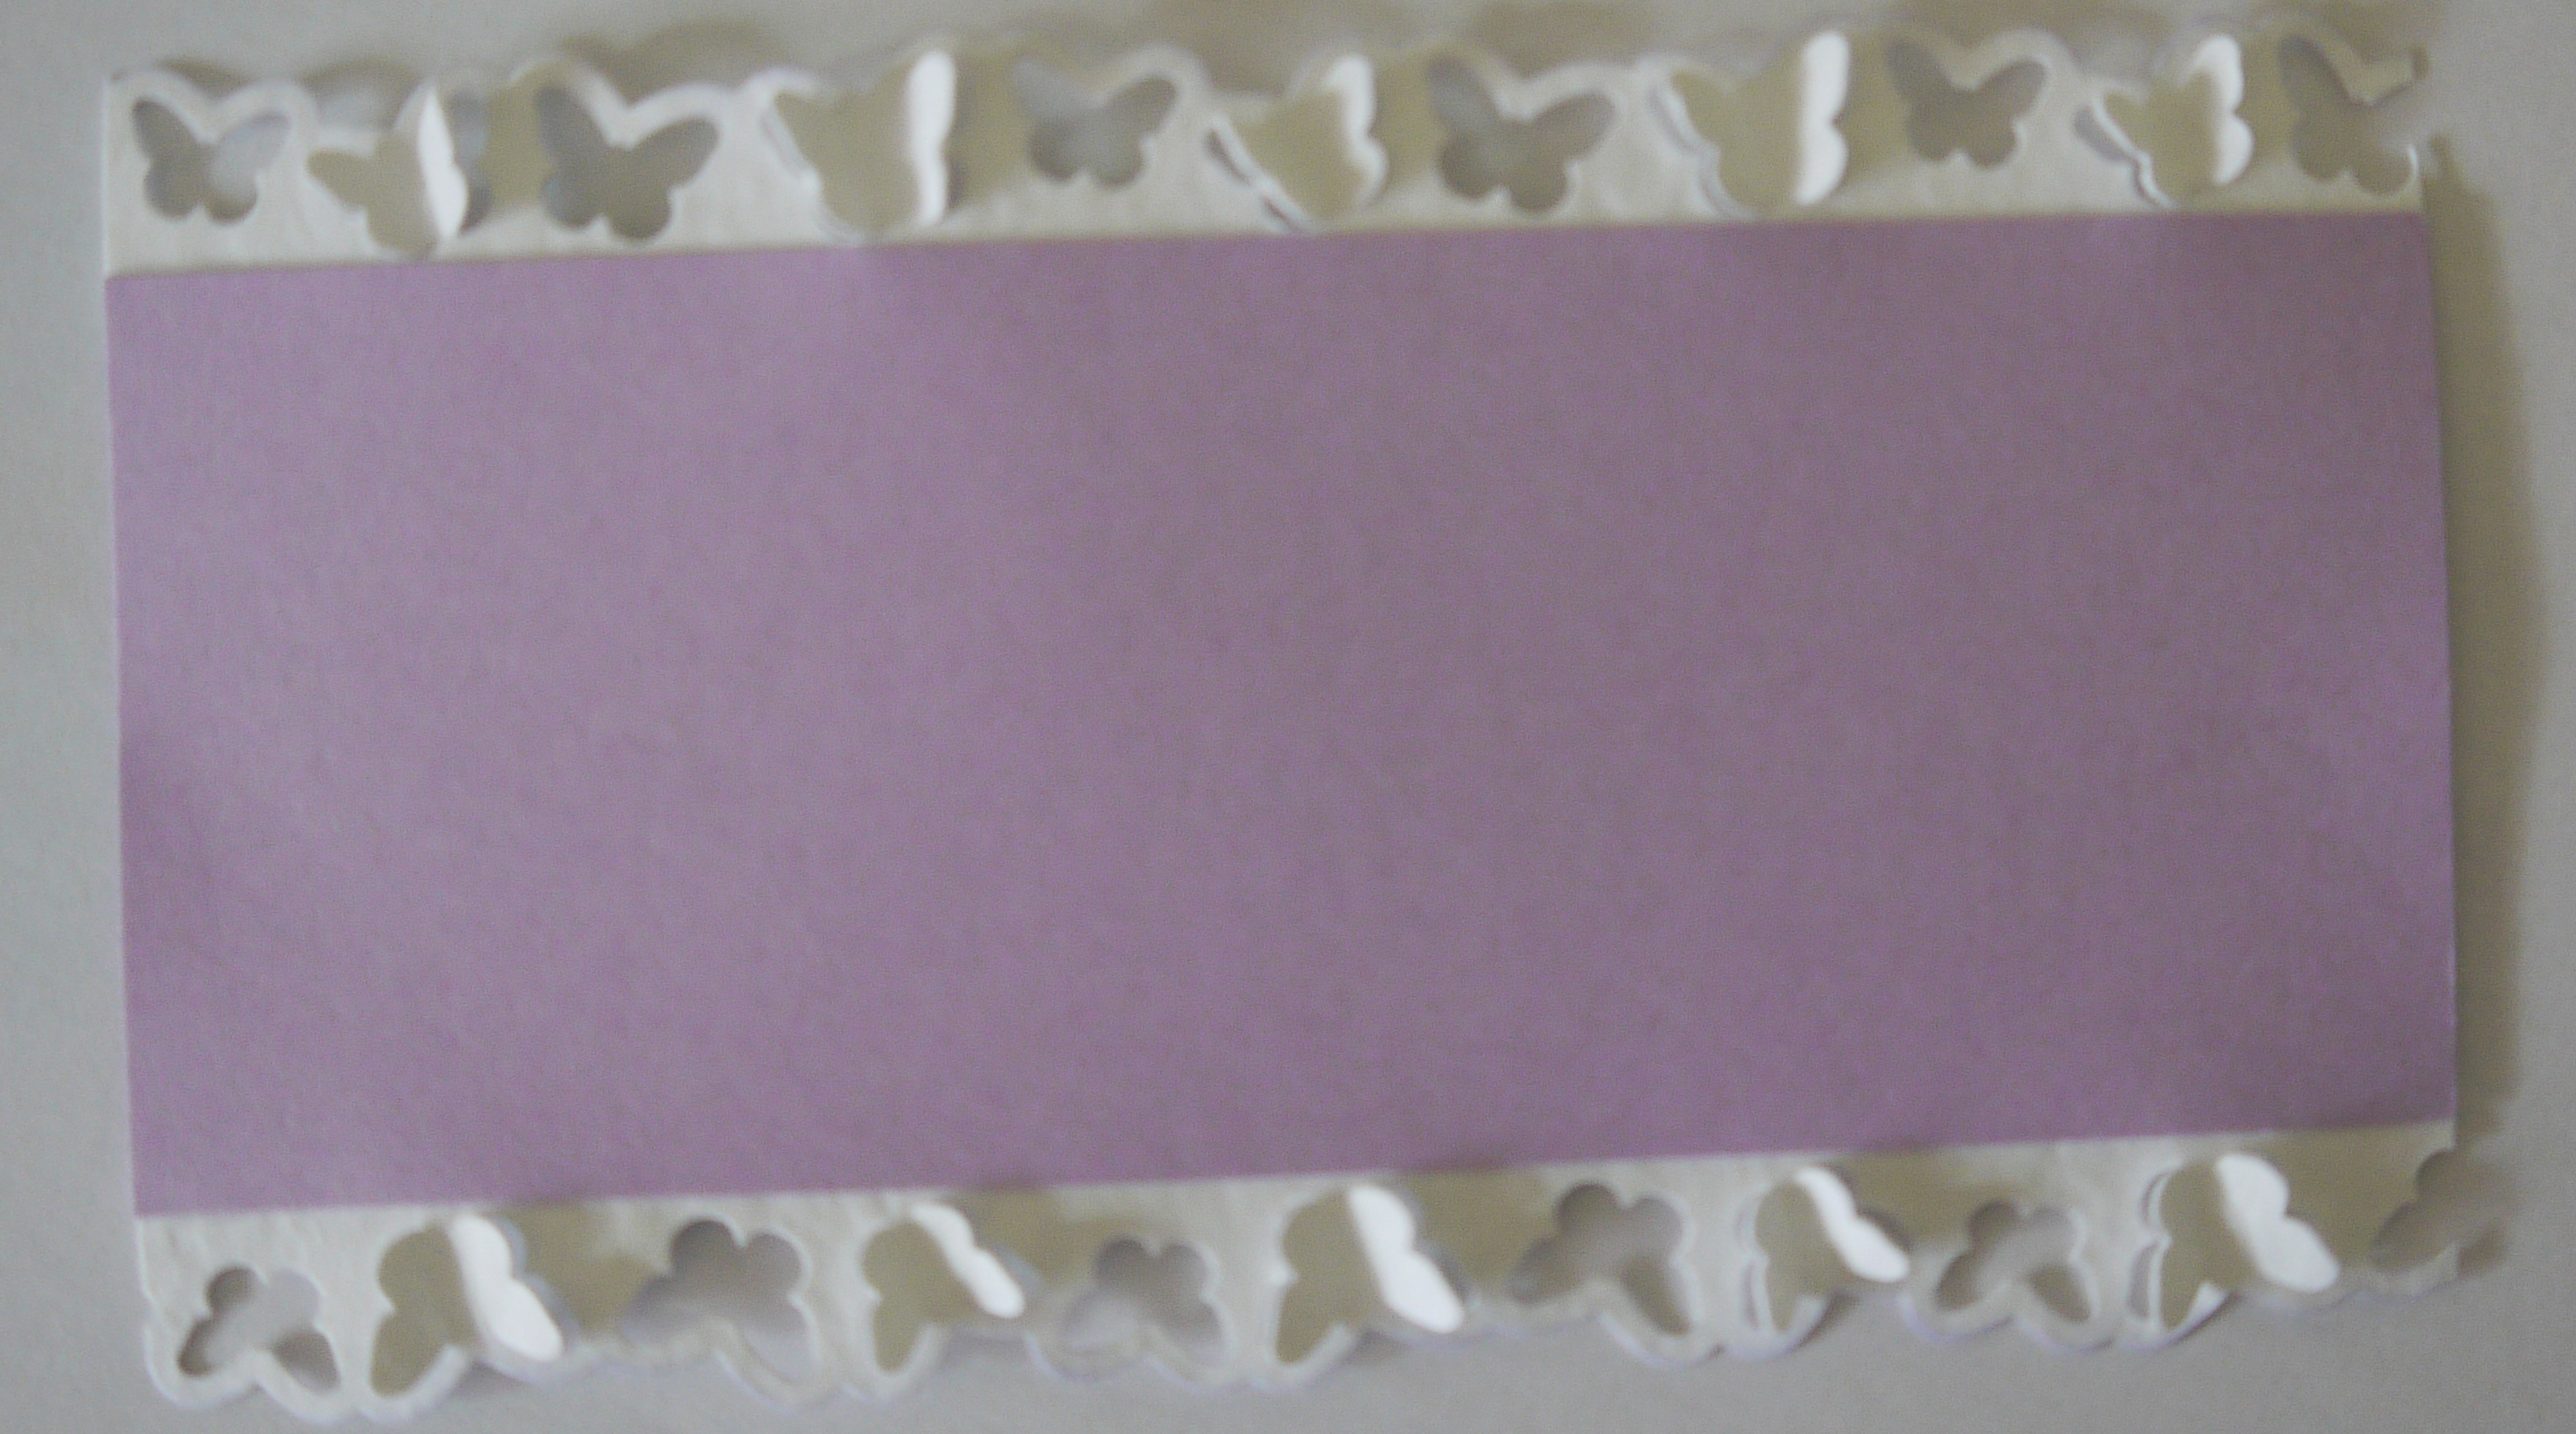
Step 3. Punch out a border in the White Hammered card to fit along the largest lilac layer. Lightly sponge with a lilac ink pad. If you are using a butterfly border keep the waste as they will come in handy for some lovely embellishments.
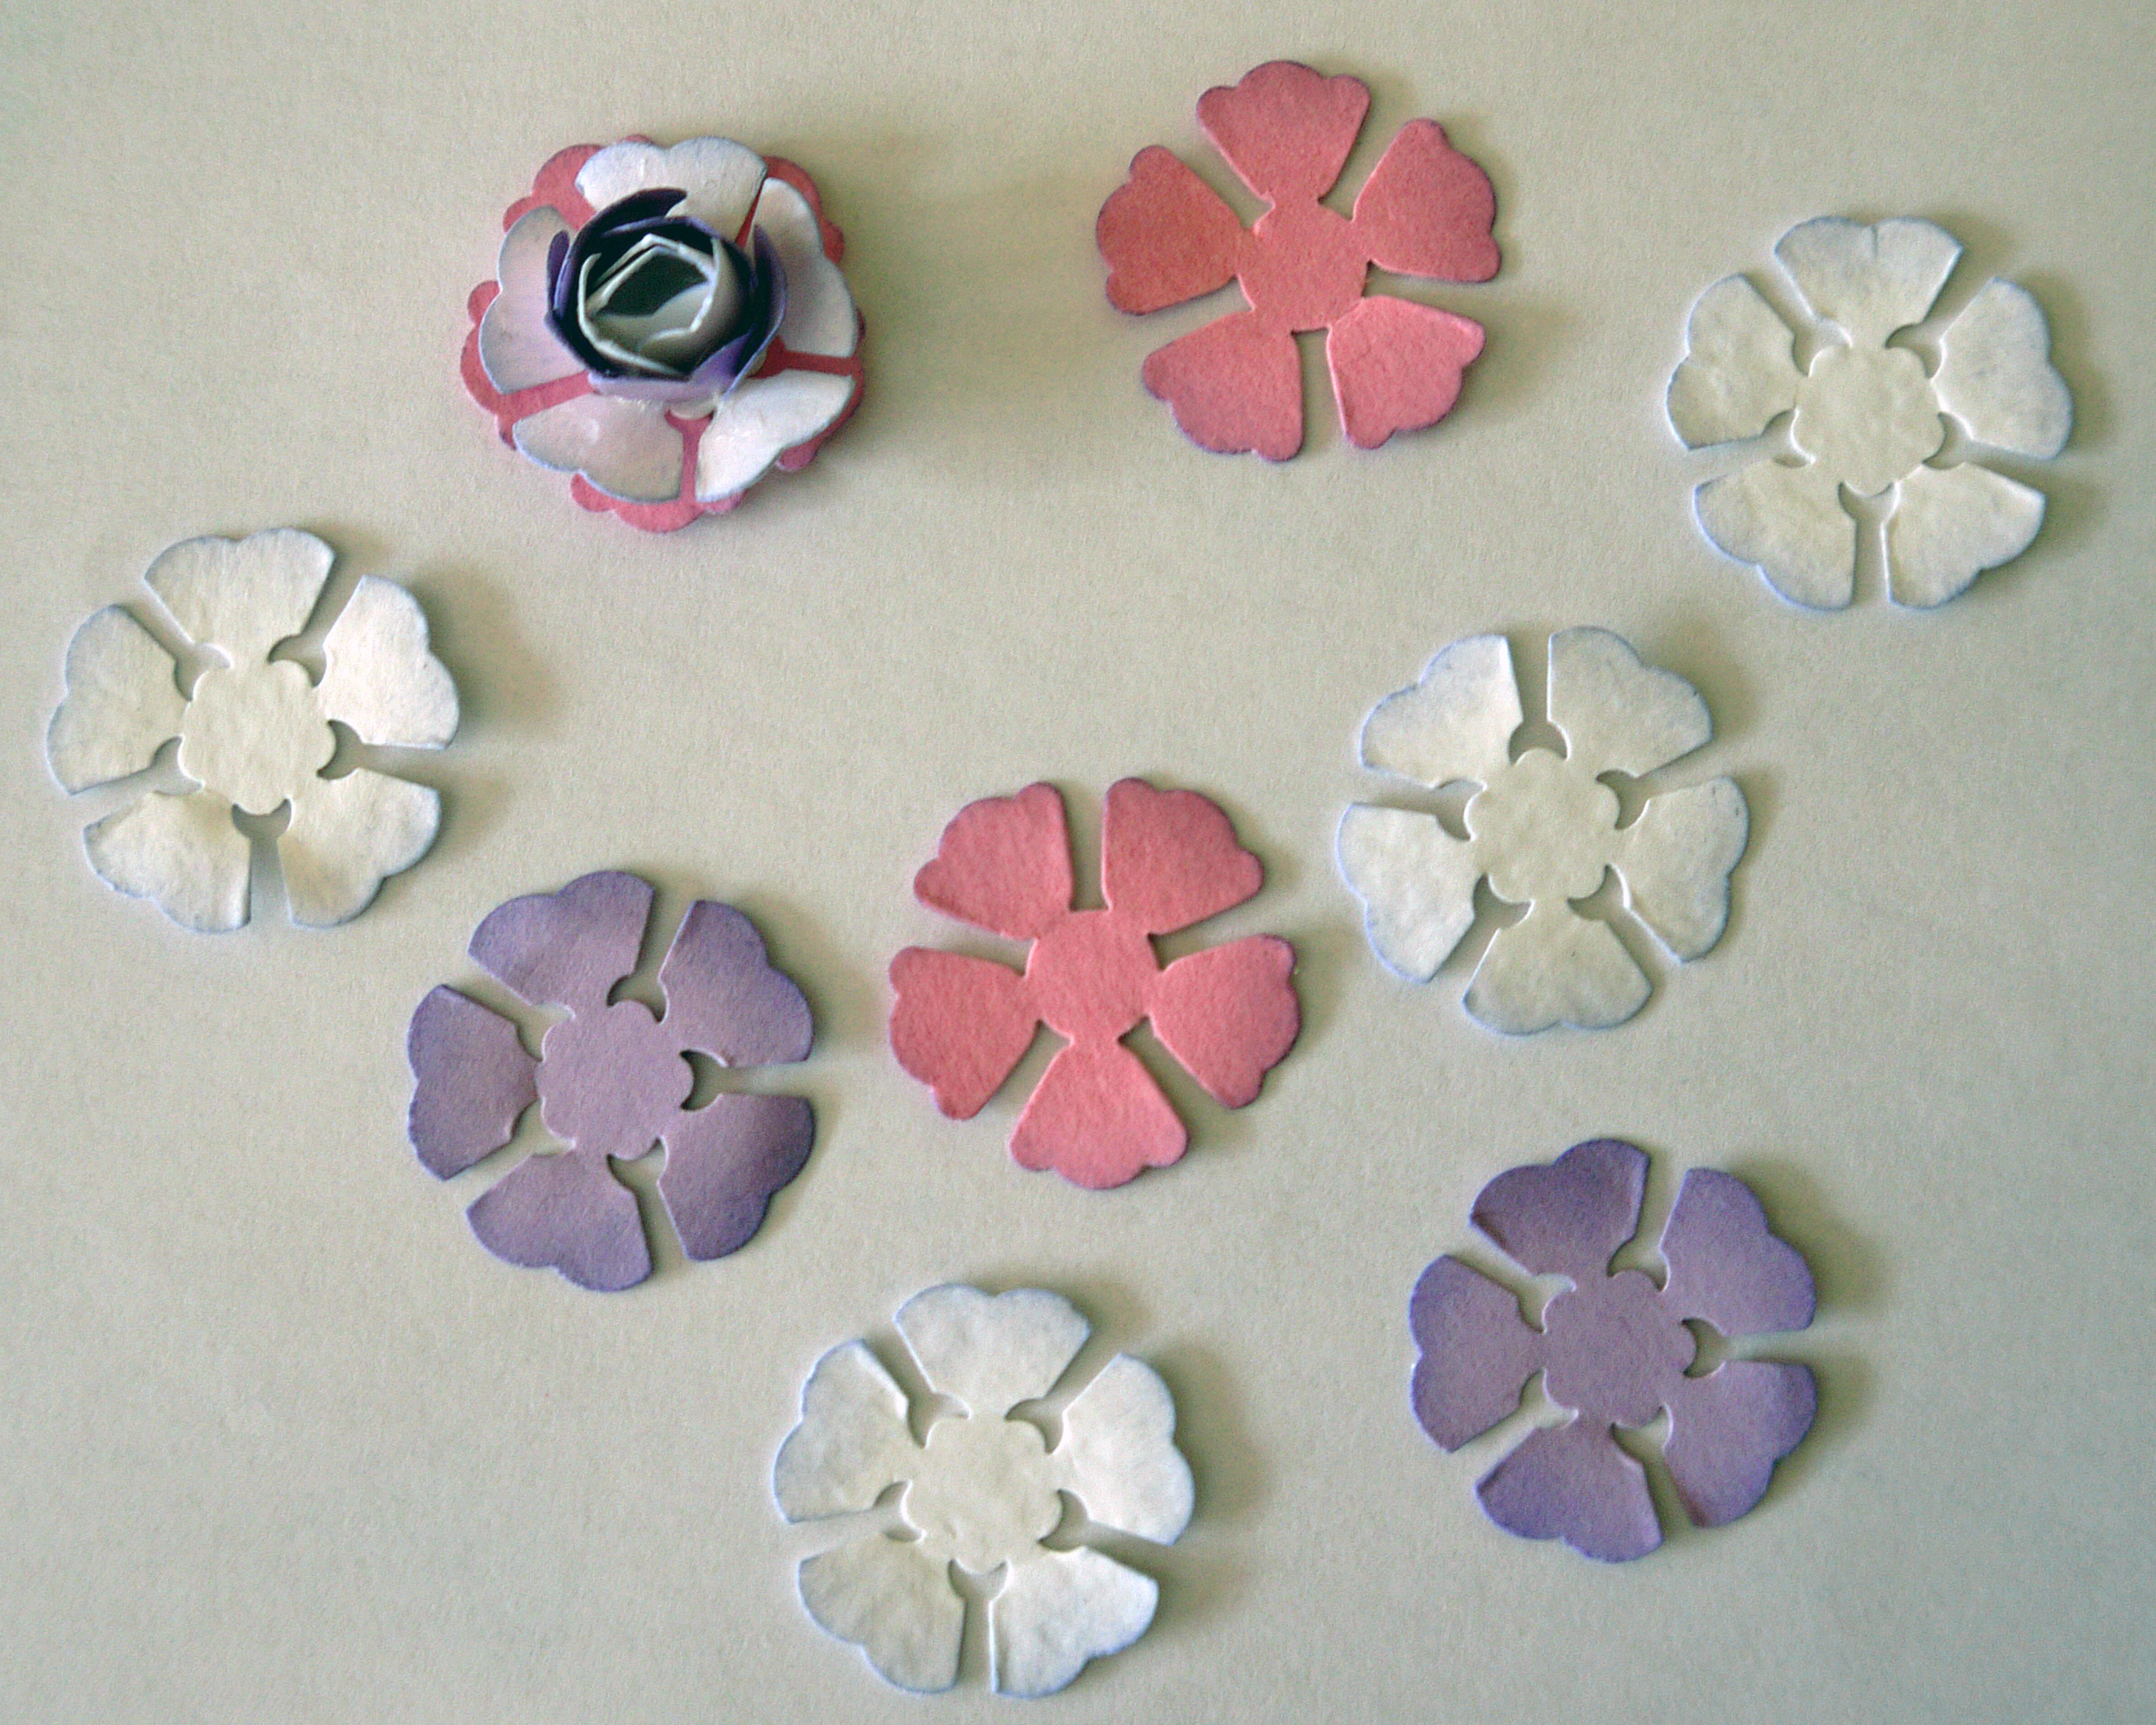
Step 4. Using a punch or your die cut machine ( I've used 2 Tonic flower punches) , punch out 6 White Hammered card flowers, 3 New Lilac flowers and 3 Pink Sorbet flowers. Sponge a little lilac ink around the tops of the petals.
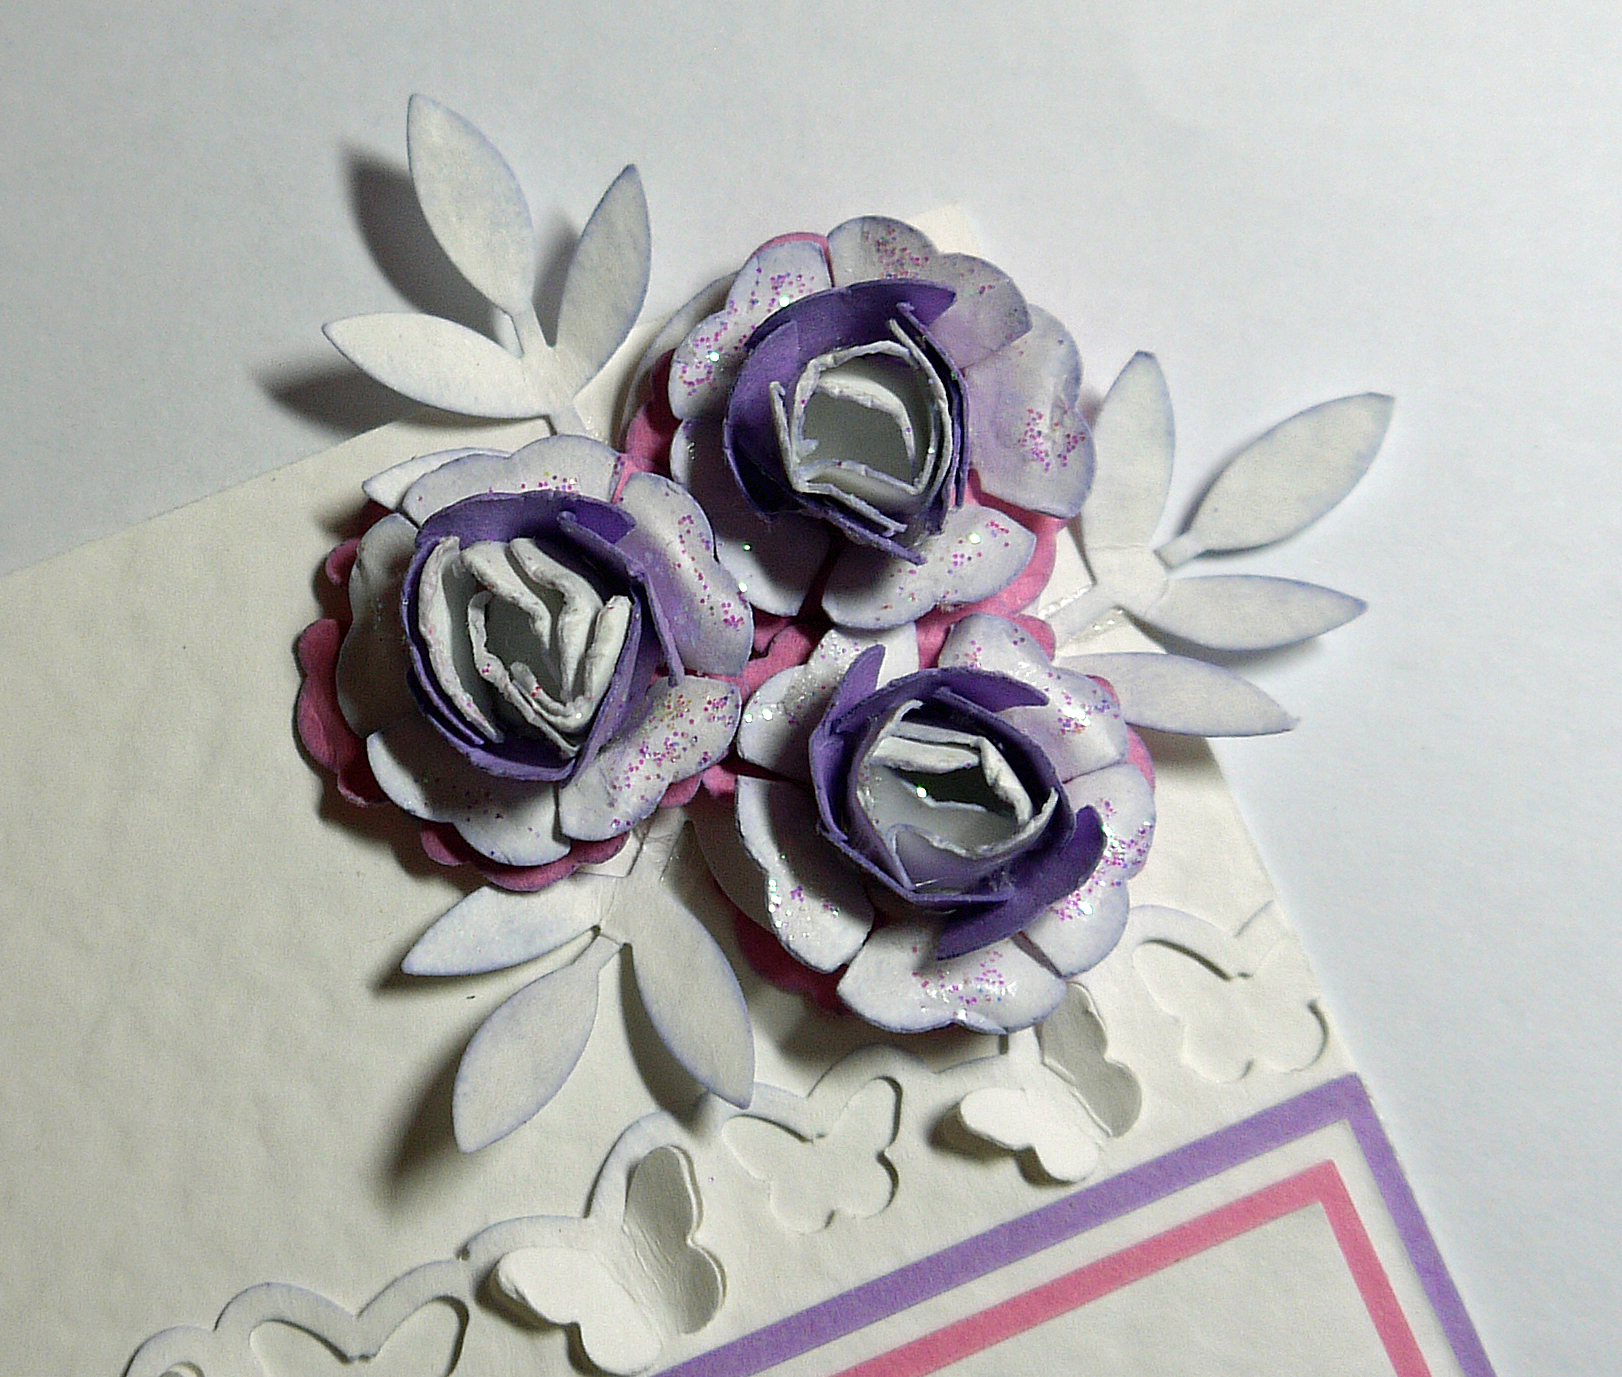
Step 5. Placing the flowers in your palm rub the middles in a circular motion with an embossing ball tool. Take one of the white flowers, lightly spray with a little water to break the fibres, this makes them easier to manipulate. Now shape into a bud and glue. Spray the lilac flower and wrap around the pink one fairly tightly. The next white and pink flowers will sit fairly flat. Glue all the flowers together and add a little glitter to the white flat flowers. When dry you can shape them to how you would like them to look. Punch out some leaves in the White Hammered card and glue to the underside of the flowers.
Step 6. Cut out a "Mum" using a die cut machine , punch or even ready made letters. I have used my Cameo Silhouette and matched the letters in the same way as the coloured layers. This is where the punch waste comes in handy. I used the butterflies to decorate the "Mum". I even added a little pink gem to the middles.
Step 7. Now adhere all the pieces to the card as shown. To give it that extra bling I added some tiny pink gems to the corners.
I hope you enjoyed my tutorial and found it easy to follow. We'd love to see all of your Mother's Day Cards. You can show us your projects on our Facebook page. Shary @ The Otherside of Me Revitalised


Nobody has commented yet
Be the first to comment on this article by using the form below.