
How to make this Bear Shaped Valentine’s Day card using the Cricut Explore
0
Posted on 12th January 2015 by Angela Dodson
Filed under All Papercraft Tutorials, Seasonal Crafts, Valentines Day Crafts

Hello, Angela here with a simple fun shaped card that you can make in your Cricut Explore. I have included the project file link so that you are all ready to go!! This is an ideal project for those new to the cricut Explore and the technique can be applied to lots of images to create shaped standing cards. I much prefer this method of creating a card blank from 2 pieces rather then welding them together, as welding often gives uneven matching when folding.

By Clicking the Project Link you should see all the shapes on screen all sized and ready for you. Simply select the Papermilldirect card colours you wish to use, click go and you should see all the mats set out for you to just press ‘cut’ and away you go. (if you are out of your free trial and do not already have the images then you may be prompted to purchase them or you could do as I do and purchase the monthly subscription for around £7-49 that gives you access to lots & lots of images & fonts) The colours I have selected are a guide and you can of course cut any colour you wish, but if using the colours I have selected then your card should look like the finished item here.
1. Click the project link https://us.cricut.com/design/#/canvas/project/23960763 and you will see the project on screen, already sized and with the suggested colours for you. Make sure your Cricut Explore is plugged in and connected to your computer. The setting I use for papermilldirect cardstock is Card+.
2. Click ‘go’, load your mats and cut as prompted on screen.
3. When cut remove the waste and shapes from the mat. The shaped parts consist of 3 layers to form the body of the bear, plus 2 identical shadow shapes which will form your card base. Plus one heart, 1 nose, 1 paw, and the letters to spell ‘Be Mine’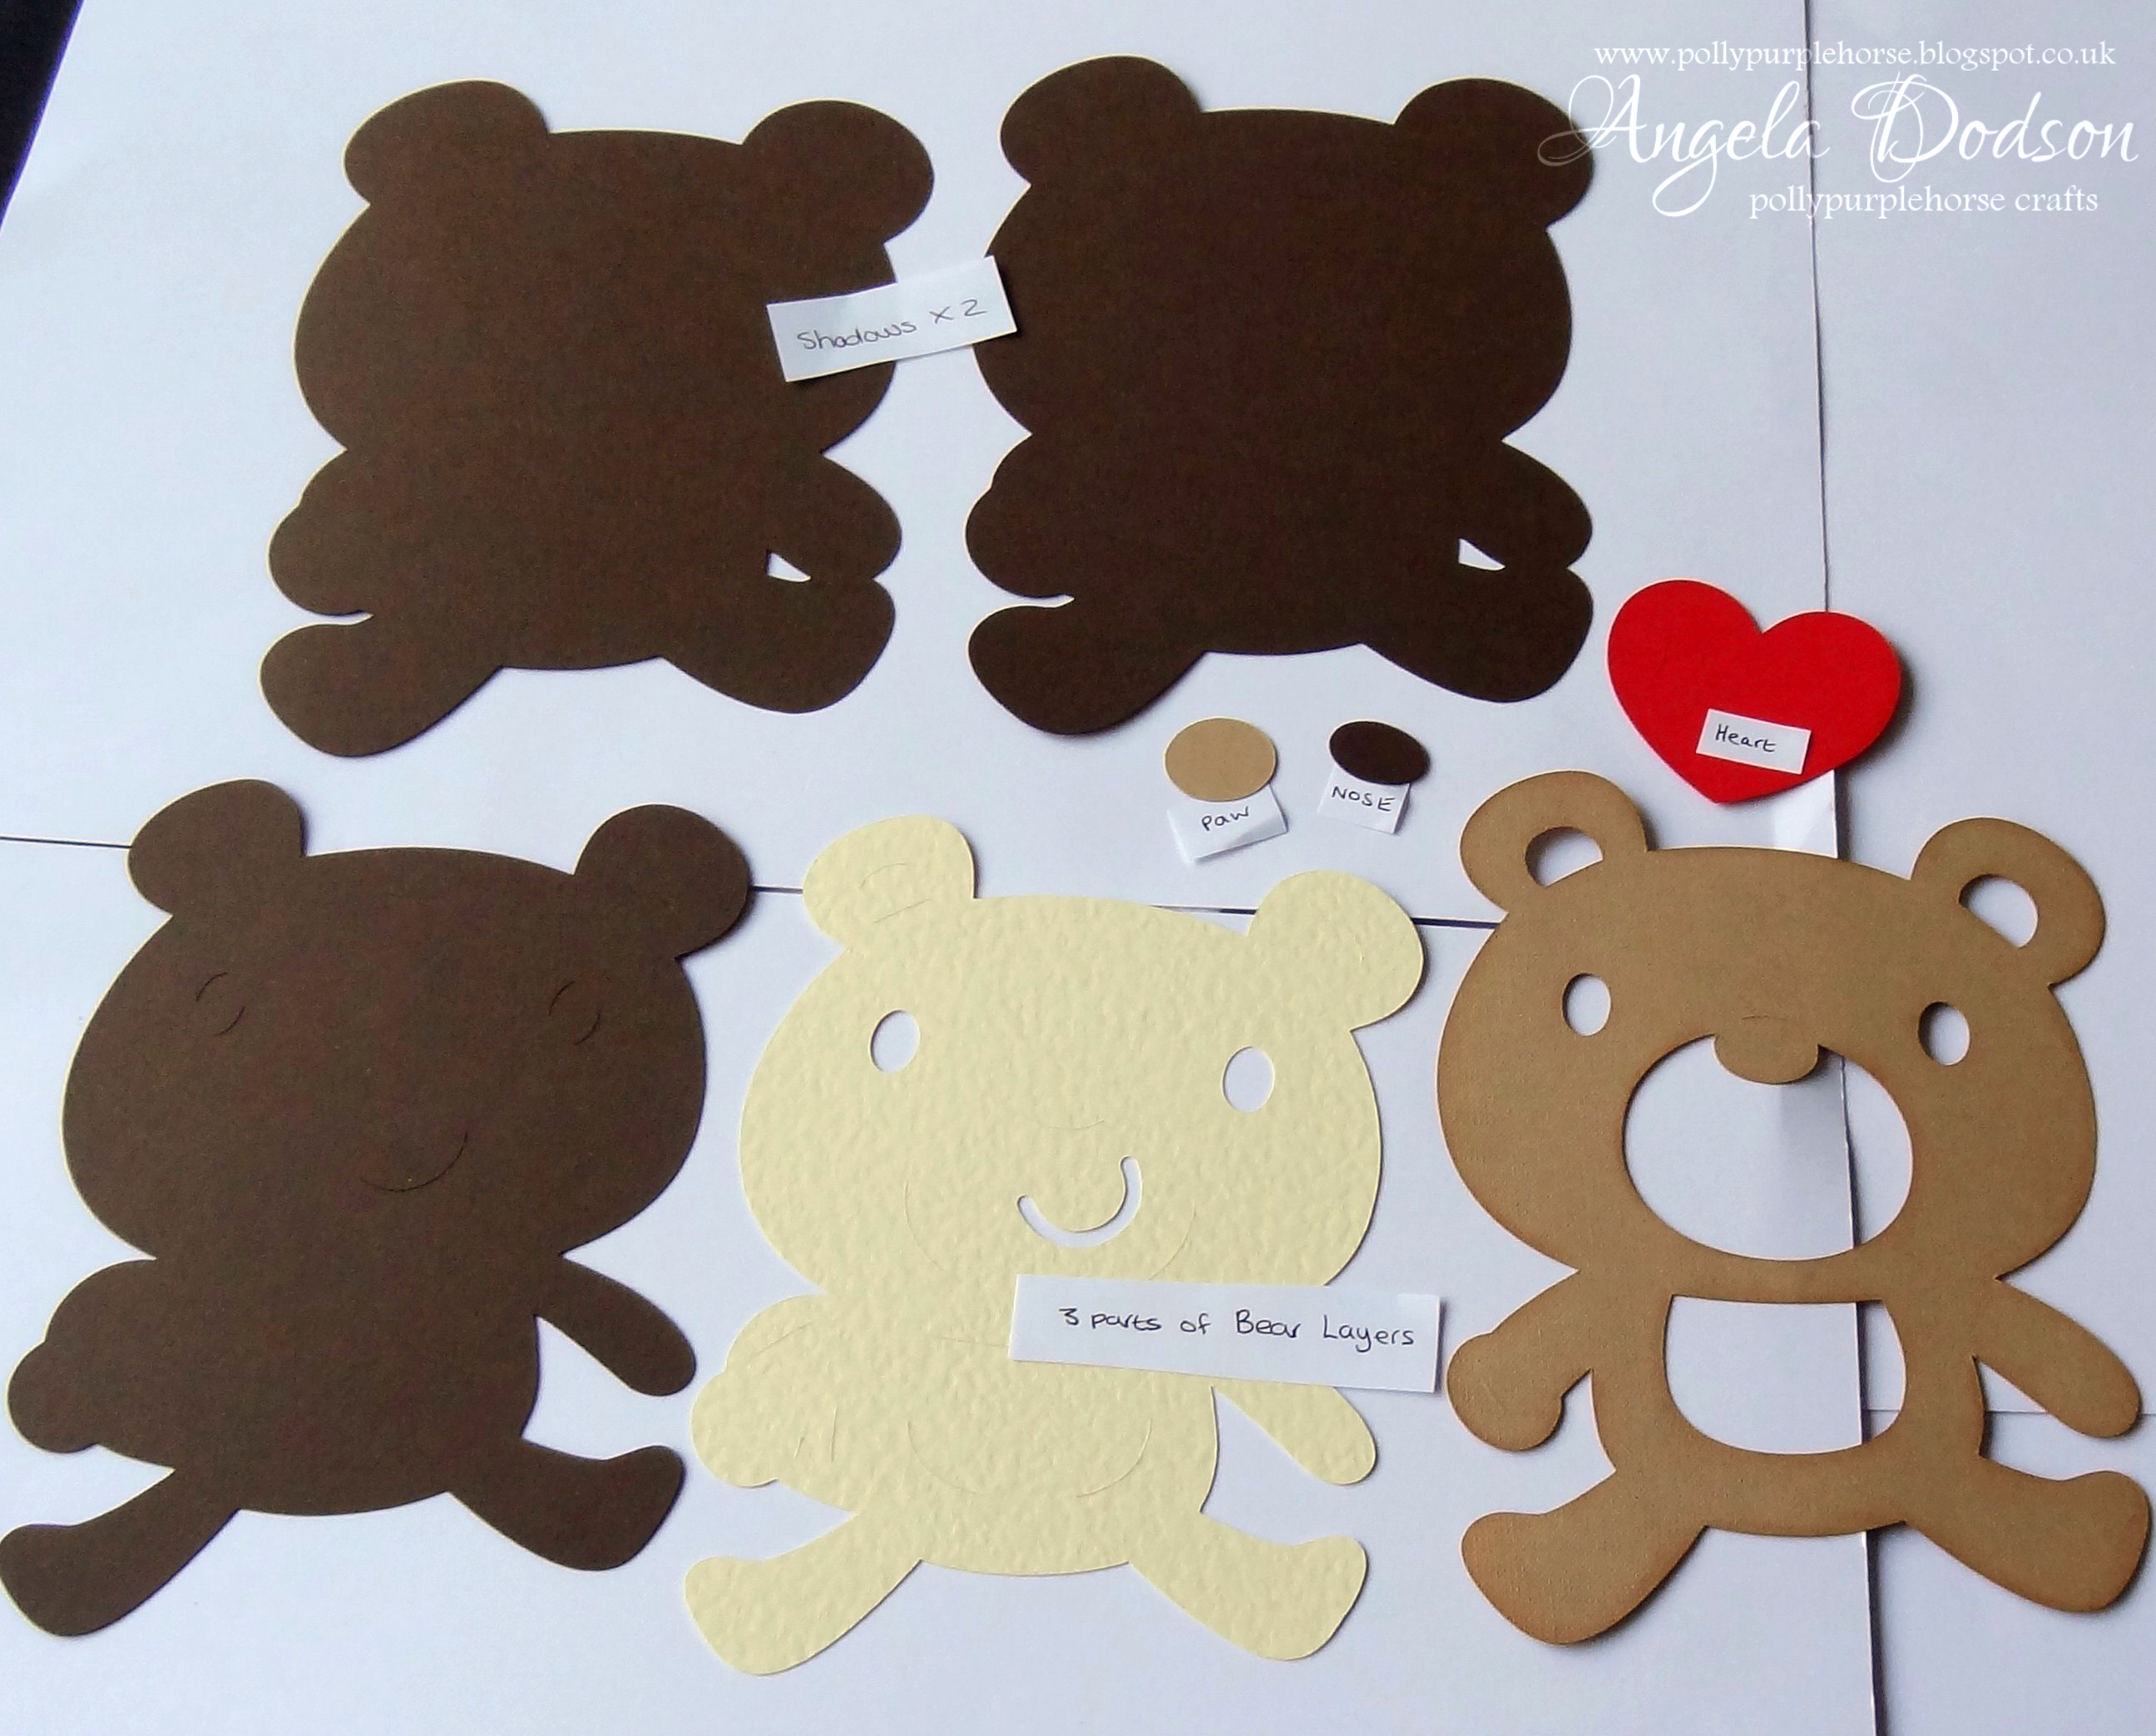
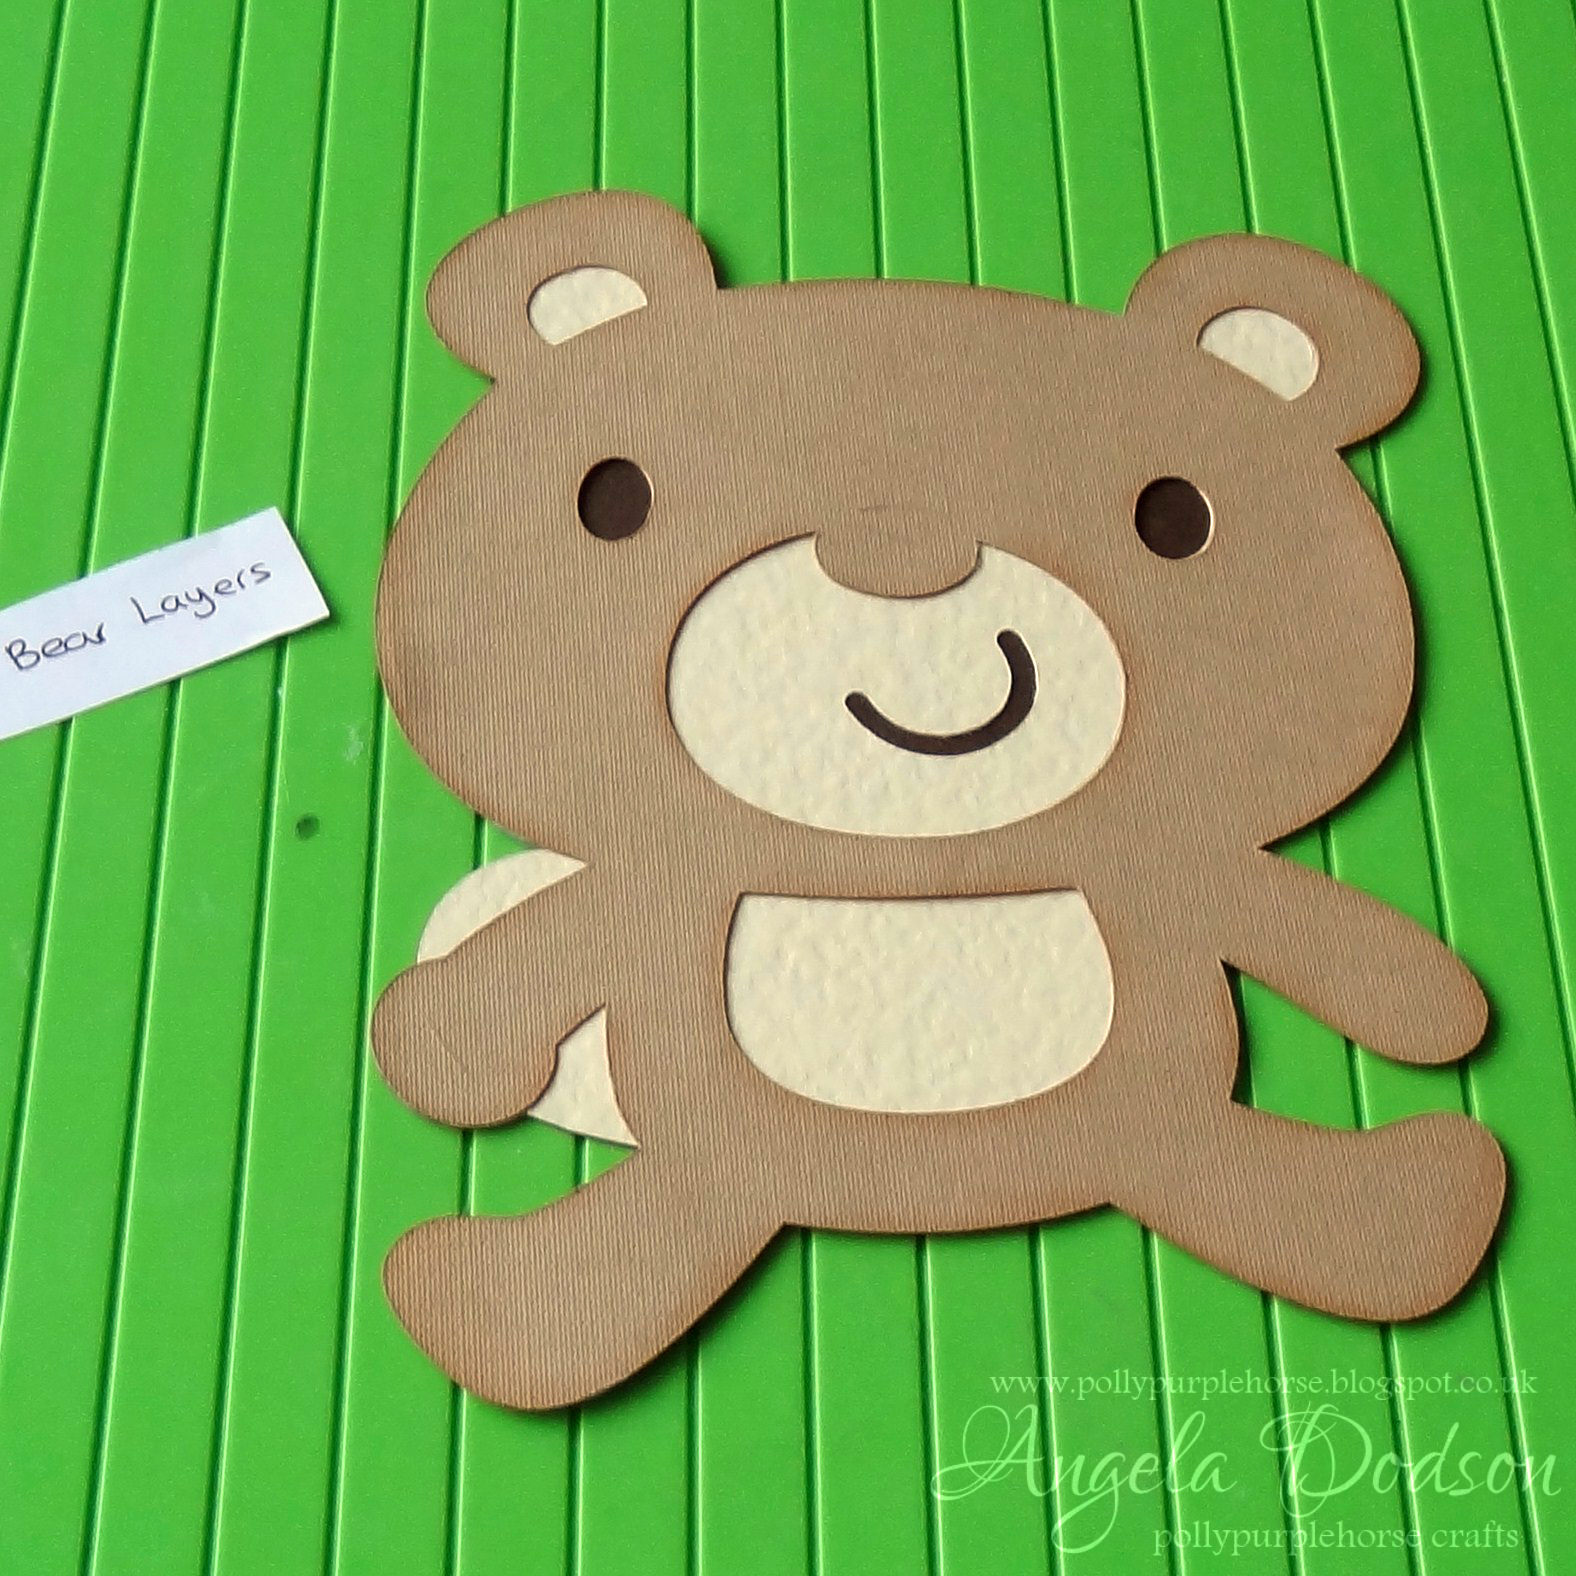
4. Working with the 3 bear layers, (dark, medium, light) Take the lightest colour (Cream Hammered card) and carefully line up and stick ontop of the darkest layer. 

5. Then take the medium colour and if desired use a distress ink to ink around the edges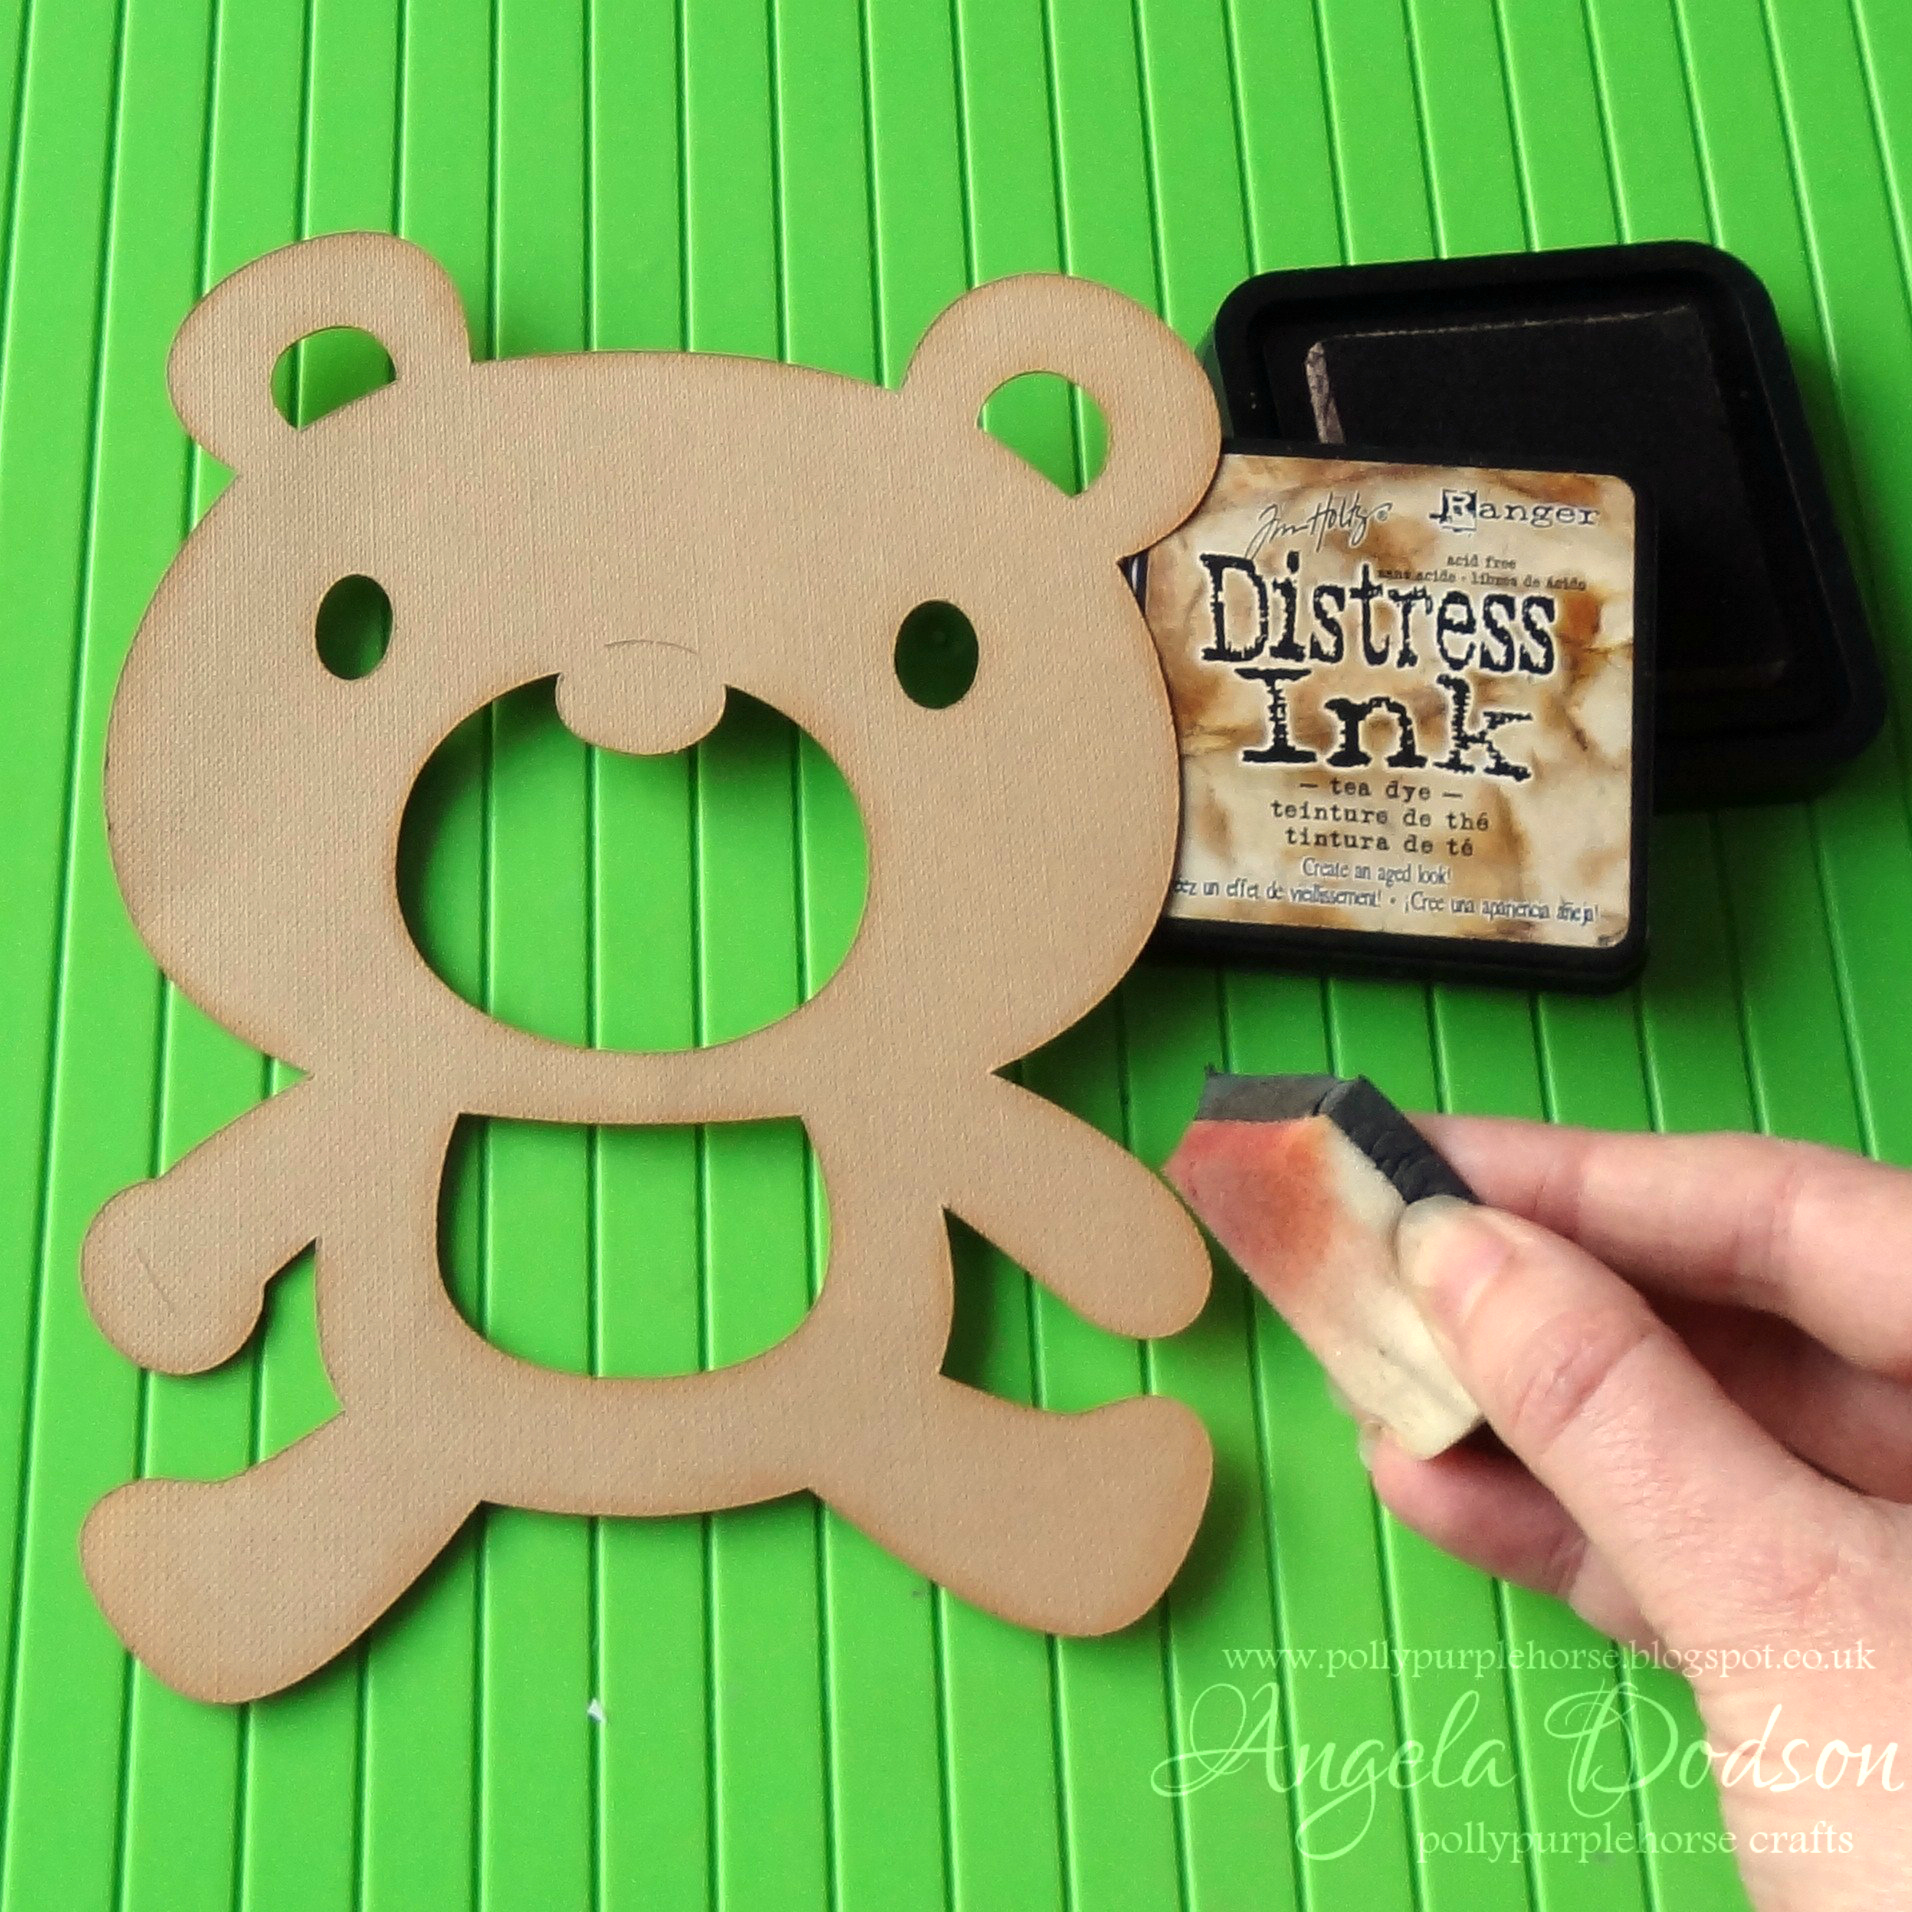
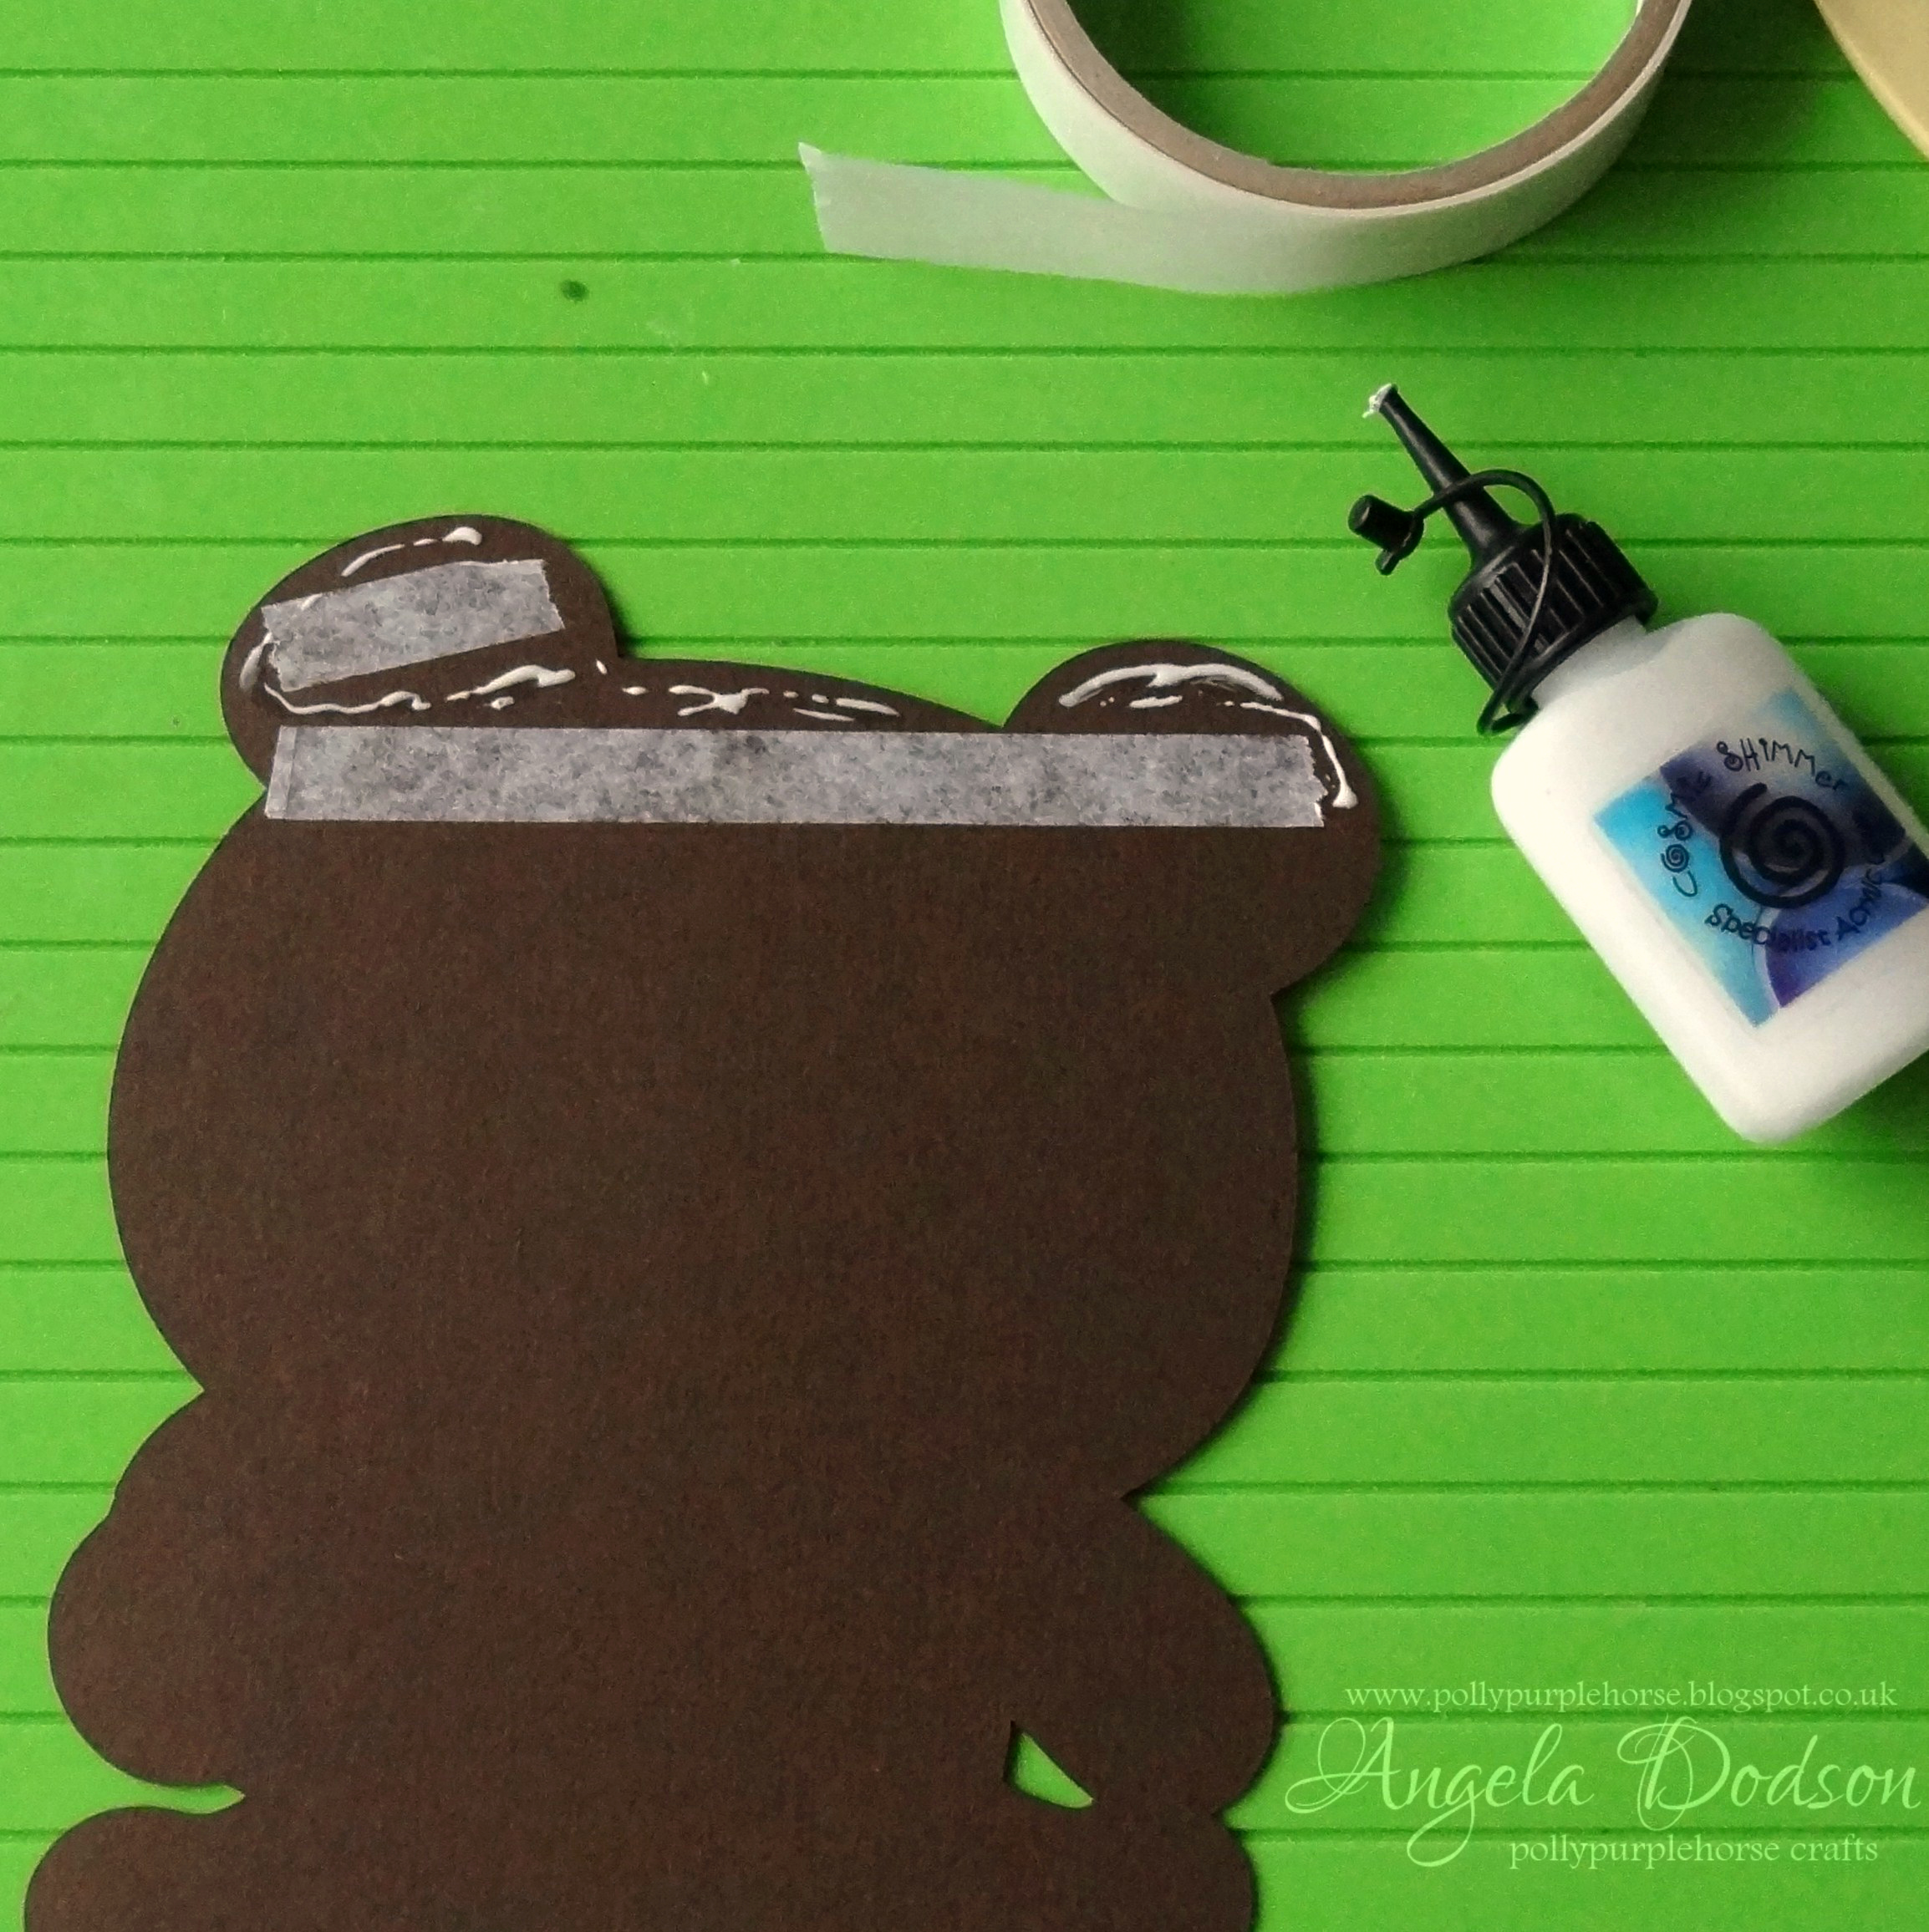
6. Then stick this medium colour layer carefully onto the previous layers. I use a combination of double sided tape and cosmic shimmer glue.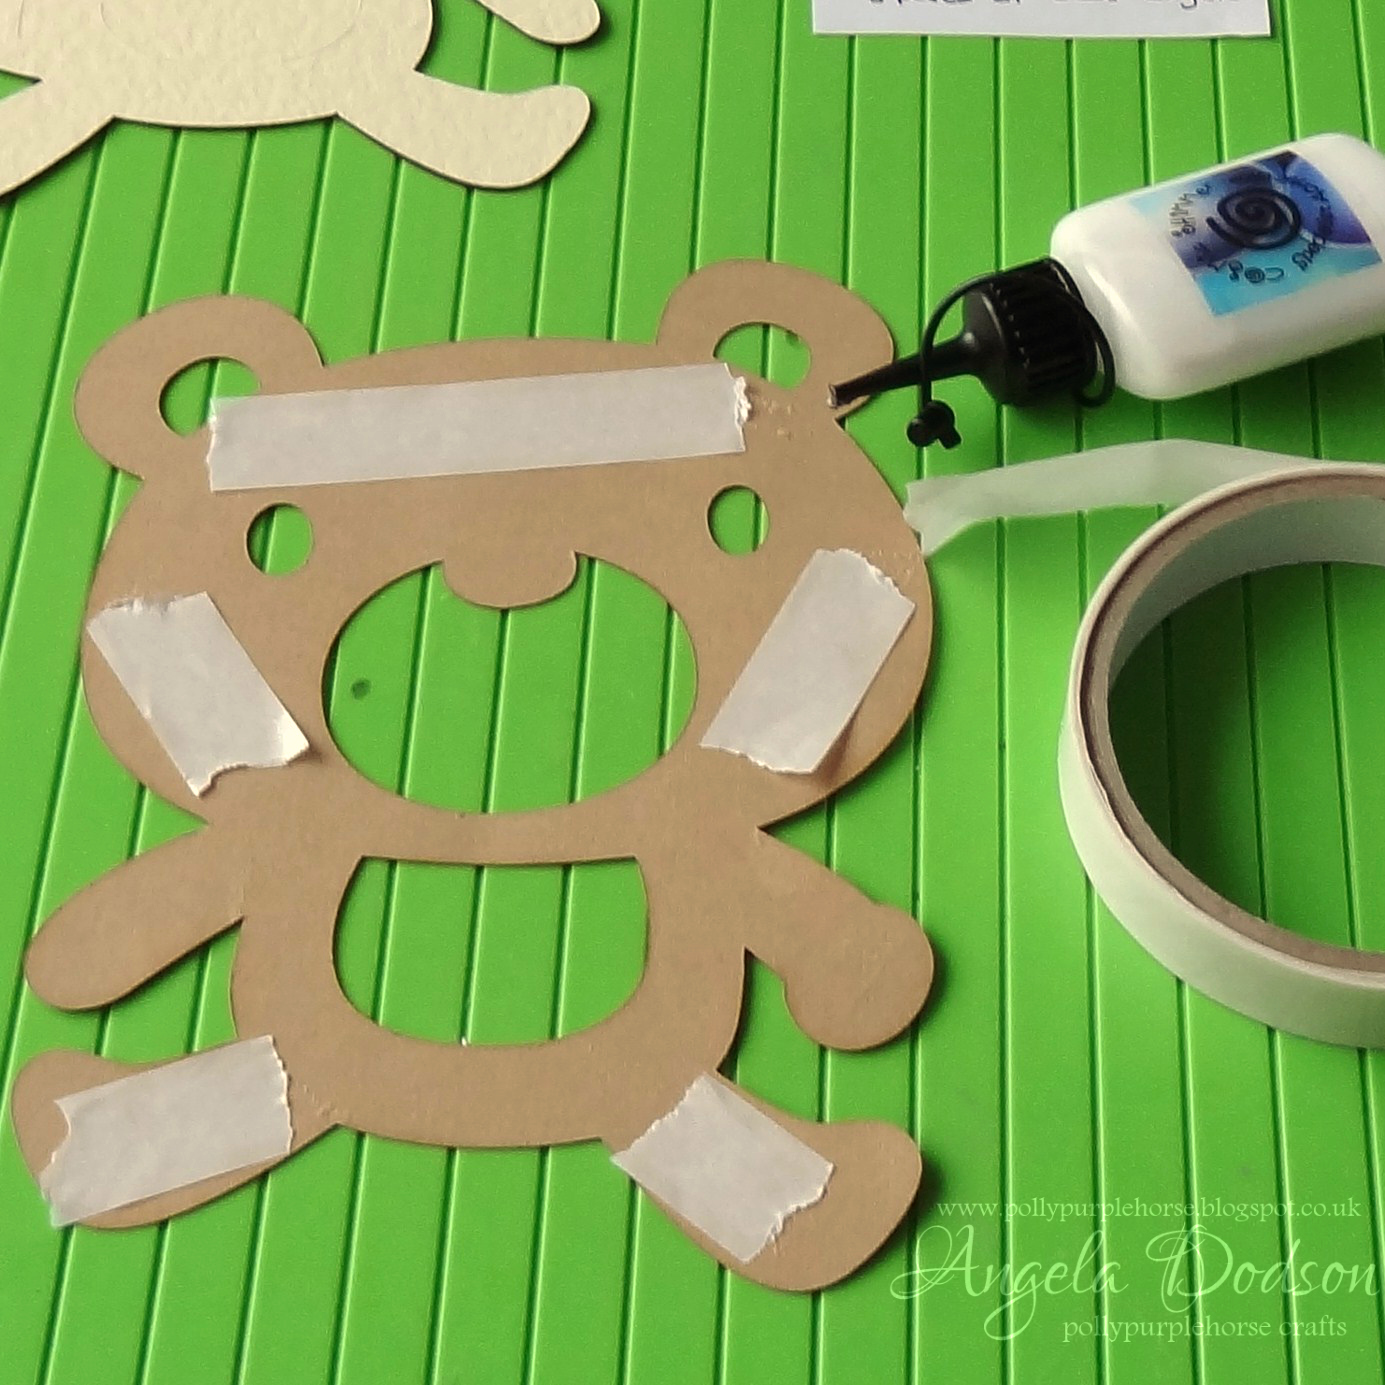
7. You will now have 2 identical dark brown shapes (shadows) left over, these will form the front and back of your card. For the back take one of these shapes and place it on a scoreboard so that the bears feet are flush with the bottom, then take a scoring tool and score across the top of the head , see pic.

8. Then fold this piece a little to make the score line neat and easy to open. Carefully align this scored shadow base to the matching shadown front and stick down.
9. You should now have a plain dark brown card shape that that will stand up.

10. Simply stick down the layered panel you assembled previously to the front of your ‘card base’, positioning it centrally.
11. Next carefully stick your black letters down onto the red heart, I used cosmic shimmer glue for this and a ‘pokey’ tool to help tease them into place. (You could of course handwrite, stamp or use rub on letters for this part if you prefer)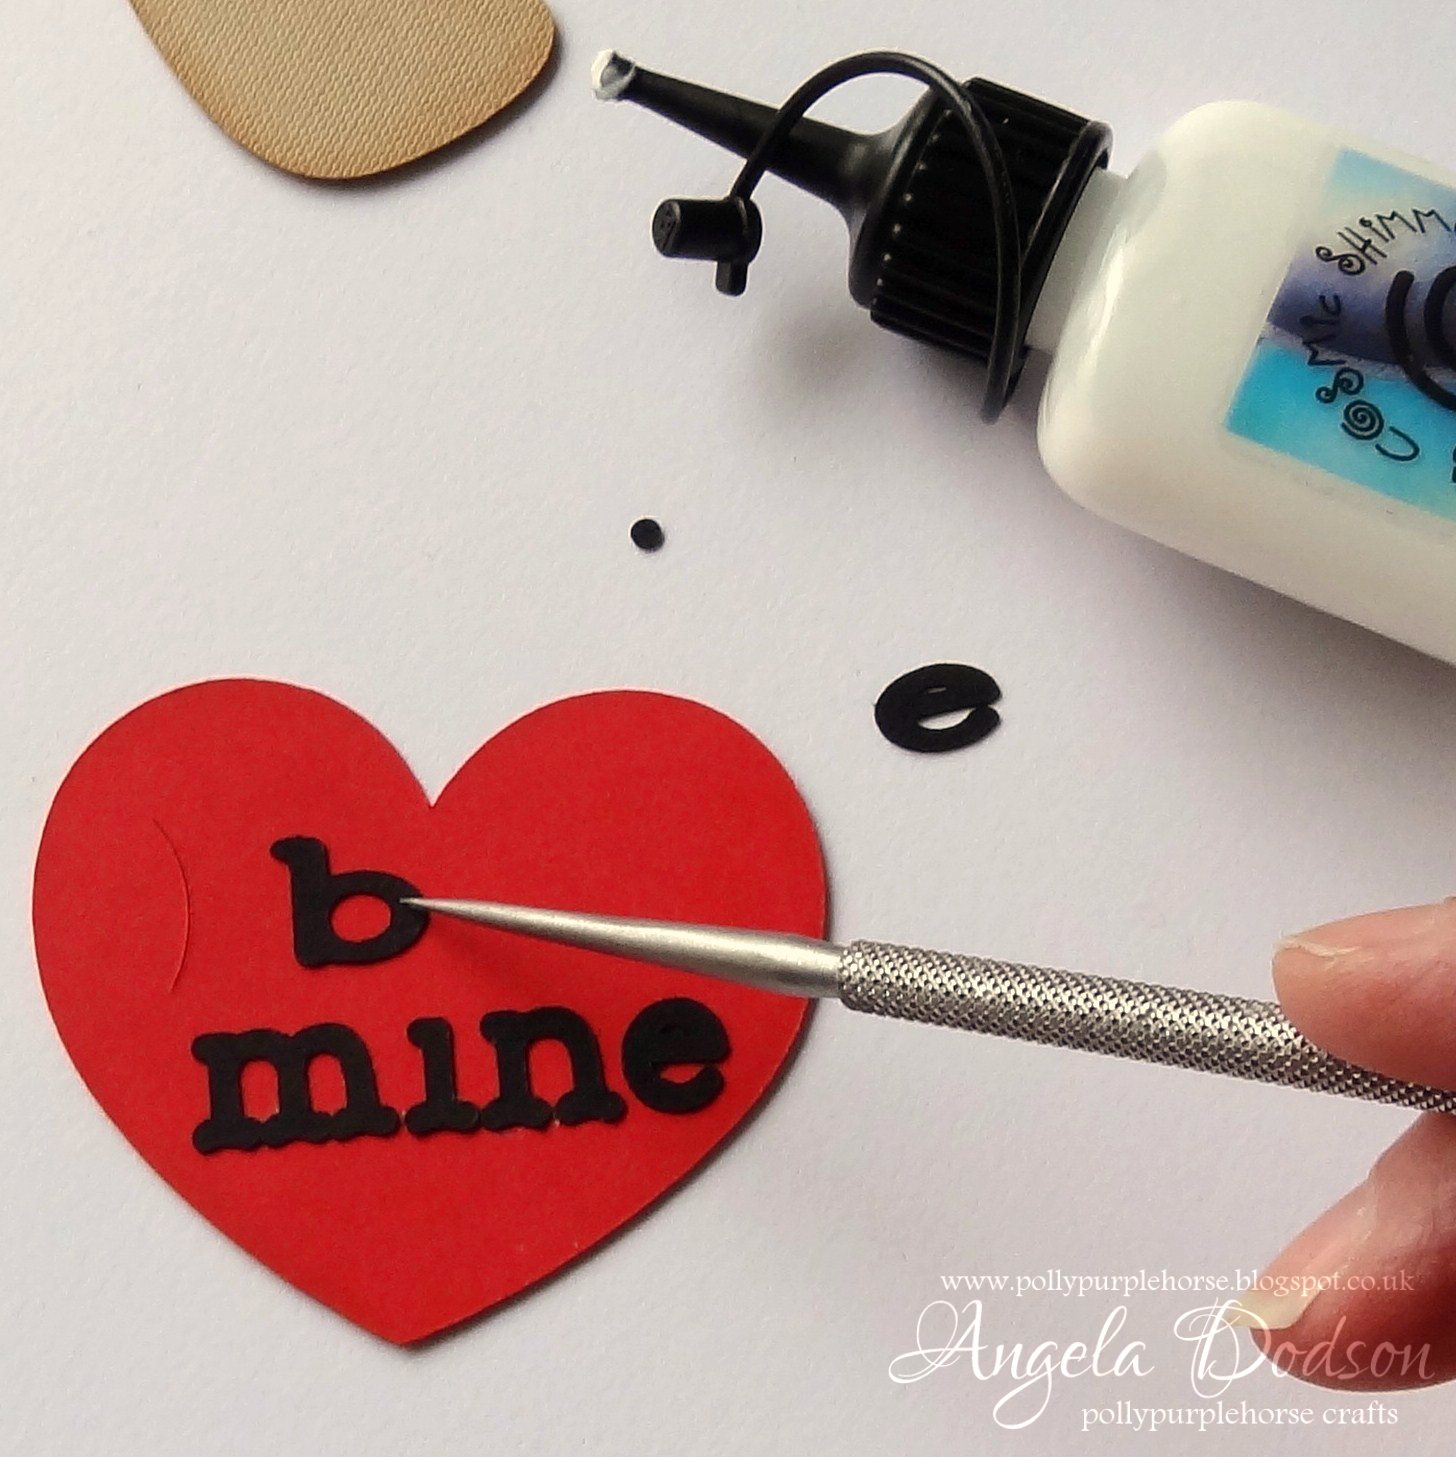
12. Stick the red heart onto the card front using 3D foam to create some depth. Stick the dark brown nose in place and add the little bear paw on top of the heart, the position is marked on the heart for you. 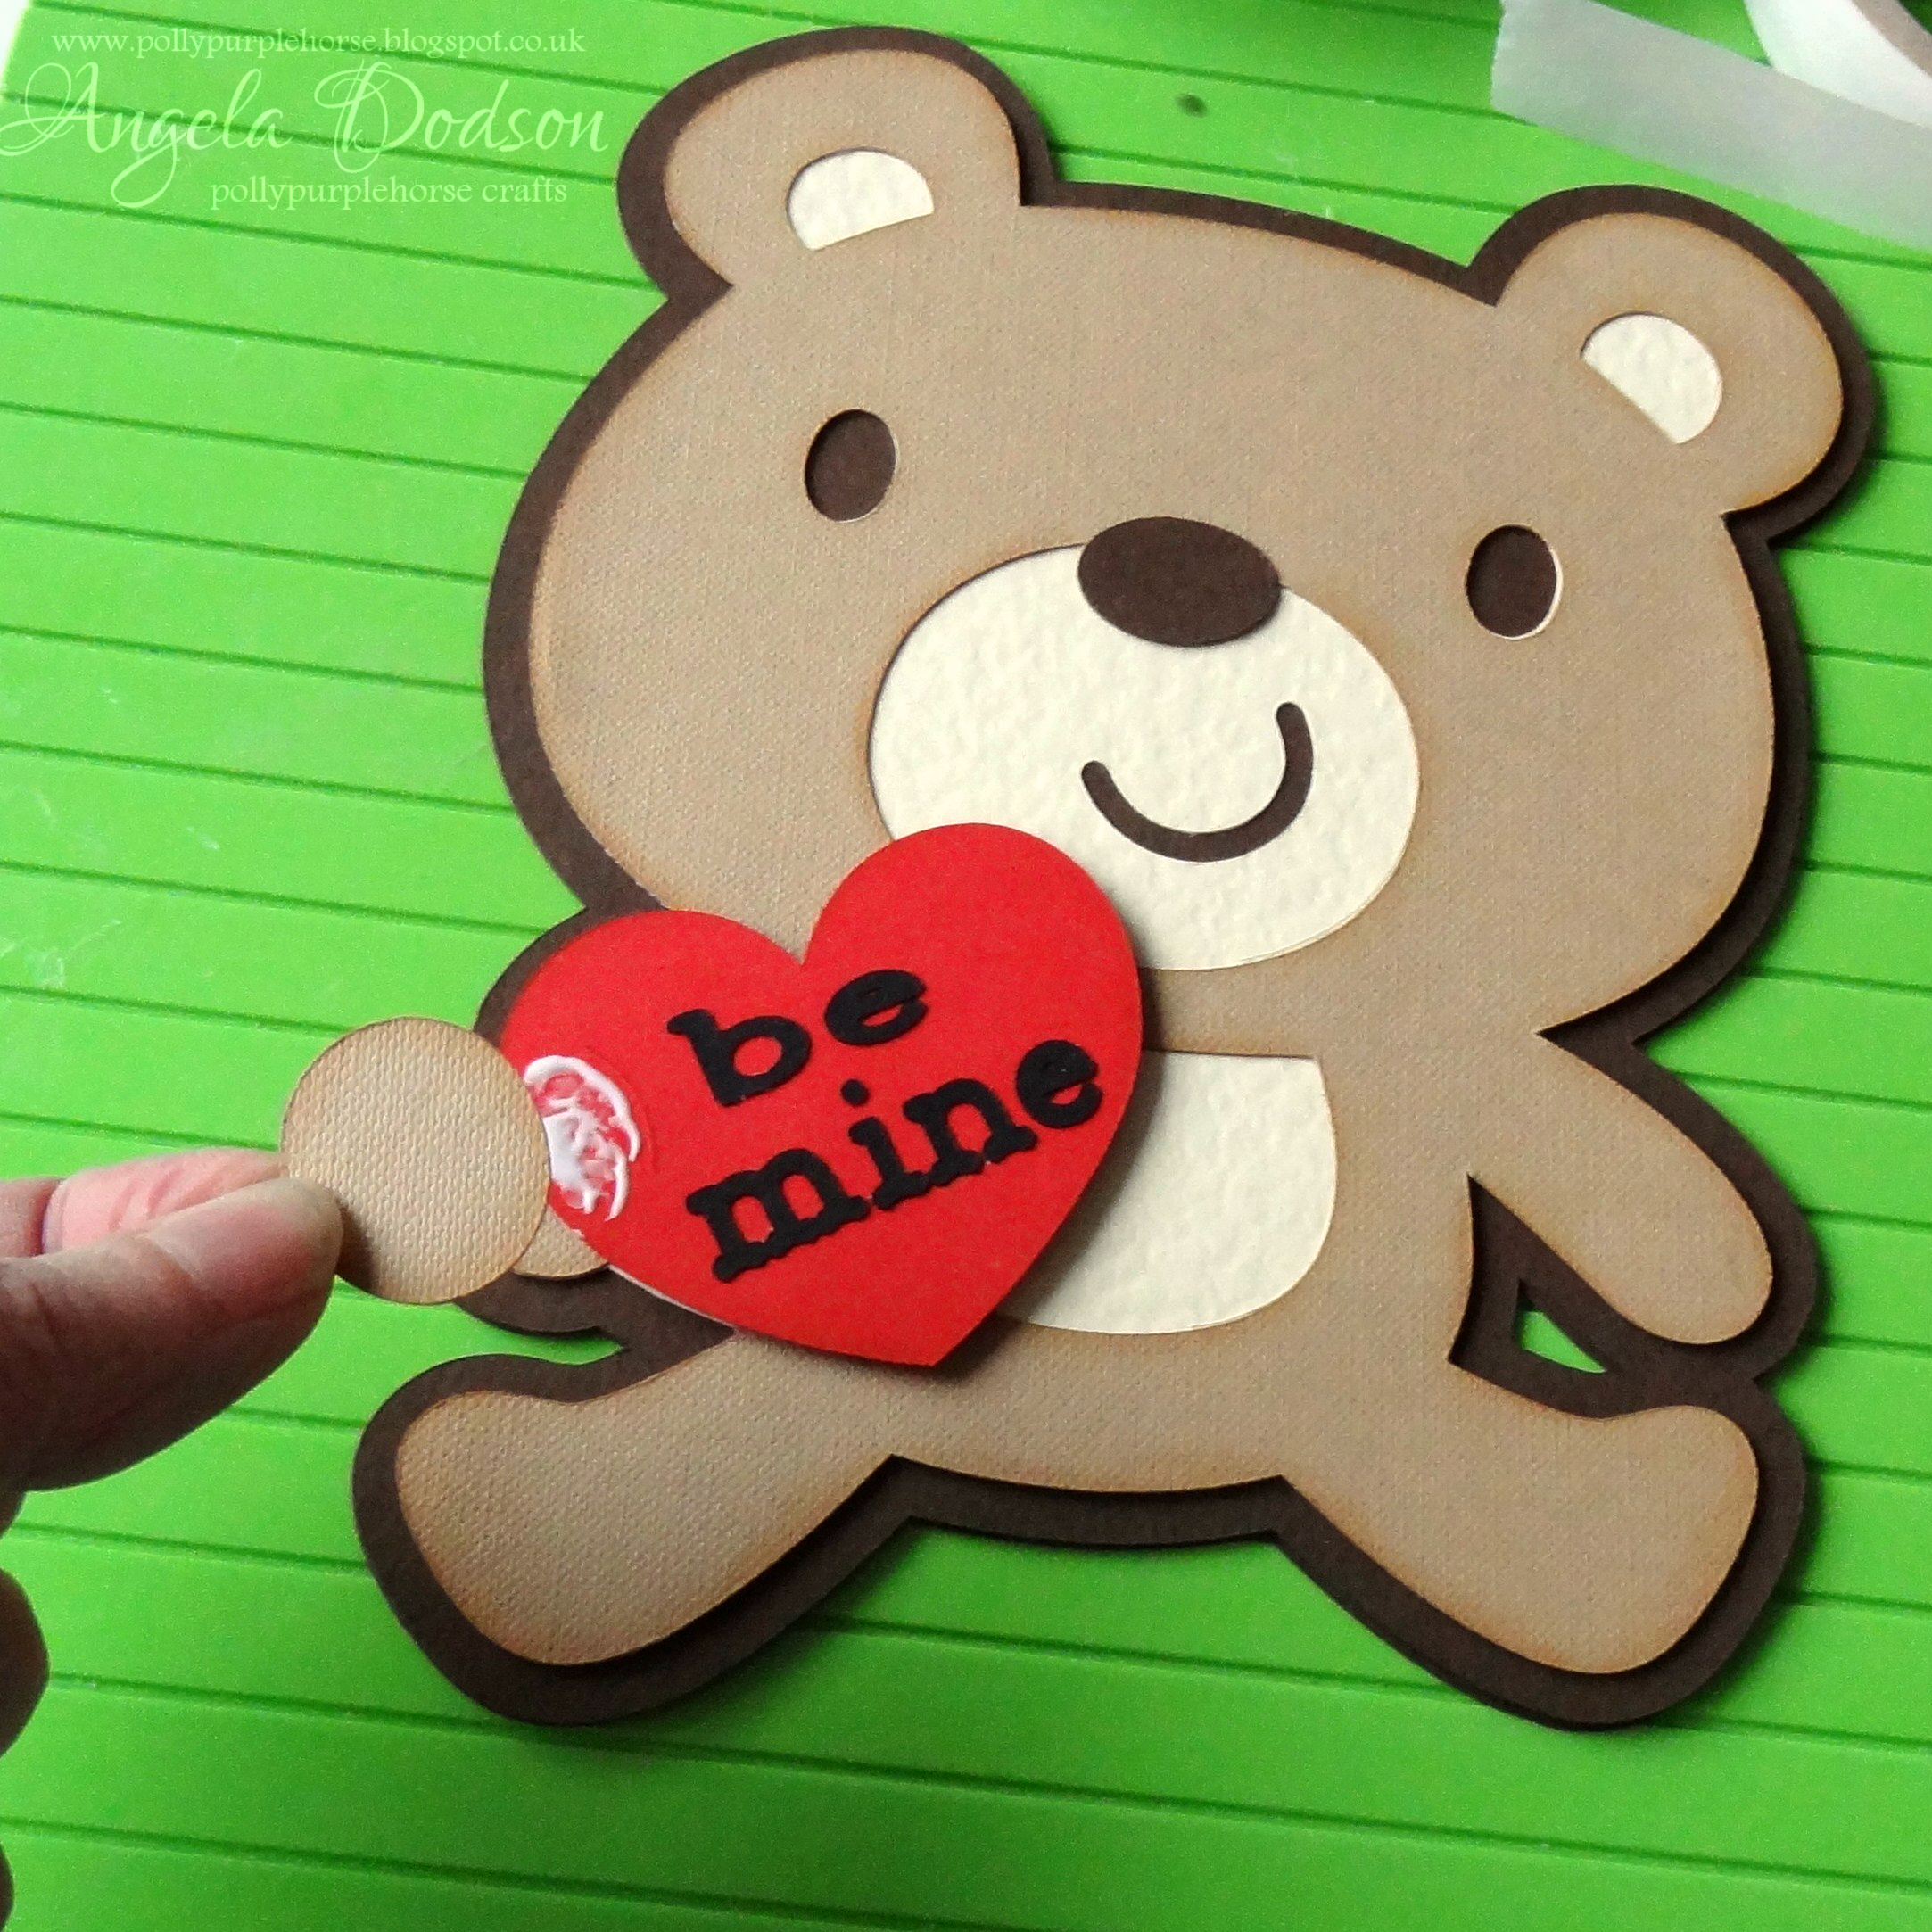
13. Your card is now complete and you can add your greeting either to the back or onto a panel and stick it inside.
You can of course add any greeting to the heart to personalise it for your requirements. This is an easy way to make a shaped standing card and can be done with lots of the characters in the Cricut Design Space. Just remember to size carefully so that the finished card will fit into the envelope or box you are presenting it in. x


Nobody has commented yet
Be the first to comment on this article by using the form below.