A Handmade Wedding Card Tutorial
0
Posted on 18th April 2015 by Craig Laird
Filed under All Papercraft Tutorials, Projects And Cards By Occasion, Wedding cards and stationery, Wedding Stationery

Currently on special offer is this beautiful 320gsm Blue Hammer Embossed card stock. This is perect for not only using as an element on your cards such as matting and layering, but it is sturdy enough to be used as your main card blank. After several days or weeks of the card sitting on top of your friends or loved ones fire place, it will not slip or buckle. Many weighty card stocks can be hard to die cut, especially intricate detail dies or dies with thin parts. However for me, this cut no problem on the first pass through my Grand Calibur.
As you can see from the photo, the fanciful flourish die I used has a few parts of the die that are quite thin, between 2 and 3mm. The die cut through the Blue Hammered Embossed card stock with no problem.
Its not just die cutting that can be a problem when it comes to thick card stock, but simply using scissors can be quite tough at time. Having to put extra pressure on the scissors causes the finger loops to dig into your fingers and/or knuckles depending on the size of scissors you are using. When it comes to cutting out, I am always using my trusted small Fiskars embroidery scissors. I love them and use them that much that I have 6 pairs of them. 5 are in my craft room and I have a pair in my kitchen to use in my flat. Not only do they glide through all of the differnt card stock that PMD have in their range but they will even cut 320gsm card stock perfectly, with no pressure or snagging, the finished cut is exactly like the cut you would get from a less weighty card stock.
Wedding Card Tutorial
What I genuinly found exceptional about the specific tone of Blue that the Hammered Embossed card stock comes in is the fact that it matches any occasion/theme. It can be used for a bright summery birthday card or as the card (below) that I have created for this blog post is a wedding card that has a different tone and theme to a traditional wedding card. This card has a darker tone to it with chocolate colour patterned paper. Hopefully you will agree that the combination of the patterned paper and the Blue Hammered Embossed card stock matches very well. Its not initially a colour combination you would think of first hand but it really does work well together. Bringing in an embossed rectangle using White Plain card stock really helps your eye settle on the forefront of the design.
I have added a Wedding sentiment to the front, but instead of simply cutting it out straight and matting and layering it, I have taken one of my fancy frames and die cut round the sentiment I have printed myself. With this die, It has no outer edge to create a matt for it so this is when like talked about above, the hand cutting the Blue Hammered Embossed card stock comes into play. Adding some co-ordinated colour pearls to the corner just gives the card abit of dimention.
As you can see, this card stock really does match well for any occasions such as a wedding card.
The products I have used to create this card are below:
From Papermilldirect:
Blue hammered embossed card - 320gsm
White Linen card - 255gsm.
White super smooth card - 300gsm (sentiment & insert)
Plain white card - 250gsm (card base)
Stix2:
12mm double sided tape -FPAL27321250.
19mm x 38mm x 2mm foam pads - S57137.
Pva glue with metal tip - S56890
Silicone glue - S57100.
A4 die cut release sheets - S57326.
Non stick craft sheet - S57132.
Layer perfect metric - S57321.
Low tack stencil tape - S56994.
A5 cello bag - S57314.
Additional:
"Stack 8" 12x12 paper pad - dcwv.
Fanciful Flourish die - cherry Lynn.
Antique frame Tag die - Tonic Studios.
Elegance A4 embossing folder - Came free with Ebosser version 1.
5mm deep blue pearls - Mei Flower.
7mm deep blue satin ribbon - own stash.
Font - Edwardian Script.
1 - Take a piece of your Blue Hammered Embossed card stock measuring 5" 3/4" x 8" 1/4". Then take a piece of your chosen patterned paper and cut to 5" 1/2" x 8" and then matt and layer on top of your Blue Hammered Embossed card stock. Just before you matt and layer you pattered paper on top of your Blue Hammered embossed card stock, try cutting your card stock either using a knife and ruler or as seen in the picture below, try using your papertrimmer. Measuring 3/4" in from the edge, cut all the way around the inside of the card using your trimmer. The middle of the card will never be seen and can be such a waste covering up the whole card stock. You will then be left with a middle panel that can be used for other projects. This is a great way to not only save on card stock but to also save on money.

2 - Take a piece of white linen card measuring 3" 3/4" x 5" 1/4" and place it in your chosen embossing folder and run it through your die cutting machine. Then take a piece of your Blue Hammered Embossing card measuring 3" 1/2" x 6". Repeat the step above regarding cutting. Cut the Blue Hammered embossed card using your paper trimmer and then matt and layer your white embossed card on top. The first picture below shows the reverse of the embossed white card matted onto the Blue Hammered Embossed card that has been gutted. The 2nd picture shows the main front view of the embossed white card. As you can see, you dont notice it has been gutted.


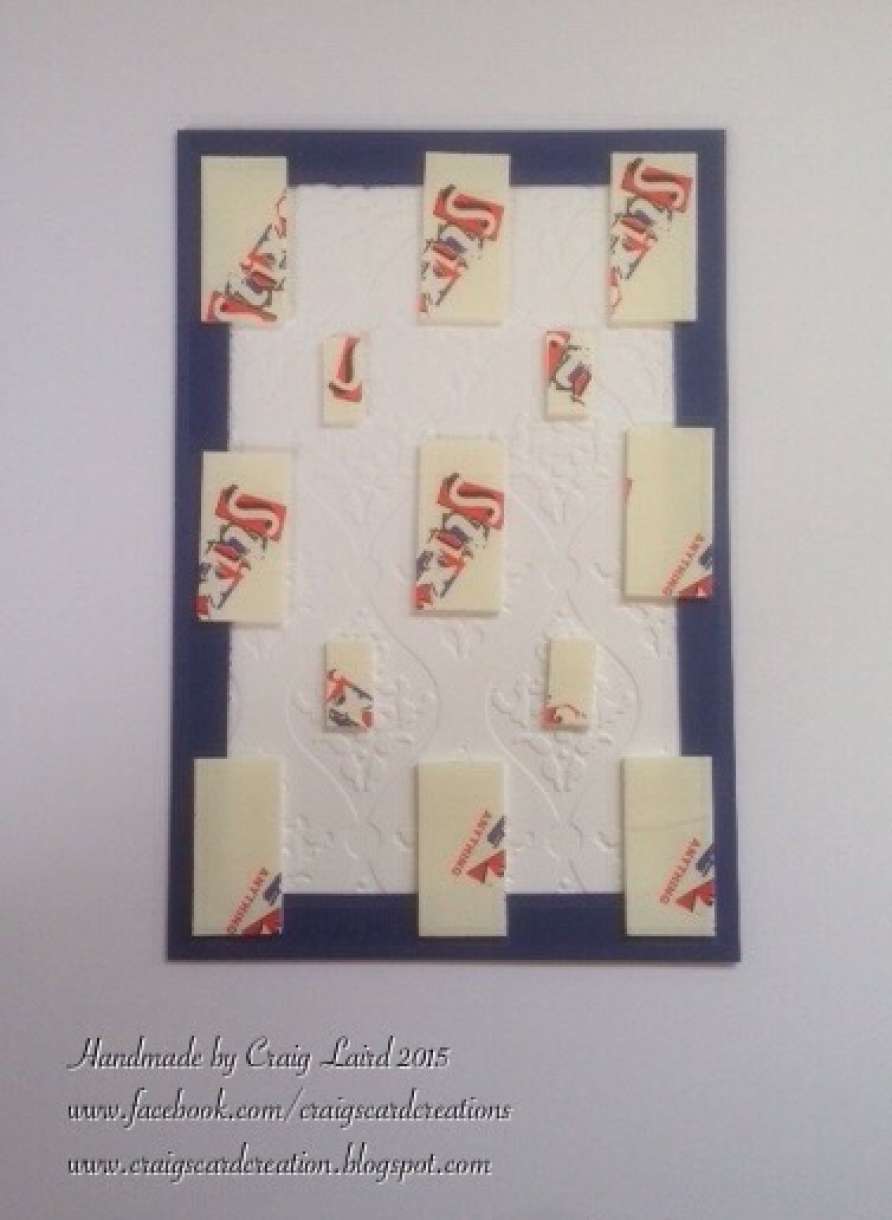
3 - When given your card dimention, ensure you have efficient coverage of 3D foam pads on the back, especially covering a large area. There is nothing worse than seeing a card that should have some height to it but it is sinking in the centre due to inefficient 3D foam pad coverage. See picture below;
4- Choose your die that you would like to use when it comes to framing your sentiment. Take your chosen sentiment or print your own on to white supersmooth card ensuring it fits perfectly in the centre of your die. Die cut your sentiment. If your die comes with an outside edge, use the outside die to die cut a piece of Blue Hammered Embossed card. If it doesnt, attach your die cut sentiment onto a piece of the Blue Hammered Embossed card using your Stix2 pva glue with thin metal tip. Now leaving a 2mm or 3mm border, cut round your sentiment to leave a blue border round your sentiment. (as seen in photo below)

5 - Add a die cut flourish, your sentiment, a bow and your pearls and your card is now finished.


Nobody has commented yet
Be the first to comment on this article by using the form below.