Thank You Lots Edge to Edge Shaker Card
0
Posted on 9th March 2022 by Danielle Bigland
Filed under 3d Crafts, All Papercraft Tutorials, Card Making Ideas, Design Team, Projects And Cards By Occasion, Anniversary Card Ideas, Projects and Cards by Type, Shaker card, Seasonal Crafts, Valentines Day Crafts
Hello!
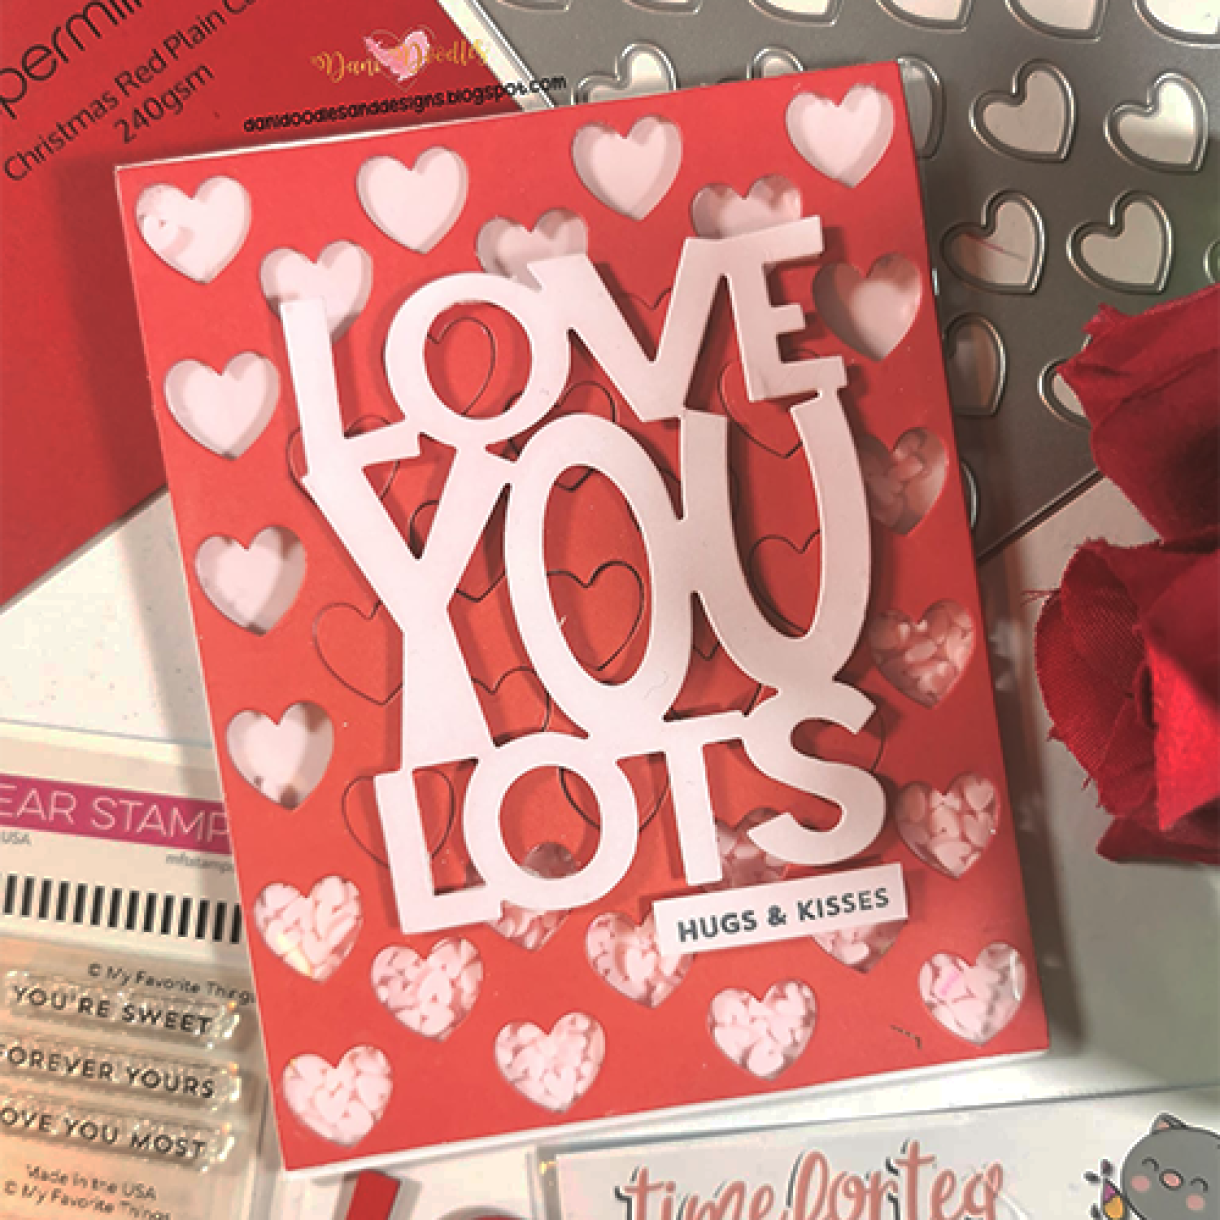
Today I'm going to show you how to make this eye catching red edge to edge shaker card.
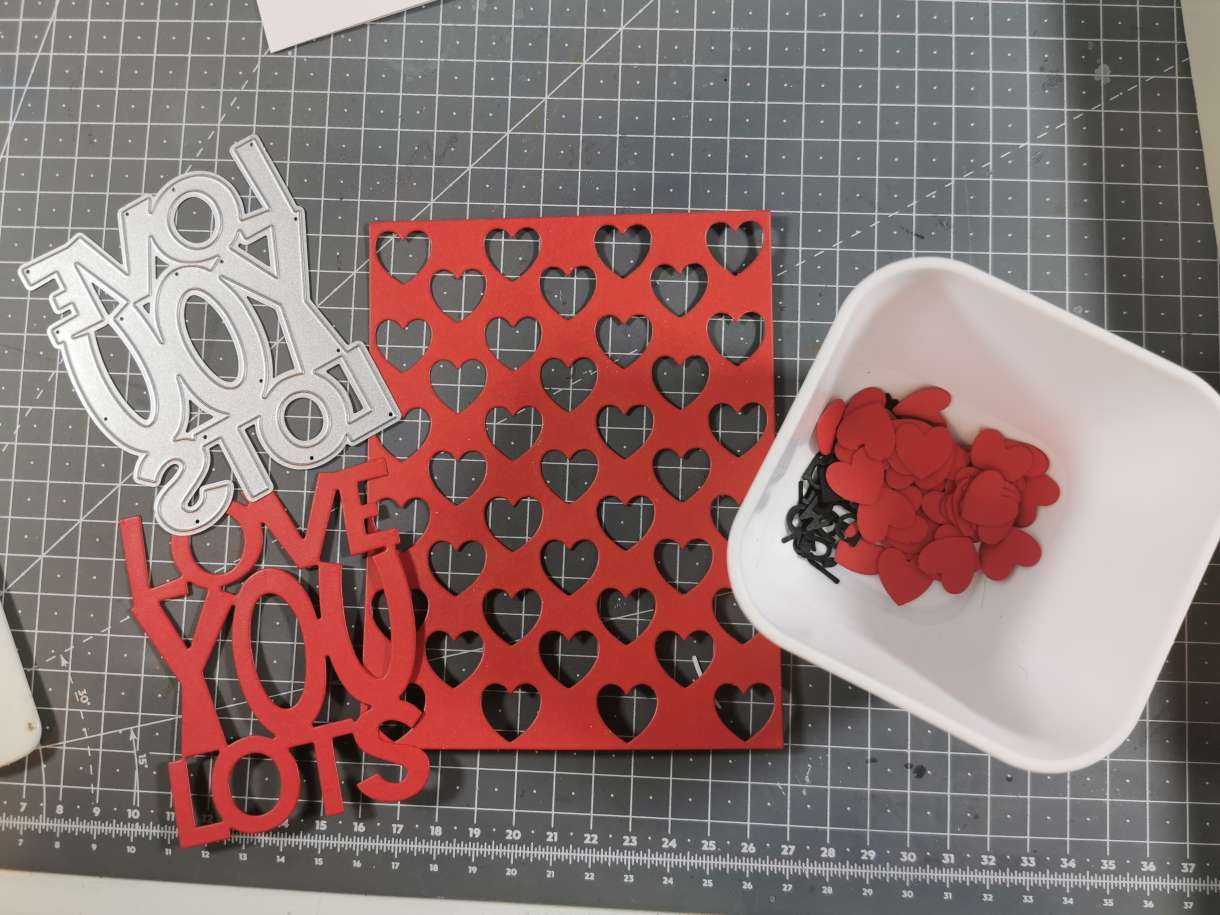
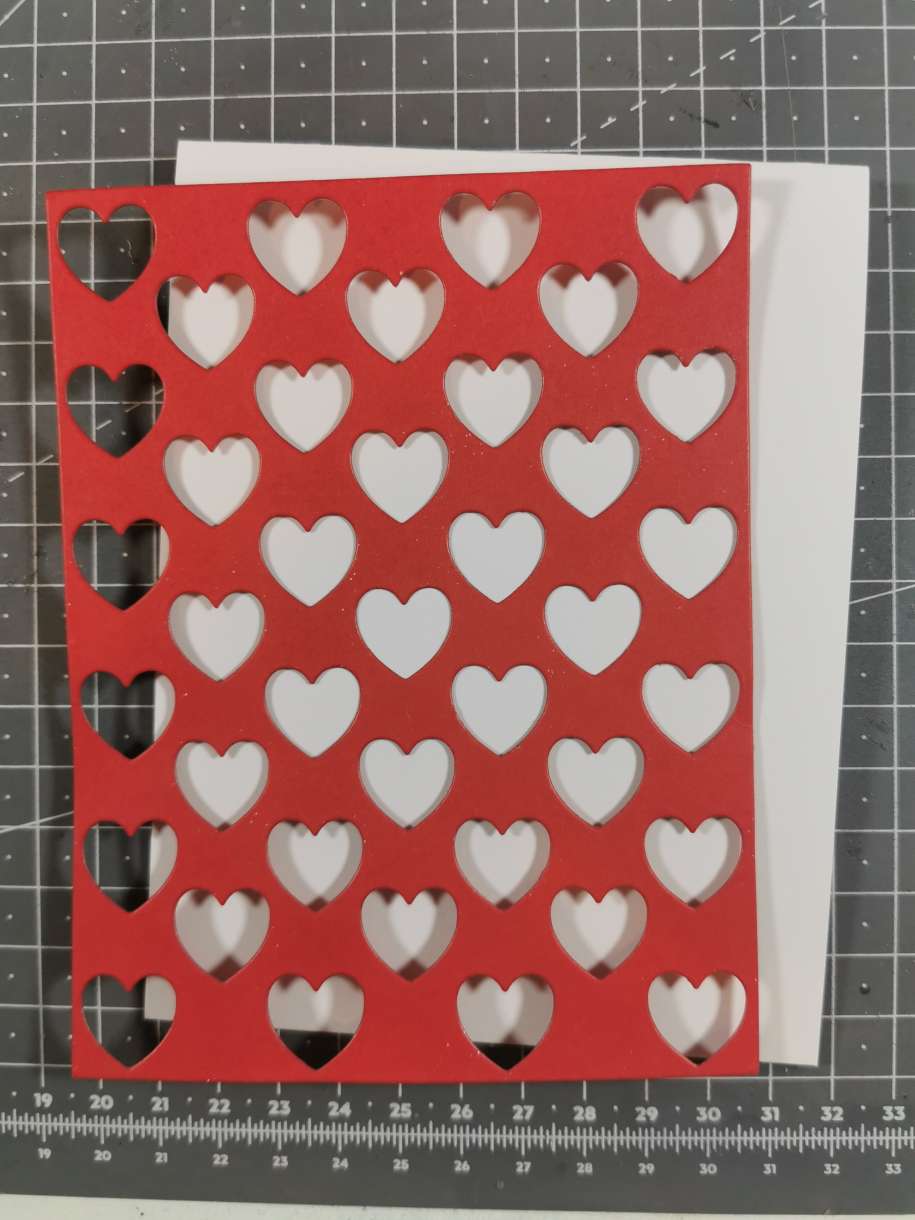
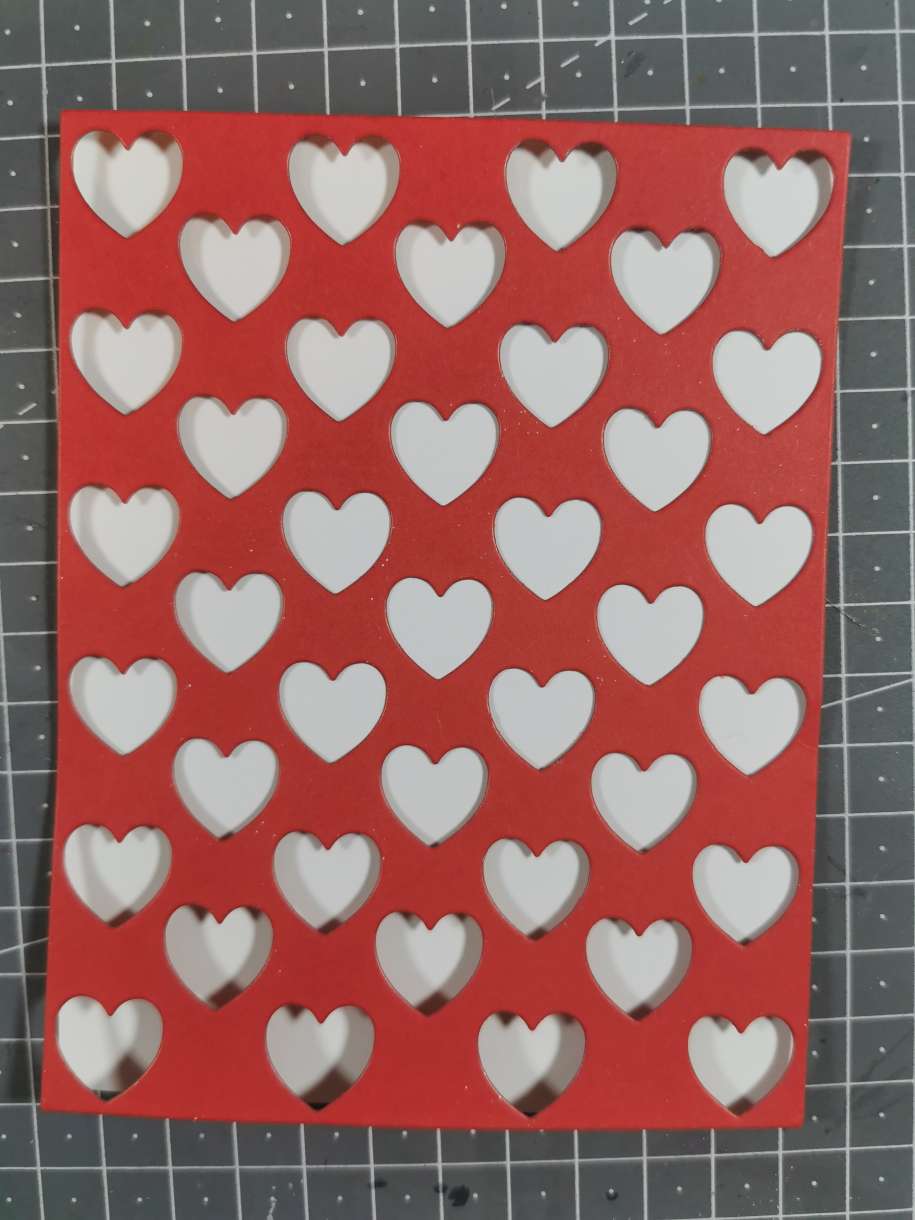
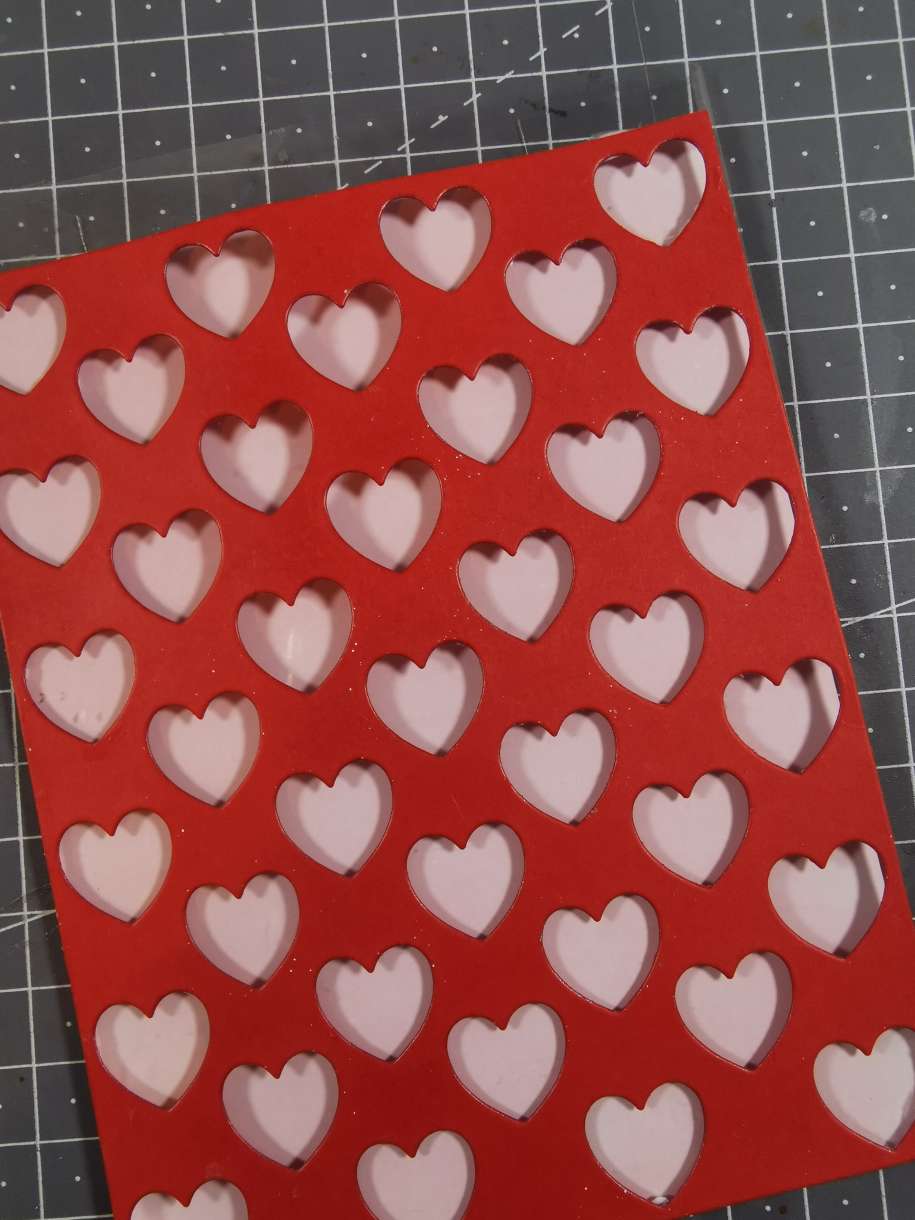
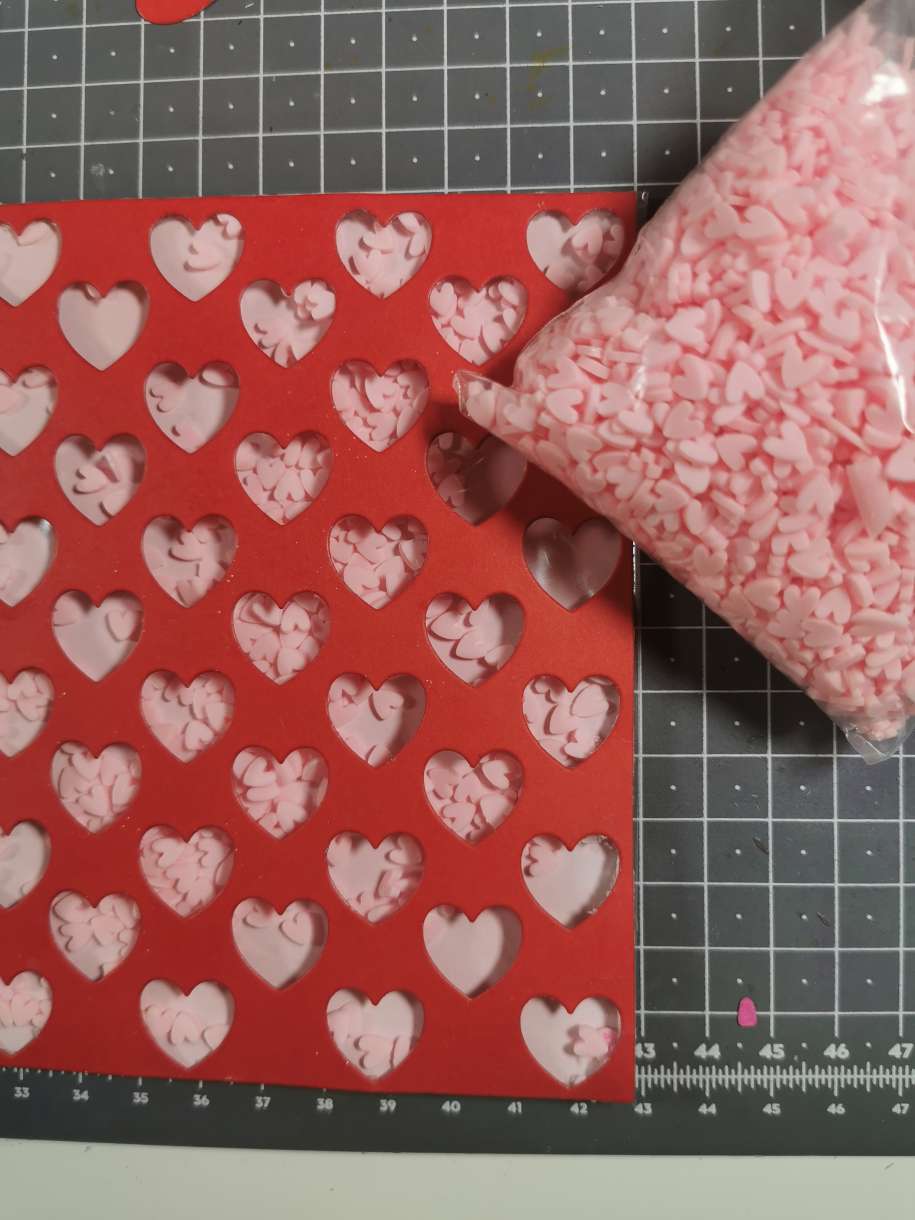
Start by taking a piece of the Christmas Red 240gsm card stock, and running it through your die cutting machine with a die cover plate of your choice. I saved the hearts which came from die cutting as you never know when you'll need the 'waste'.
You'll next need to determine and cut the size of your card base. It's probably easier to use a US A2 card blank ( 4 1/4in x 5 1/2in). However, for the shaker element to have full effect, the card base needs to be mm perfect. So, I used the cover die cut, placed it on an a4 piece of Super Smooth White 300gsm cardstock, measured it and cut it to the EXACT width and DOUBLE the length (top folding). This will then be folded in half and go on to be the card base. Pop this aside for later.
Repeat this again but the EXACT size of your cover die cut. No need to double. This will form the back of your shaker element.
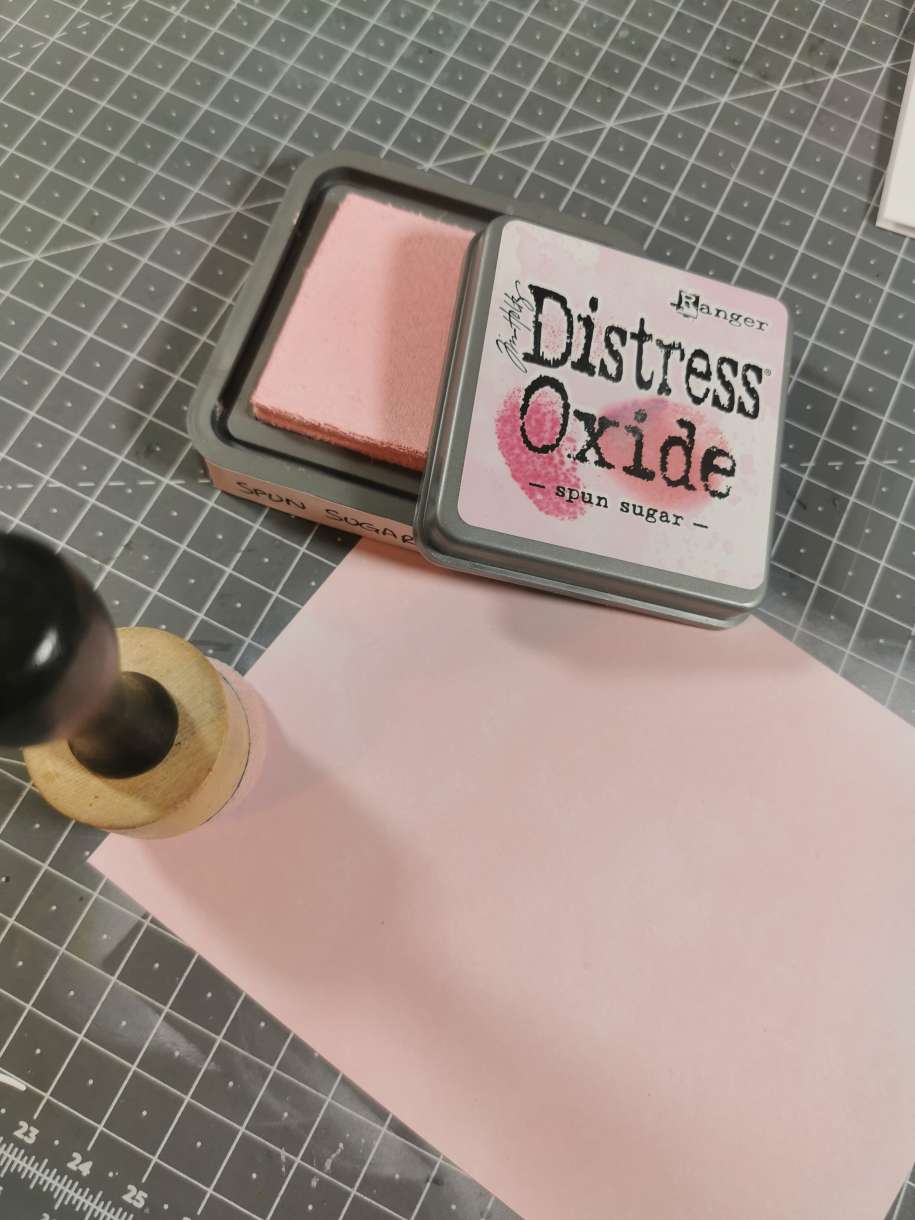
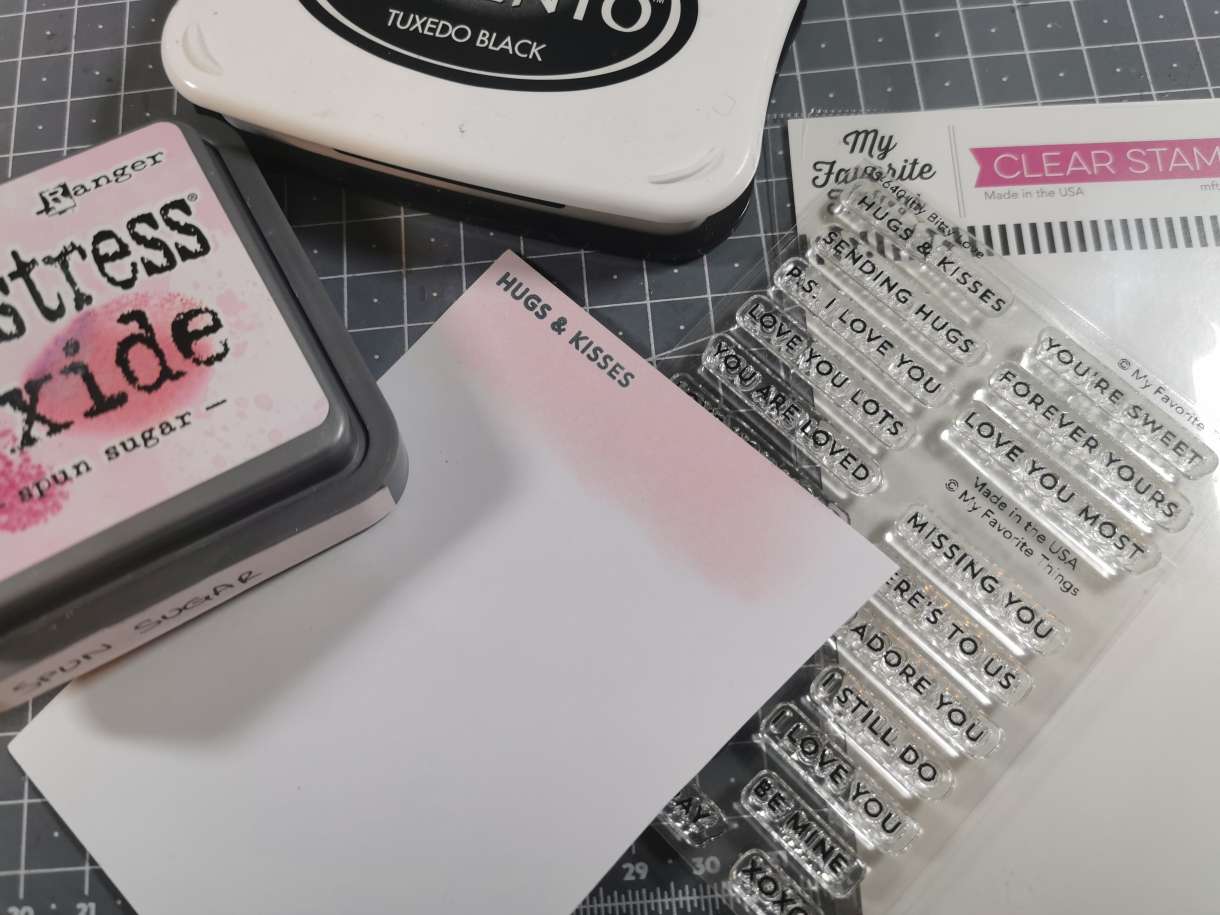
Next, you'll need to add some colour to the back of the shaker element. You might just simply use a piece of coloured card stock. However, I didn't have the exact shade I needed so I coloured mine with Spun Sugar Distress Oxide. Pop this aside for a sec.
Now the clever part! The shaker is full frontal edge to edge cellophane. This needs to be a thin plastic for the shaker elements to move freely. I use a biodegradable cello card bag - 6in x 6in is ideal. Just one layer too.
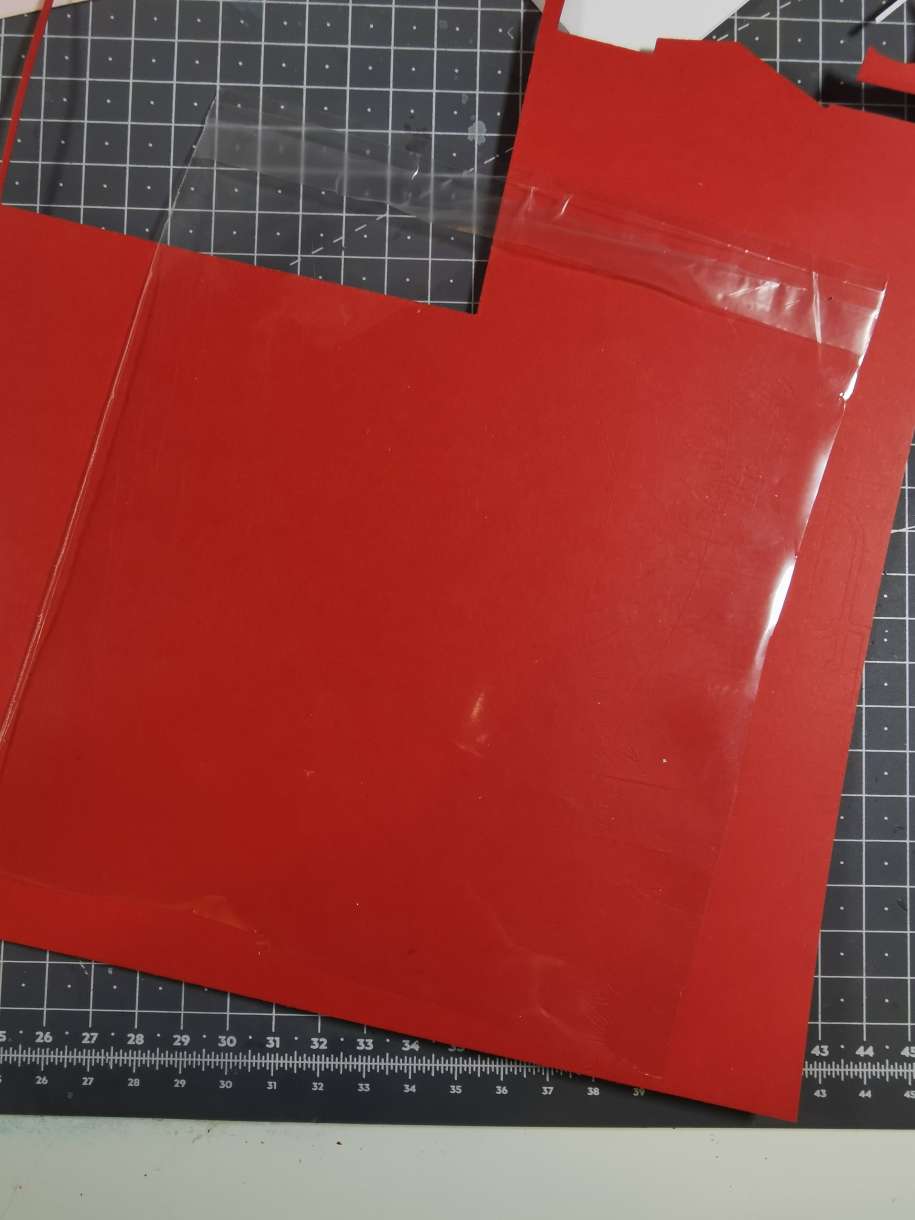
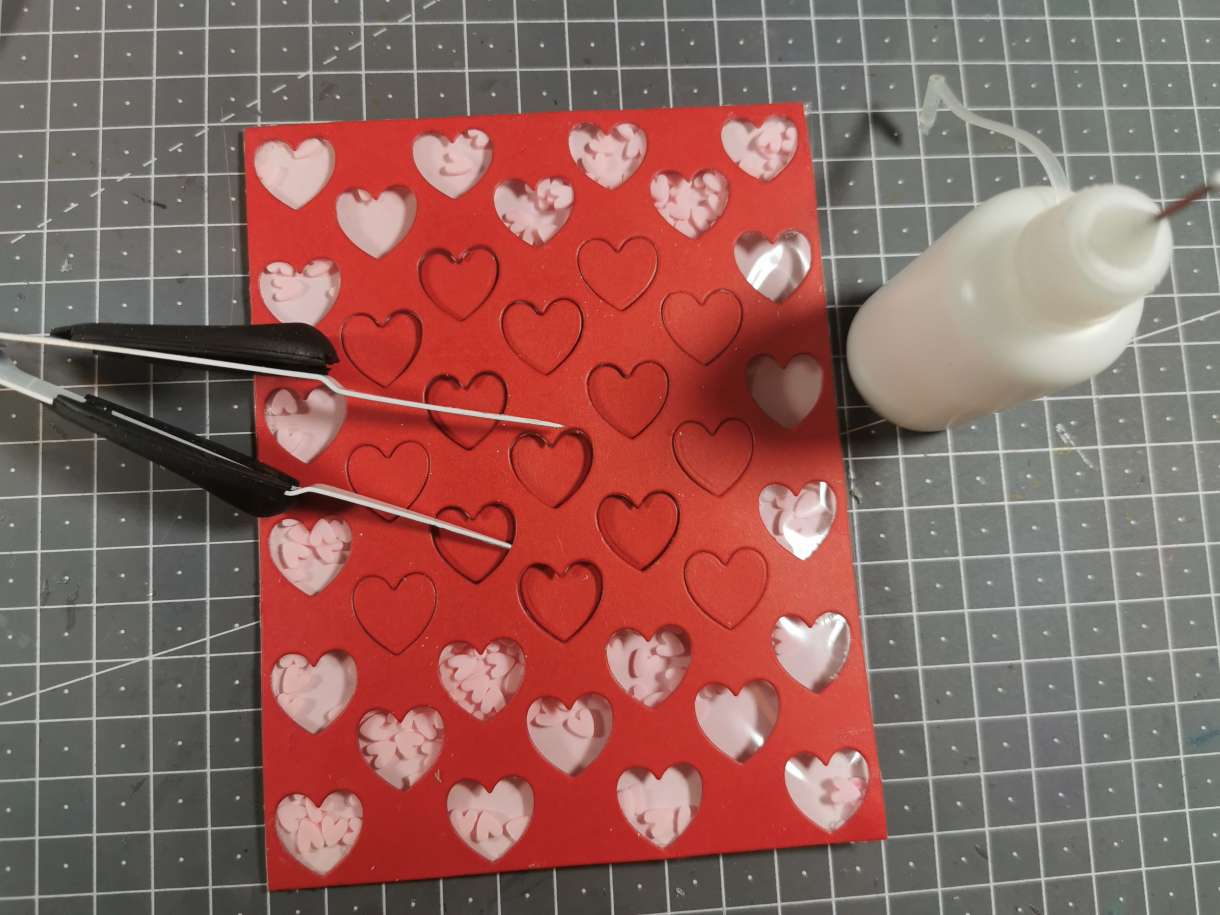
Place the base of the shaker element face down on the plastic, and seal 3 sides using double sided tape. It needs to be very secure with no small gaps in order that no shaker elements escape.
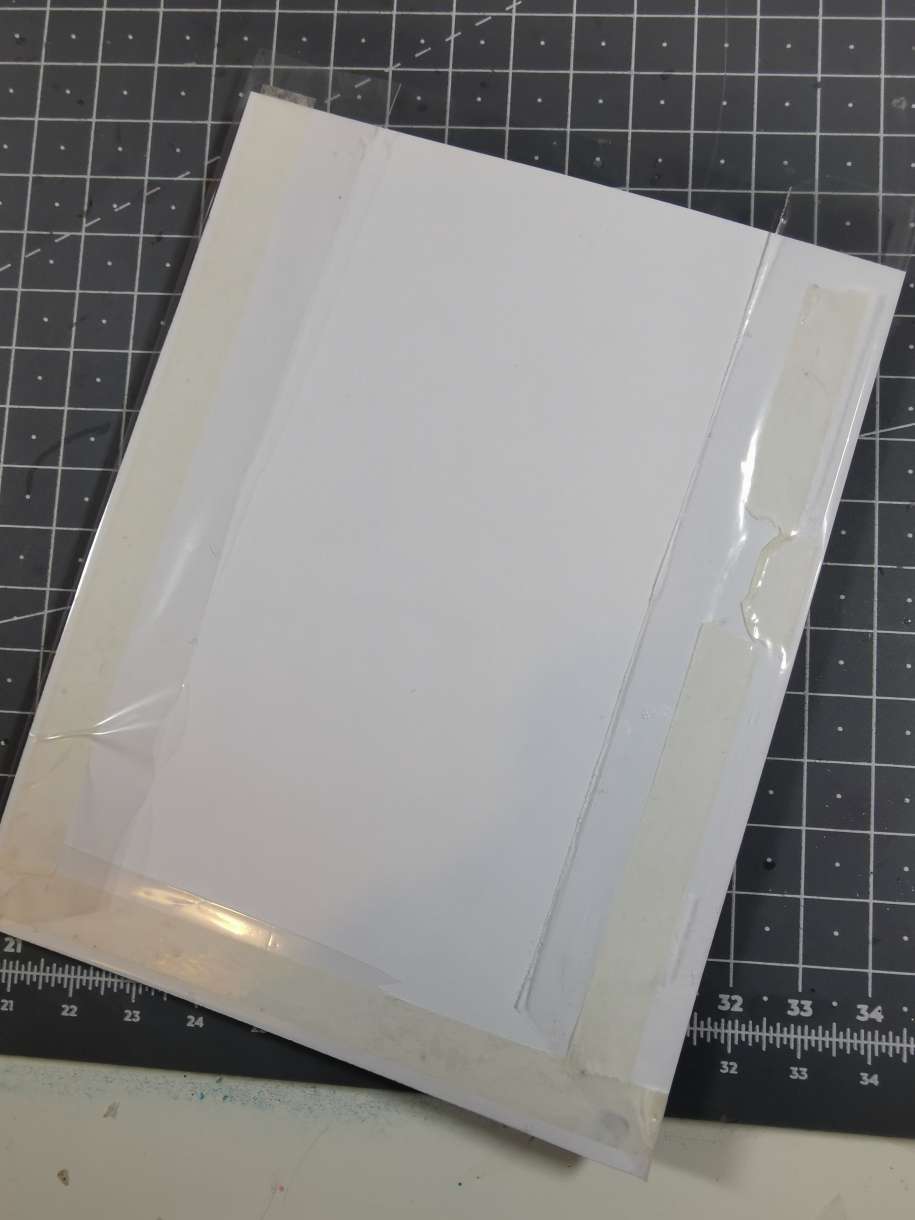
Flip it back over, and adhere your die cut cover. I used wet glue. In hindsight, I'd probably use a double sided adhesive sheet next time, and run it through my die cutter when I cut the cover, for a better stick. I found once I added the shaker element, the card kept popping off! I had to keep going in with the glue and it took a long time to dry, perhaps with it sticking to the plastic.
Once you are happy it is all stuck down, add your shaker pieces. Then, attach the final side of the plastic in the same way you did before.
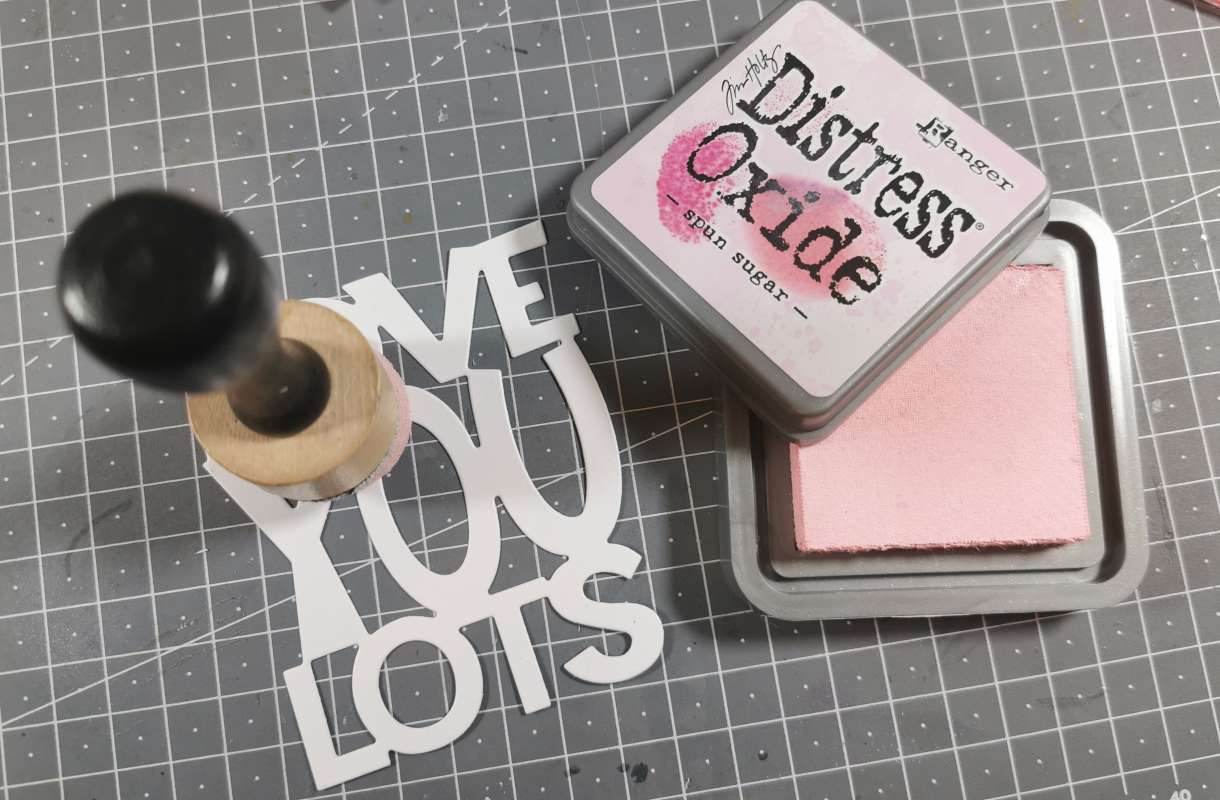
You'll need to choose a large focal sentiment. I had already chosen mine, but changed my mind on the colour. So I cut it again on White Super Smooth 300gsm cardstock and coloured with the same colour Distress Oxide - Spun Sugar - to match the shaker background.
This focal sentiment was going to be central on the card, but, I found it read quite distorted with the fussy background it was going on. So, I took some of the hearts from the waste I put aside in the initial stage, and filled the central ones back in using wet glue.
Then, I adhered all of this to my card base using double sided tape - this is a strong, reliable adhesive.
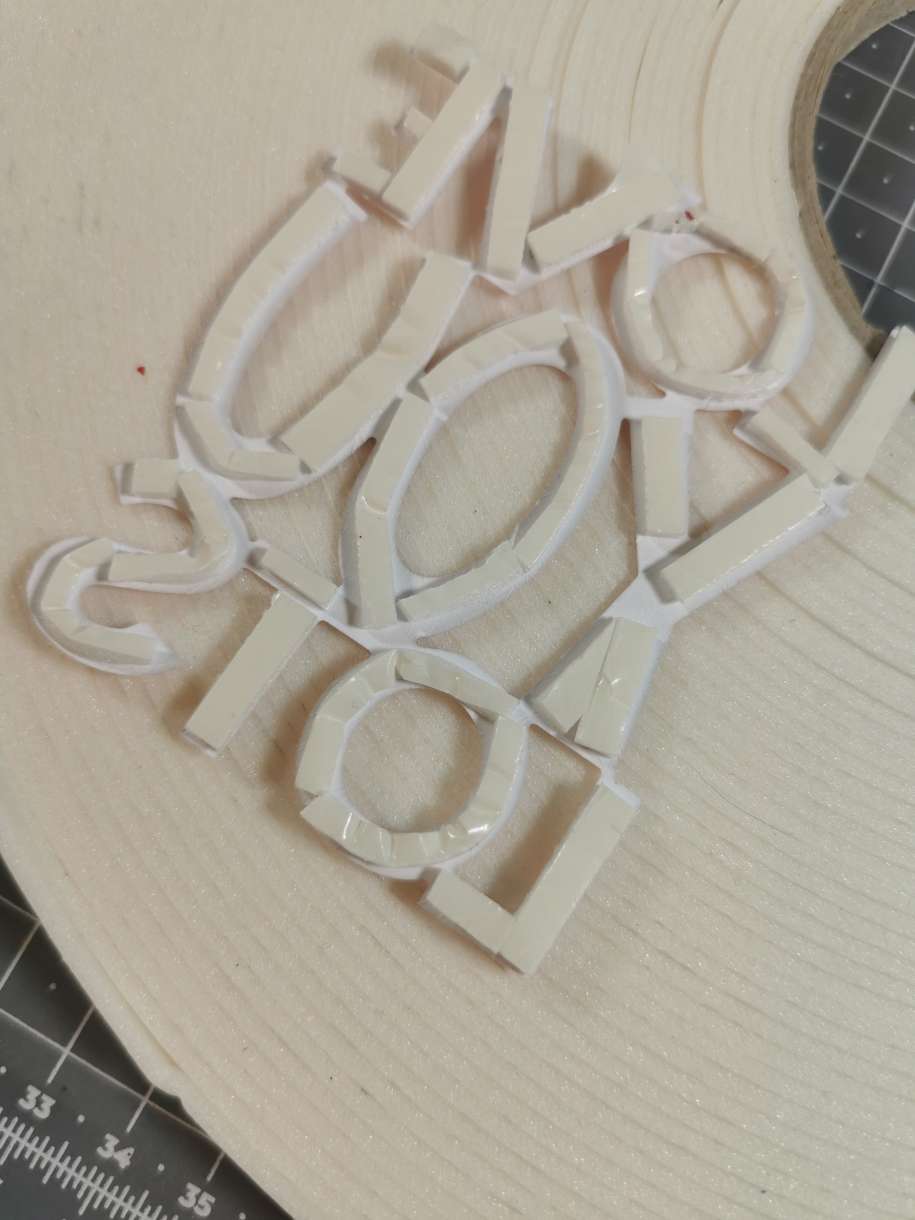
The next part was painstaking! I added 3d foam tape to the back of the sentiment. This took an age, as did removing the backing! But, it was essential in order that it be sturdy.
Finally, I finished the card with a smaller, complimentary stamped sentiment on a piece of card in the same colour as the focal sentiment.
That completes the card!
Have fun trying this for yourselves.
With love,
Dani
Xx


Nobody has commented yet
Be the first to comment on this article by using the form below.