Making My 2019 Calendar Pages
0
Posted on 23rd August 2018 by Sylvia Ames
Filed under All Papercraft Tutorials, Calendar, Design Team

Hi, Sylvia here with details of my first two pages of the papermilldirect 2019 Create-a-Calendar. I have great fun creating each page and love to make a calendar for family members each year.
I always try to use inks, stamps and stencils which have not been used for some time and this year I will be using my Oak House Studio spray inks, of which I have dozens of glorious colours. The theme stamps will be faces and heads as the center element of each page.
I cut a circle from a sheet of card to make a stencil for colouring and stamping through, I fasten this to the calendar page with masking tape ready for stamping and spraying to protect the whole calendar page. I found the best way to proceed was to stamp the image first then spray with the inks, let the ink dry then stamp and stencil any background elements.

I did spray the January page first and found the image did not stamp correctly because the page was still slightly damp. I rectified this by stamping the image onto tissue paper and sticking it over the faulty image. It was then cloured and embellished with white pen and the background created.

Stamping the image first for the February page worked much better. The background images were stamped and stencilled by masking the main image so the stamping did not cover it.

I will be back with more pages over the next few months.
Sylv xx
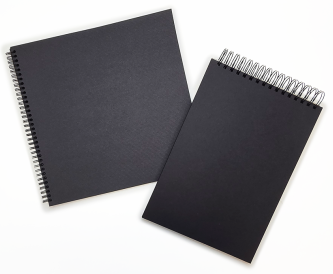
Order you 2019 calendar here: https://www.papermilldirect.co...


Nobody has commented yet
Be the first to comment on this article by using the form below.