How to make a Paper Poinsettia
2
Posted on 14th November 2016 by STACEY BONE
Filed under All Papercraft Tutorials, Craft Room Ideas, Design Team, Papercraft Disciplines And Techniques, Papercut, Seasonal Crafts, Christmas Craft & Cards

Hello everyone, its Stacey and this week on the craft table I’ve been making some jingly poinsettias.
Materials needed:
- Mini jingle bells – I bought mine from eBay
- Floral wire
- Floral tape
- Ruby Red Plain Card 240gsm
- Christmas Red Plain Card 240gsm
- Glue gun

You’ll need to begin by creating your red poinsettia leaves. You want a range of different sizes. I created about four different sizes and a bunch of different leaf shapes. Once you've made your leaves, it's time to make the centre of your plant.
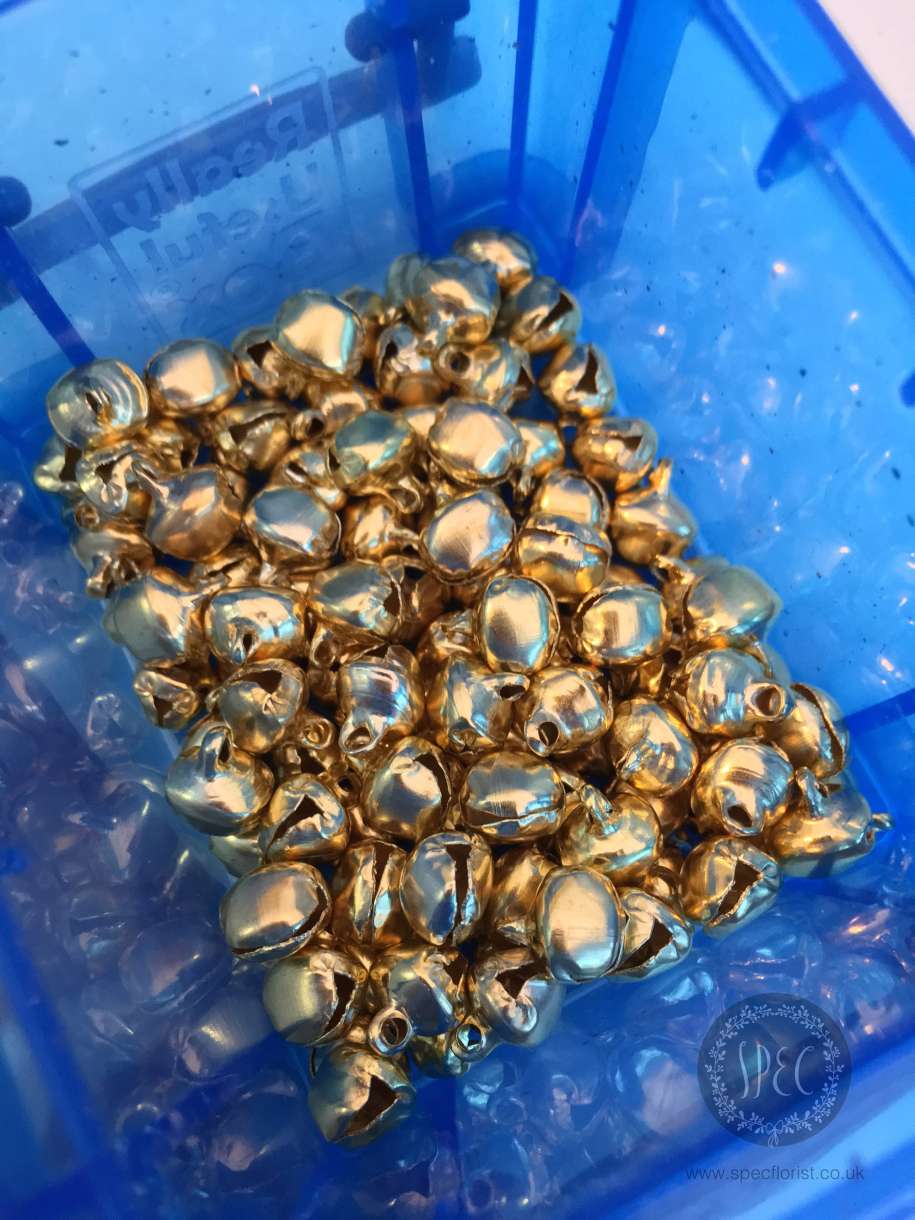
You’ll need a handful of bells of the centre of each poinsettia.
alt="Attaching bells" src="IMG_1069.JPG" style="width: 700px; height: 730px;" />
Using the floral wire, you’ll need to secure each bell onto a single piece of wire.

Once all bells are assembled, secure the stems with floral tape.

Start glue gunning your leaves around the bells, smallest sized first.

As you build outwards start adding larger petals.

I attached five layers worth of leaves. If you want bigger, keep adding!
Hey presto you've got yourself a homemade paper poinsettia.


2 thoughts on “How to make a Paper Poinsettia”
Stacey Slark
14th November 2016 at 12:39 p.m.
Barbara Daines
14th November 2016 at 9:55 a.m.