Handmade Card Tutorial - Autumnal Watercolour Die Cuts
0
Posted on 2nd September 2015 by Lisa Sumpter
Filed under Card Making Ideas, Projects And Cards By Occasion
Hello! It's Lisa again and I have another handmade card tutorial for you. I am still a huge fan of using watercolours on my papercraft projects at the moment. This card is an example of a quick make (around 20 mns including drying time) that looks really effective.
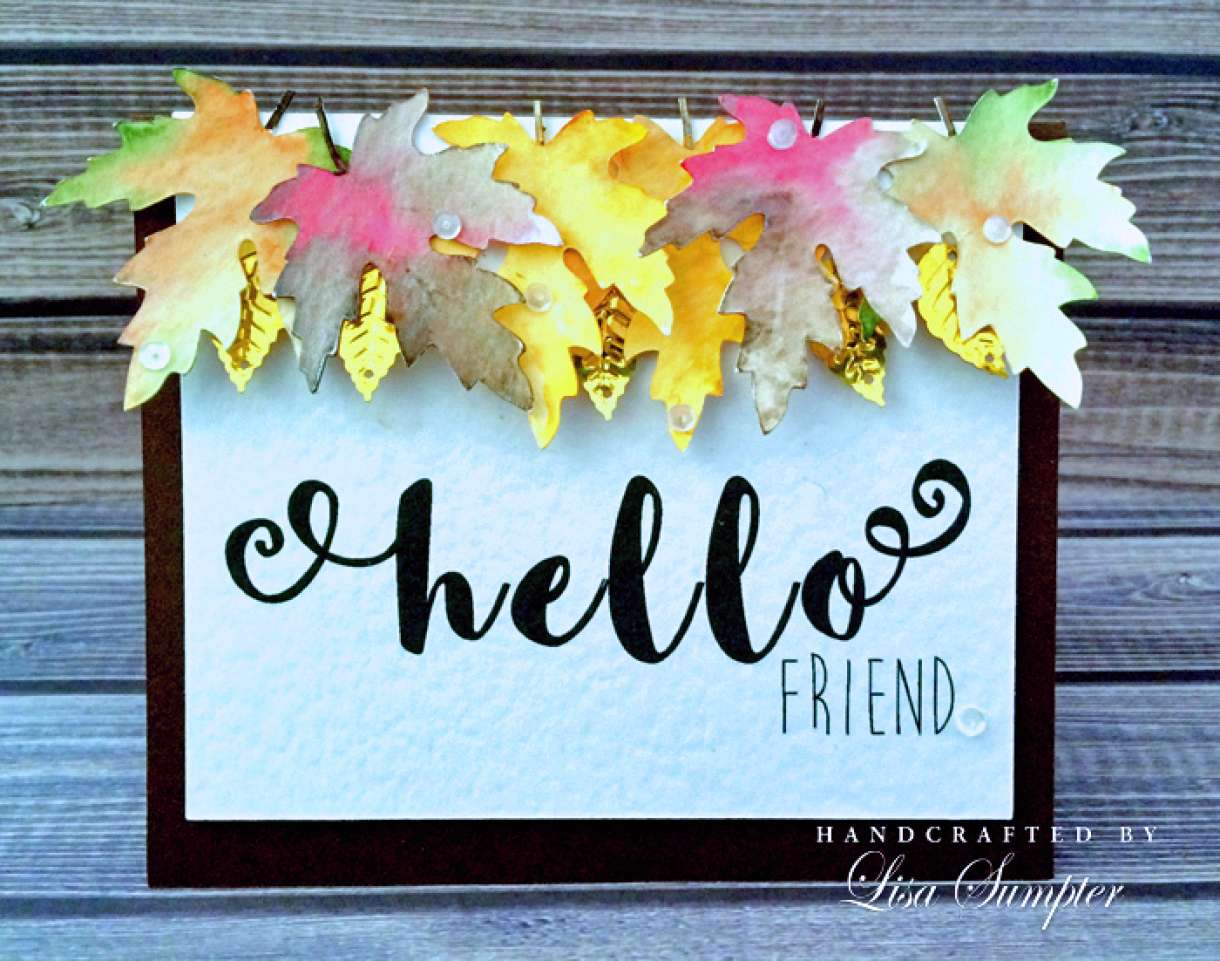
That cluster of leaves really sets this card off.
Materials
- Papermilldirect White Hammered and Mocha Brown, and watercolor card from the Luxury Artist Pads (which are still on special offer at 65% off!).
- Kuretake Zig Gansai Tambi Watercolours
- Crate Paper Gold Leaves
- Pretty Pink Posh Sequins
- Sentiment is computer generated.
- Liquid Glue, Foam Tape.
Step 1

Make your card base from Mocha Brown card measuring 4.5 (h) inches x 5 inches (w). Print your sentiment onto hammered white card and trim to 4 inches (h) x 4.75 (w). Set to one side.
Step 2

Tear out one of the pages from the Luxury Artist pad and die cut your leaves. You can die cut as many as you like. I used 6 on this card, measuring approx 1.5 inches tall.
Step 3

Wet your die cut with your watercolour brush and drop in your first colour onto the leaf. The water will spread the colour around but you can encourage the colour to move where you want it to move with the tip of your brush. It will dry lighter so don't panic if it looks too dark at this point.

Whilst the leaf and your first colour are still wet, drop in your second colour.
Repeat for all of your leaves and set aside to dry. It won't take too long for them to dry but if you're eager to get the card finished and have a heat tool, you can carefully dry your die cuts out using the heat tool.

My drying leaves.
Step 4 - optional
To add some shimmer to my leaves, I painted them with some pearlescent watercolour paint. You could also spritz them with glimmer mist or perfect pearls mist to get the same effect (or just skip this step entirely).
Step 5

Once all of the leaves are dry, arrange and adhere them to the top of the white card panel.
Add some foam tape to the back of the white card panel and stick it to the card base so that the top of the white hammered card panel is flush with the top of the card base.
Trim the stems off the leaves and add the gold leaves and sequins to finish off the card.

Just a word about watercolours.
You can still make this card even if you do not have the type of watercolour paints which I have used. You can use watercolour pencils which will give you a softer look, especially if you wet the leaves like I did, wet your brush and dab the brush on the nib of the pencil to pick the colour up that way (as opposed to colouring directly onto the leaf). You can also use watercolour markers which can give you a vibrant look depending on the brand and colours chosen. Inexpensive watercolour paints are good too.
There's no wrong way to watercolour on die cuts, experiment with what you have and never throw anything away until it's dry! You'll be surprised how many things which look awful whilst the paints are still wet, look amazing once they're dry - the deep pink and brown leaves on this card for example. I bet you thought "what is she thinking" when you saw those when they were drying; but look how lovely they are when completely dry :)


Nobody has commented yet
Be the first to comment on this article by using the form below.