Batty Halloween Sign - Step By Step
0
Posted on 23rd October 2017 by Angela Dodson
Filed under Design Team, Seasonal Crafts, Halloween Paper Crafts
Hello it’s Angela here to share an easy Halloween make with you. If you have a Cricut machine then it’s really simple to make a fun sign to welcome visitors at Halloween, using just 2 colours of Papermilldirect Cardstock for a traditional bright contrast of Mandarin Orange and Black. If you don’t have a Cricut then why not create a simple banner using a manual die-cutting machine or by adding adhesive images and alphabet letters to create your own version.
Step By Step:
Open Design Space and click my project link here: https://design.cricut.com/#/design/71517229 this will take you to the project all ready for you to cut out and assemble.
I will also explain here the steps to create the project yourself as follows:
In Design Space, Search for the following bat image: Halloween Bat Art #M3A8BA50 and add to your on-screen mat. Resize the image to no less than 7”.

Next Click to add Text, type ‘HALLOWEEN’ and search for a ‘stencil’ font in the fonts box, I have used the Stencil Font – Single Layer Cutting. So it can be seen I have changed the colour to orange and dragged the text along the bottom of the bat image panel, adjusting size as desired. Now you need to select the bat image and Halloween wording by dragging a box around them both, click ‘Align’ box and click centre horizontally, this will centre the wording along the bottom.

Select the whole image again and then click slice, this will slice the letters from the bottom, just remove and delete the waste. To add the ‘BATTY’ wording, follow the steps again just centring the word across the top.
Add a square to the mat by inserting a ‘shape’ and resize this bigger than the bat panel. Mine is approx. 7.75”.

Send your project to cut and load mat(s) you will need 1 sheet of Papermilldirect A4 Mandarin Orange Plain Card and 1 sheet of Papermilldirect A4 Black Plain card. I have cut on Cardstock+ setting but have sent the black card sheet in for a 2nd cut before unloading the mat as this is an intricate cut. As machines and blades may differ, you may prefer your own custom setting to cut.

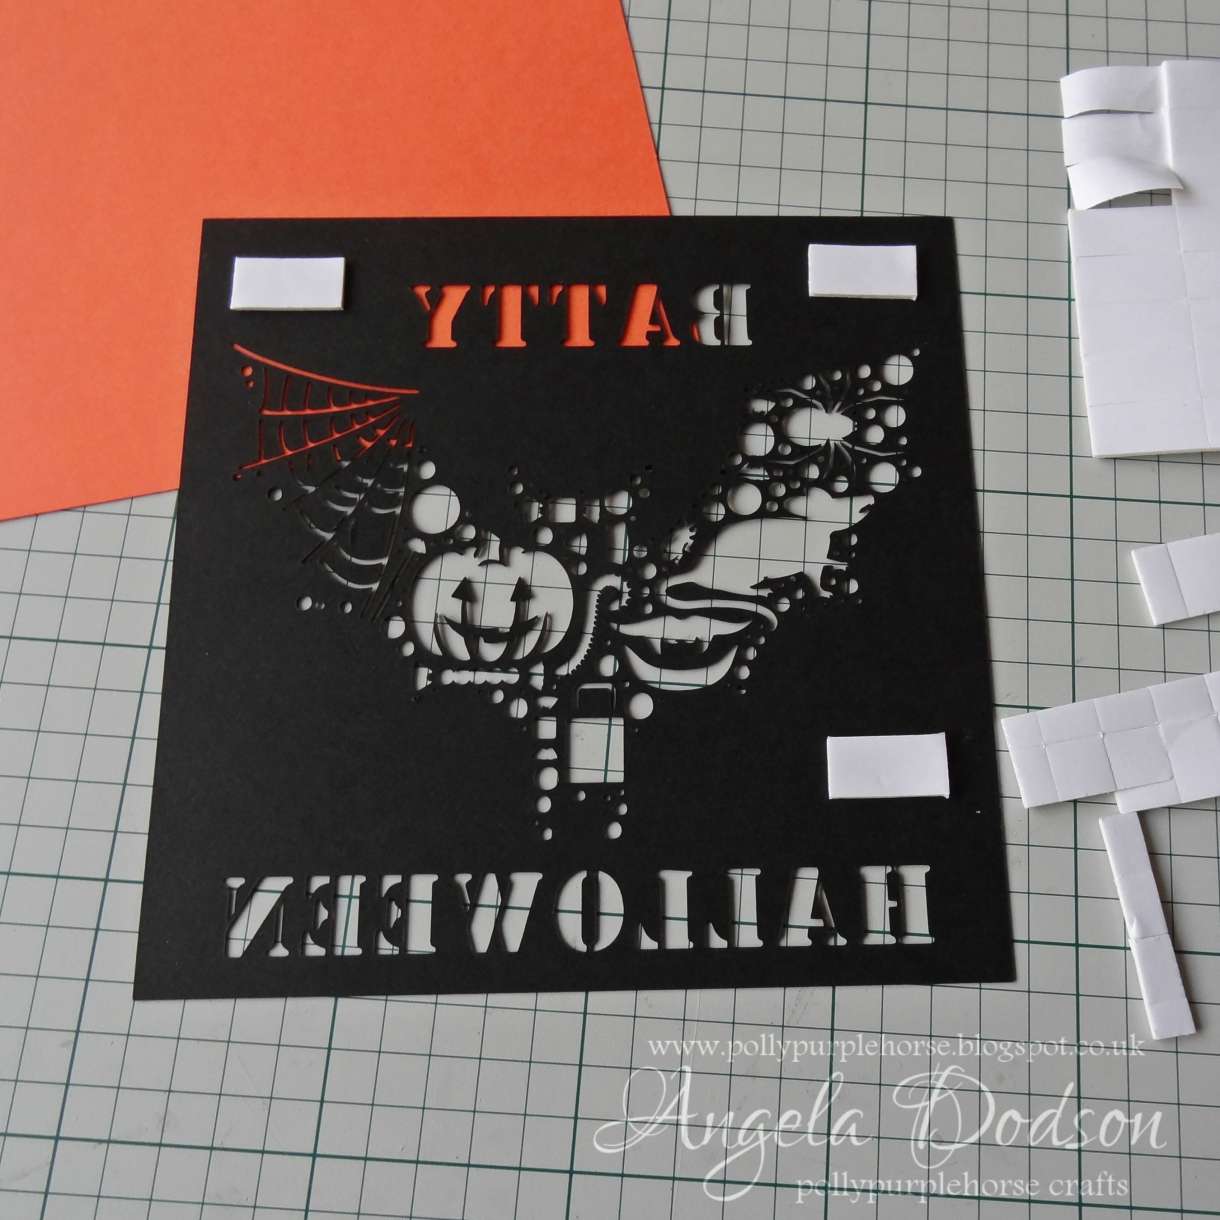
When cut, lift design carefully from mat, removing any waste. Turn back panel over and add 3D foam pads to reverse, before mounting onto the larger orange panel.
To finish, Pierce 2 holes in the top and thread with orange ribbon to hang.

Products Used:
Mandarin Orange 240gsm Plain Card – Papermilldirect
Black 250gsm Plain Card – Papermilldirect
Adhesives: 3D Foam Pads
Ribbon
Cricut Explore
My Design Space My project link: : https://design.cricut.com/#/design/71517229


Nobody has commented yet
Be the first to comment on this article by using the form below.