Make your own pretty paper flowers
0
Posted on 25th October 2016 by STACEY BONE
Filed under Craft Room Ideas, Design Team, Papercraft Disciplines And Techniques, Papercut, Seasonal Crafts, Mothers Day Crafts

Hi everyone, Stacey here. I’ve been enjoying crafting with some of the bright coloured cards Papermilldirect have to offer; two colours in particular, intensive lilac 210gsm and intensive green 210gsm. What better to make with these vibrant colours than some pretty blooms?

I love designing new flower templates using Adobe Illustrator and layered flowers are a particular favourite of mine. This consists of creating a flower shape, which you gradually scale in size and layer together. I use my cutting machine to cut all the layers and the stamen.

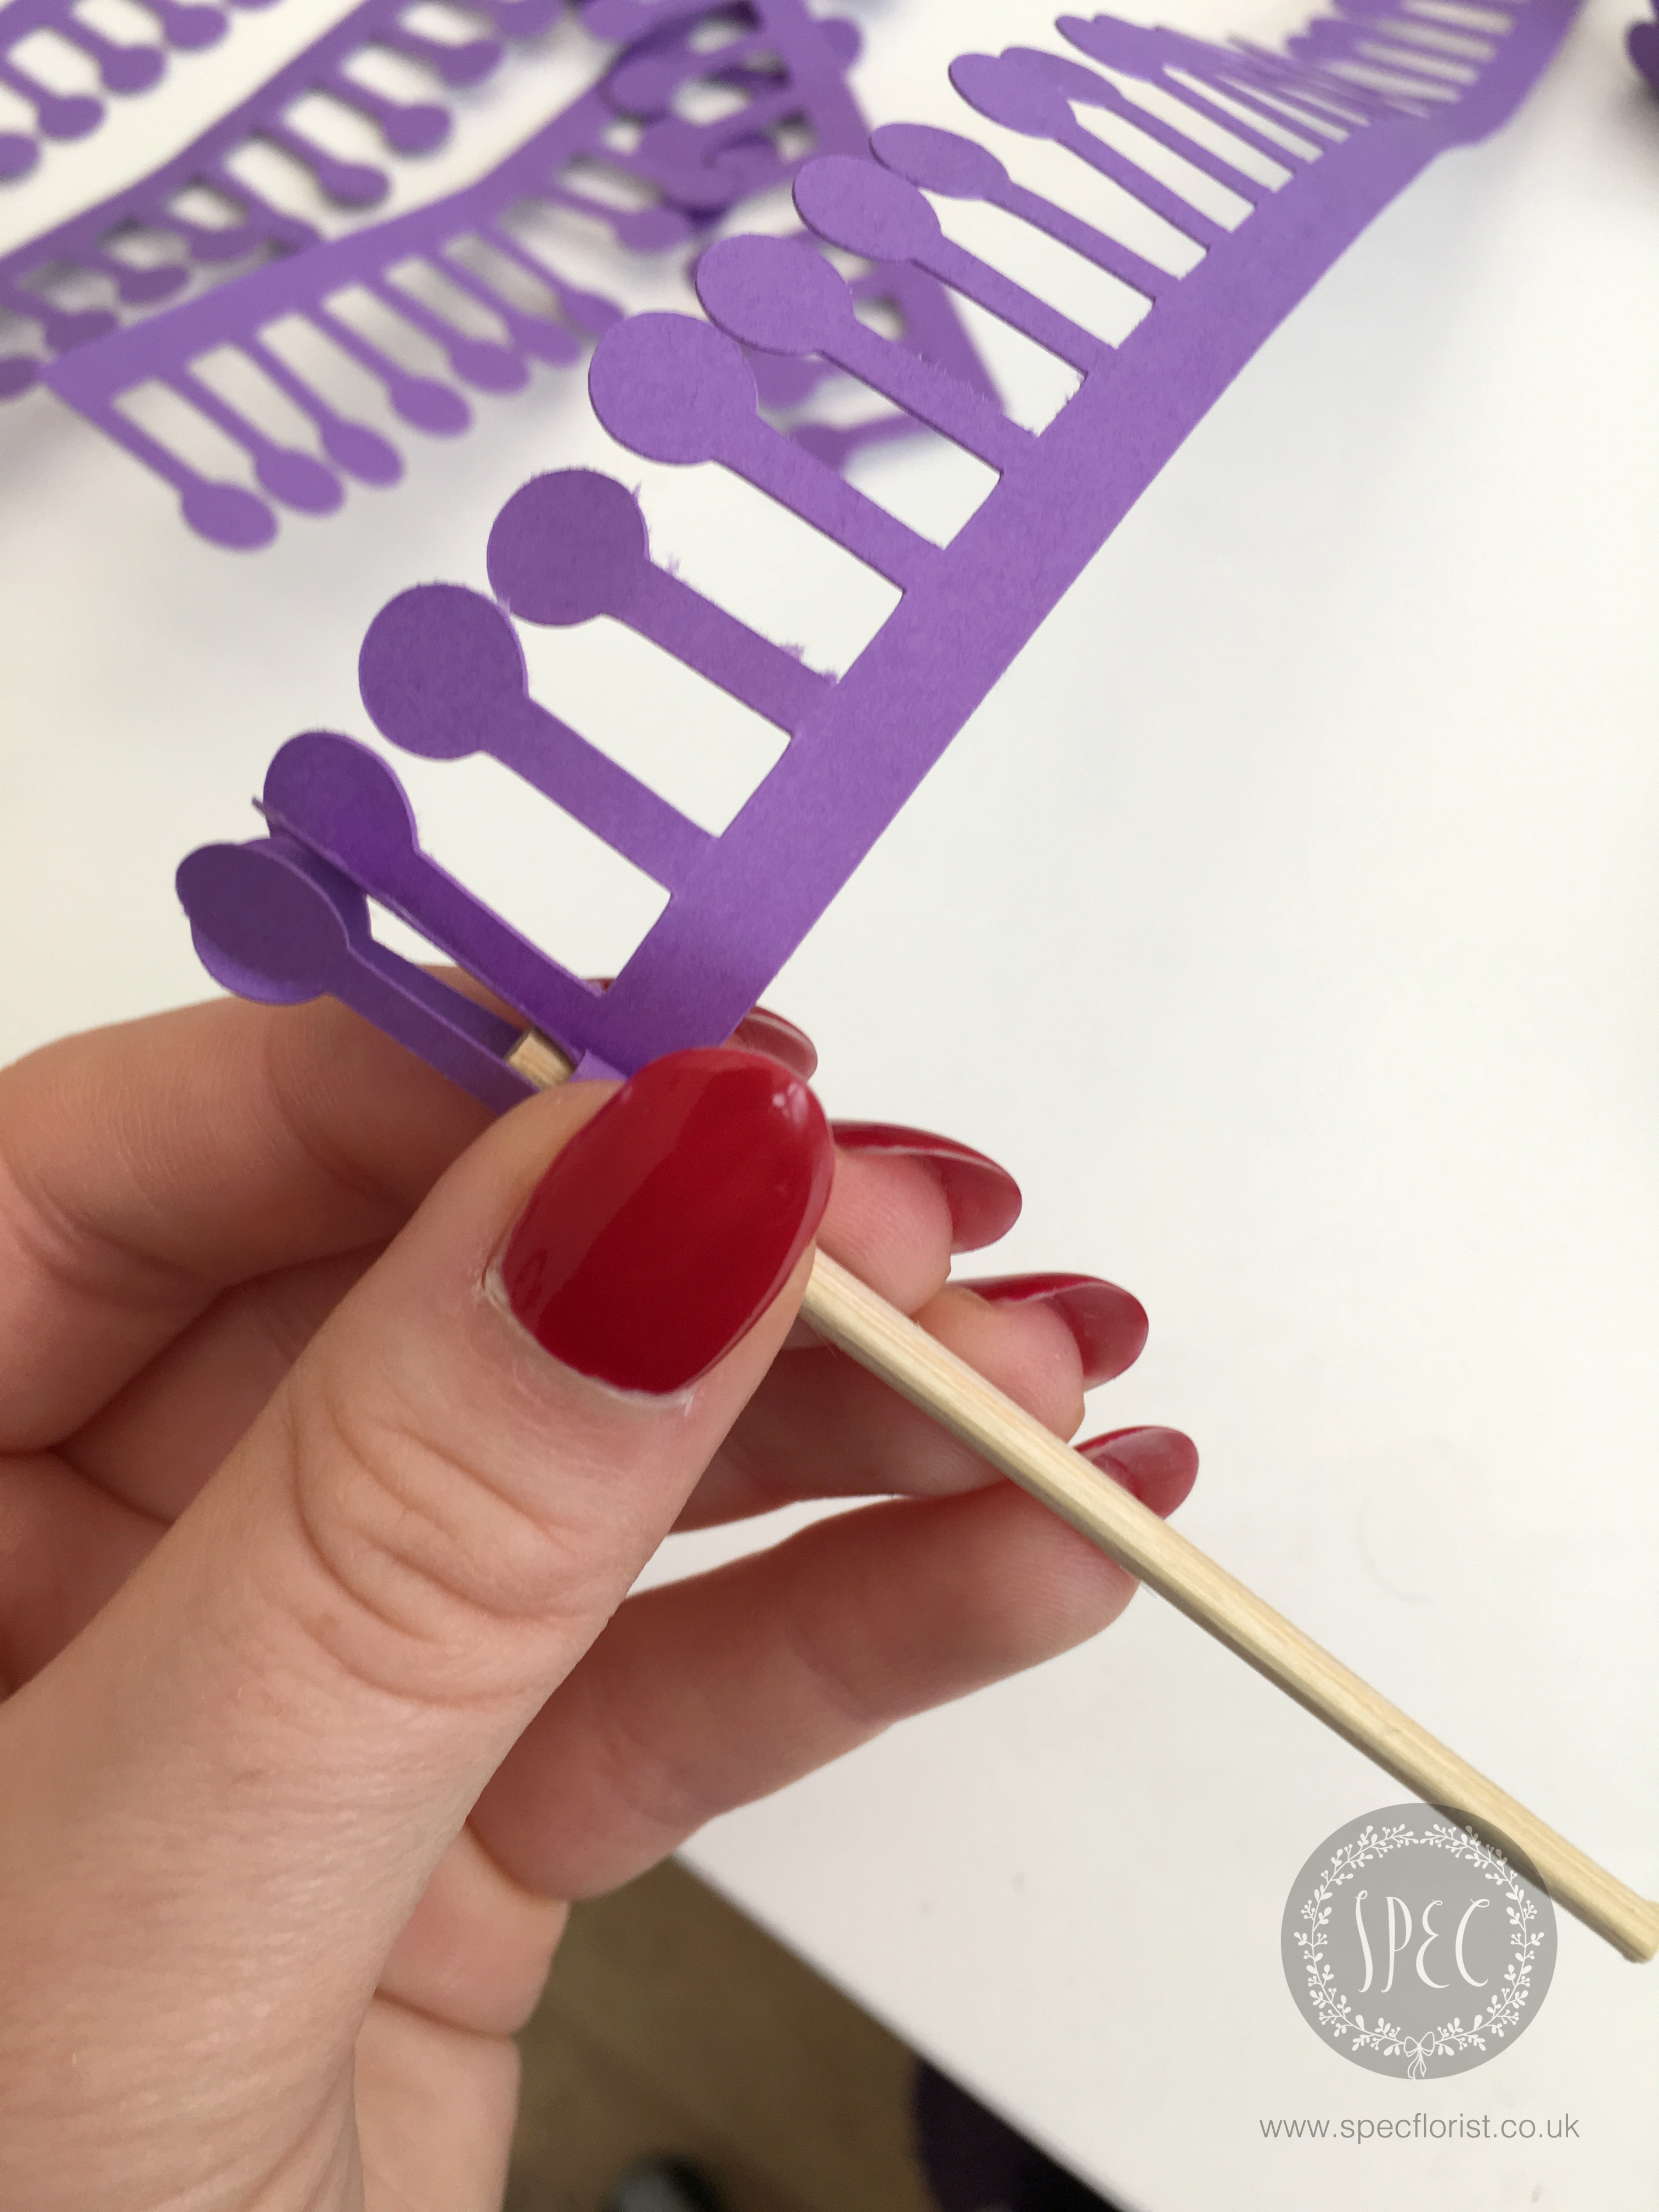
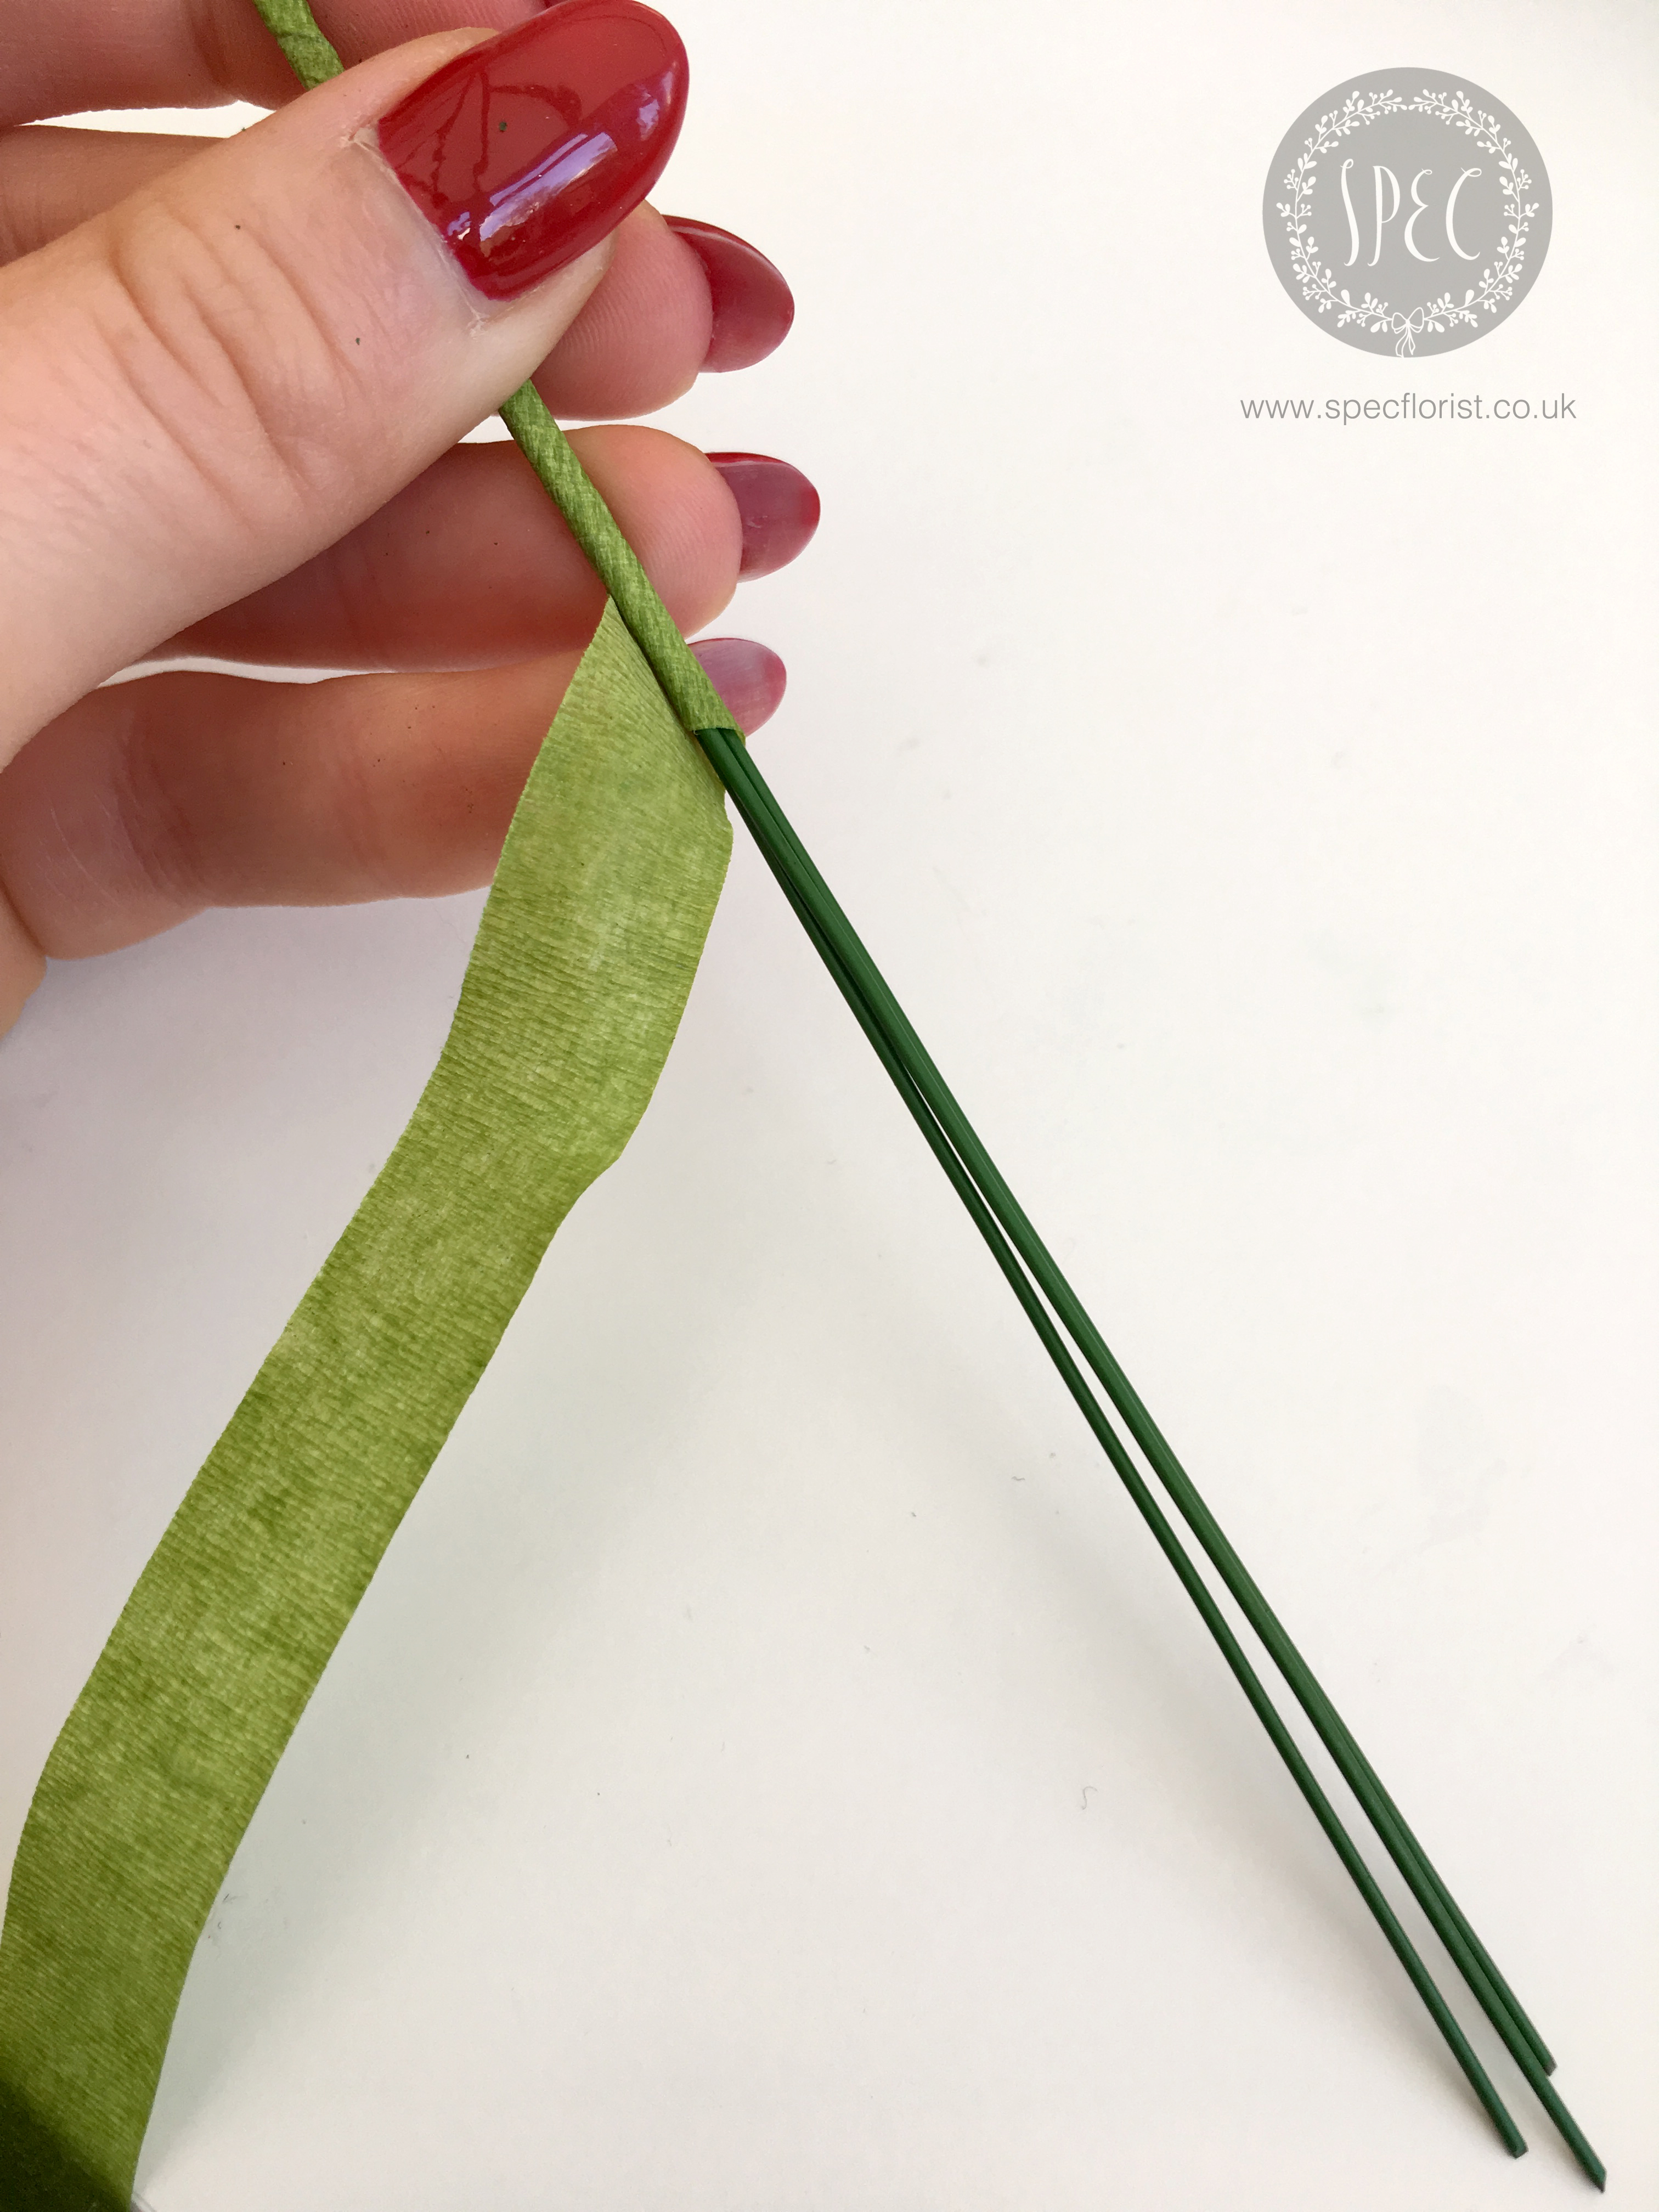
Once all petal layers were cut I rolled the edges to give a nice little curl to each petal. I used my scalpel knife to do this. Once curled I applied a small amount of hot glue to the centre of each layer and glued them together with the smallest at the front and largest at the back, rotating the petals every layer. I rolled the stamen up with a little help of a wooden stick to stop it crushing before gluing it on to the smallest layer. To make the flower stem I wrapped three floral wires together using floral tape.
I’m loving the small milk bottle vases you can buy at the moment and think they’re perfect for just a couple of flowers. You could also tie a lovely bit of ribbon around the vase for added prettiness.
Happy crafting!


Nobody has commented yet
Be the first to comment on this article by using the form below.