How To Make A Basset Hound Easter Bunny Using A Die Cutter Or Scalpel
0
Posted on 22nd March 2018 by Jennifer Squire
Filed under Design Team, Papercraft Disciplines And Techniques, Die Cutting Techniques, Papercut
Materials and equipment needed to make your hound:
Card for the hound:
- Mocha Brown Plain Card 240gsm Papermilldirect
- Buff Smooth Card 260gsm Papermilldirect
- White Card Smooth 250gsm Papermilldirect
- Black Plain Card 250gsm Papermilldirect
- Baby Pink Plain Card 240gsm Papermilldirect
For the card and background:
- Ocean Blue Plain Card 240gsm Papermilldirect
- Intensive Yellow Plain Card 210gsm Papermilldirect
- Navy Plain Card 240gsm Papermilldirect
- Die cutter, (if using)
- Scalpel
- Cutting mat
- Fine nib glue pen
- Drawing paper and pencil
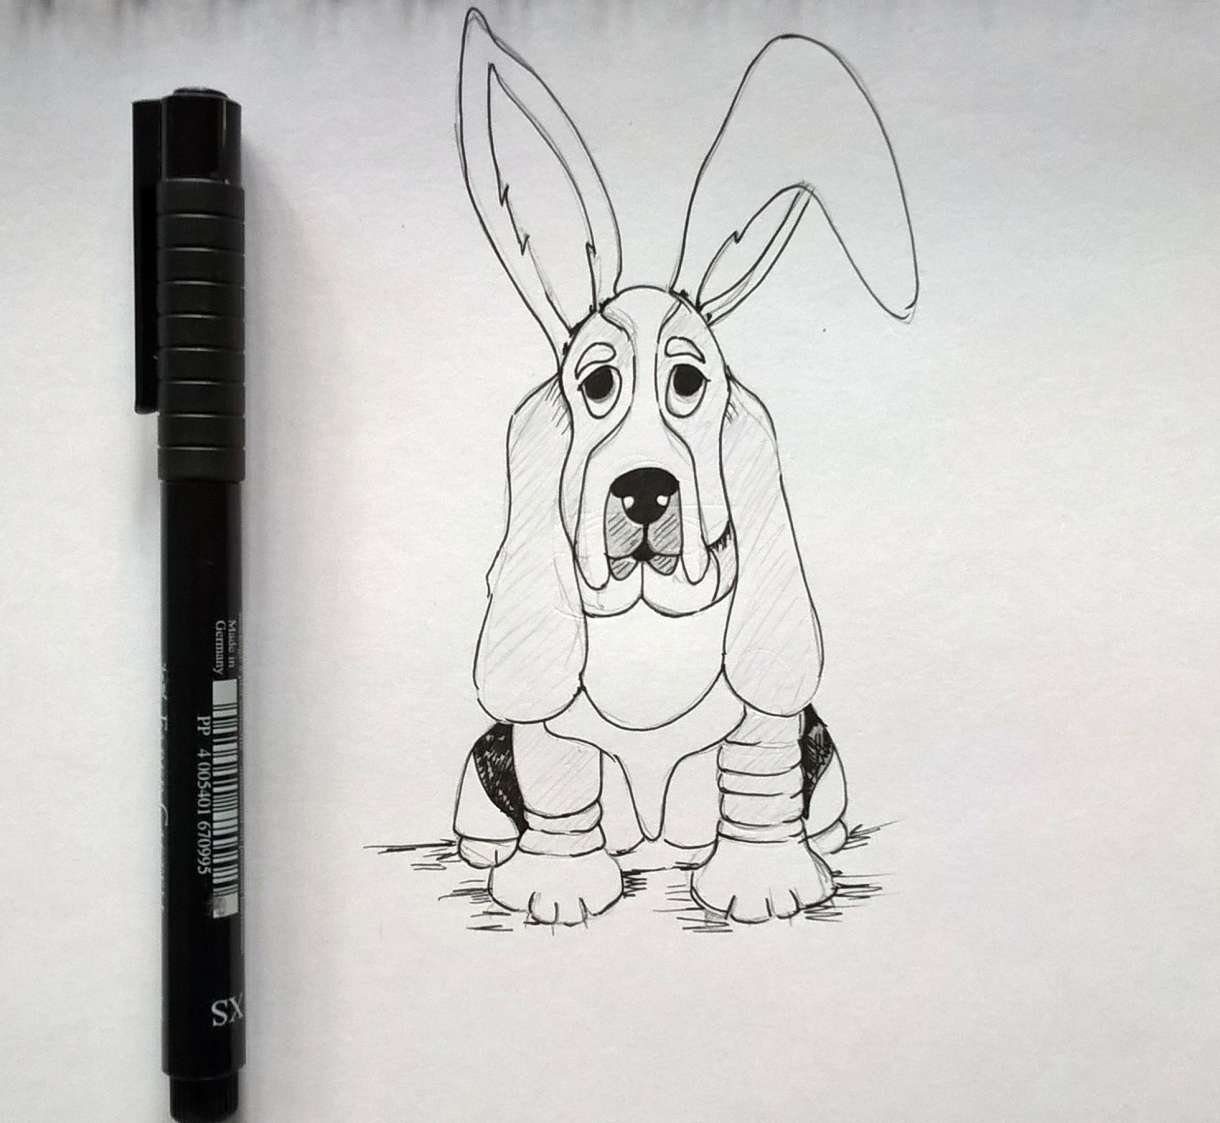
First of all you do a sketch of a basset hound sitting front towards the viewer. You can use my sketch or find an image from the internet to print out and copy.
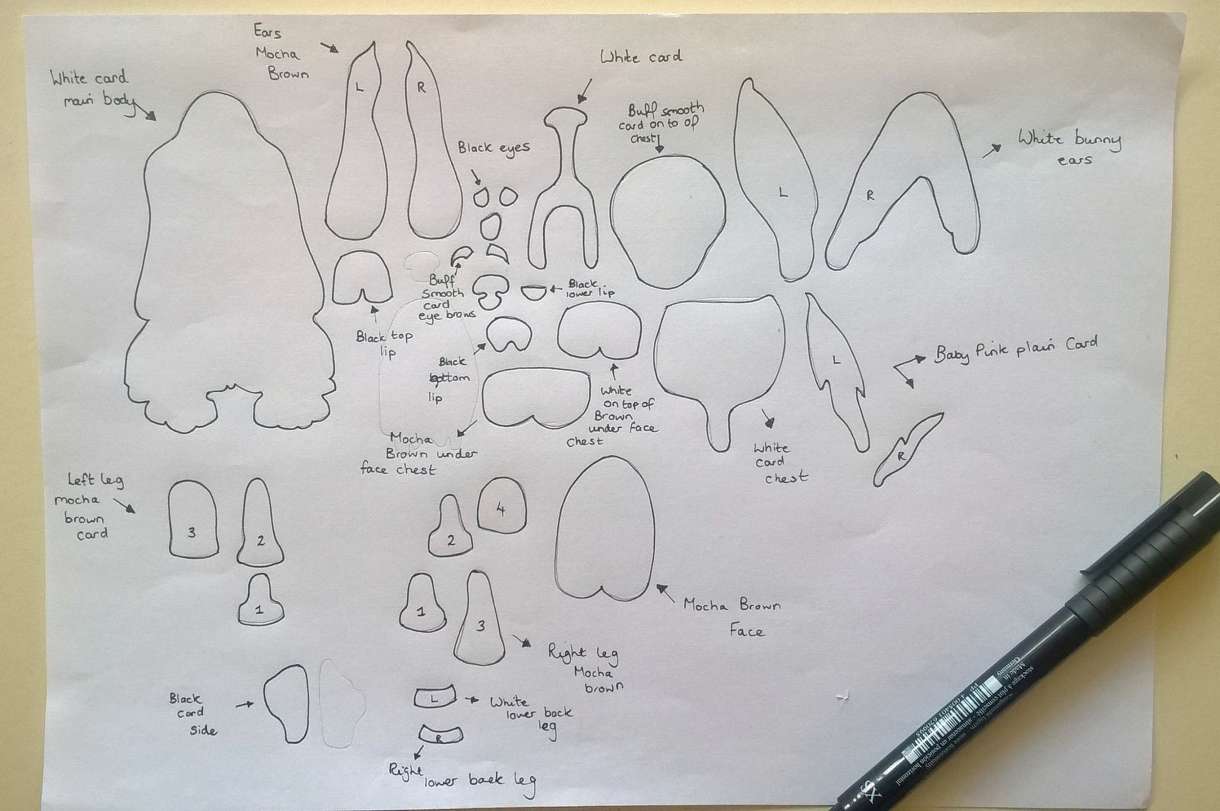
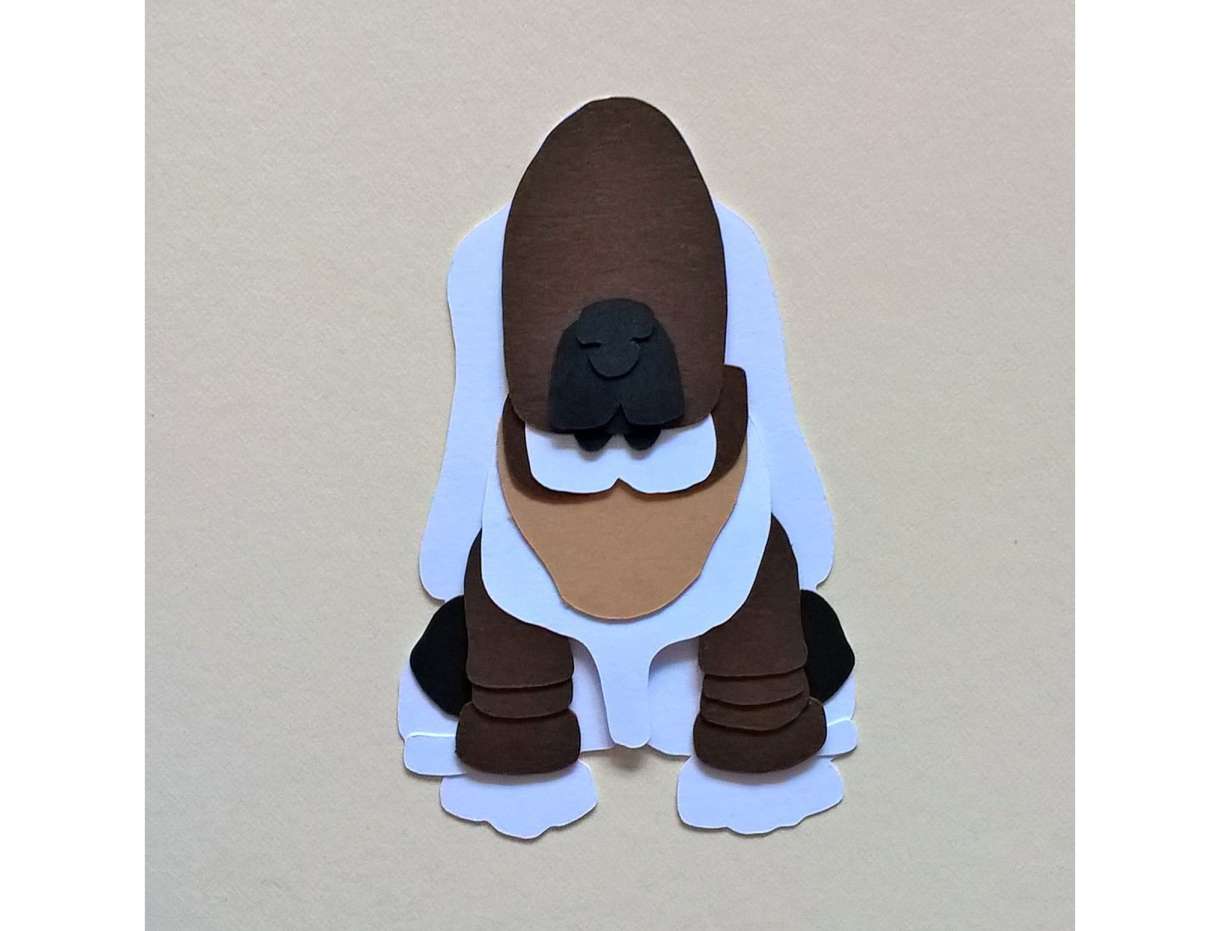
From the sketch you trace out the different parts on to paper. If you are using a die cutter you then scan the image into the machine and you have your separate parts. On the image that follows I have labelled all the traced out parts with card colour to make it a bit easier also allowing you to use it as a reference through out the process. If you are using a scapel you can trace the images straight on to the card colour you have selected.
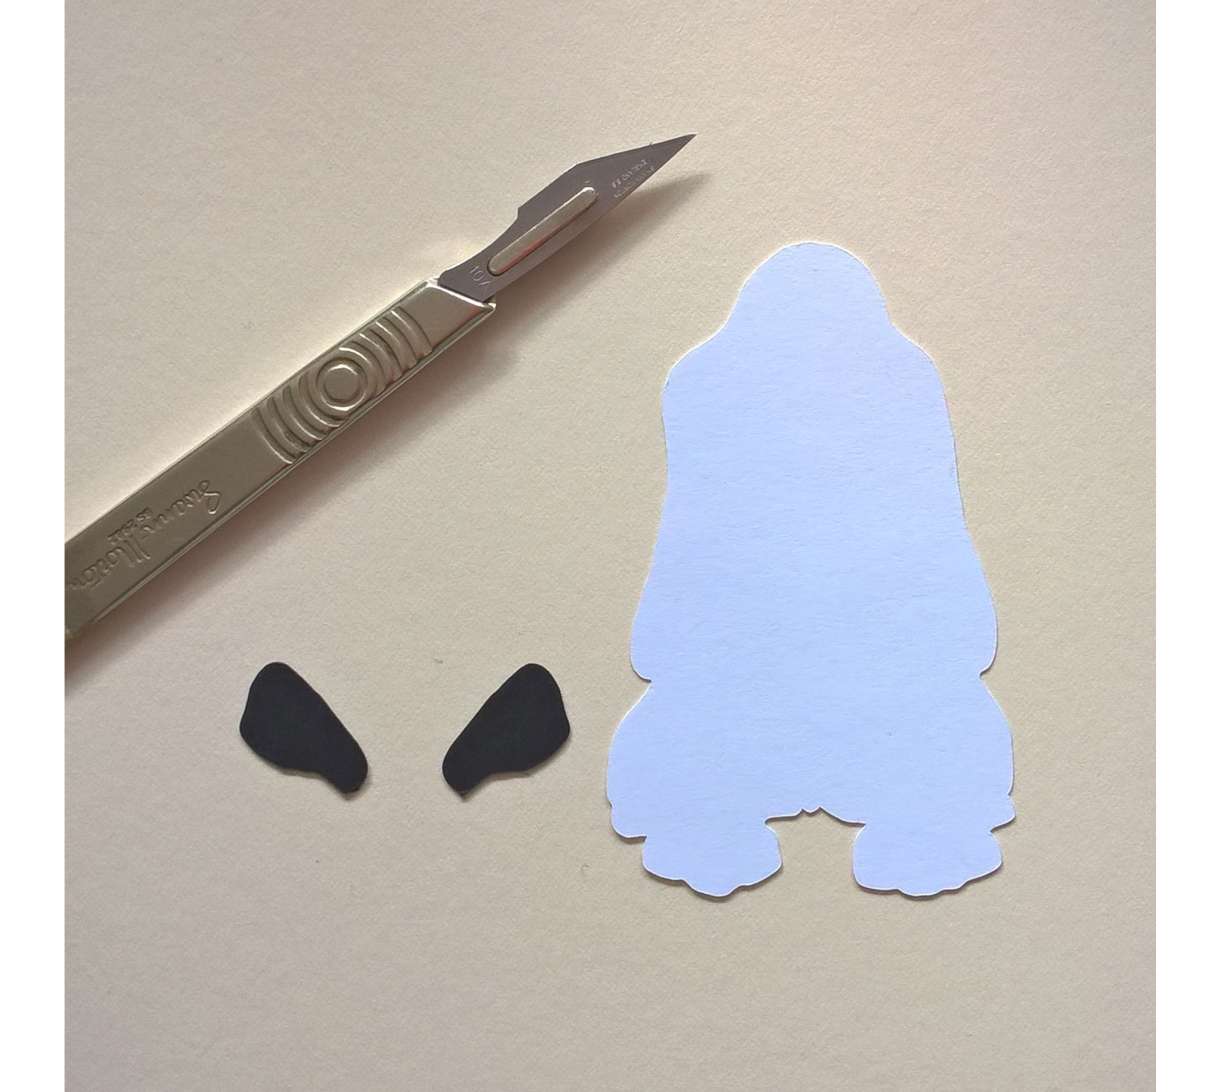
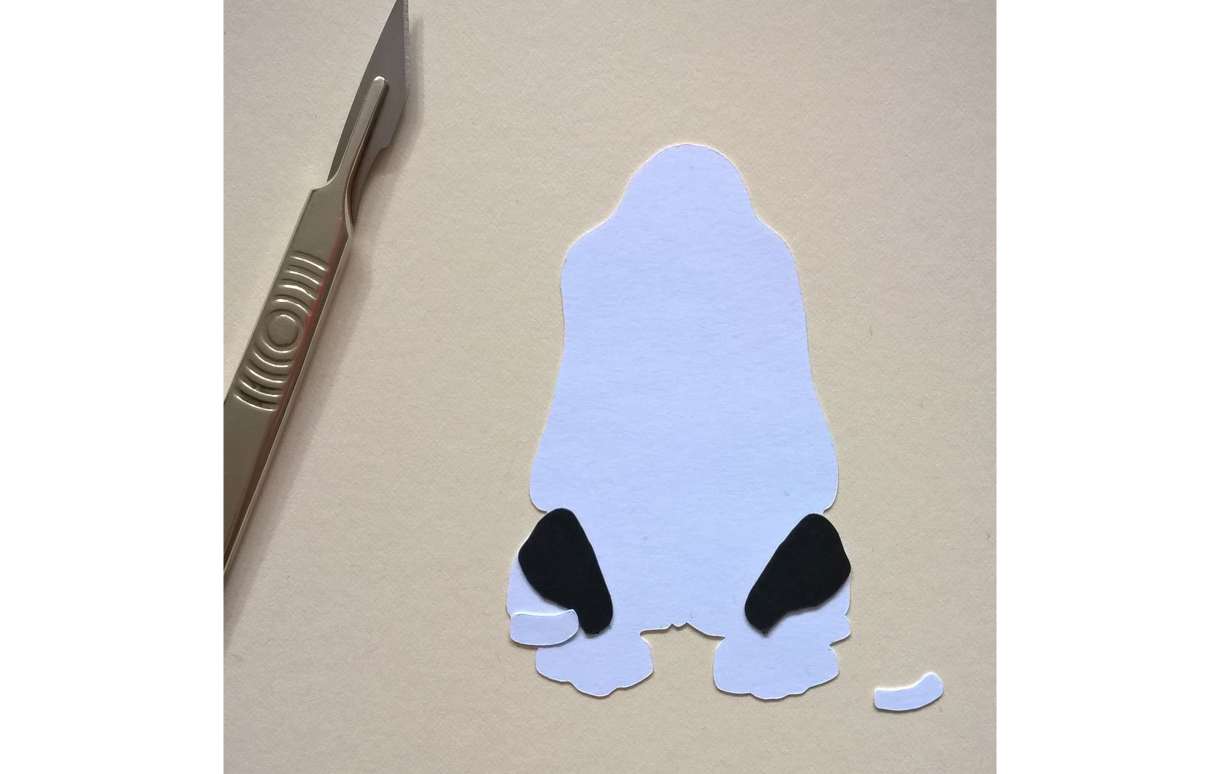
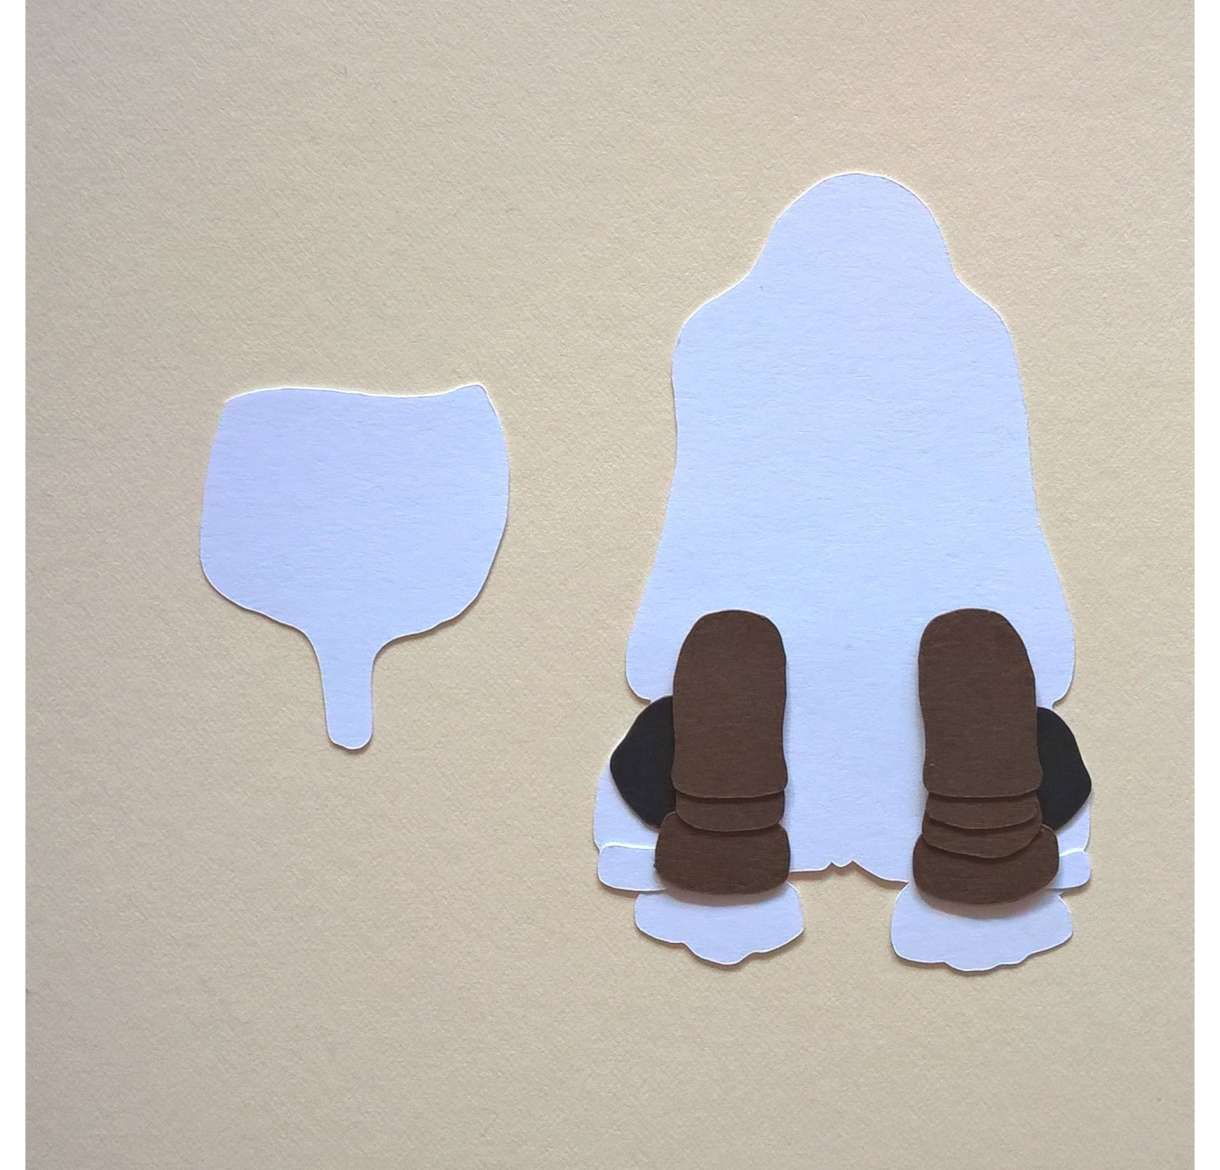
First of all you cut out your white main outline of the dog.
Then you cut out your black card sides, left and right.
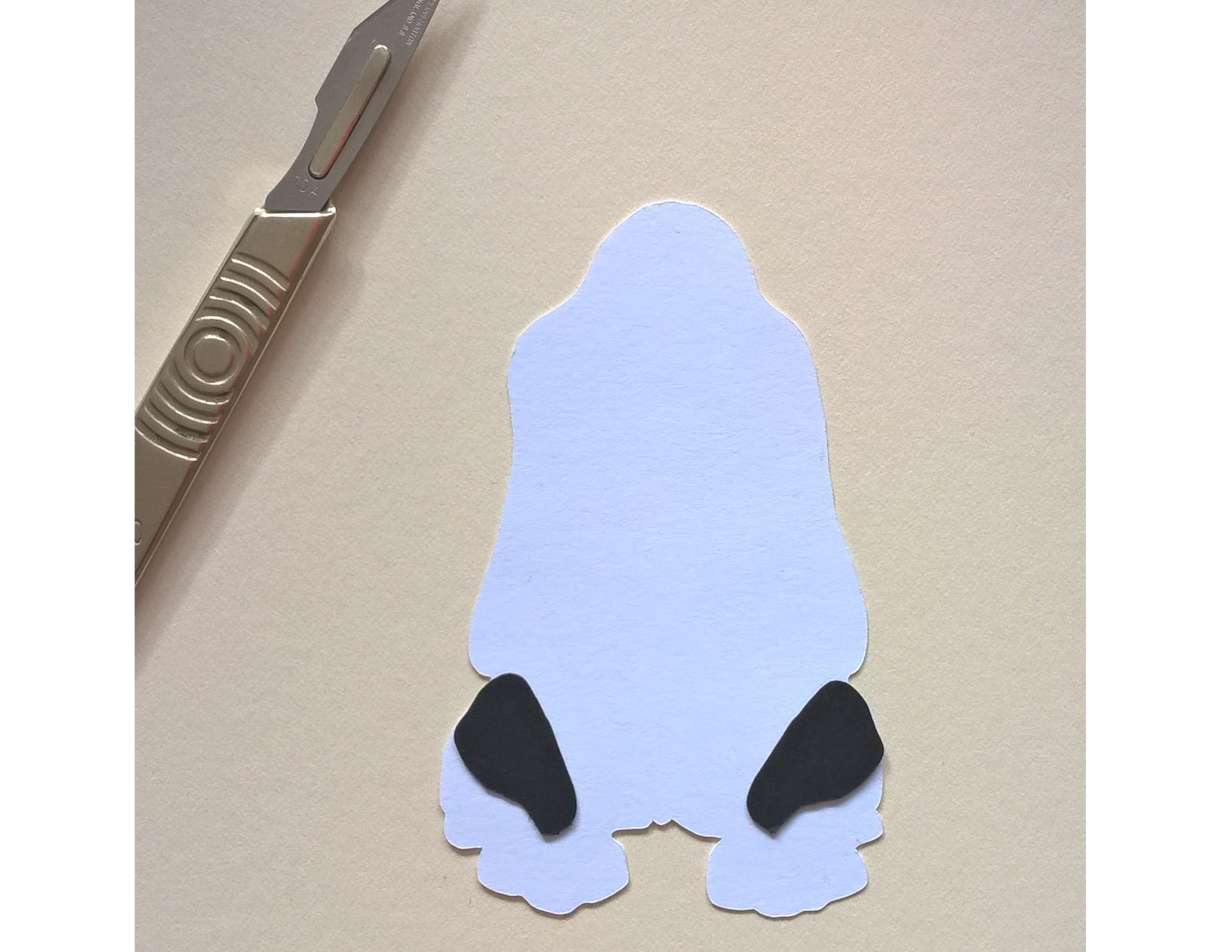
Then you stick the black sides on the right and left. You can see on the image where to position them.
Once the sides are glued on you cut out and stick on your lower right and left back leg in the white card, see image six for positioning.
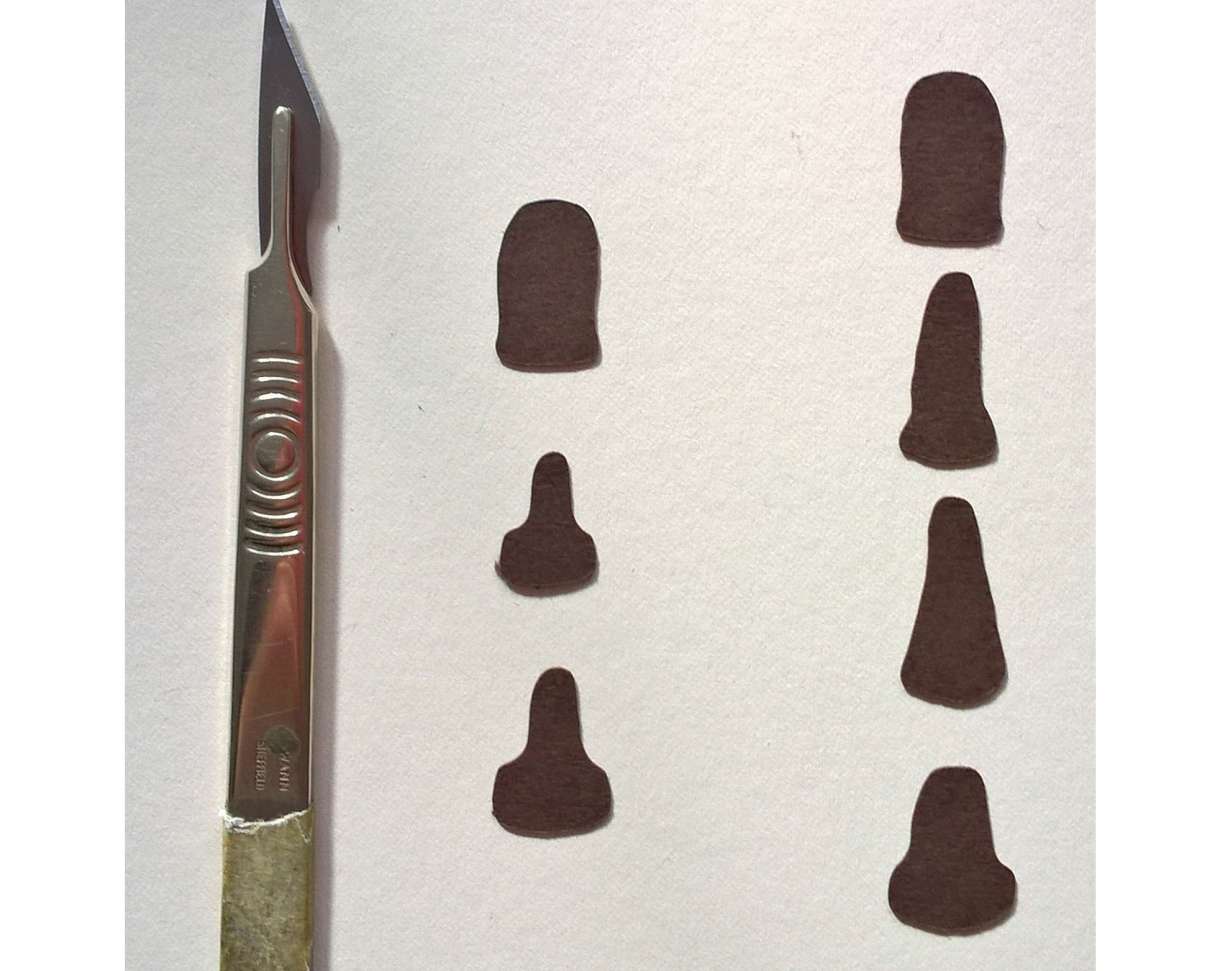
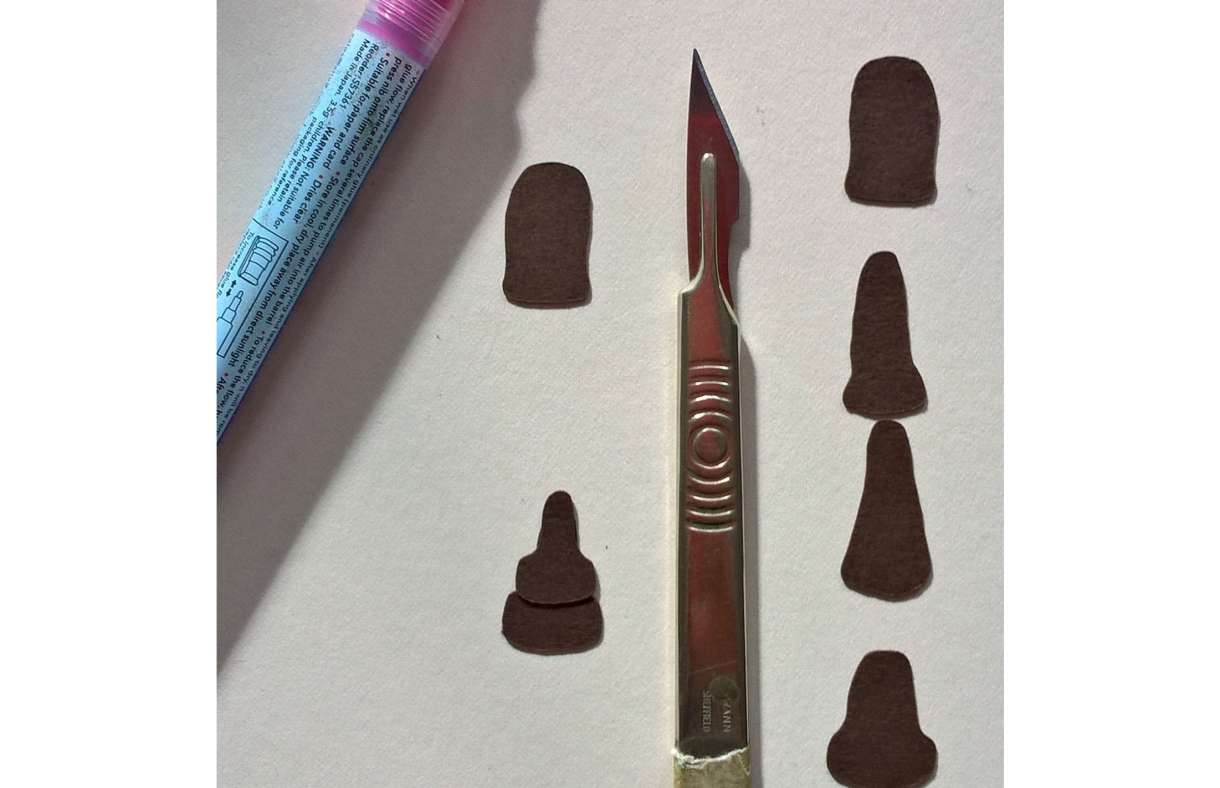
Then you cut out your left and right legs in the mocha brown card.
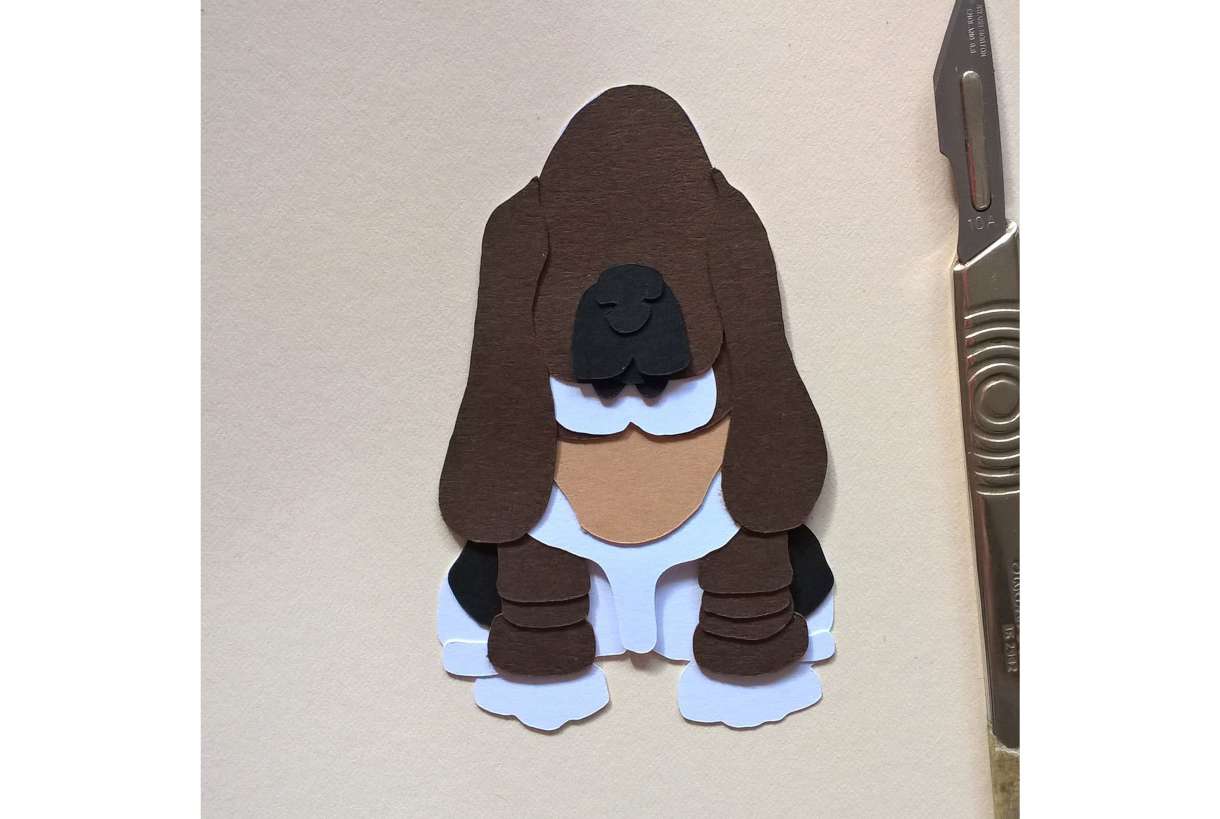
In the previous image it shows that to the left side of the scalpel is the left leg. You stick the middle cut out on top of the lower one.
Stick the top onto the middle one. You then repeat this with the right leg cut outs.
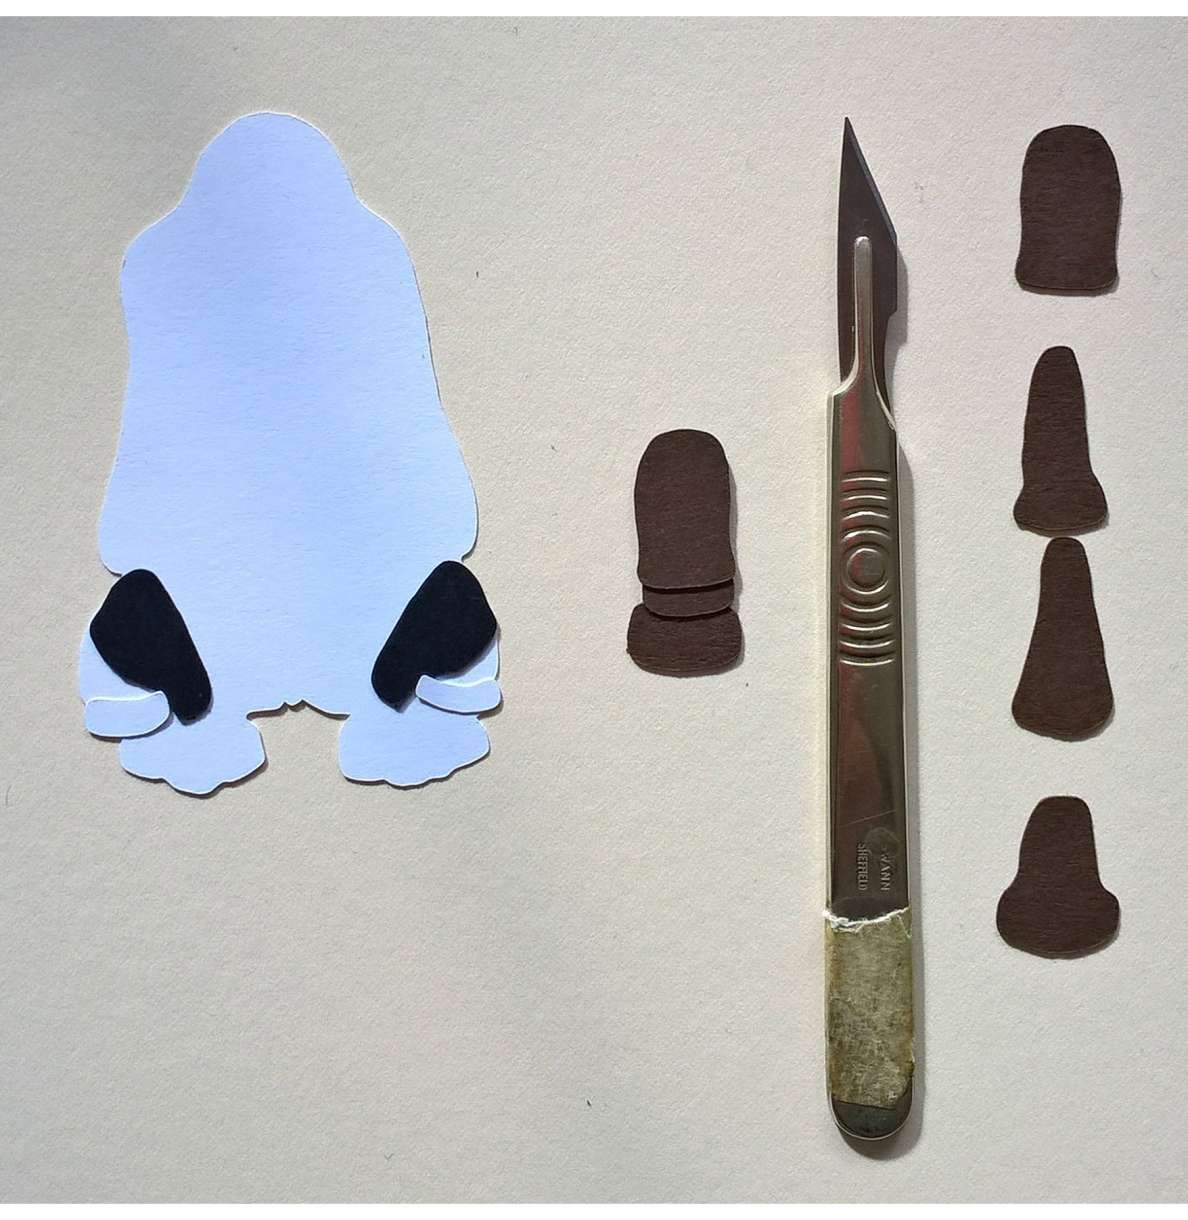
Once you have your completed legs you can place and stick them on to the main body of the hound.

Then you cut out your lower chest in the white card. Image two will help you locate the exact part.
Then you stick it on using the dangly middle bit to line it up with the middle of the main body of the hound.
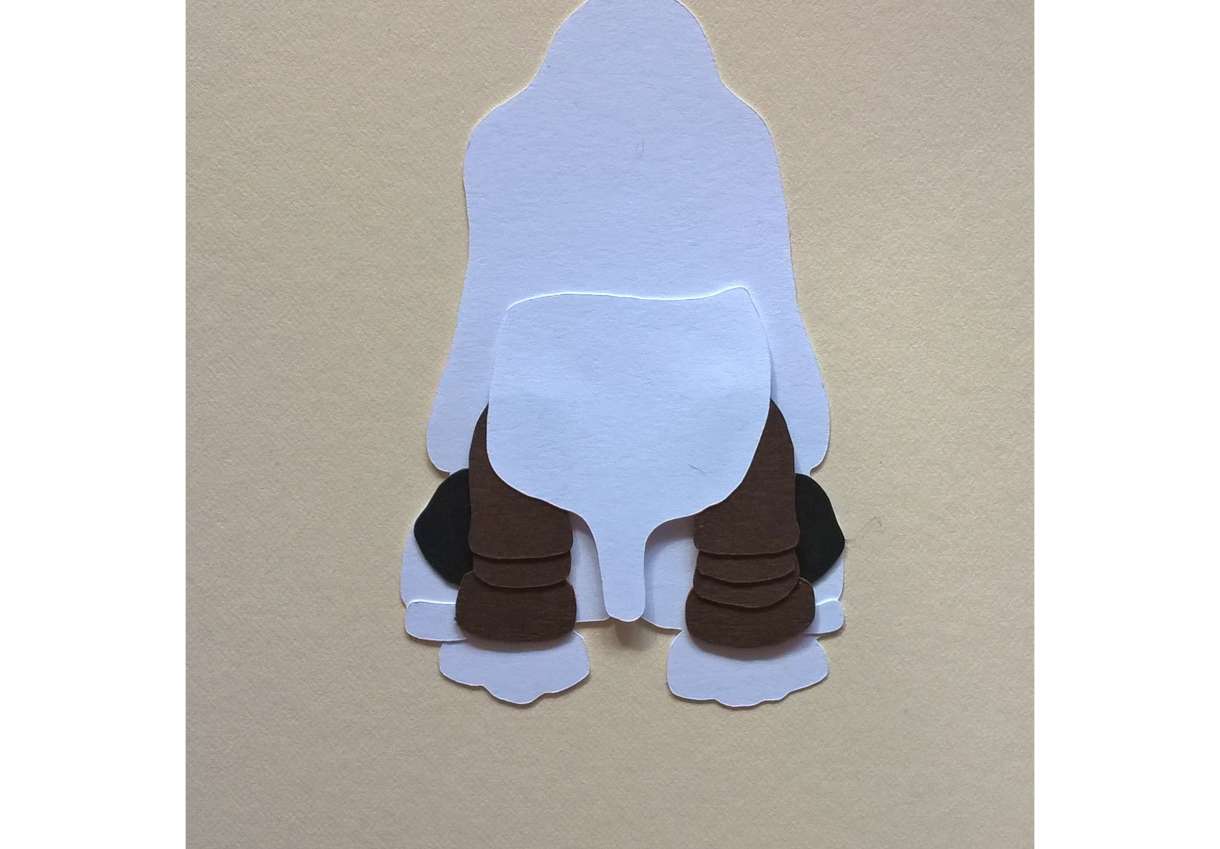
Then you cut out the top chest in the buff smooth card and stick this on top of the lower white chest.
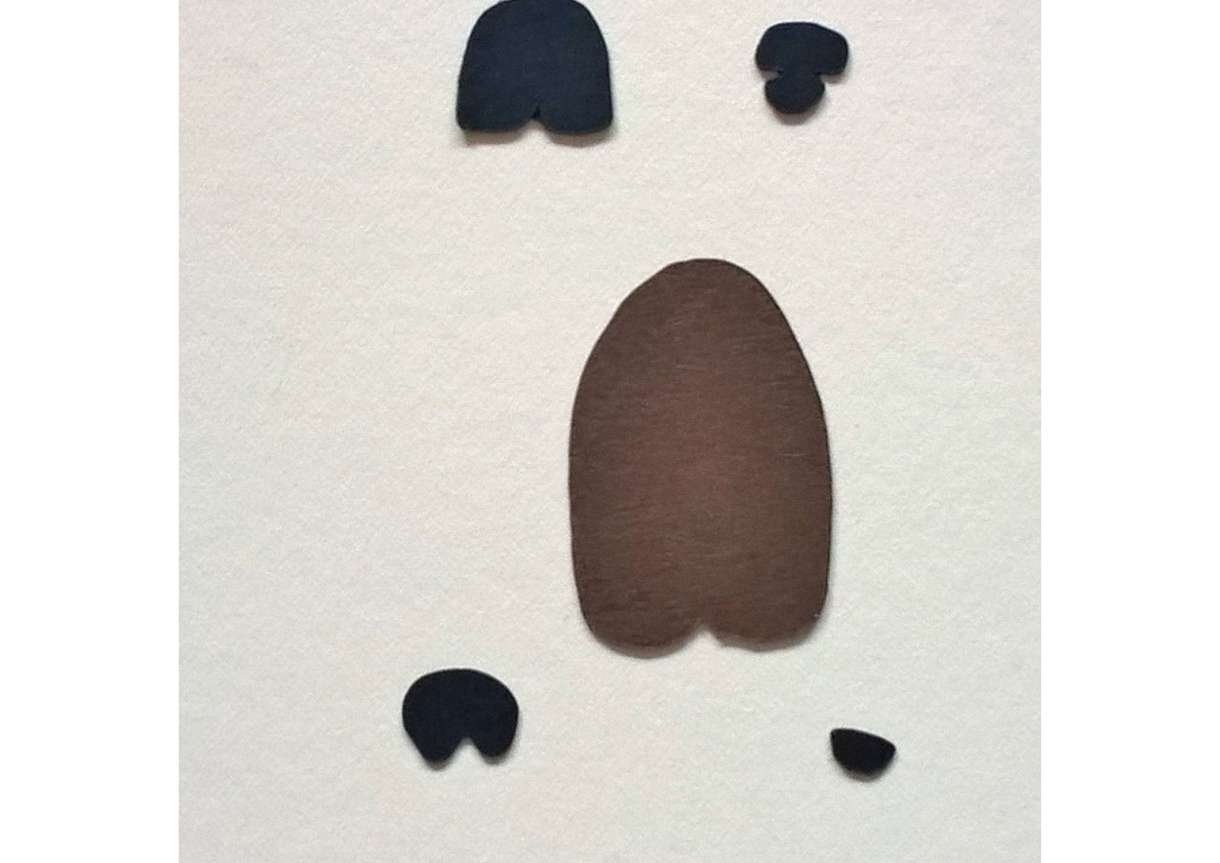
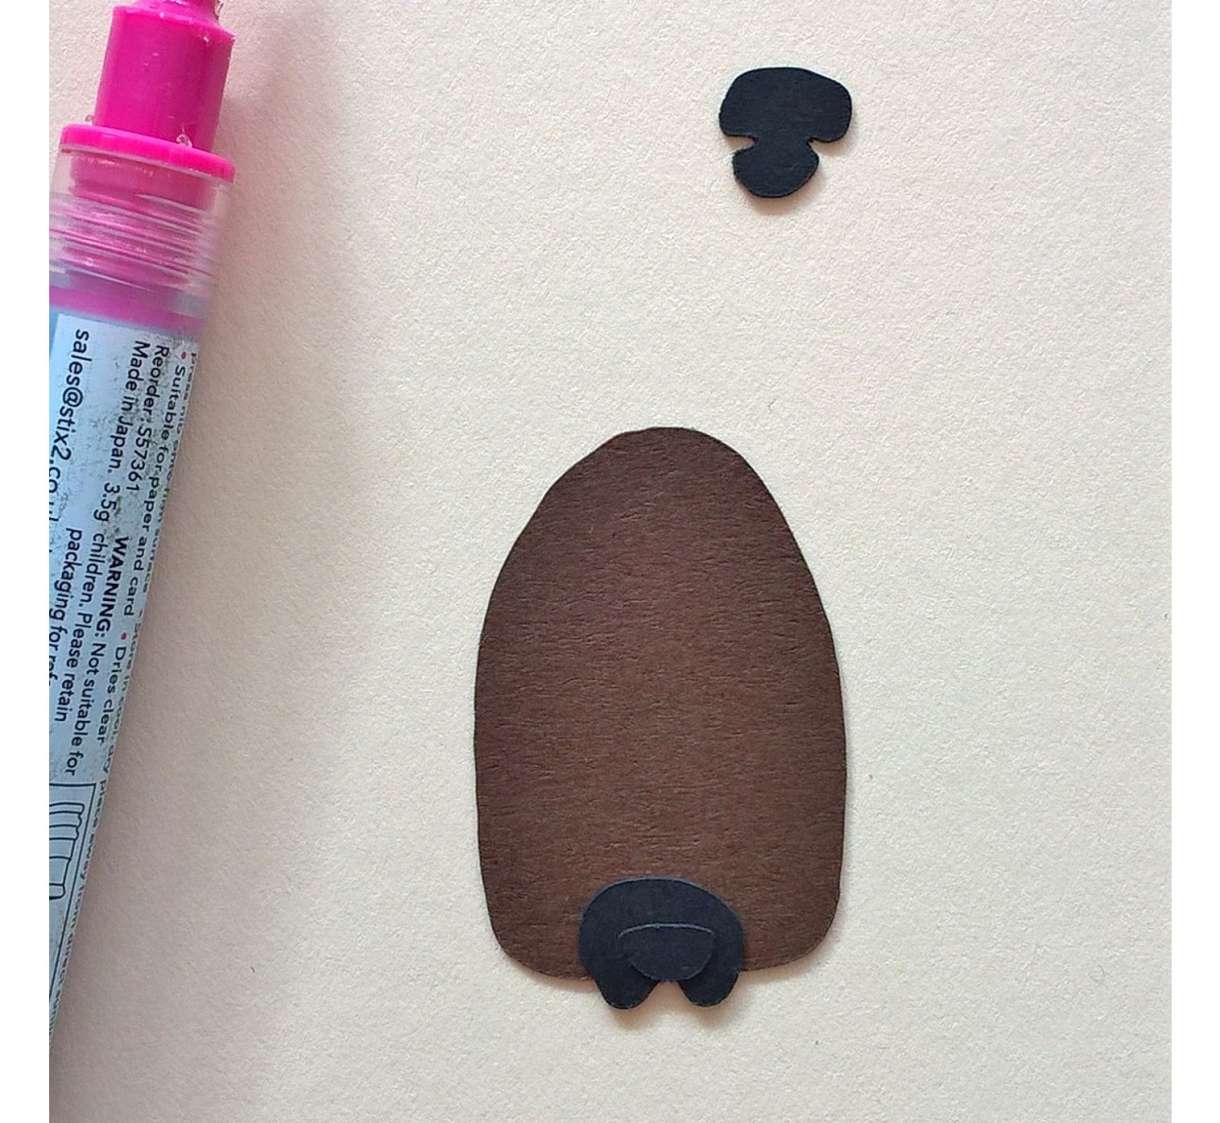
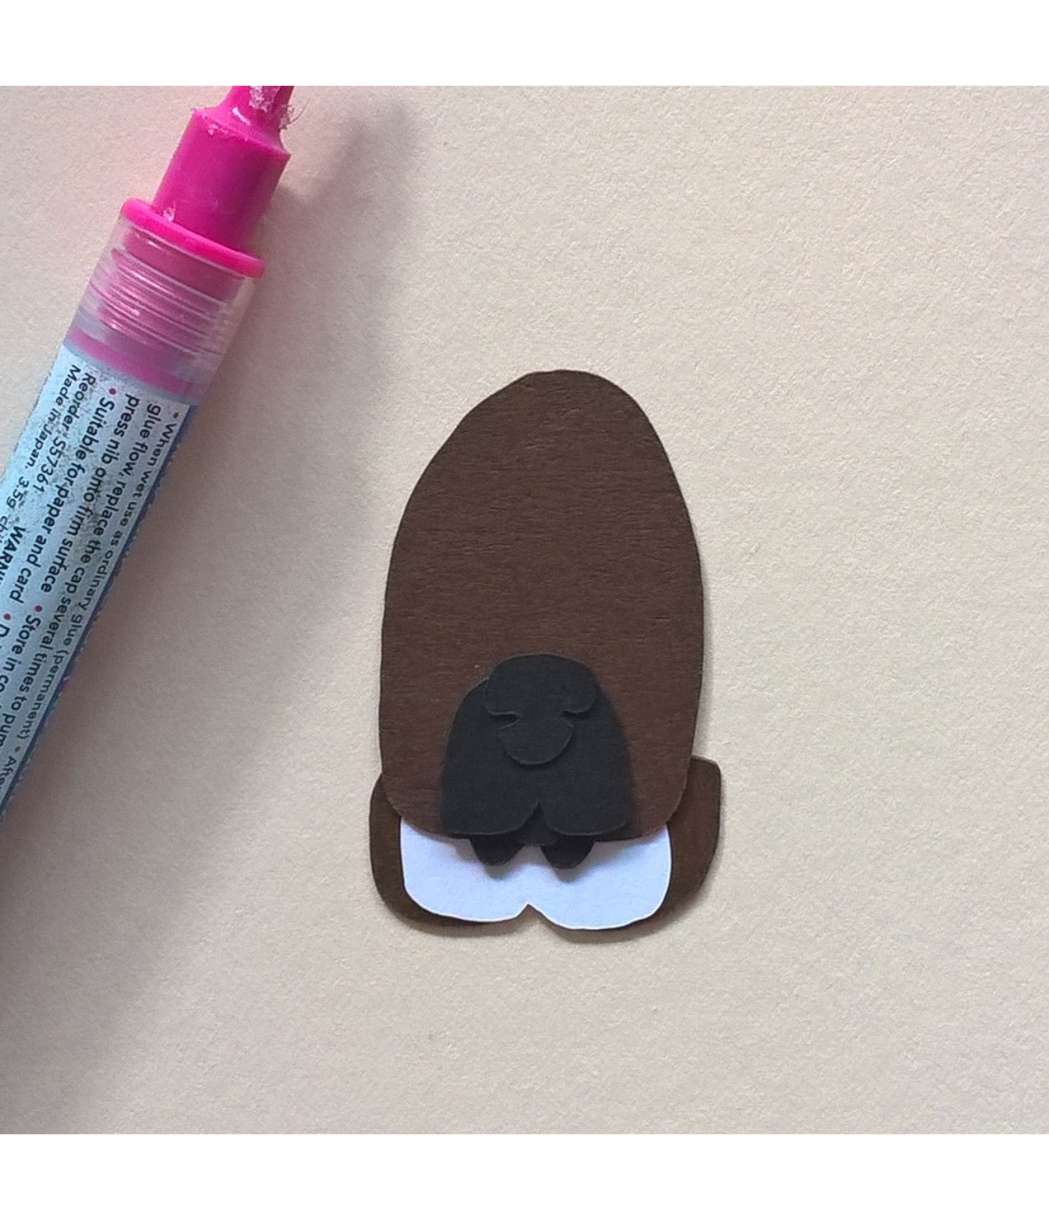
You can then move on to cutting out your head parts. The mocha brown face, the black bottom lip, the black lower lip, the black top lip and the black nose. The terms I have used here reference back to image 2 so you can see what they are.
First stick on the black bottom lip.

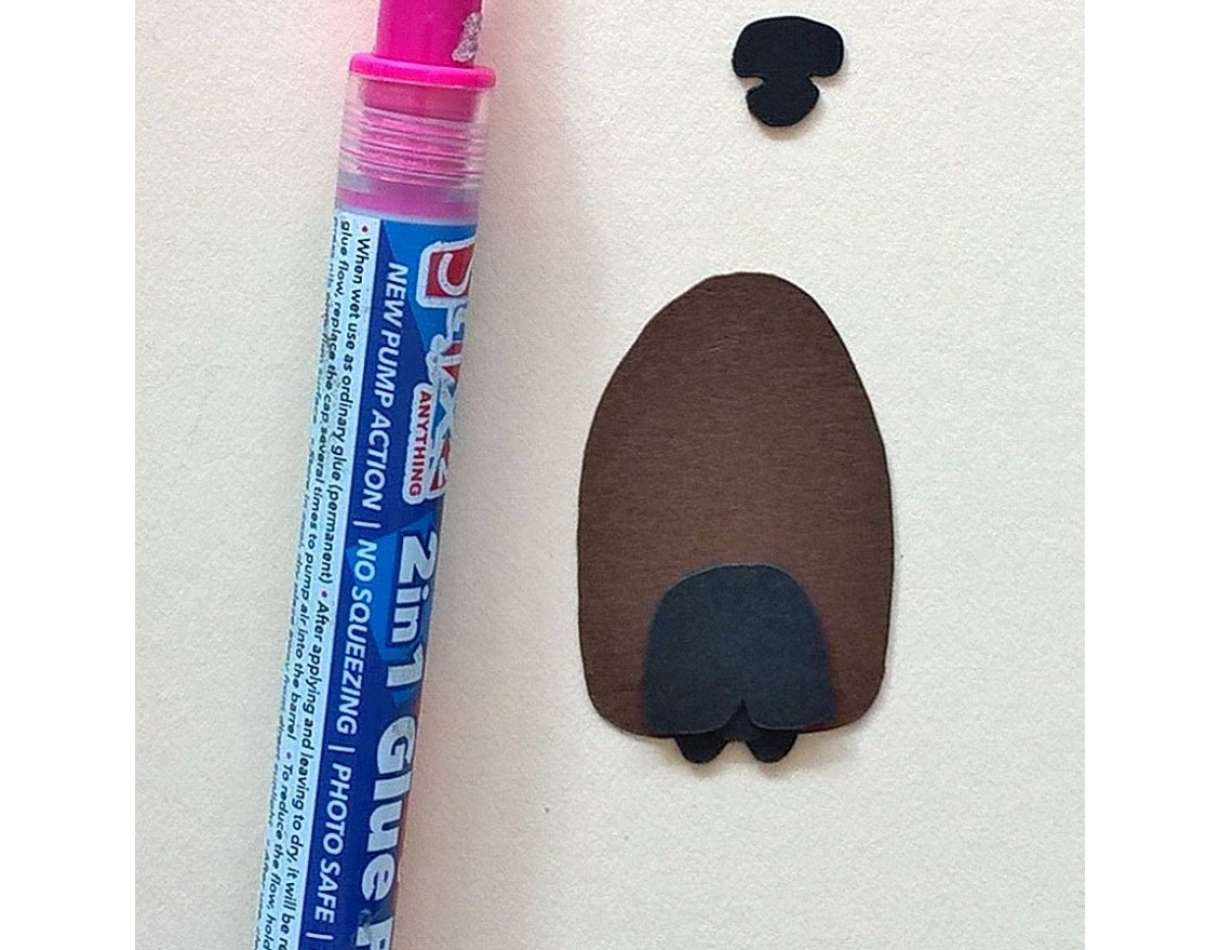
Then glue on the black lower lip
Then stick the black top lip lining up the lips with the bottom of the face, see the next image.
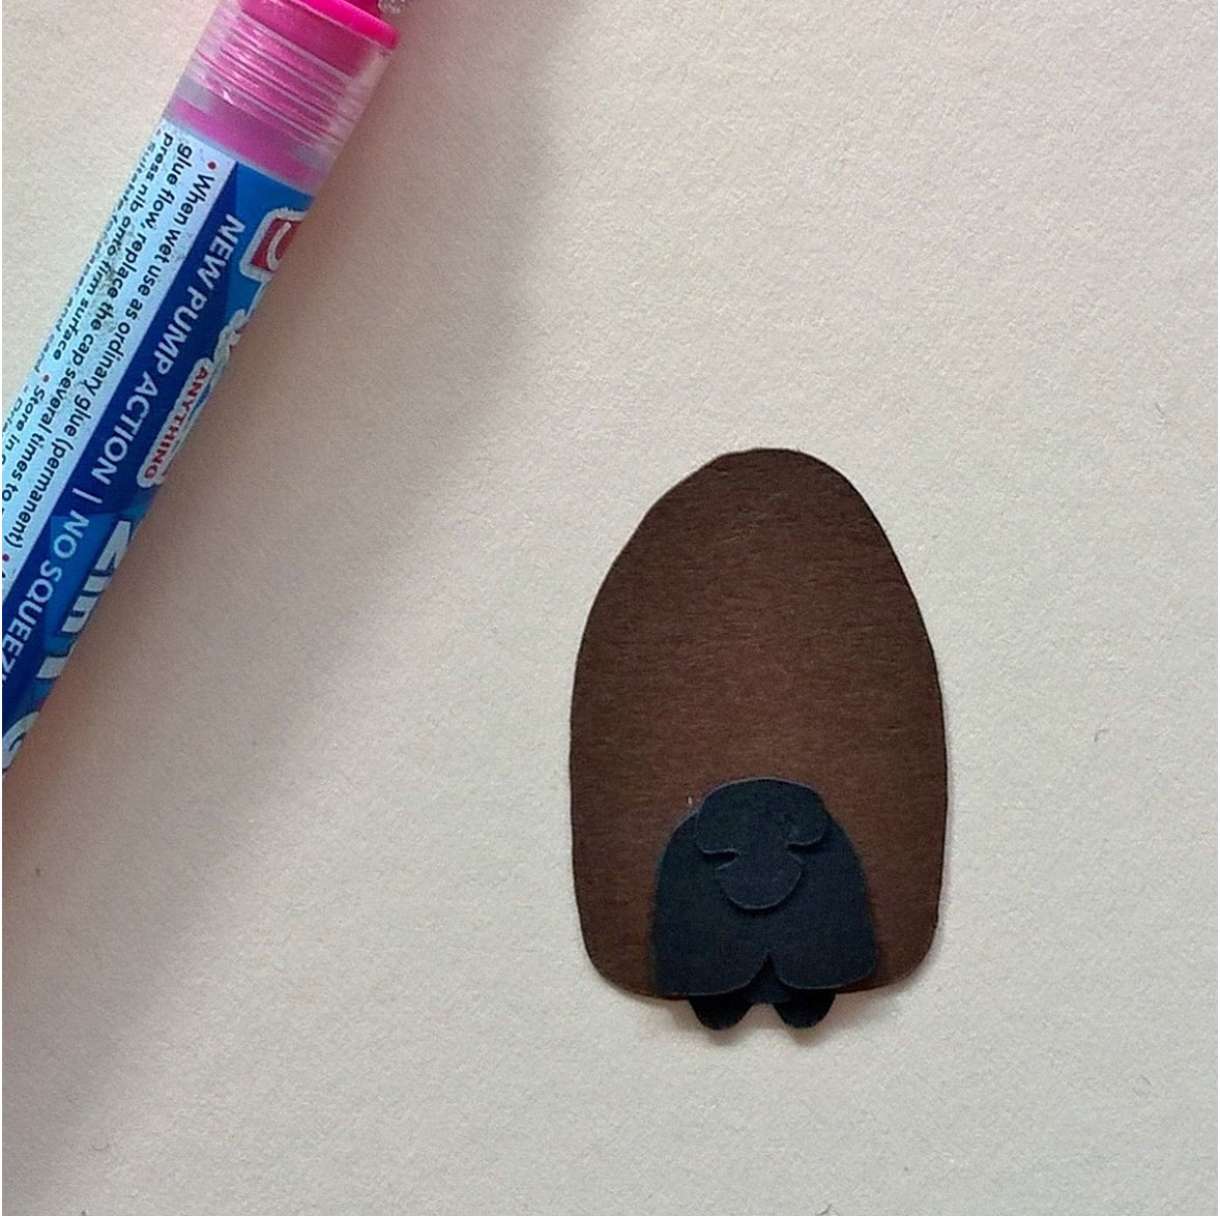
When sticking on the nose you want to leave a gap between the bottom of the nose and lip, pushing the top of the nose up a bit from the top lip.
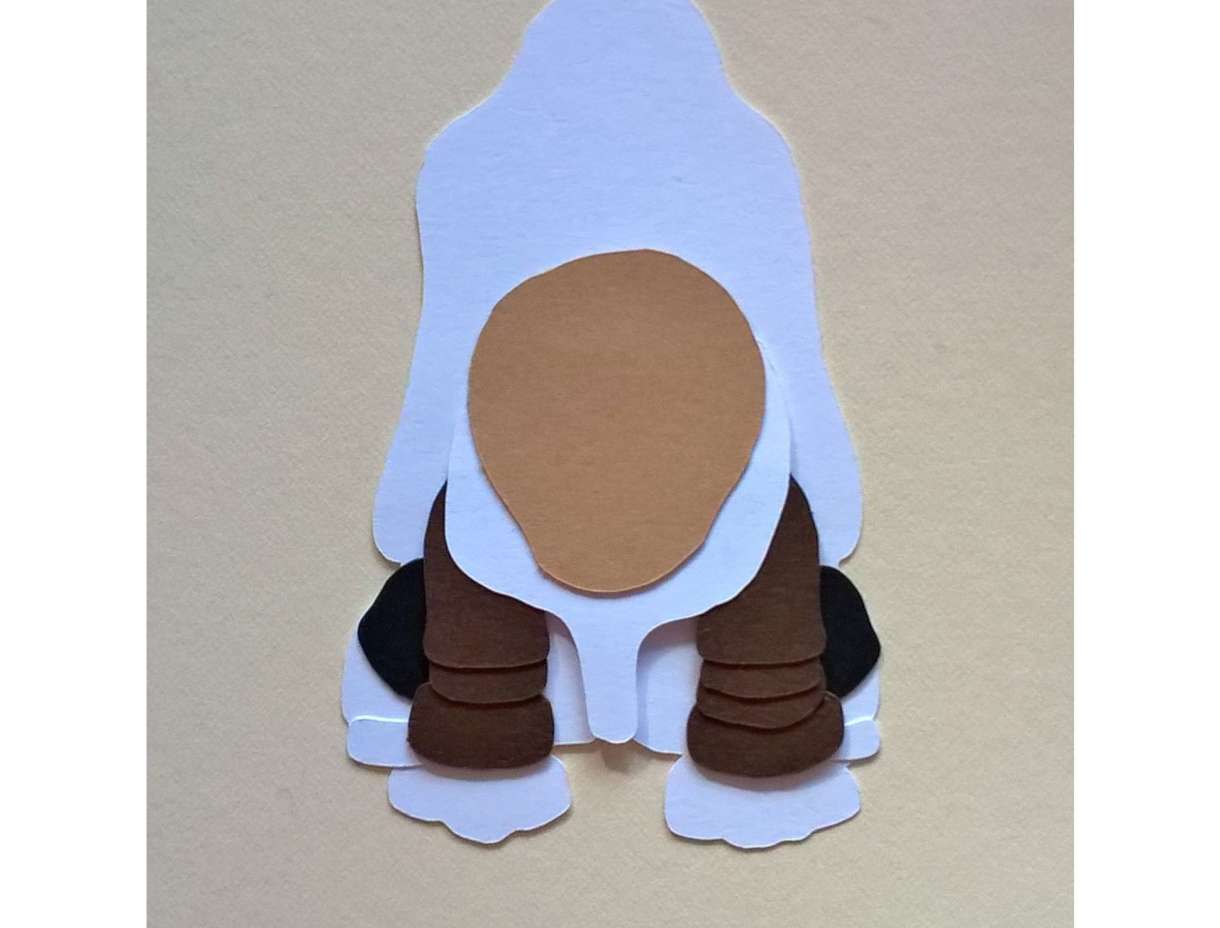
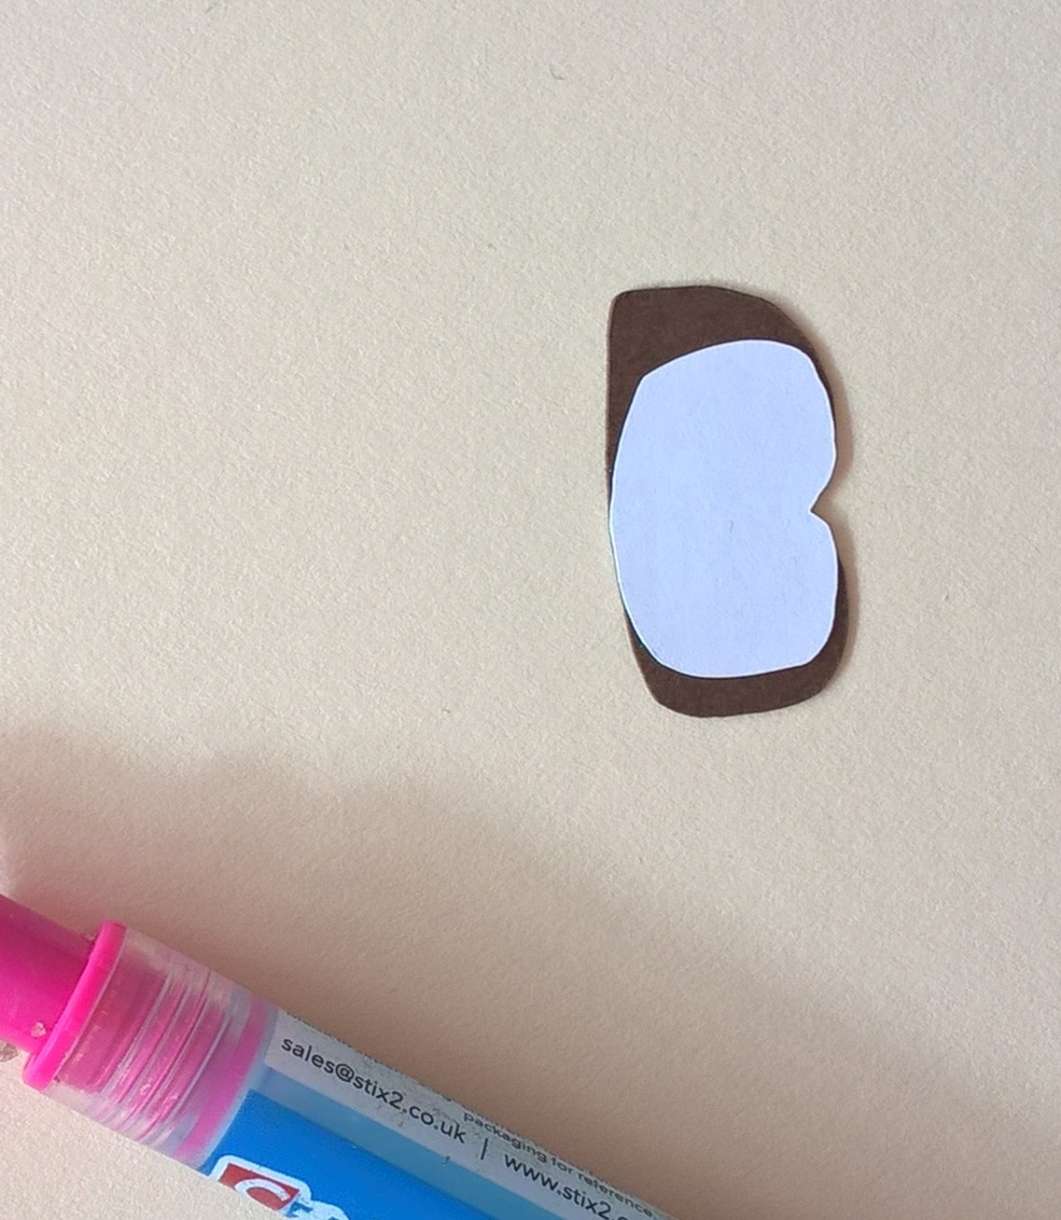
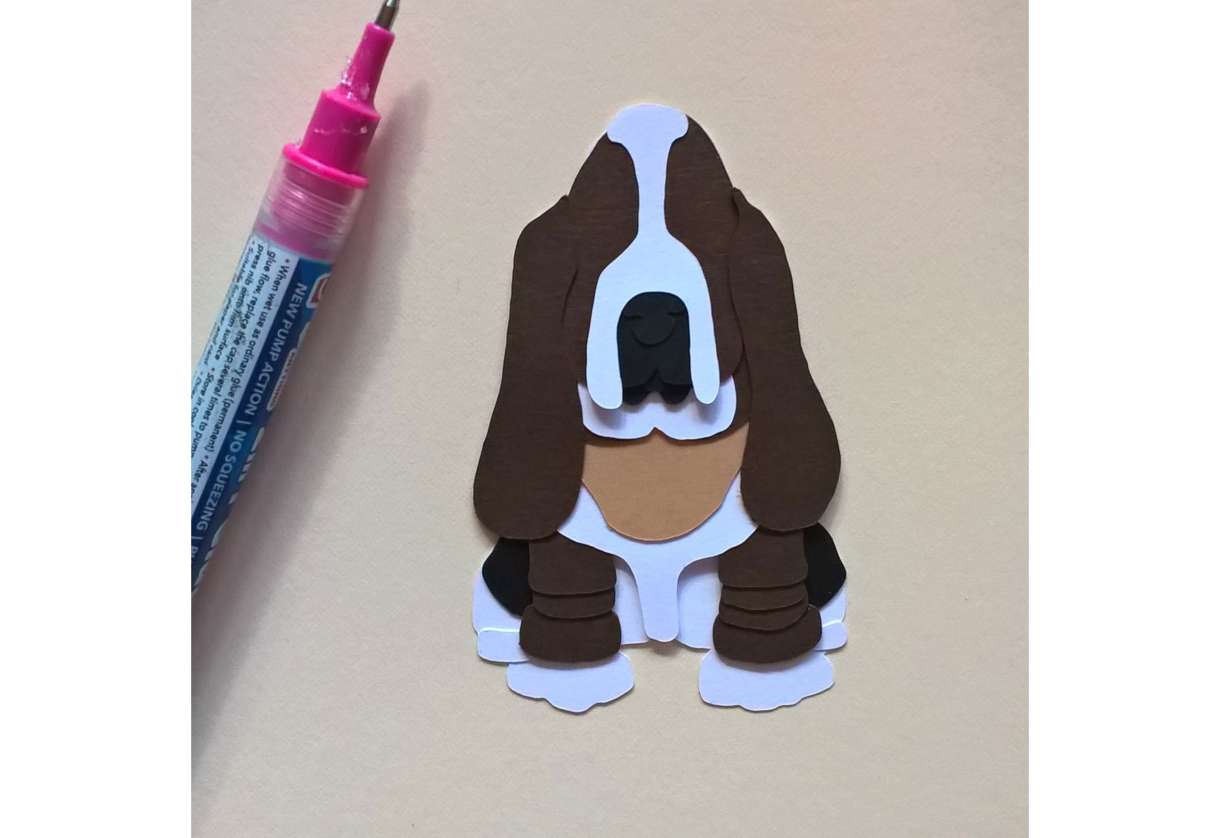
You then want to cut out the brown mocha under face chest and then cut out the white under face chest. You then stick the white on top of the brown placing the dip on top of the dip to get the right line
Then you get the face and stick it on top of the white and brown chest, see next image for exact position
You then stick the head and chest on to the main body
Once the chest is glued, cut out the left and right ears in the mocha brown.
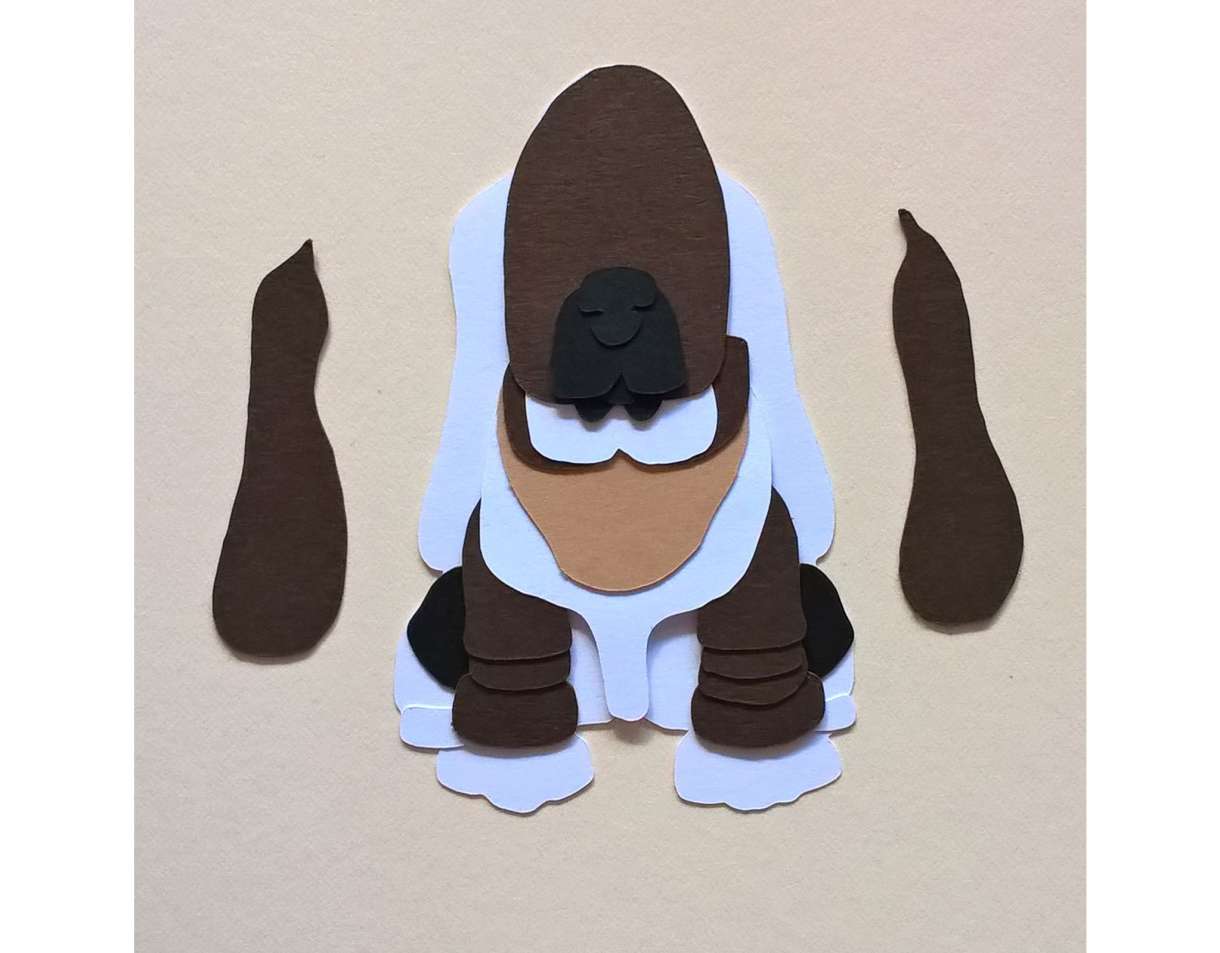
Then you stick them on using the white outline of the ears on the main body as a guide.
You then cut out the white marking, best described as the wishbone, in white card.
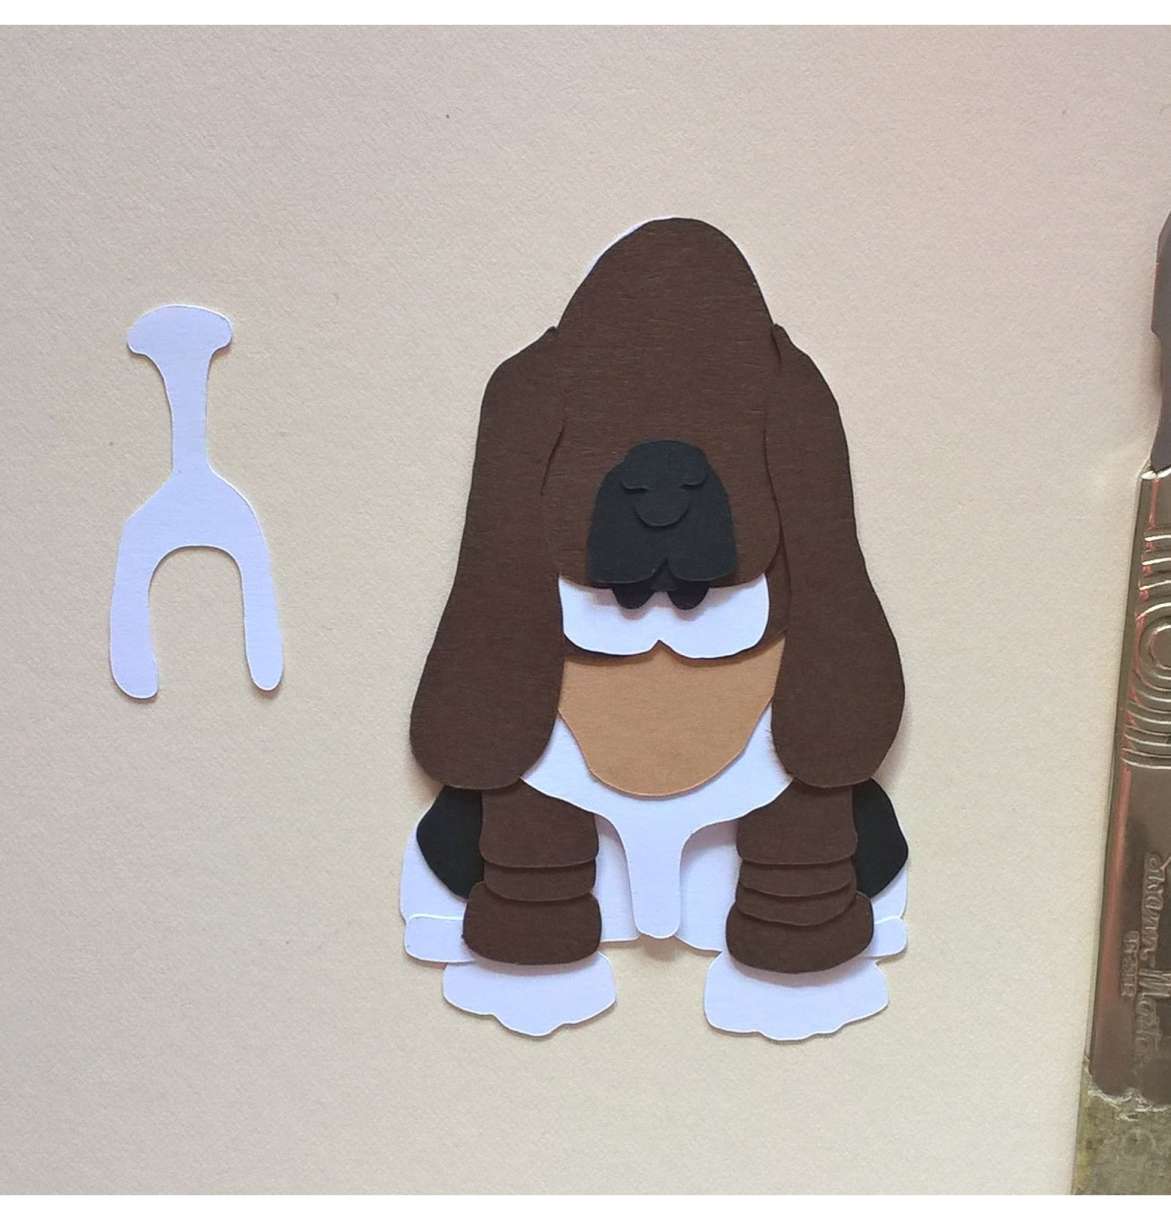
Stick the wishbone on to the head using the top of the head as a guide, then next image shows the exact position.
Once done, you cut out the eyes for the hound. On the reference page you can see exactly what these images look like.

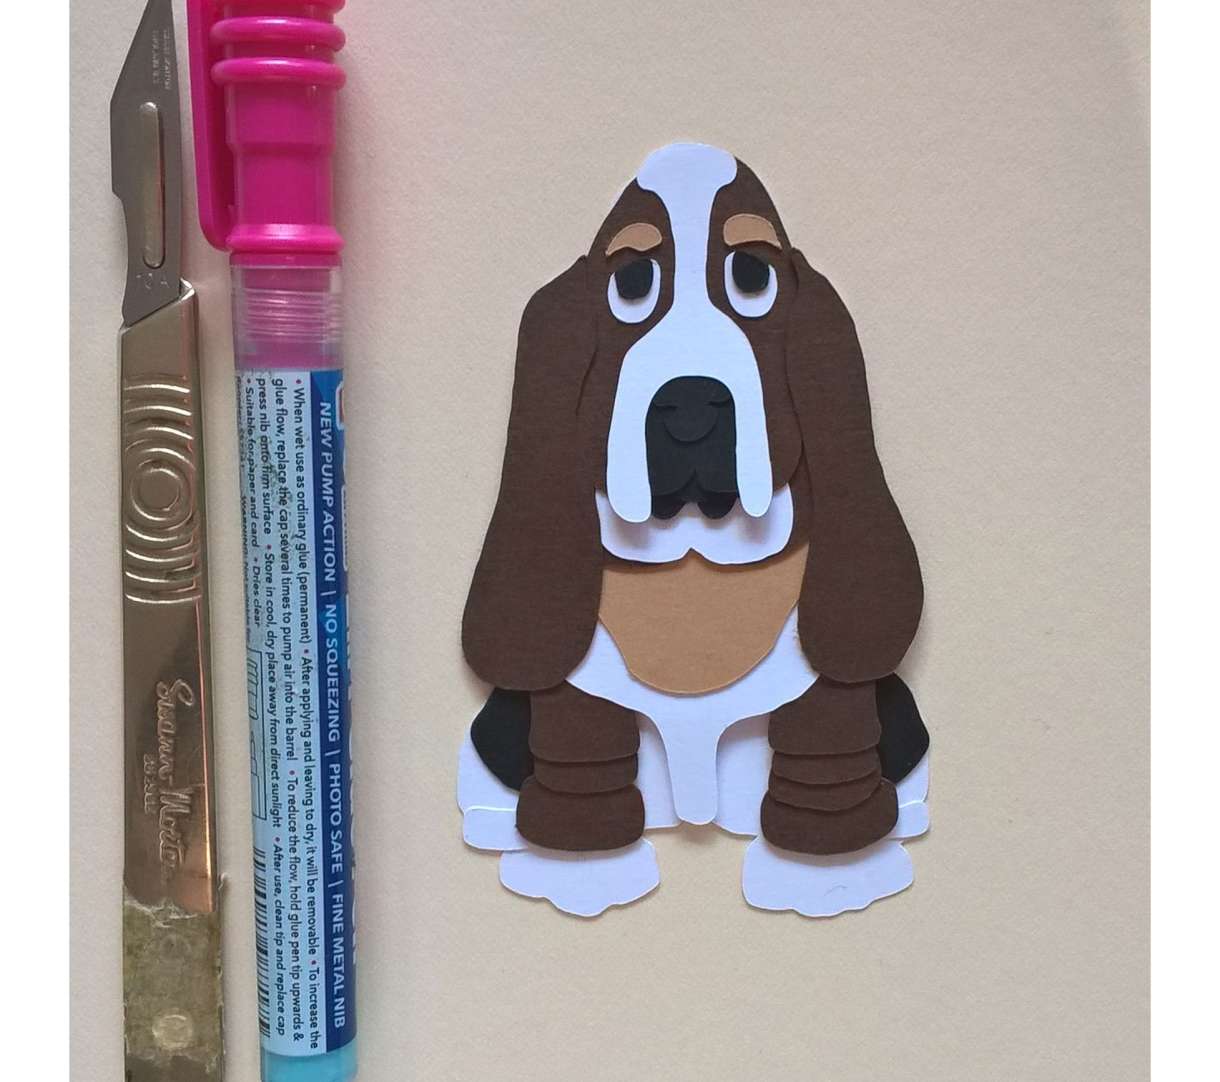
Once completed you stick them onto your hound. Then you cut out the eyebrows using the buff smooth card.
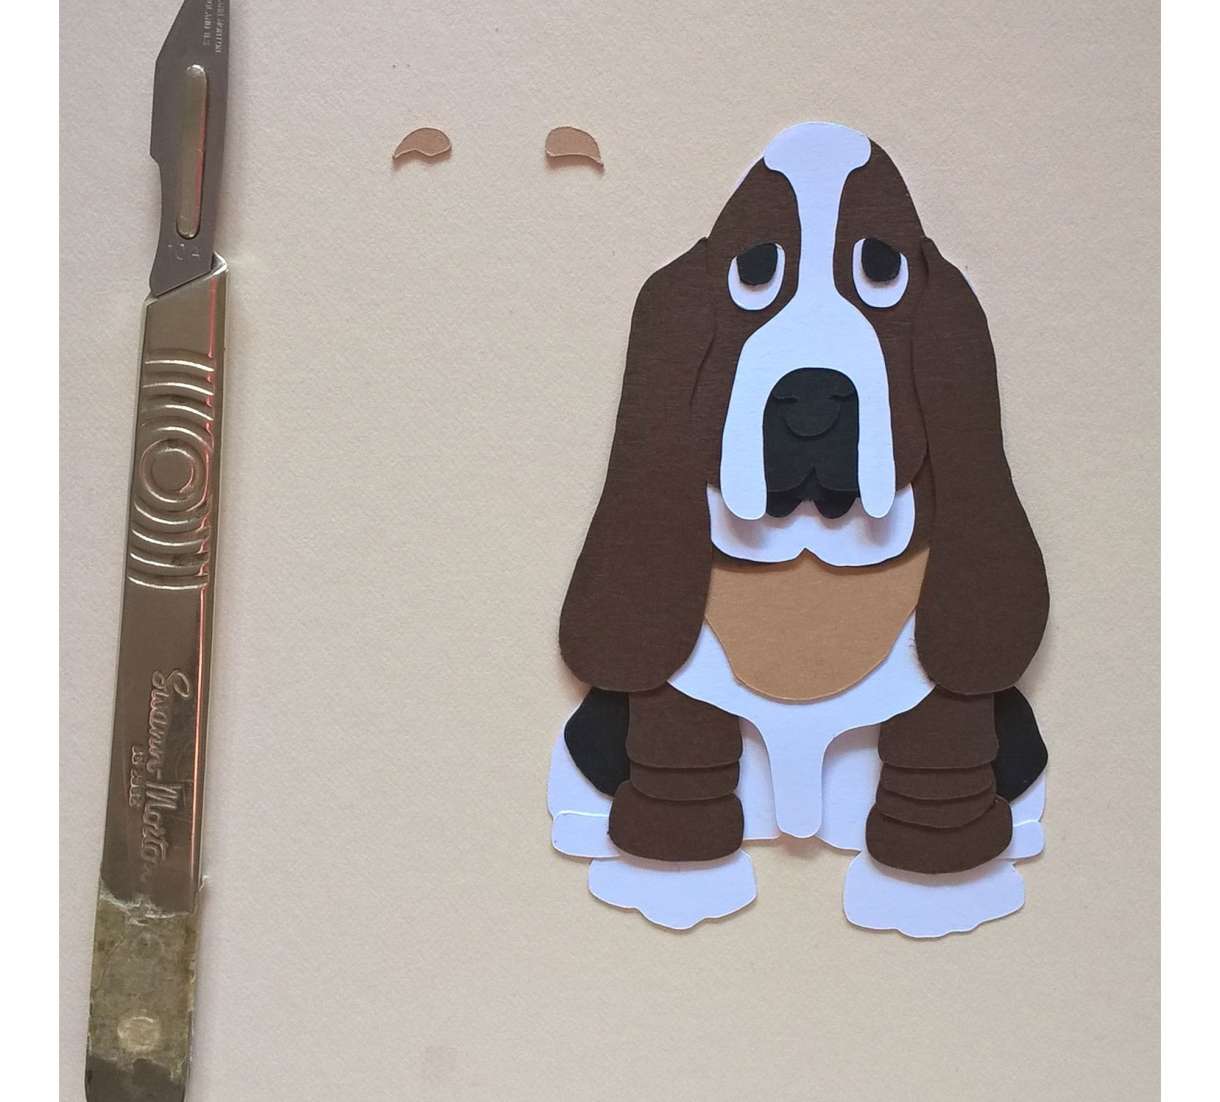
Then stick them on a little above the eyes.
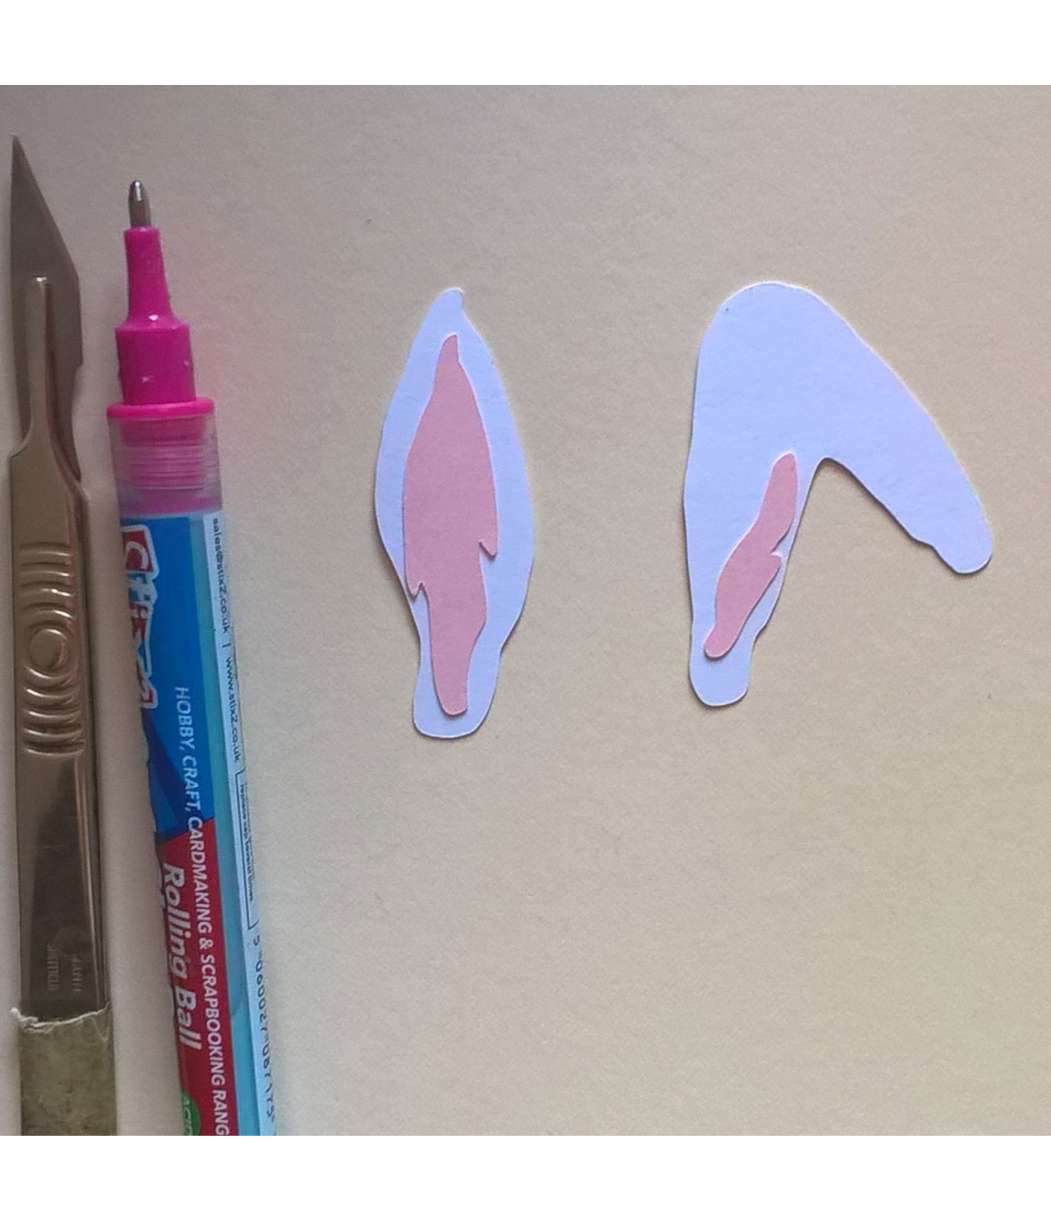
For the bunny ears you cut out the ear using the white card and the inner ear using the baby pink card.
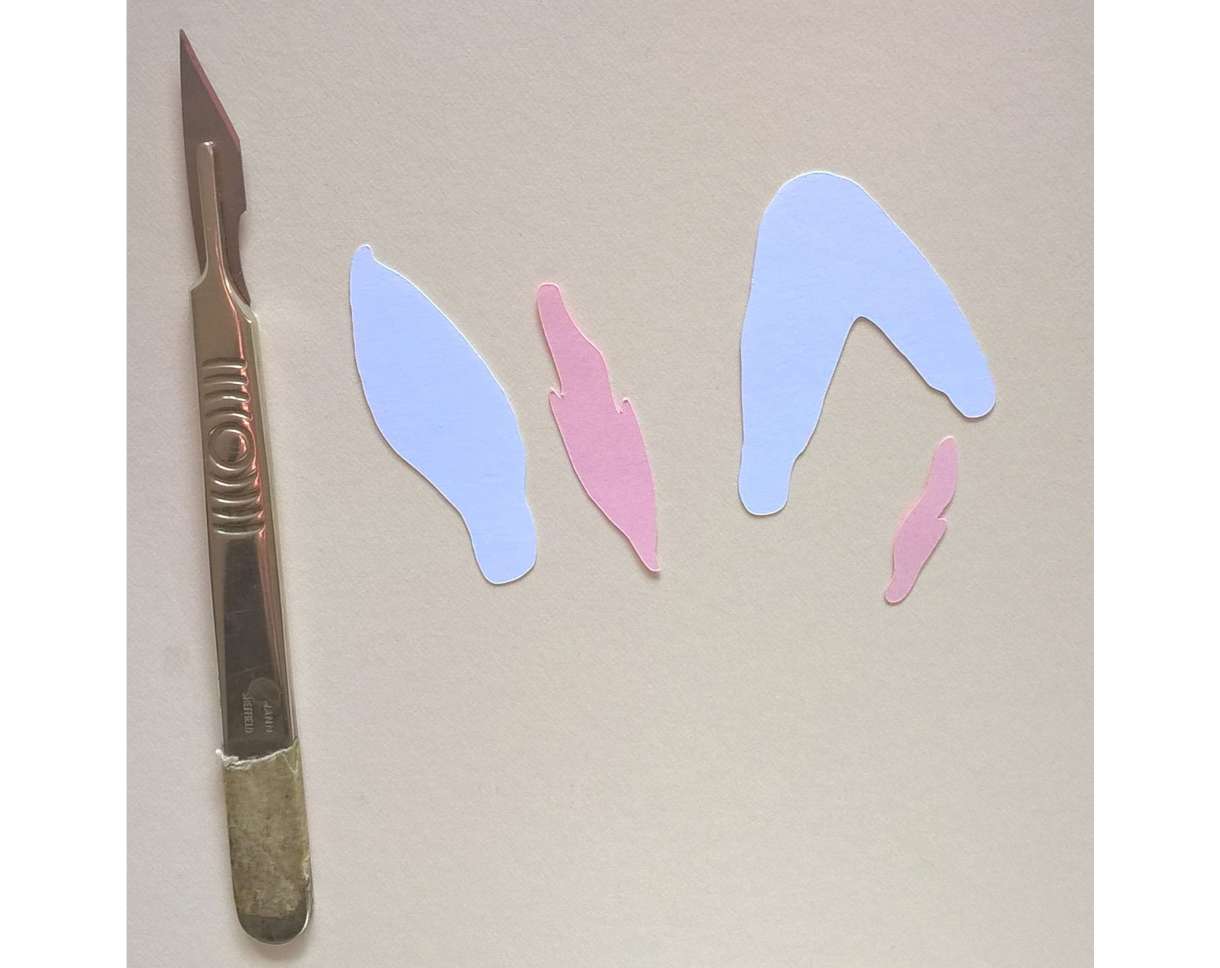
Then stick them on.
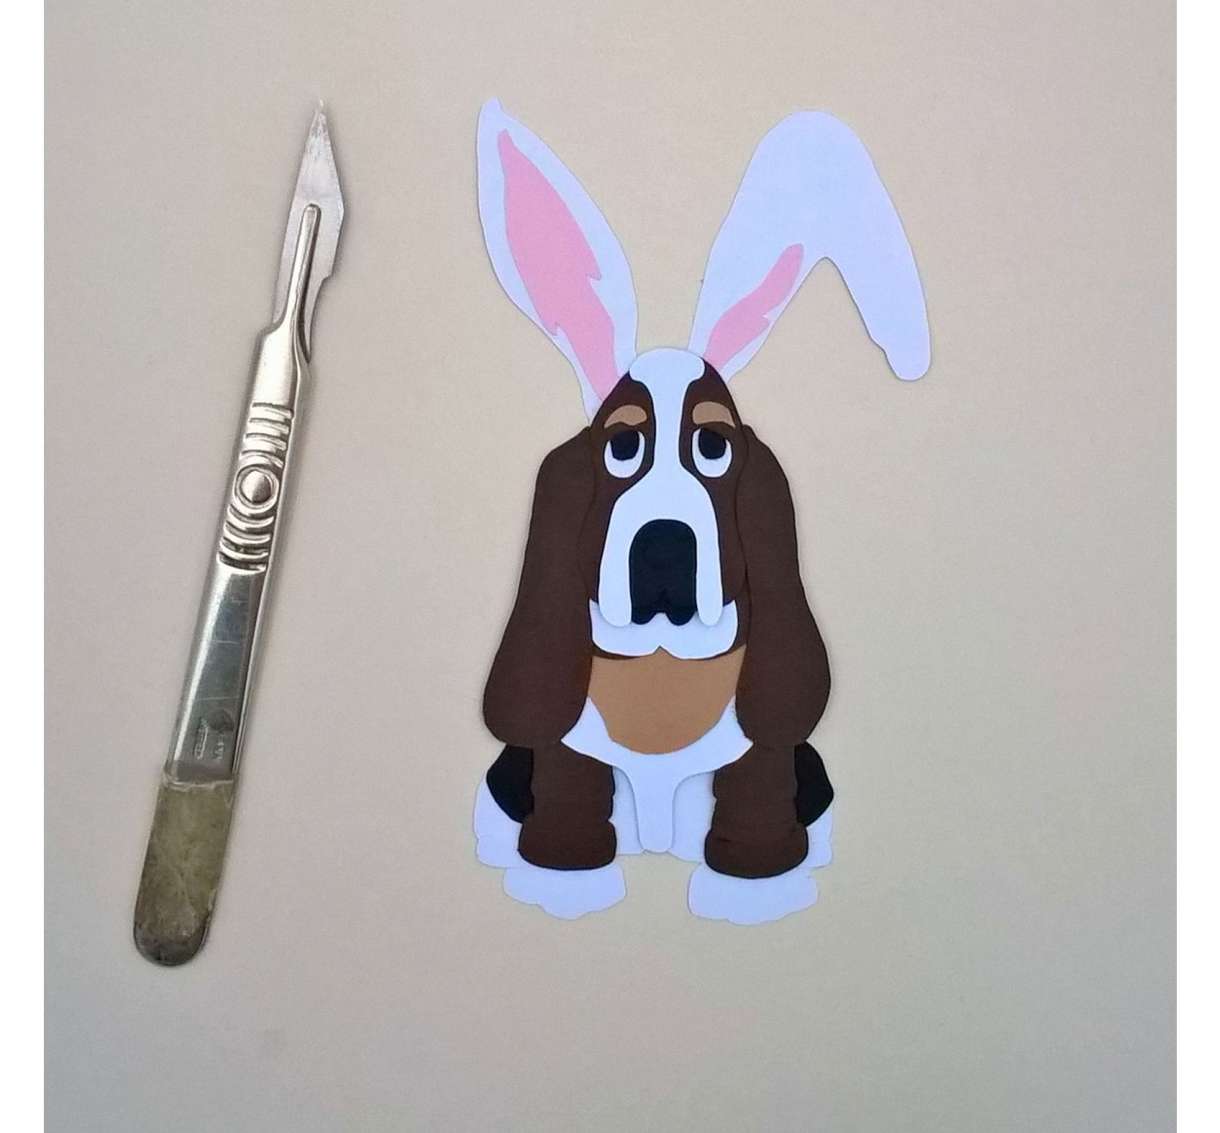
You then place them behind the basset dog's head gluing the bottom of them before placing, to check exact position see next image. And there you have your hound!
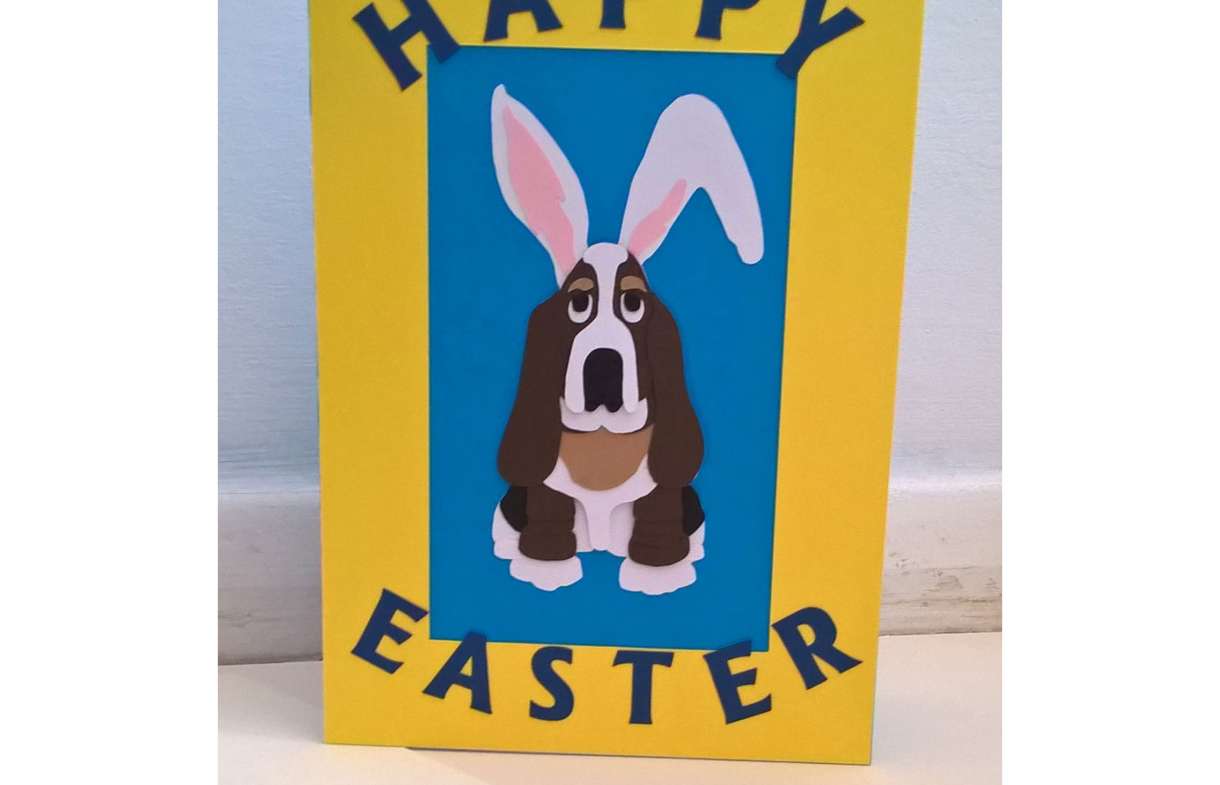
I placed my hound onto a piece of folded blue card and cut out a yellow border.
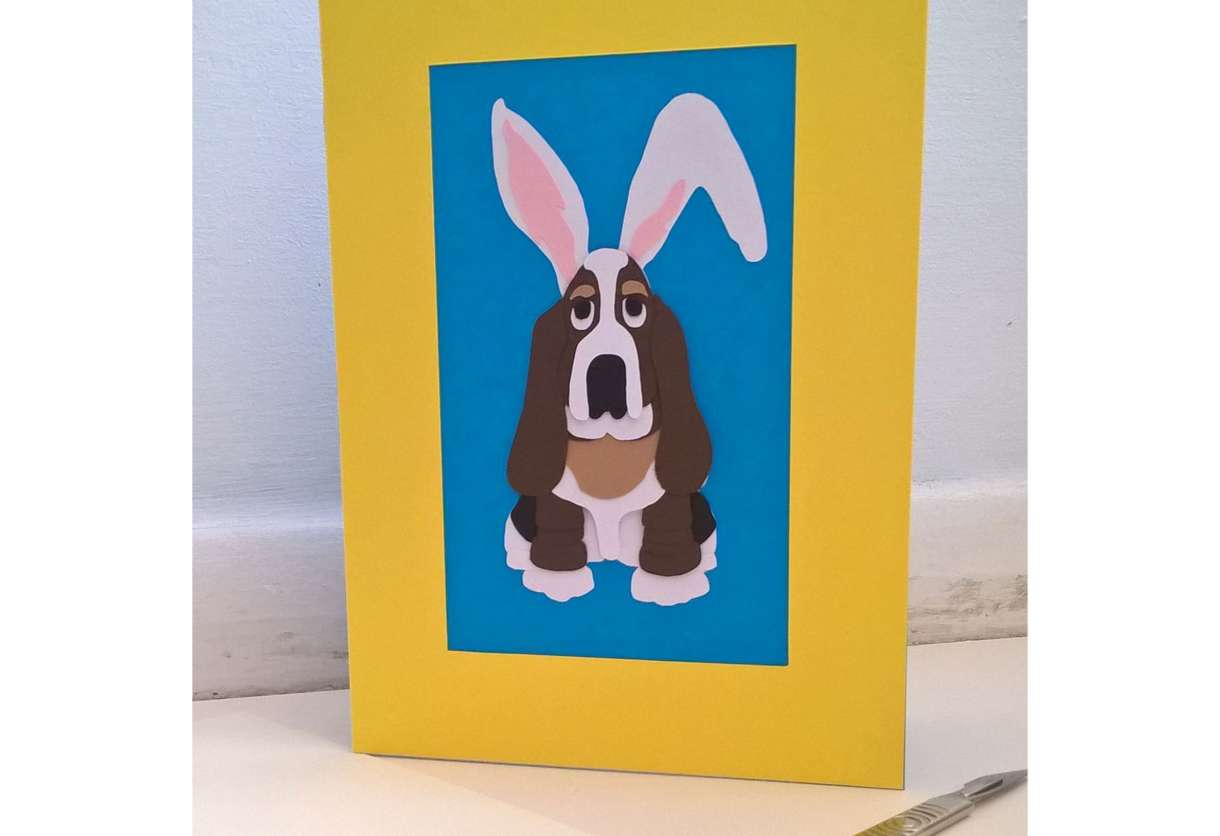
Then cut out some writing. Your background design is totally up to you. I hope you enjoyed making your basset hound and I hope that you all have a lovely Easter.


Nobody has commented yet
Be the first to comment on this article by using the form below.