Flower Pot Pocket Card Tutorial
4
Posted on 29th July 2015 by Nessa Stokes
Filed under All Papercraft Tutorials, Seasonal Crafts, Seasonal Crafts, Seasonal Crafts, Seasonal Crafts, Mothers Day Crafts
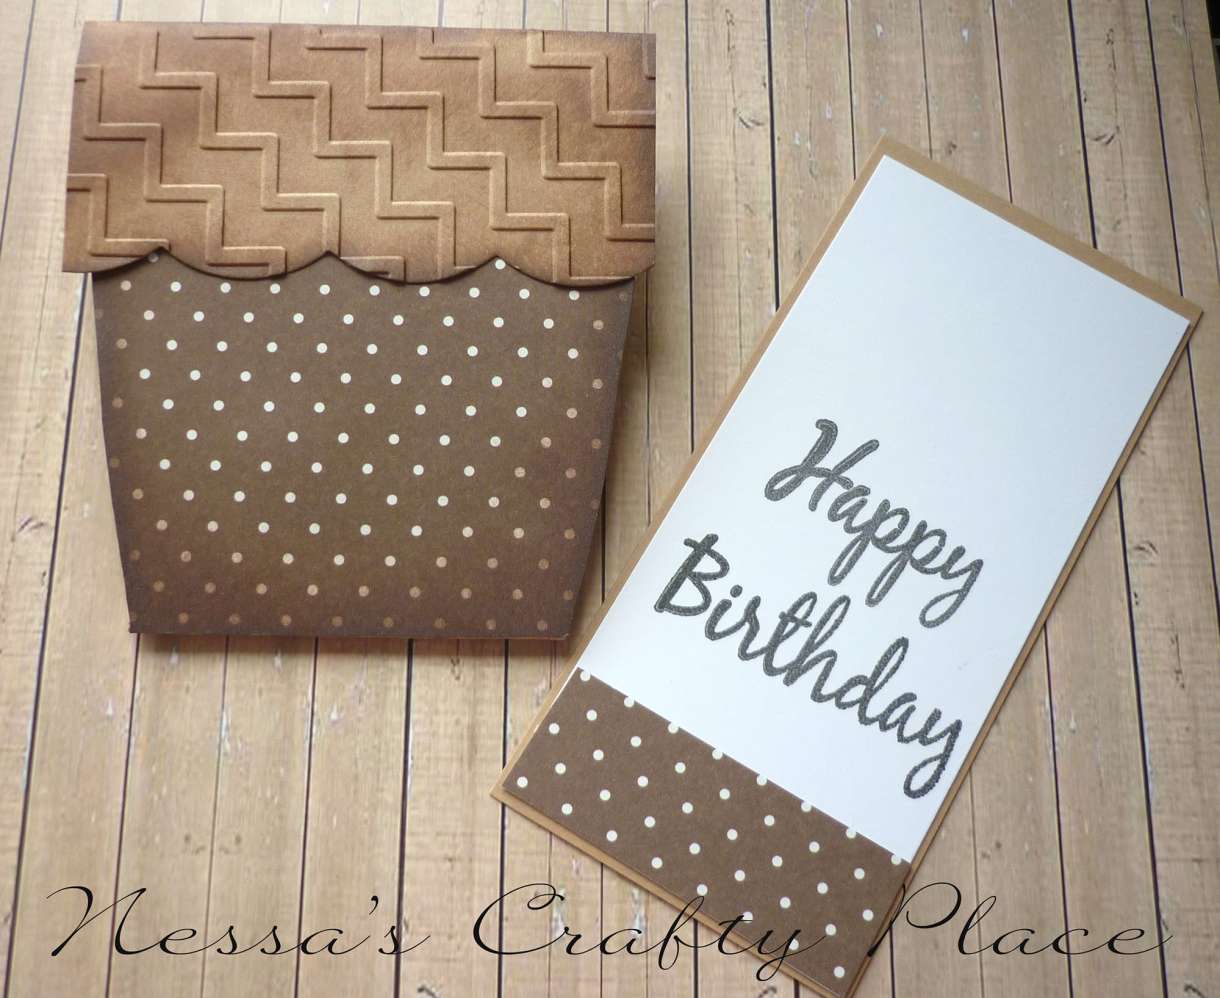
Hello it's Nessa here -Today I have a tutorial to show you how to make this pretty Plant Pot Pocket Card ...

The plant pot is a pocket and holds the surprise Birthday greeting which pulls out ! ...

You will need a piece of Buff smooth card that measure 23cm x 9cm and then you need to score it at 5cm and 14cm ...

Fold the scored top portion towards you ( to make the rim of the plant pot ) and fold the scored bottom piece away from you
(to make the back of the plant pot) Lift up the top piece and trim both the sides to make a plant pot shape like this ...

You can leave the rim of the plant pot plain or you can add a fancy edge like I have by using a scalloped edging die- you could
use a pair of wavy scissors if you don't have a die cutter ....

I inked the rim and then ran it through a zig-zag embossing folder which gives a lovely effect ...

Add some pretty paper to the front of your plant pot and then stick down that top flap...

To make the hidden Birthday insert I used another piece of buff card cut to 6cm x 13cm and a slightly smaller piece of white smooth.
Stamp your greeting onto the lower half of the insert so that it will be hidden once it is in the pocket-I added a strip of the same paper
I used on the front of the plant pot,but you could leave it plain white if you wanted more room to write your message...
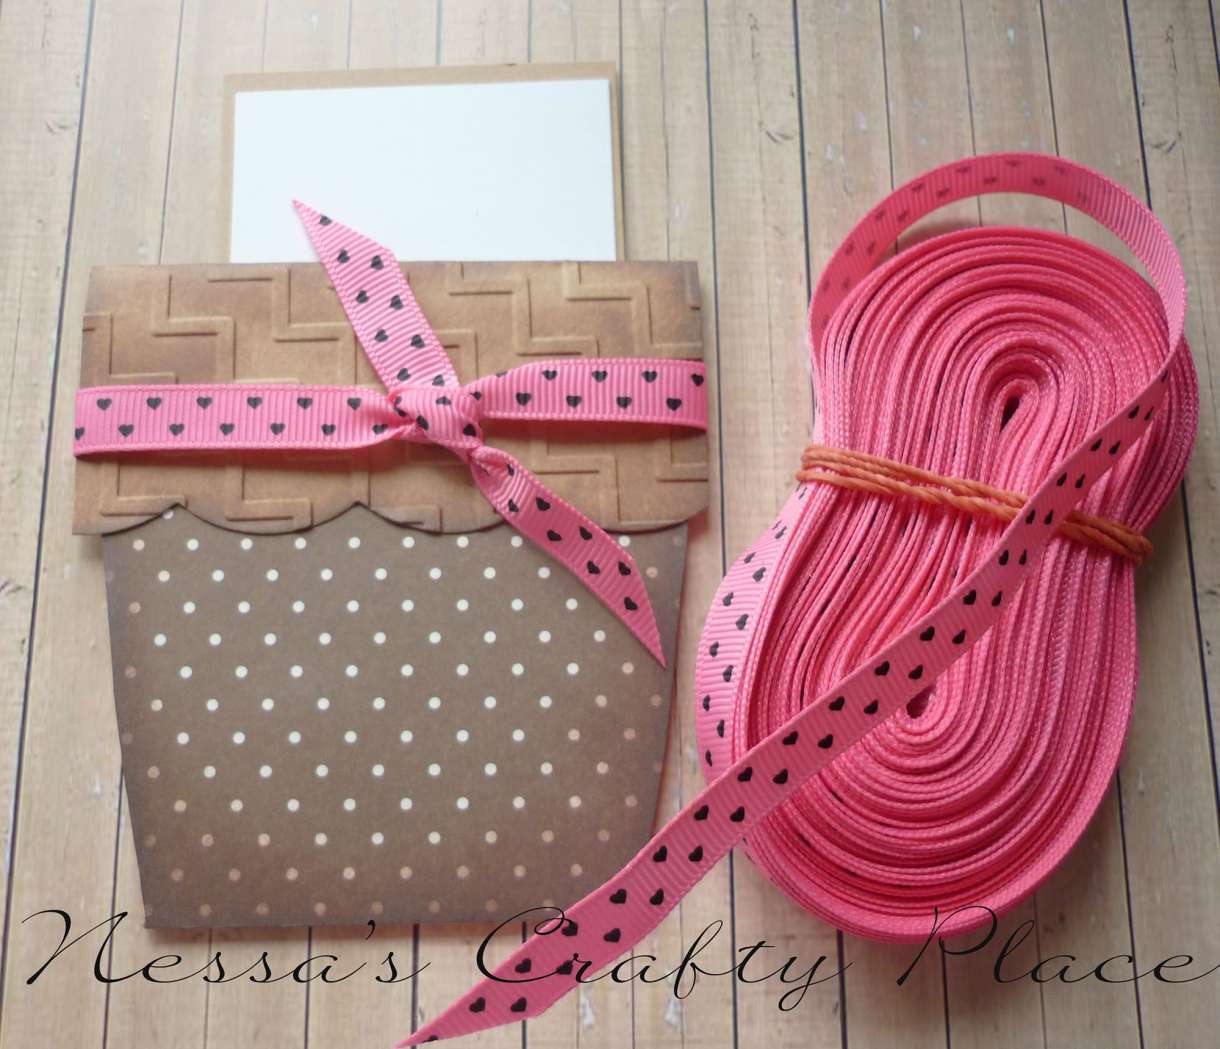
The pocket is held together with pretty ribbon-wrap it around the rim of the plant pot and tie it into a flat knot at the front- insert the hidden
greeting now before you add your flowers and leaves then you can be sure they will sit in the correct place!...
Now comes the fun part-time to make your flowers!I used a Clearly Besotted leaf die and some Apple Green card to make my
leaves and a Tim Holtz Tattered Floral die and some Baby Pink and Raspberry Pink card to make my flowers ...
Using double sided tape I put one flower on the plant pot and two onto the insert ...
I added a little hang tag tied on with linen thread ....

I added some sparkly gems in the centre of the flowers and some extra detail with a white gel pen to finish off...

These Plant Pot Pocket cards are very simple to make,and I think they make a nice change from giving a standard Birthday card,
they are perfect for ladies who love gardening and you could easily tuck a in small packet of seeds behind the insert as a little gift.
I hope you have enjoyed this little tutorial and that you too have fun if you have a go at making one of these-you could make any
type of flower-I think Sunflowers(which are my very favourite flower!) would look fabulous and what about a Daisy one?
Happy Crafting!
Nessa.
See more of Nessa's work here - Nessa Stokes Papermilldirect Design Team


4 thoughts on “Flower Pot Pocket Card Tutorial”
audrey c. boniface
21st August 2015 at 9:28 a.m.
Margaret Naine
07th August 2015 at 6:30 p.m.
Barbara Daines
04th August 2015 at 6:00 p.m.
Angela Dodson
04th August 2015 at 12:24 p.m.