How to make a paper chrysanthemum - step by step tutorial
0
Posted on 9th January 2017 by STACEY BONE
Filed under Seasonal Crafts, Valentines Day Crafts, Mothers Day Crafts, Easter Craft Ideas
Hi everyone it's Stacey. To kickstart the new year I've crafted a pretty pink chrysanthemum flower with an easy to follow tutorial.
My flowers are made using Pastel Pink Plain Card 160gsm from Papermilldirect.
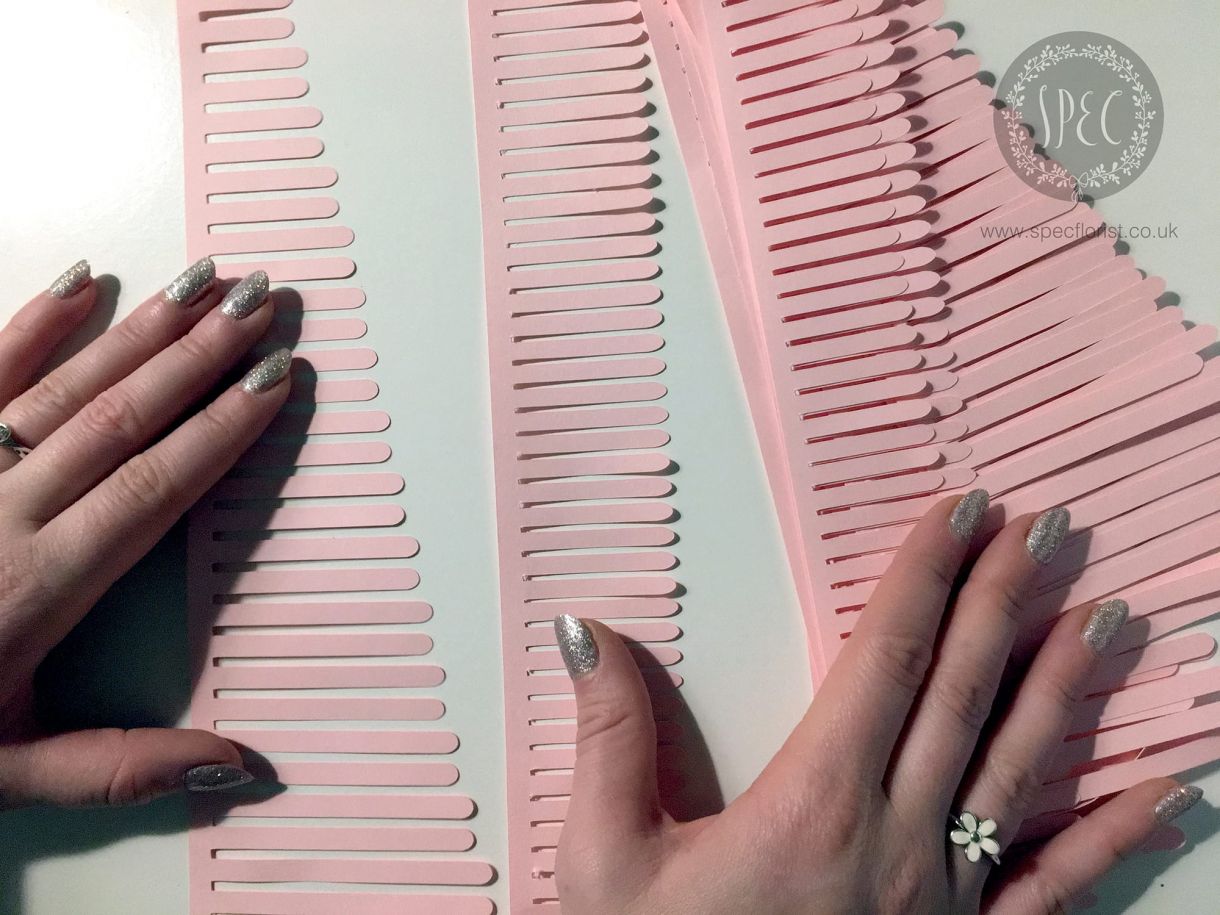
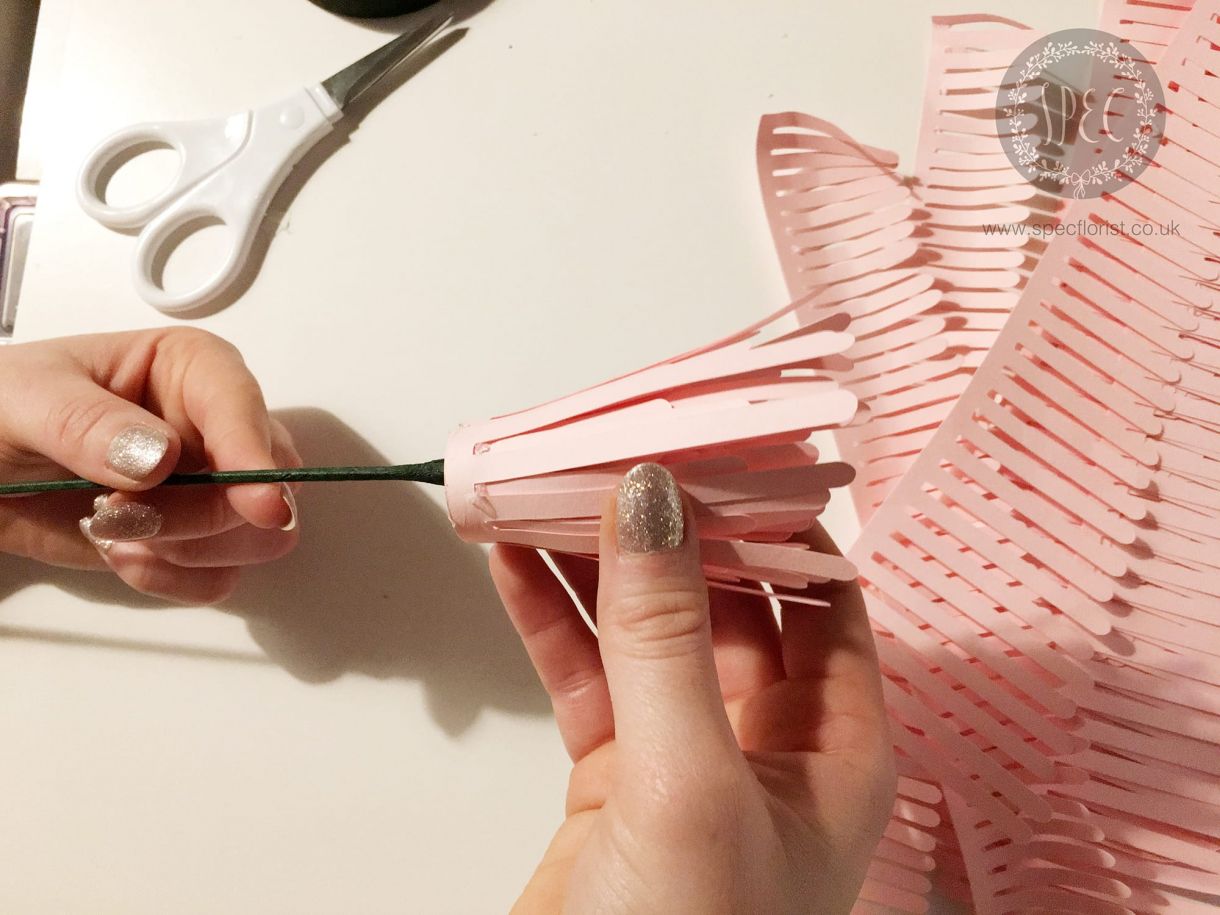
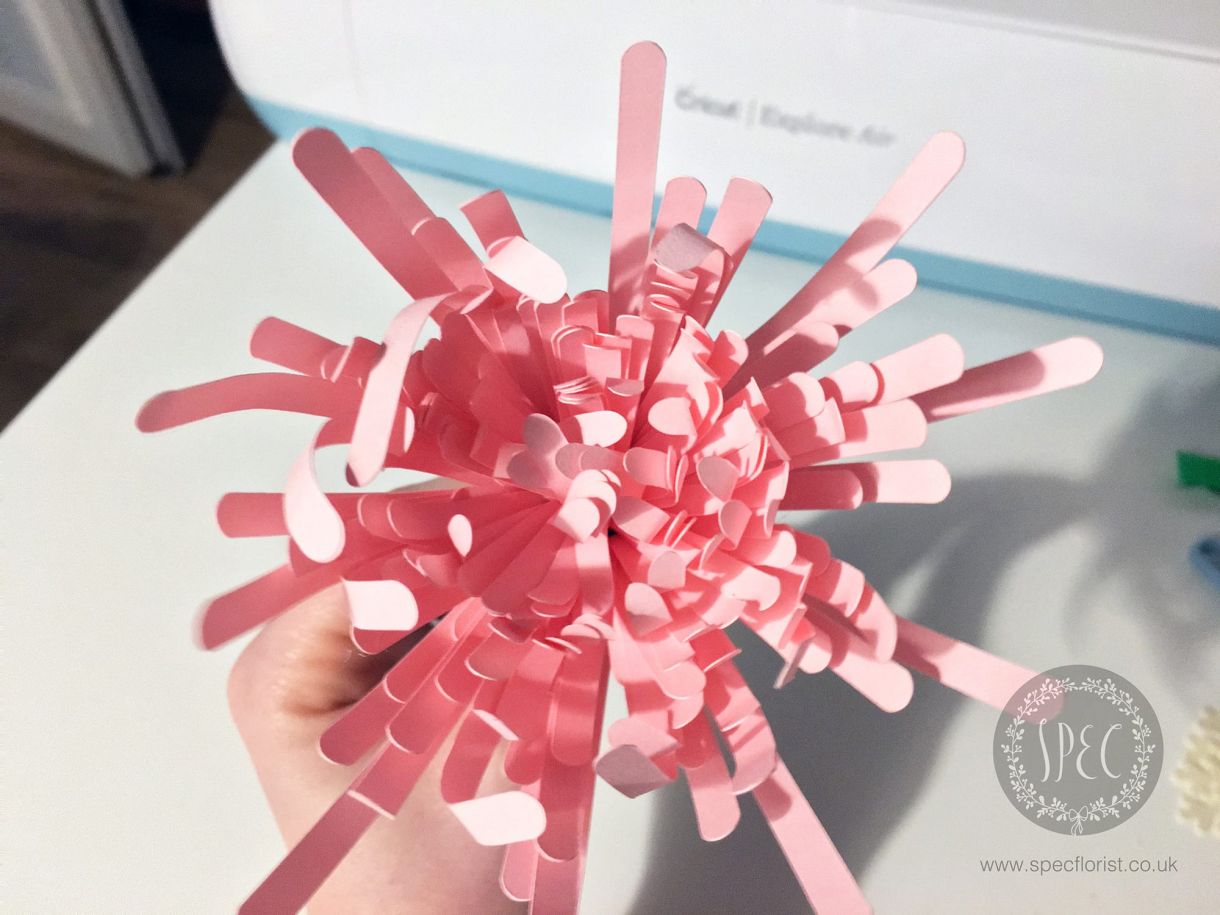
To make your flower you'll need to create petals shapes like below. I used my Cricut machine to design and cut the petals. You could create the same effect using scissors.
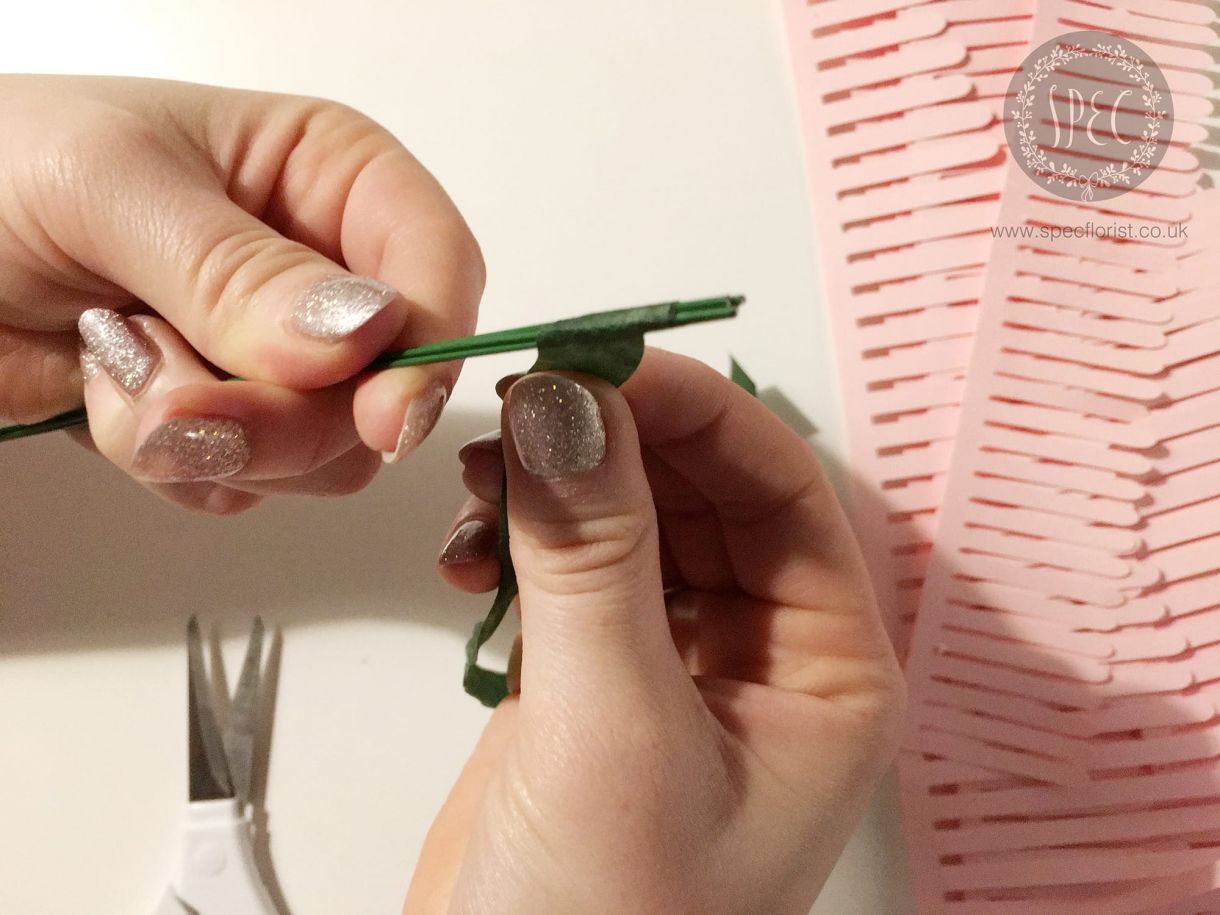
Take four wire stems of your desired length and wrap them with floral tape.
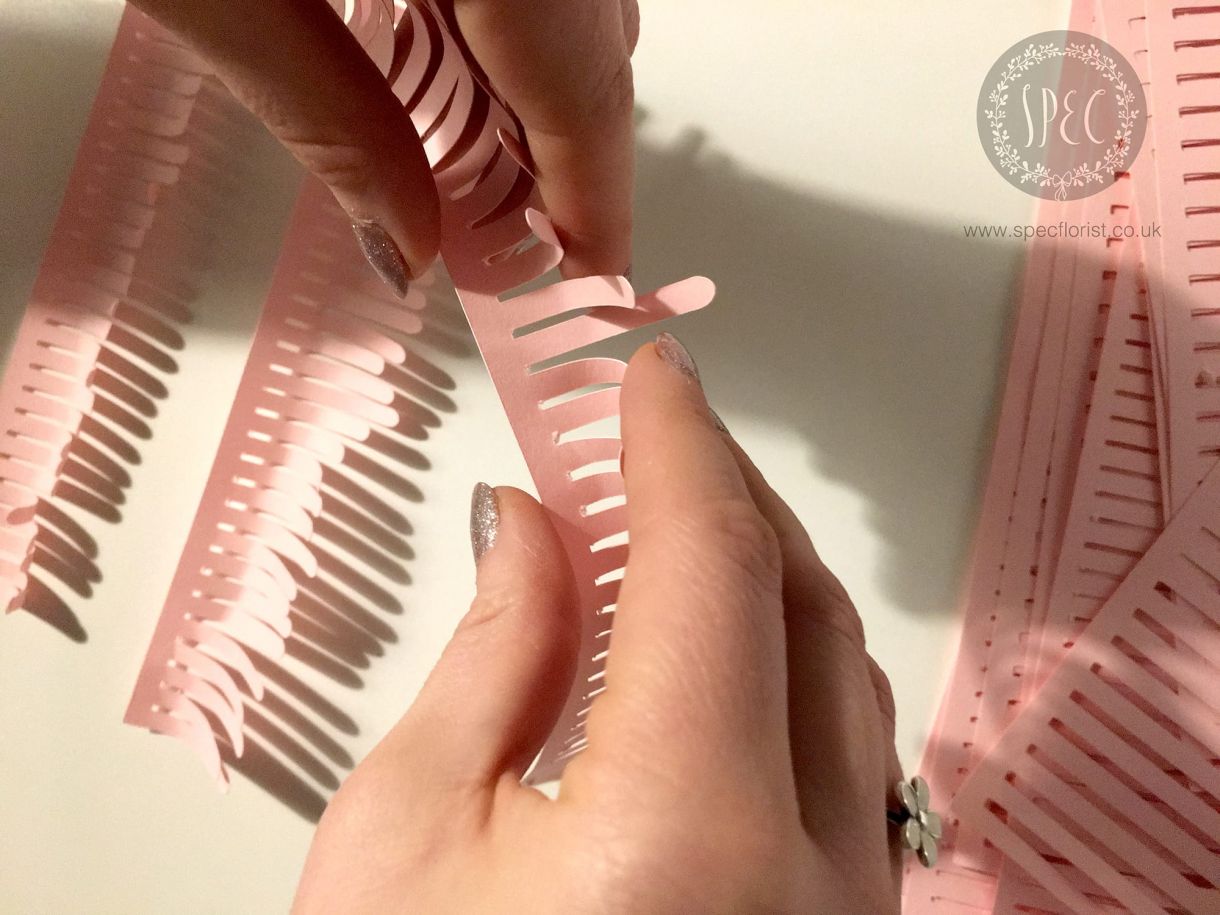
Take your smallest length petal and start curling the ends of the petals using your fingers.
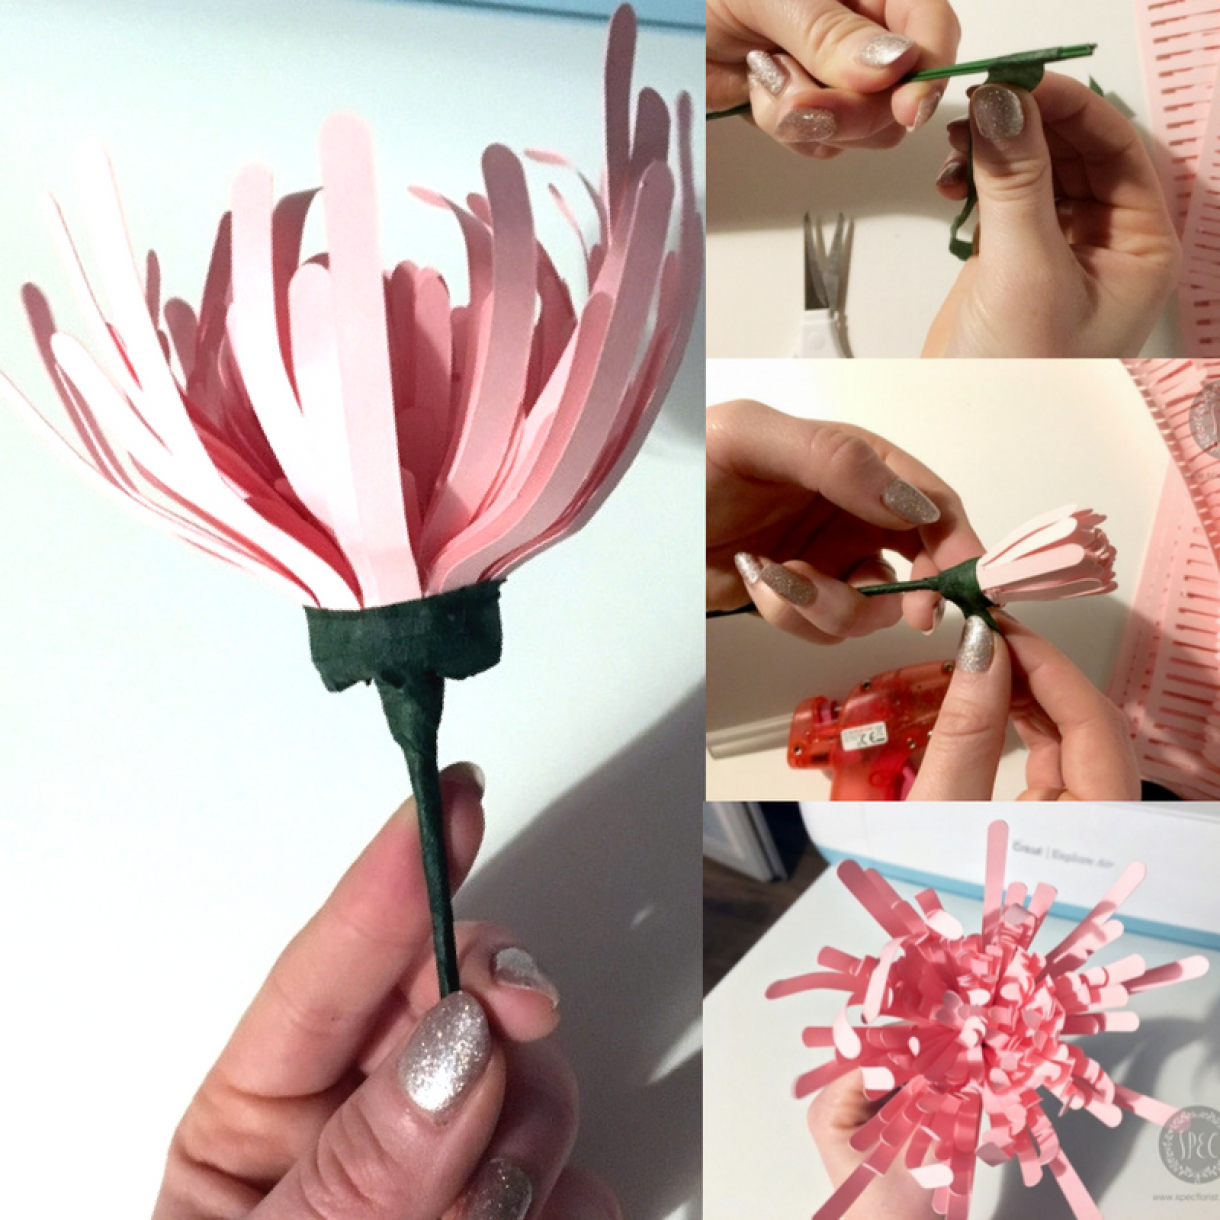
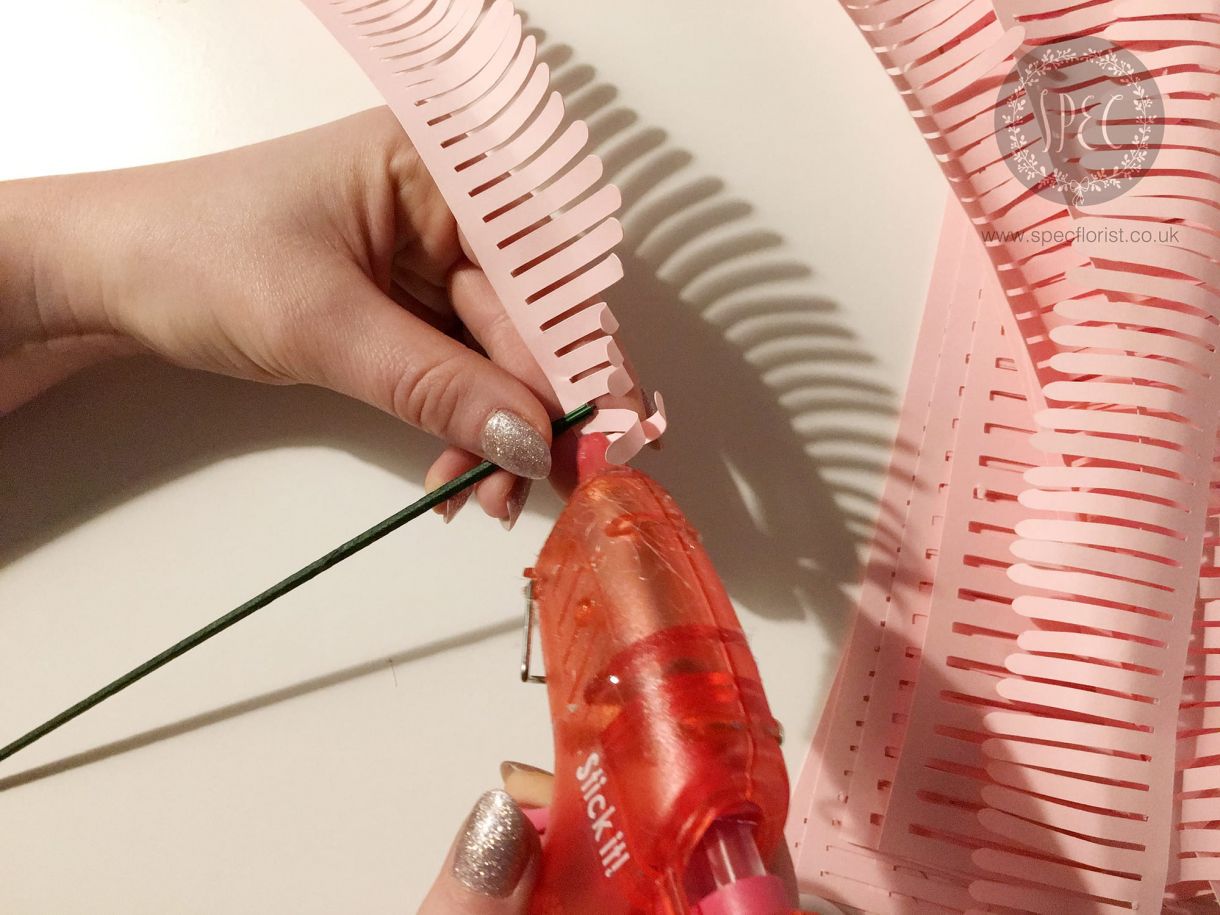
Using a glue gun, attach the smallest petal to the stem and start to roll the petals around the stem.
Secure petals with floral tape at the base and spread out the petals slightly.
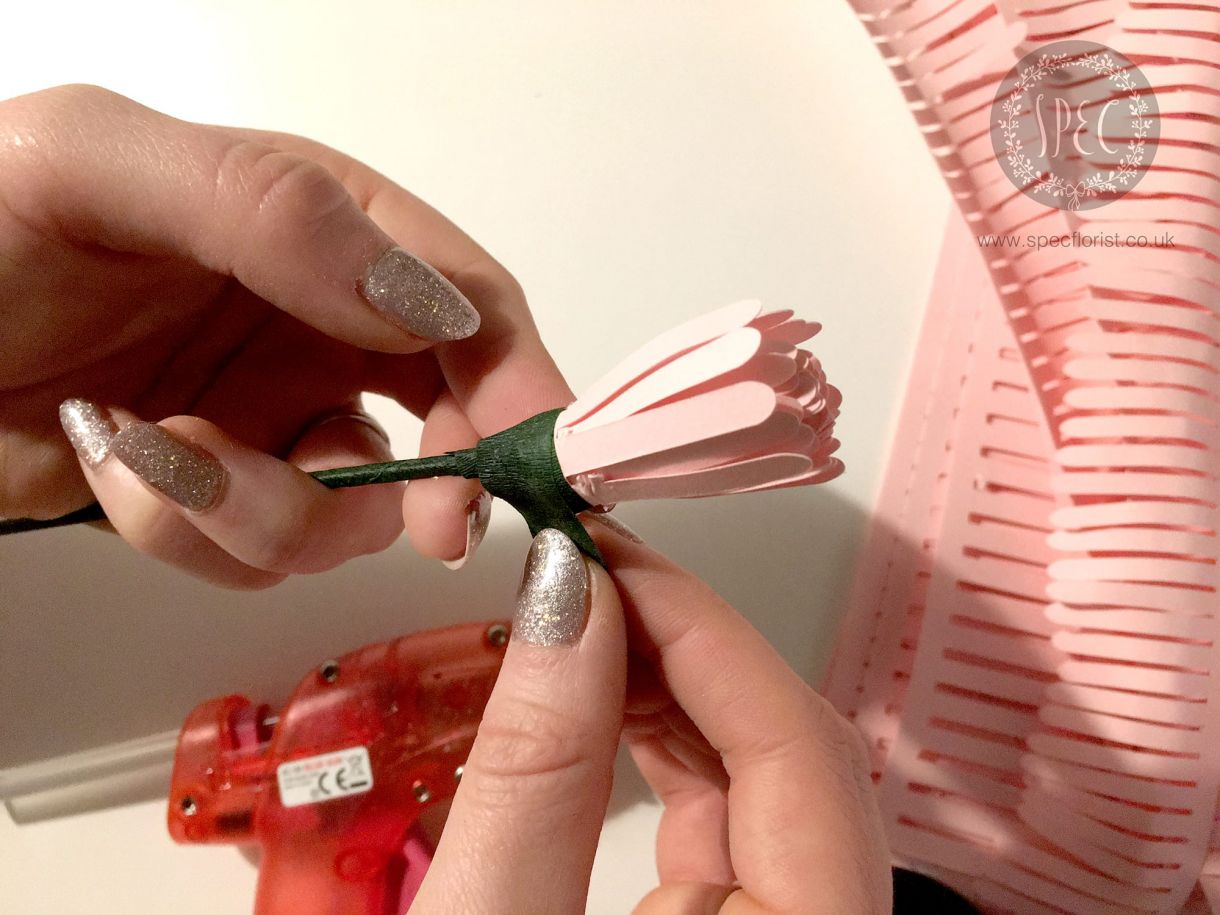
Attach another layer of petals on top. Your flower should be starting to take shape. Secure the layer with floral tape.

Add another layer, only this time using one of your scaling layers. Once the layer is secured, add a second one and wrap with floral tape.
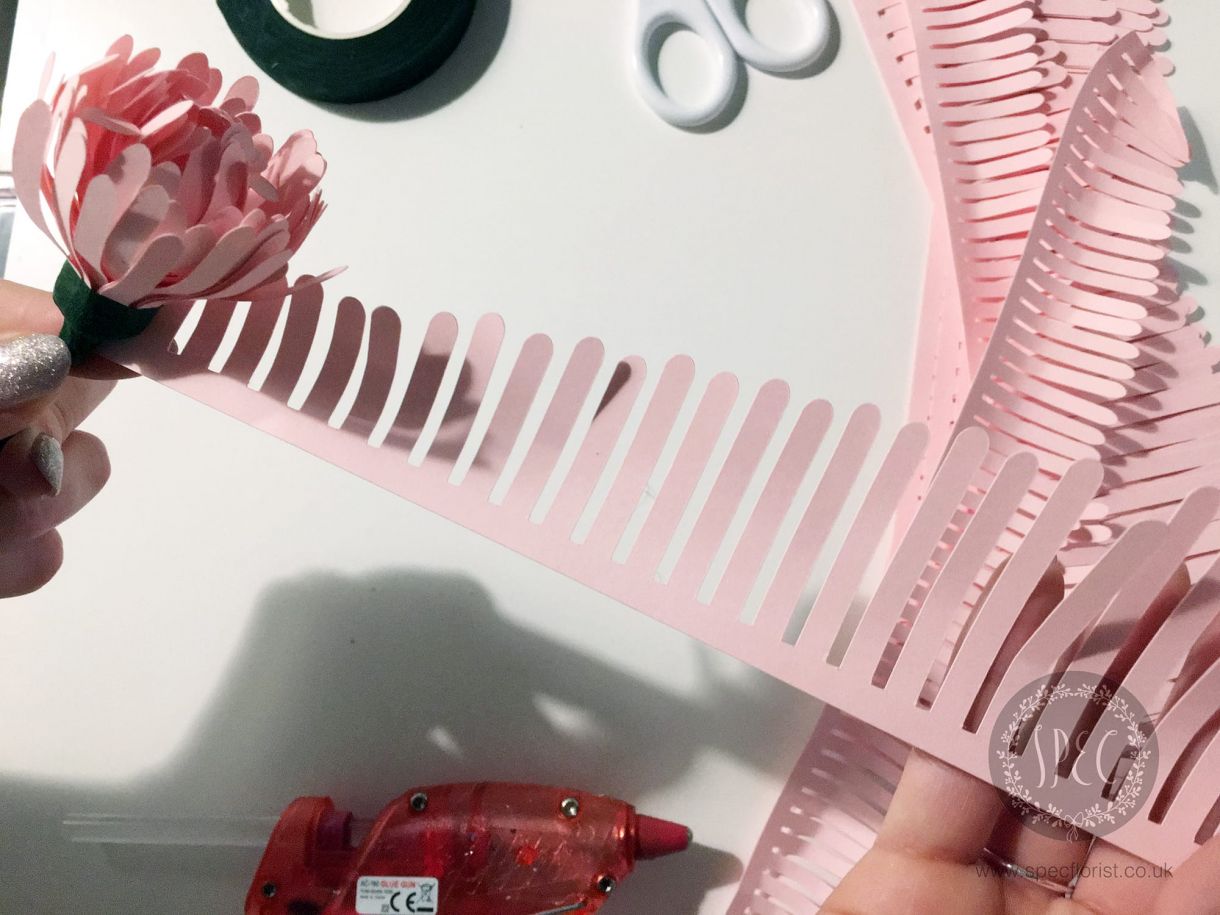
Gently begin spacing out your petals and curling the outer ones.
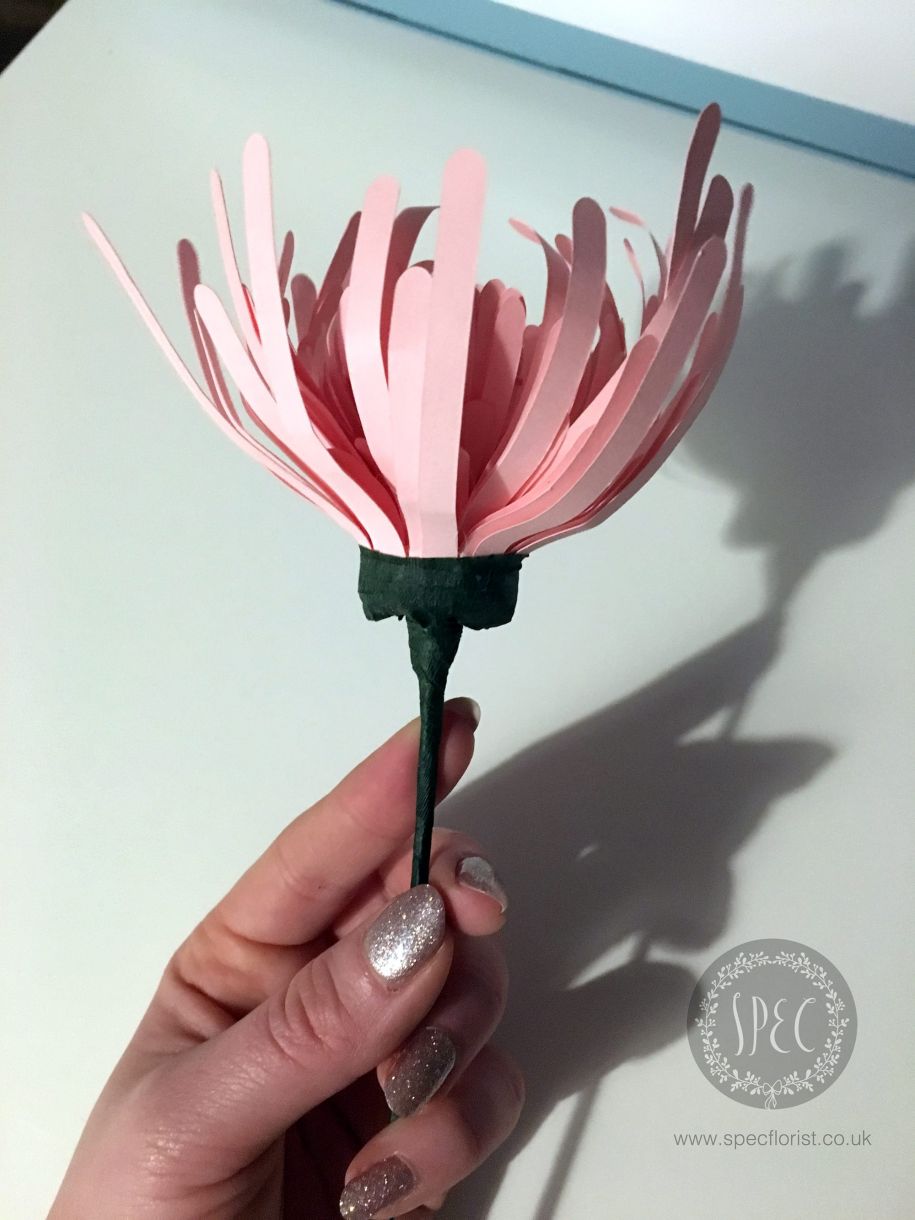
You can add as many layers as you wish dependent on what size flower you want. Happy flower making.
If you have a go at making any pper flowers do share them with us on the Papermilldirect Facebook wall


Nobody has commented yet
Be the first to comment on this article by using the form below.