How to Make a Magnetic Bookmark
1
Posted on 27th February 2015 by Lisa Sumpter
Filed under All Papercraft Tutorials, Seasonal Crafts, Seasonal Crafts, Seasonal Crafts, Seasonal Crafts, Easter Craft Ideas, Projects And Cards By Type, Kids Craft Ideas, Handmade Teachers Gift Ideas, Design Team
DIY Magnetic Bookmark Tutorial
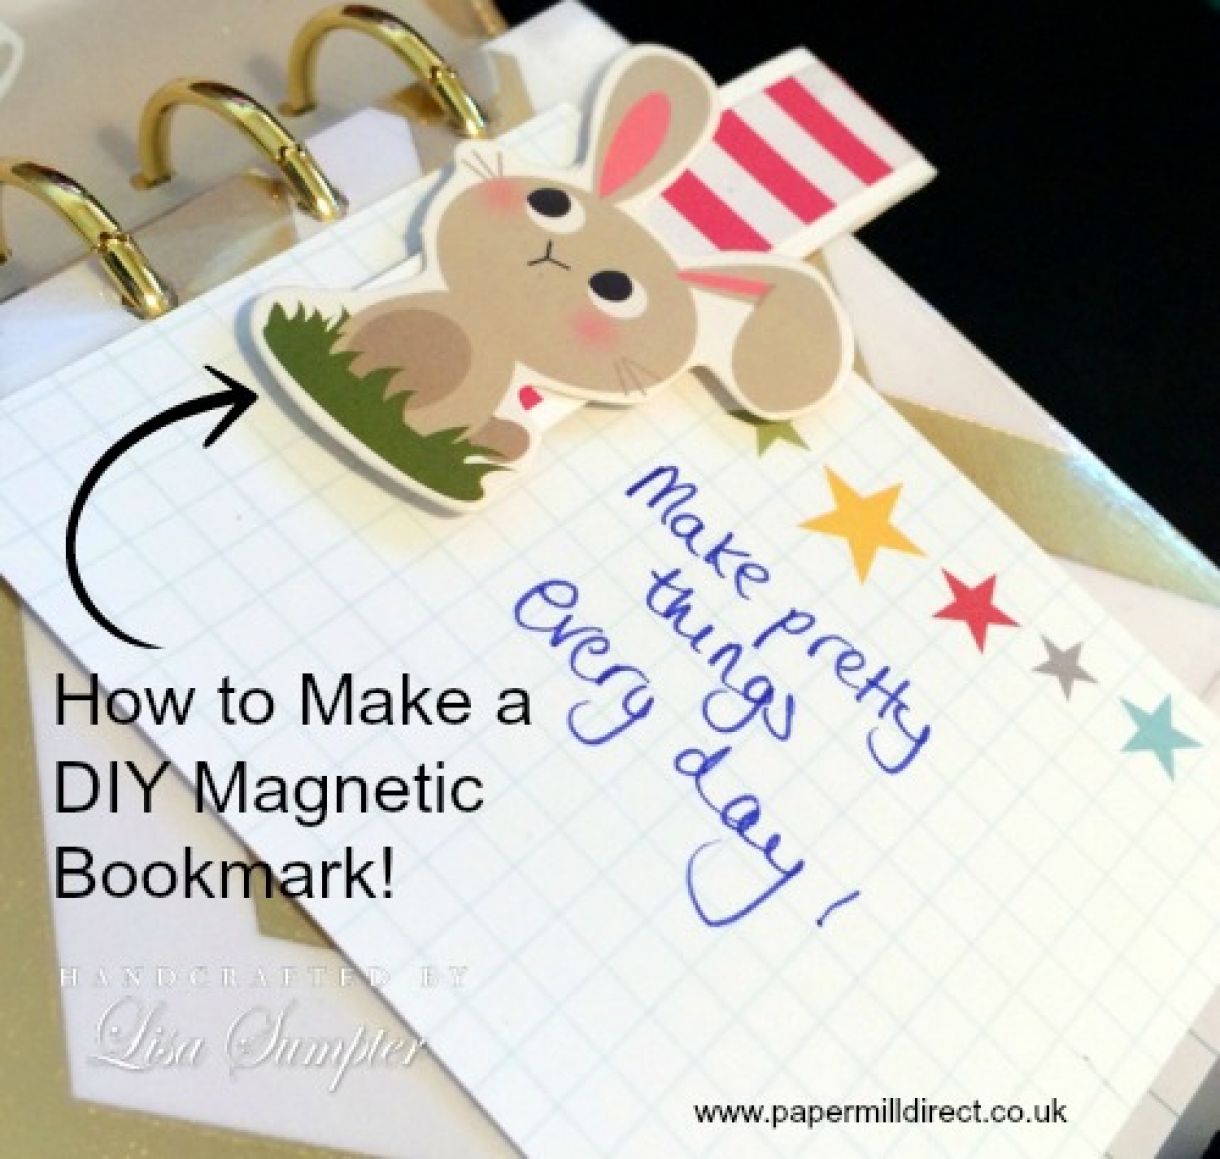
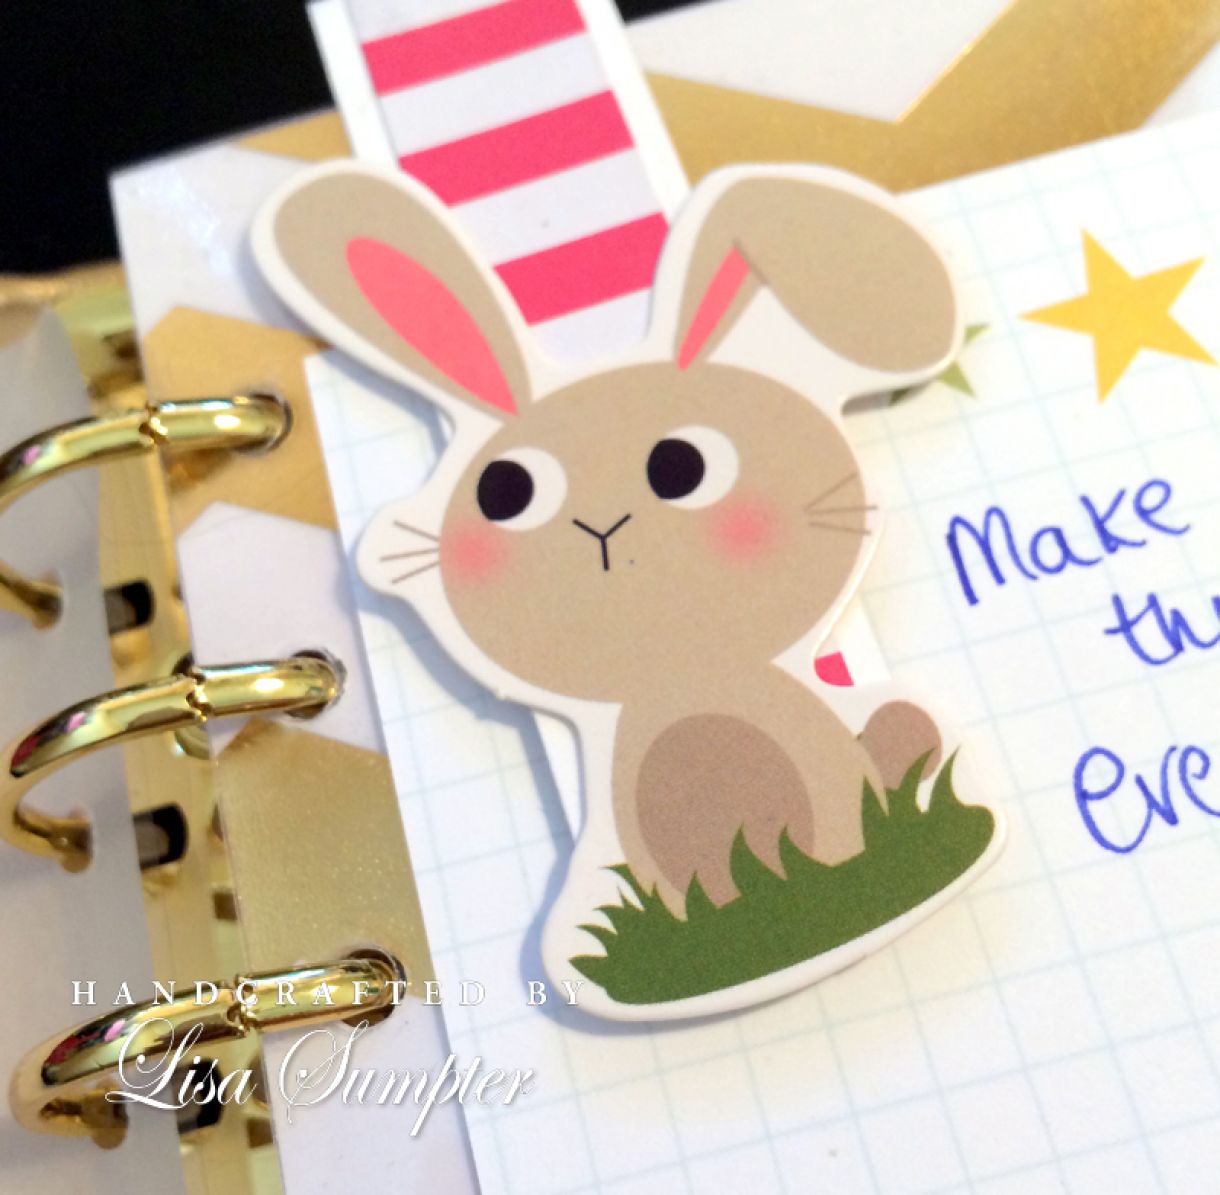
Hello everyone. It’s Lisa here with a tutorial for how to make a magnetic bookmark which you could use in a book, or, if you’re a bit of a planner nerd like me, then you can use it in your planner.
Paper based planning is HUGE at the moment. I have a brain like a sieve so like to write things down because if I don’t, well… it just won’t happen.
This clever bookmark clips over the page using a magnet to hold it in place.
You will need:
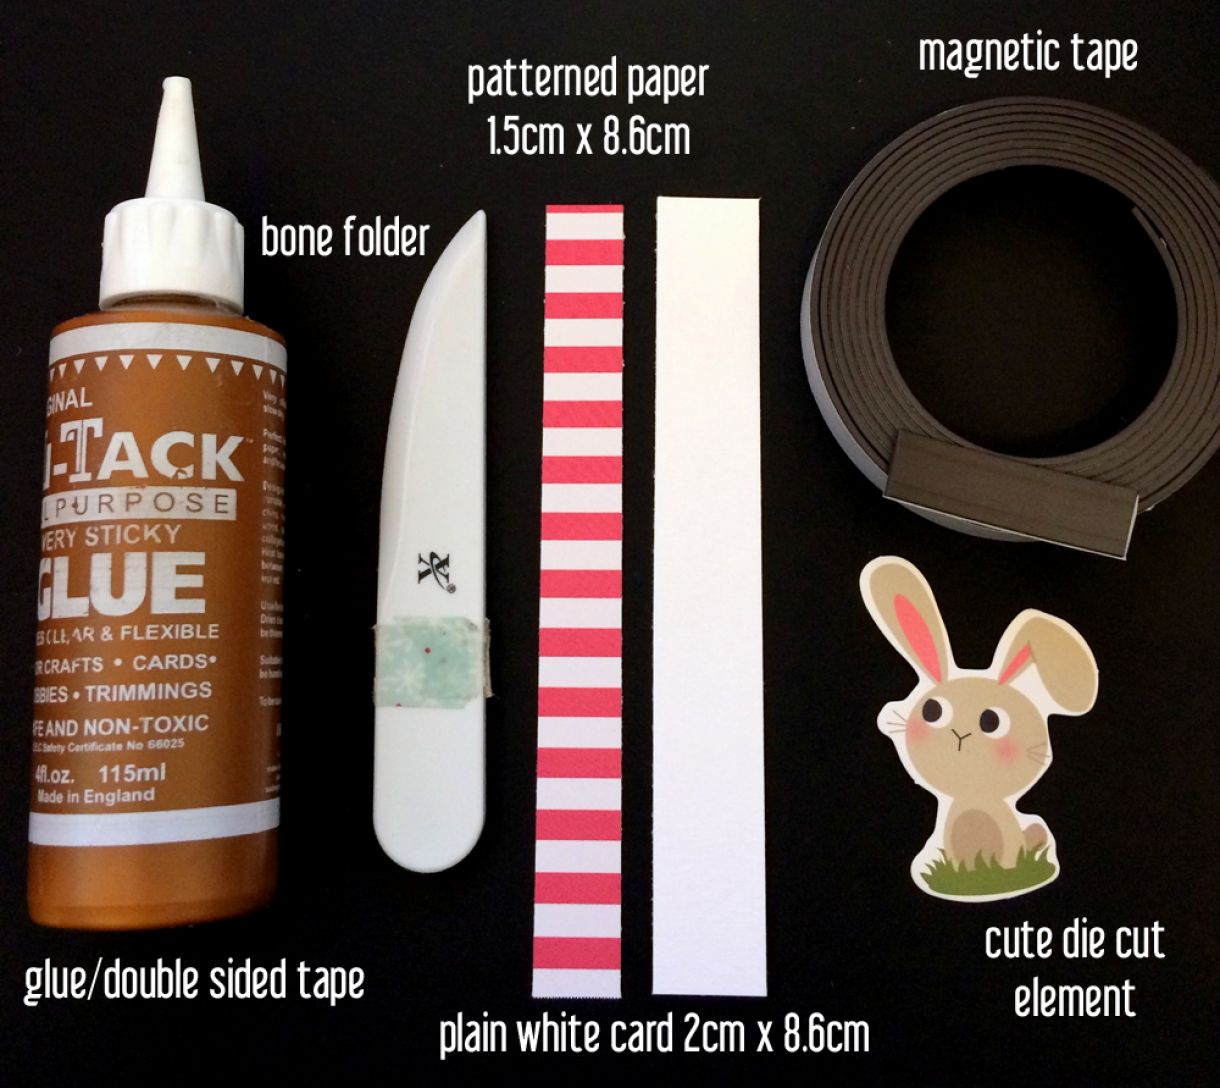
You can use any flat element for the front of the bookmark. Don’t add gems/bulky embellishments as these will leave indentations in your pages.
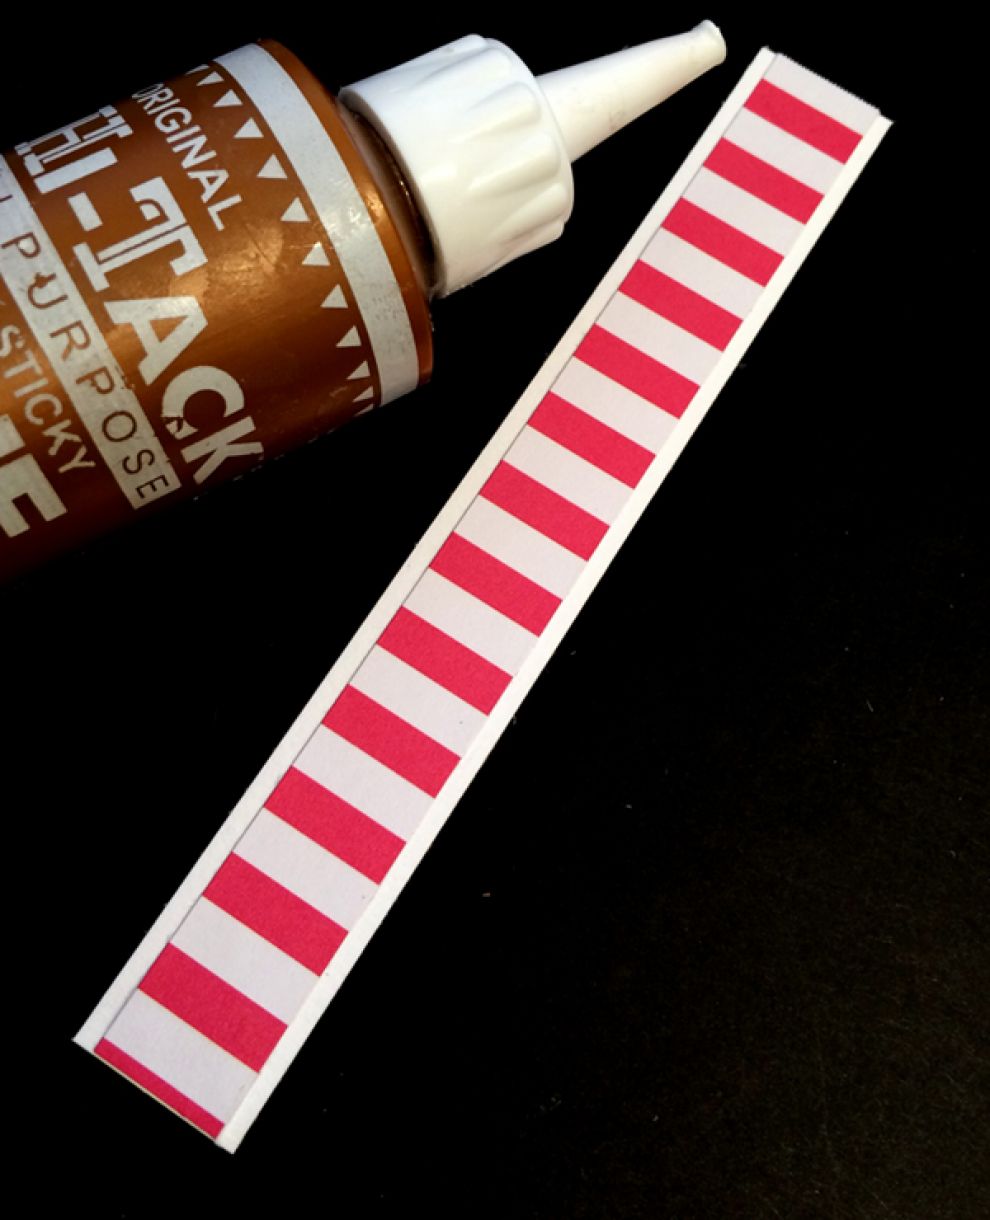
Adhere your patterned paper to the plain white Papermill Direct card. I use liquid glue because it forms a strong bond but is flexible enough so that your patterned paper will not fall off the card when it’s handled.
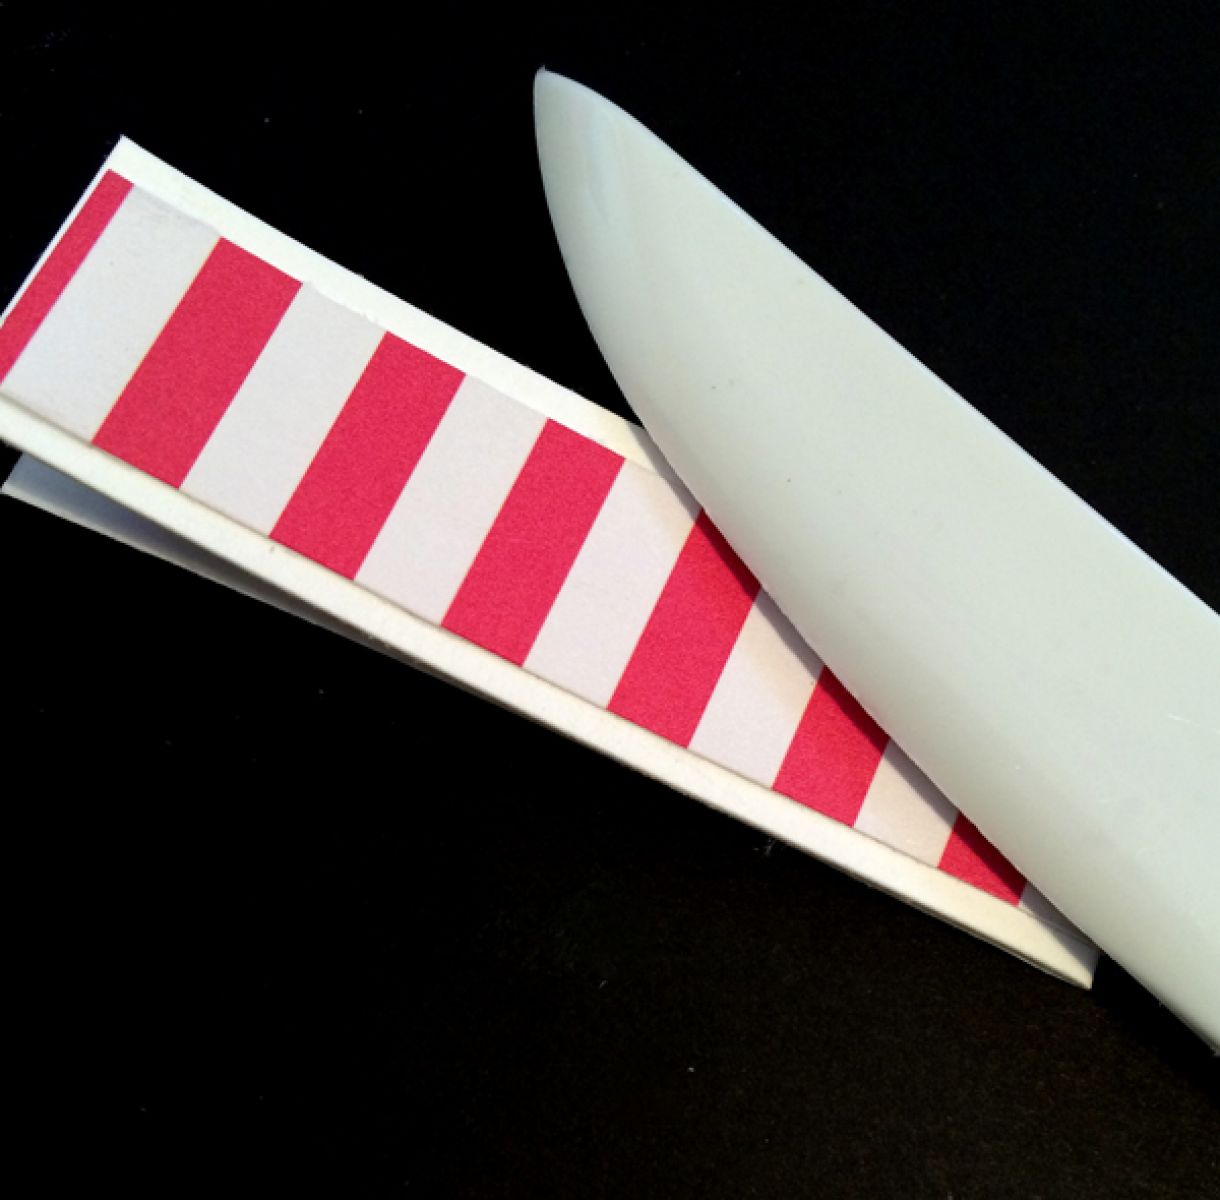
Once dry, score and then fold your covered card (your bookmark) in half.
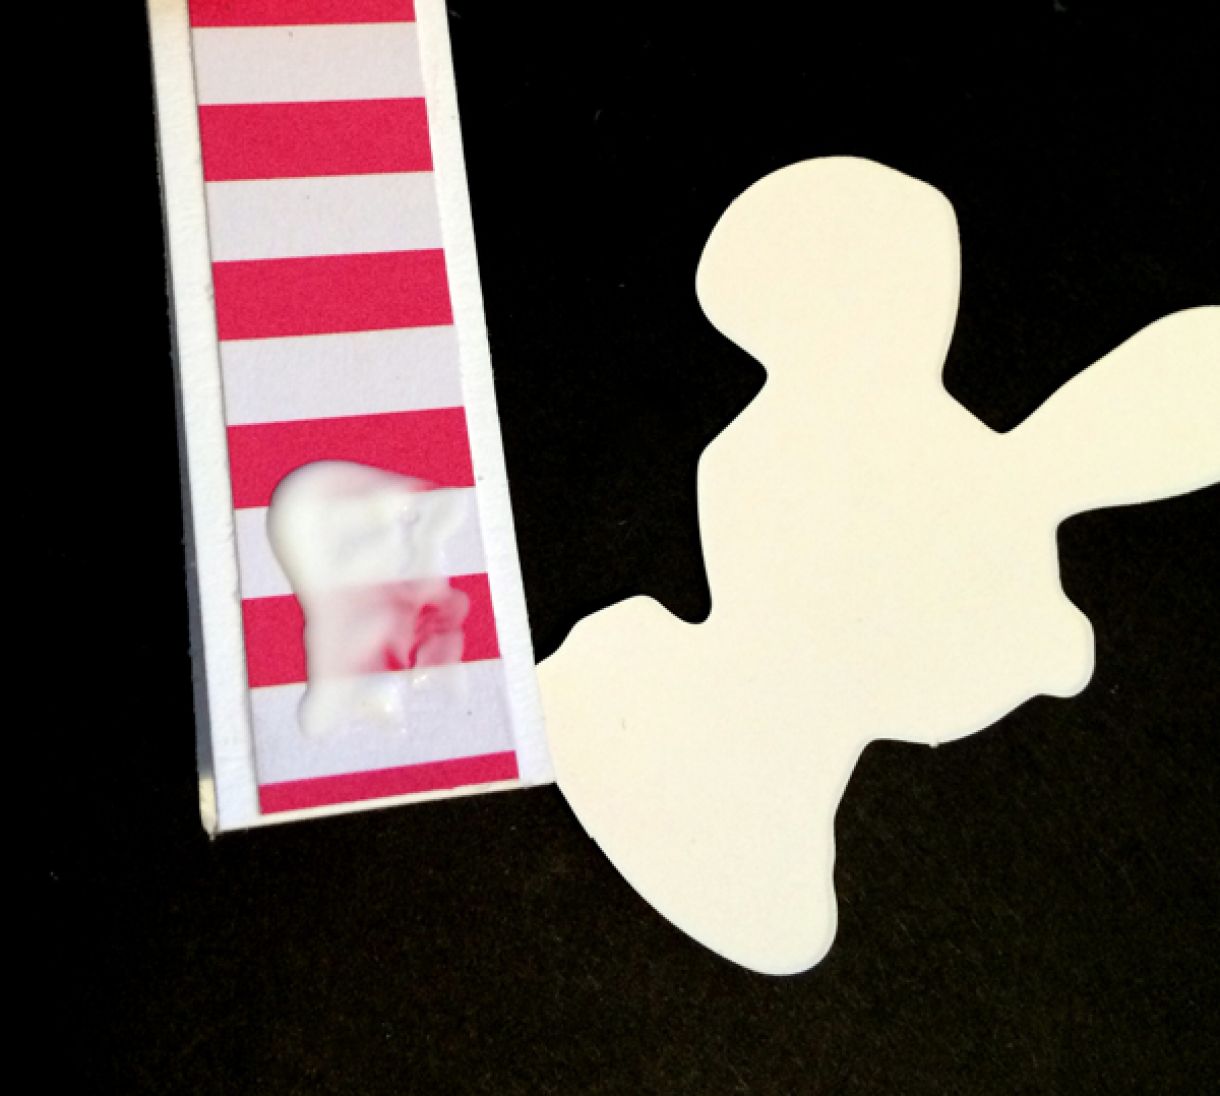
Add a blob of glue to folded card (on the front only) and adhere your die cut to the bookmark. Leave to dry completely.
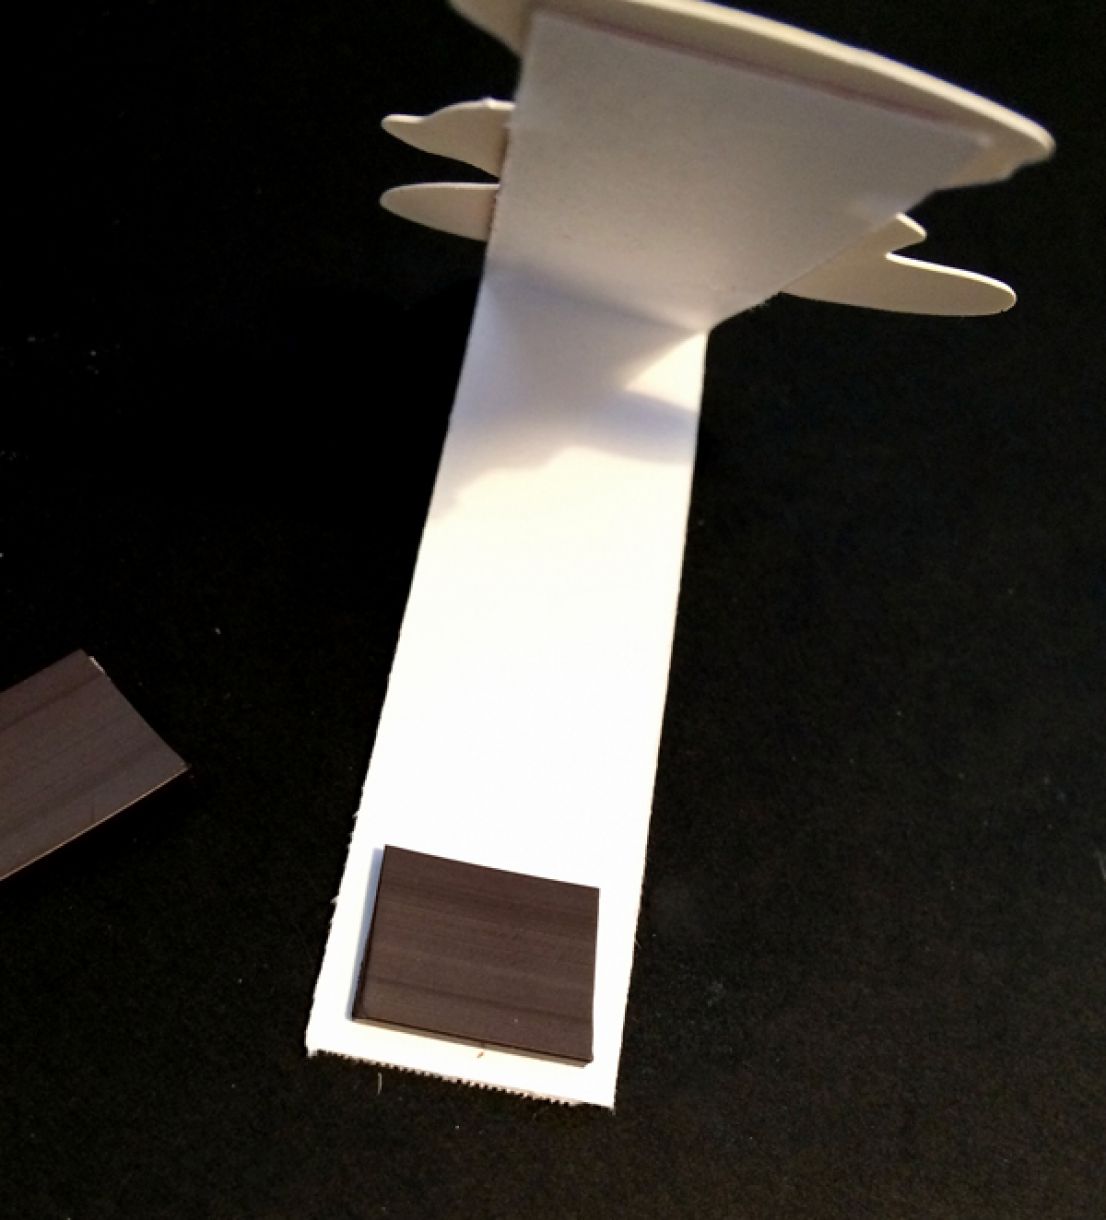
Cut a square from the magnetic tape and adhere to one side of the bookmark (the non-patterned side). Flip the bookmark and repeat.
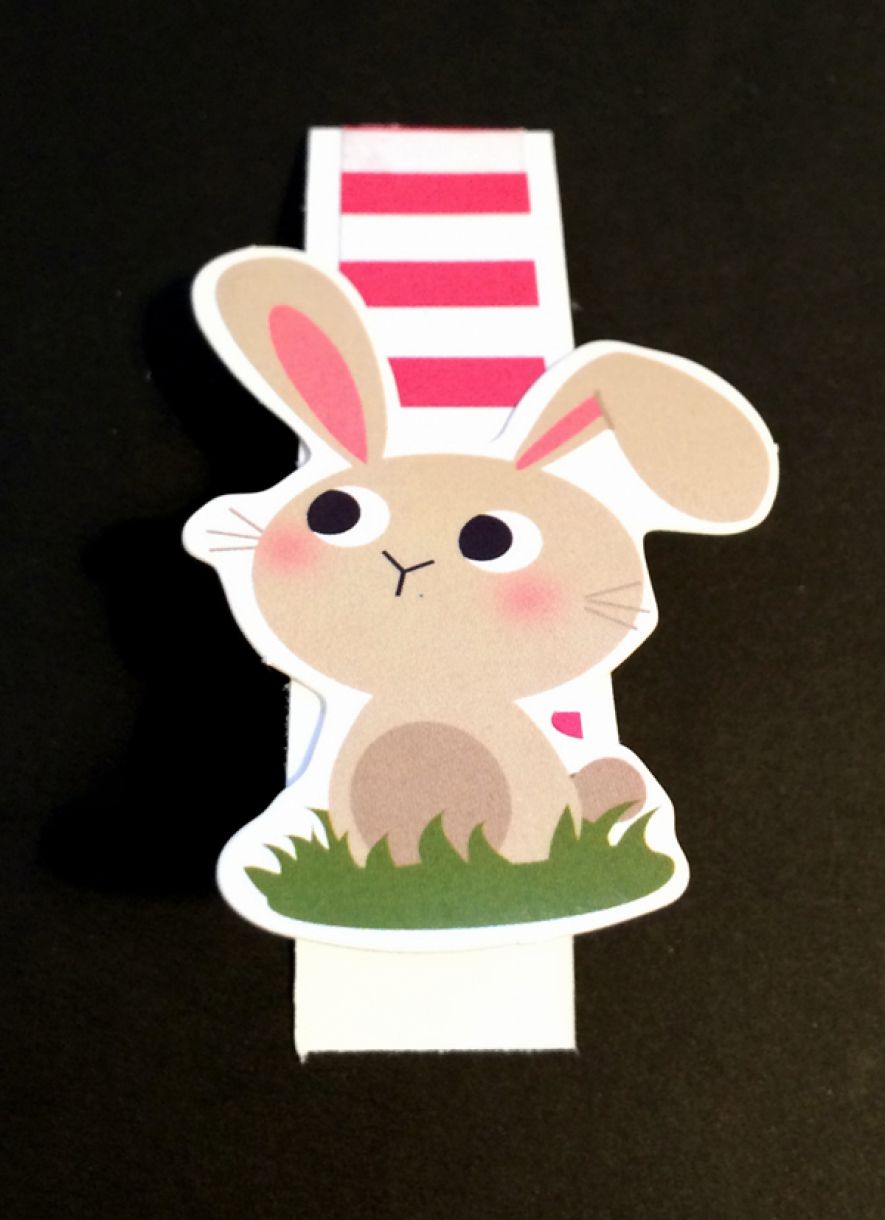
Your bookmark is done! Happy planning


1 thought on “How to Make a Magnetic Bookmark”
Jacqueline Ford
21st April 2015 at 1:26 p.m.