Bohemian Birthday Double Tent Card Step By Step Tutorial
2
Posted on 19th September 2016 by Angela Dodson
Filed under Card Making Ideas, All Papercraft Tutorials, Projects And Cards By Type, Happy Birthday Card Ideas, Design Team
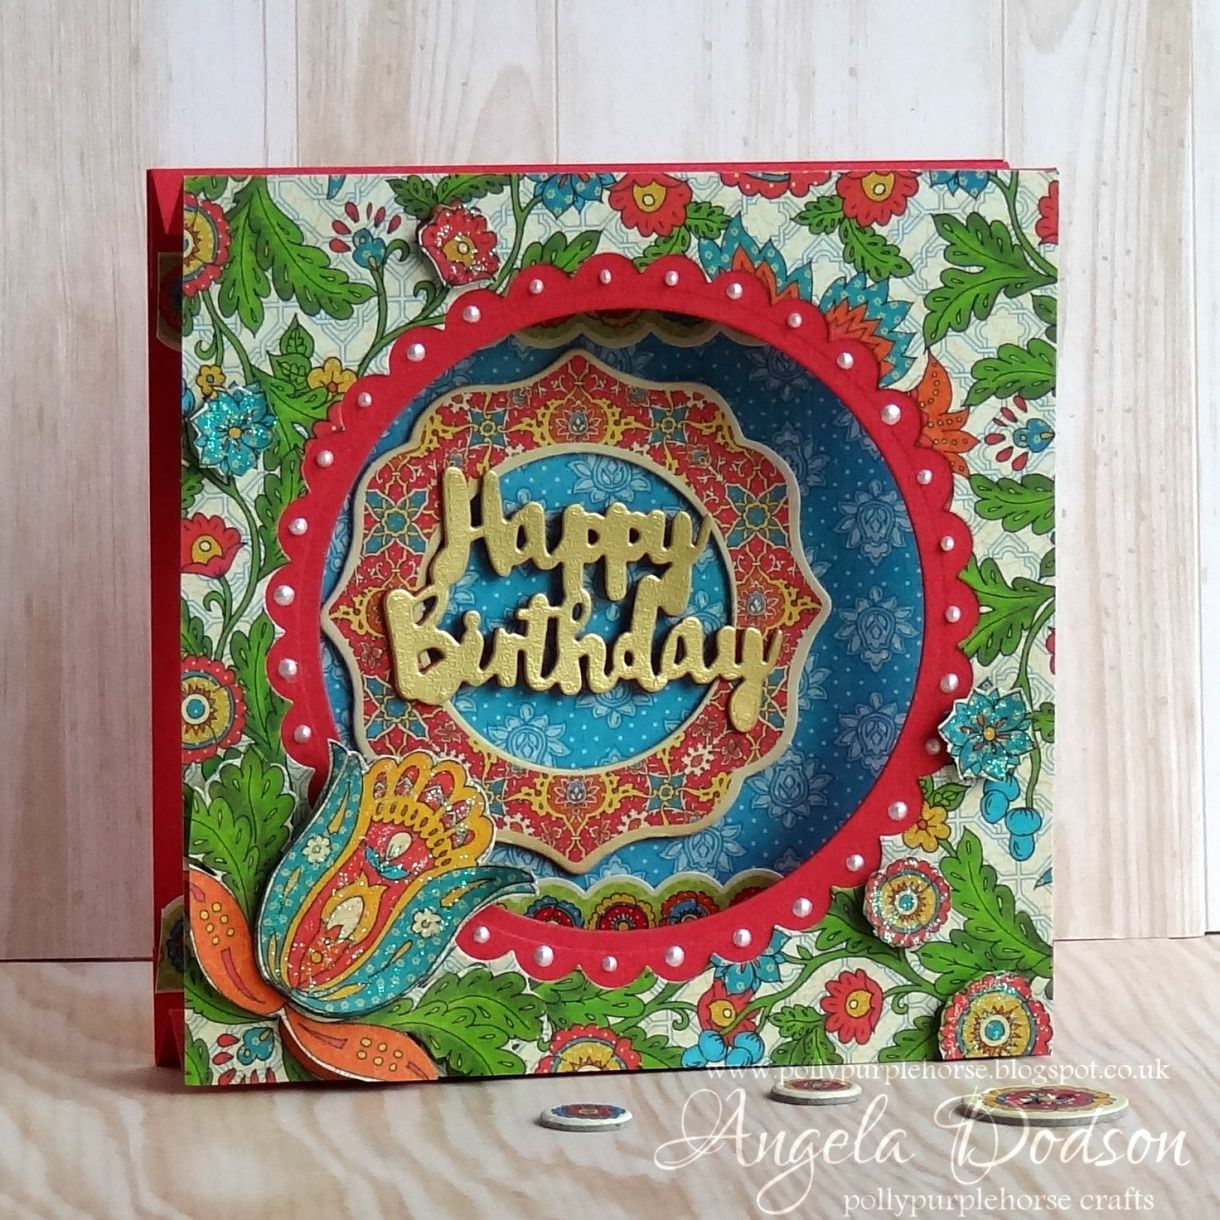
Hello it’s Angela here to share a birthday card make with you. Today I’m showing you how I made a simple but effective card that stands up but also folds down to fit into an envelope.
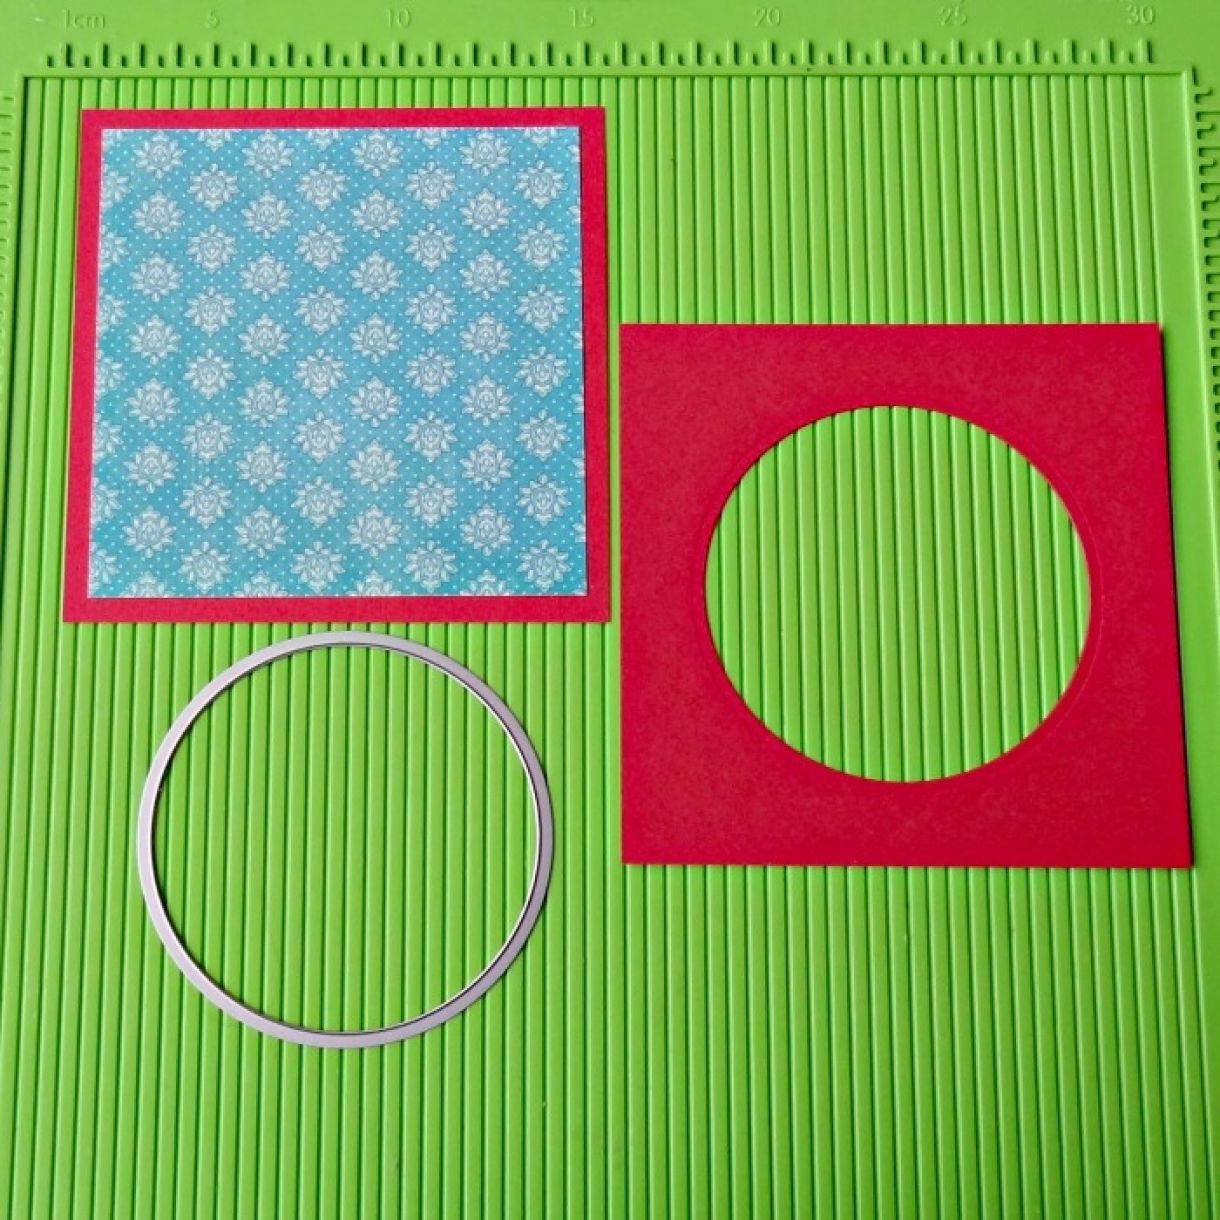
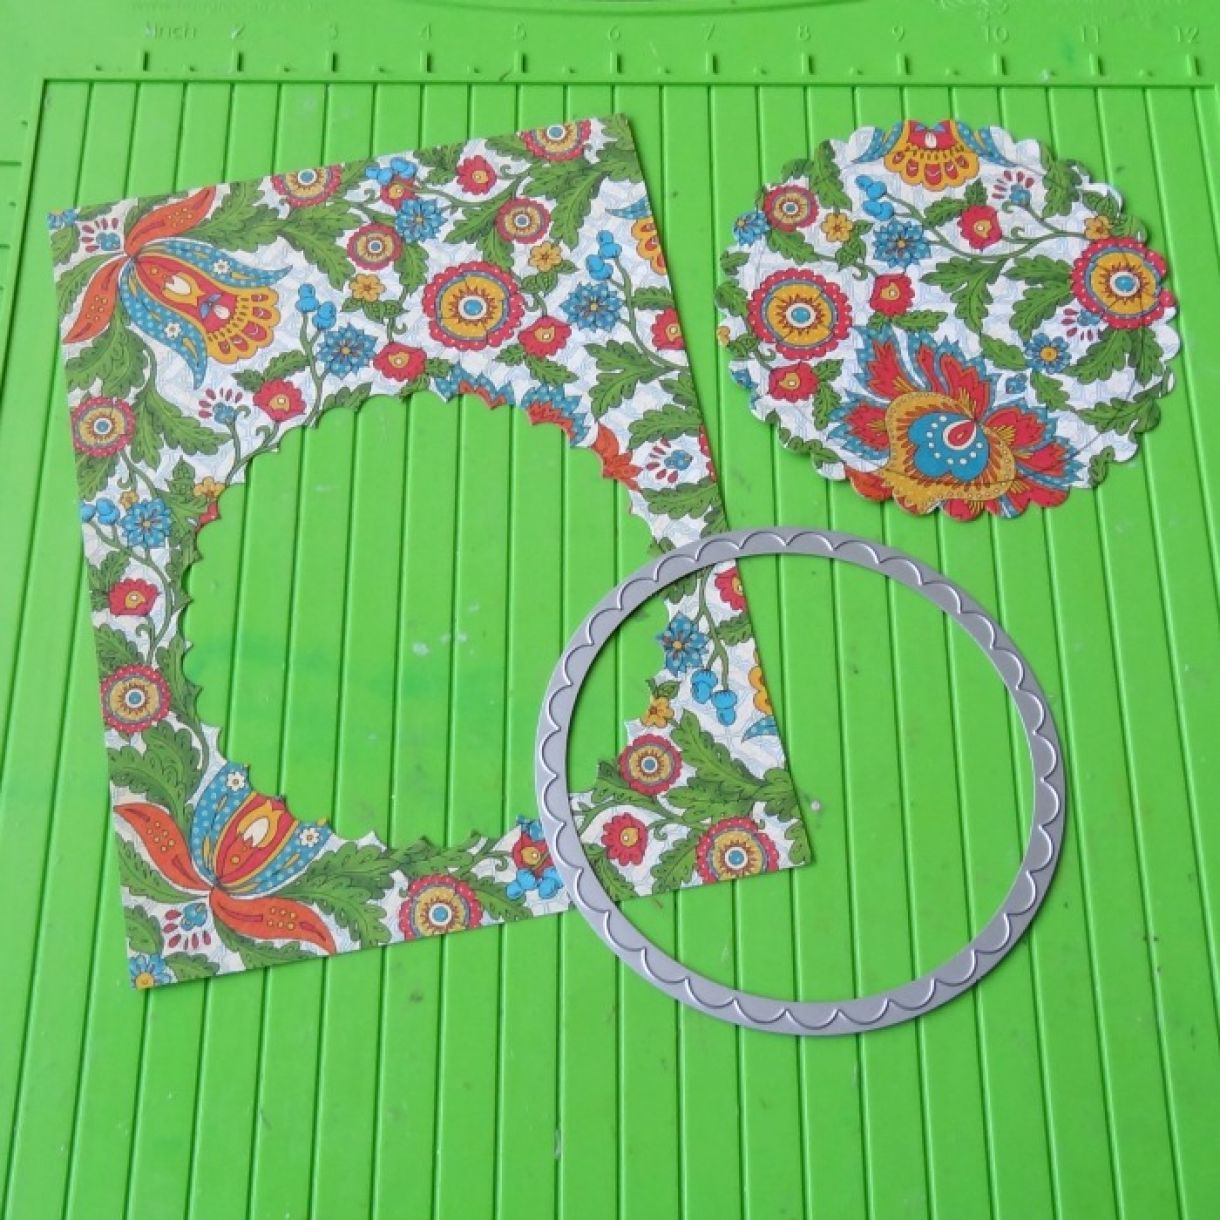
I started by cutting two 6” squares of Papermilldirect Raspberry Pink card. Using a circle die to cut an aperture into 1 square. I added a slightly smaller square of blue patterned G45 paper to the other square using d/s tape and glue to adhere.
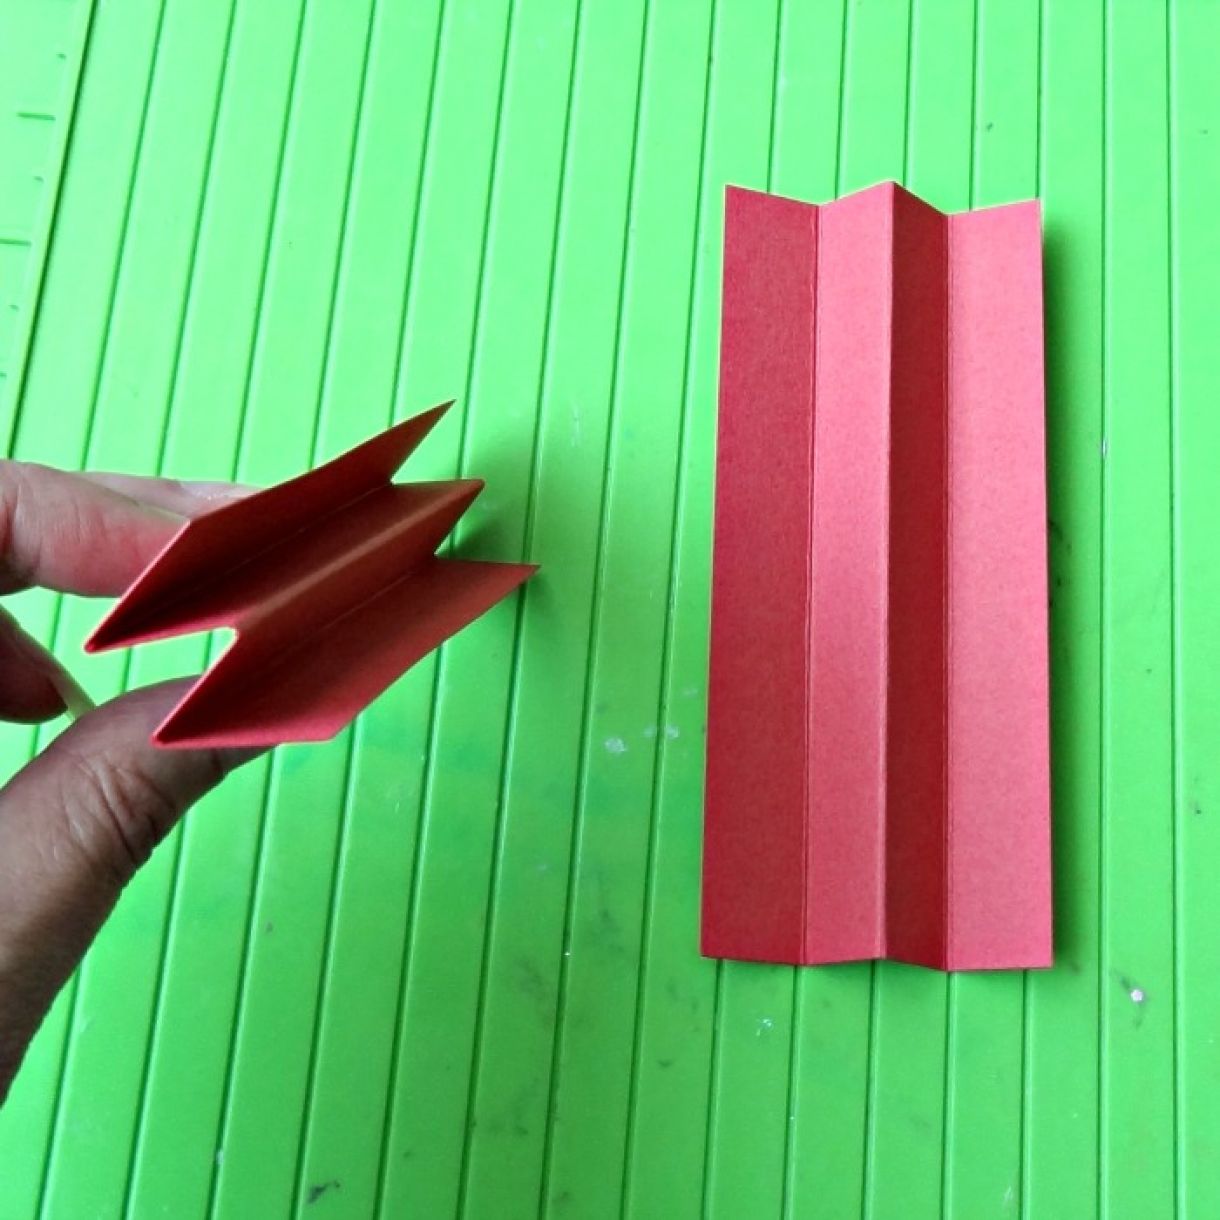
To create the joining strips for the squares cut 2 PMD Raspberry Pink card approx. 6” long x 4” wide and score lengthways at 1”, 2” and 3”, using a scoring tool and / or bone folder to create mountain and valley folds as shown.
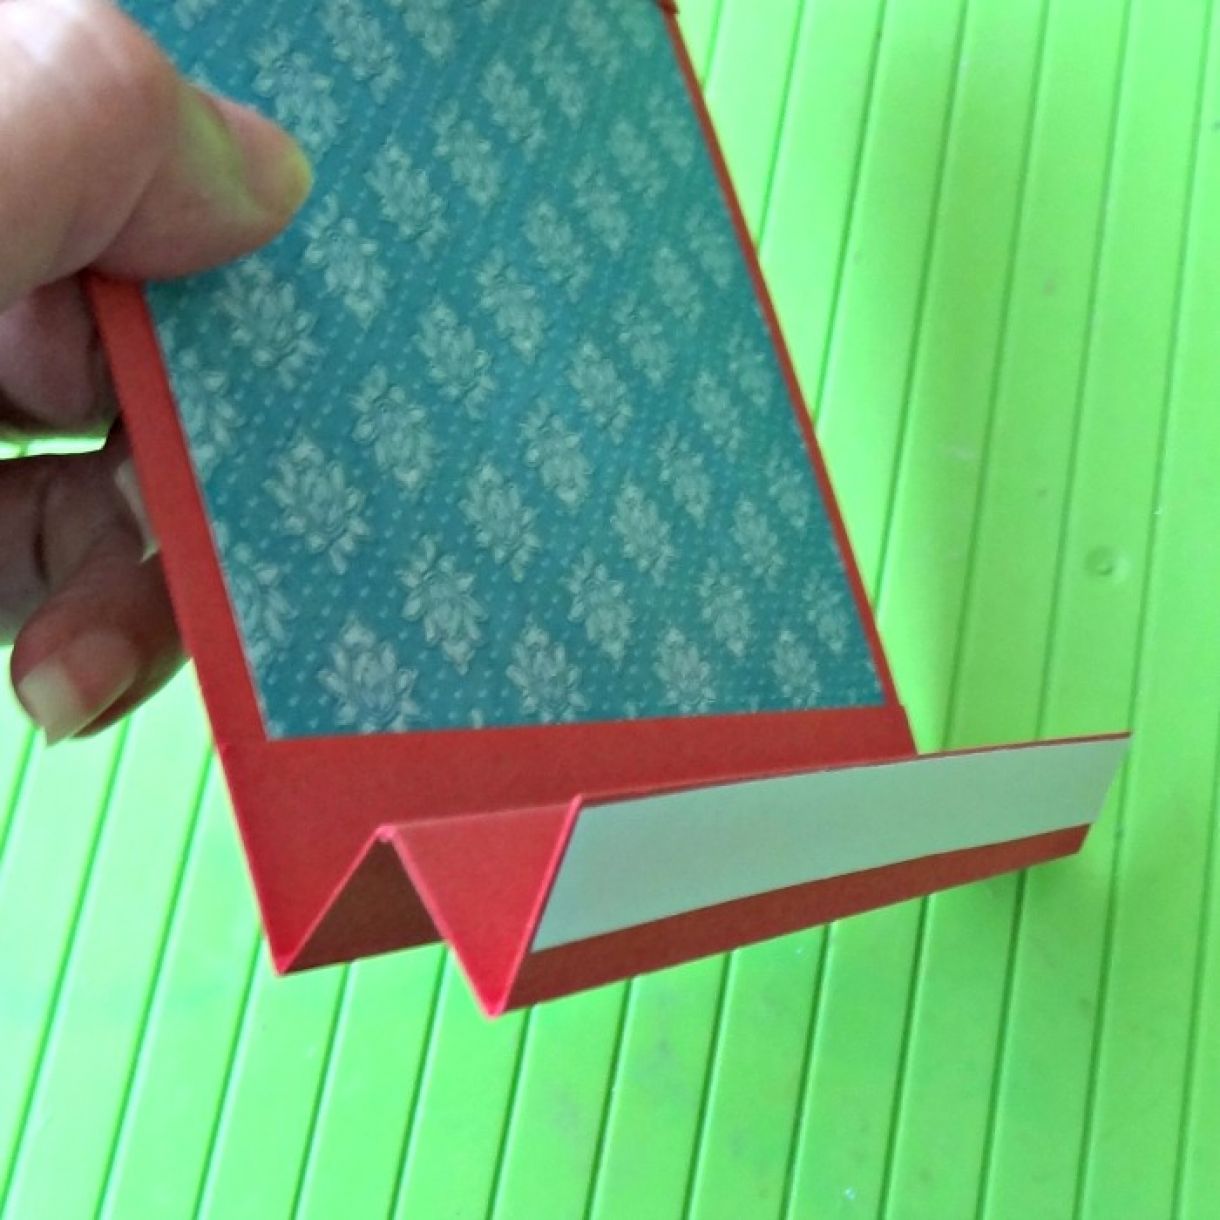
Add d/s tape to outer edge scored panels on each strip and attach to inside of card back (blue pattern paper square, lining up with card edges across top and bottom of square.
Take square with circle aperture. Choose a slightly larger circle die (I’ve used a scalloped circle) and cut into the centre of a square of floral pattern paper (cut slightly larger than card front. Add to card front using d/s tape and glue to help you slide it into place evenly around original circle aperture. Trim paper flush with card front and then attach the 2 card strips as before to the inside front of card front.
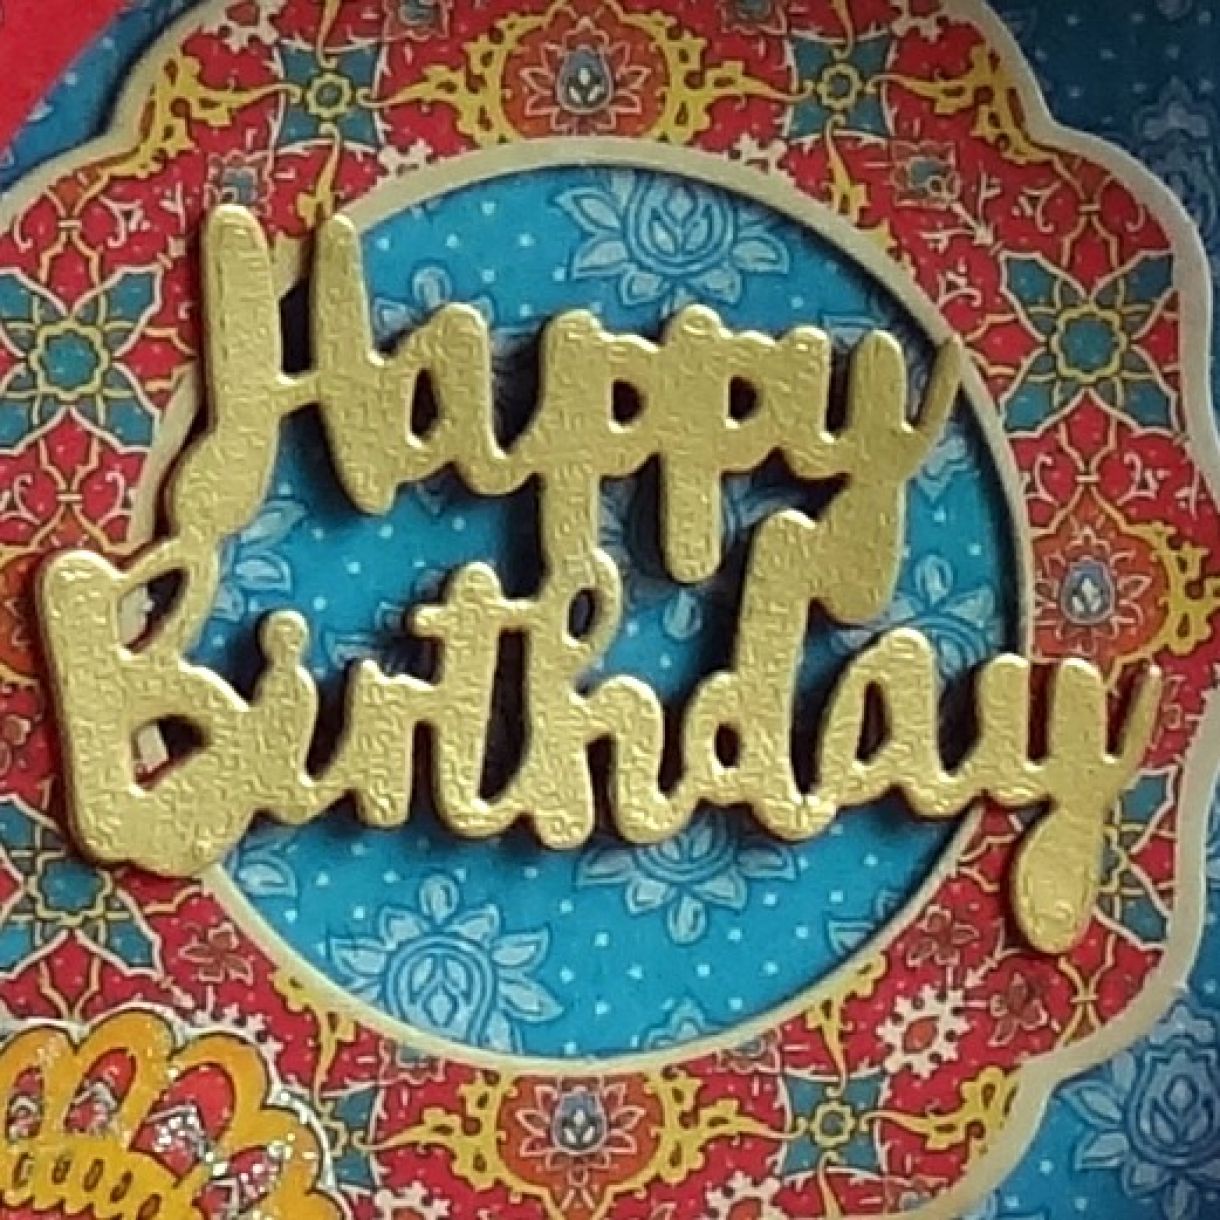
Add a Chipboard frame inside card aperture and then die cut ‘Happy Birthday’ sentiment. I have stacked the sentiment by cutting it twice from PMD Raspberry Pink card and topped it with a sentiment cut from the lovely PMD Gold Sandgrain. Gluing the layers and then adhering across the frame.
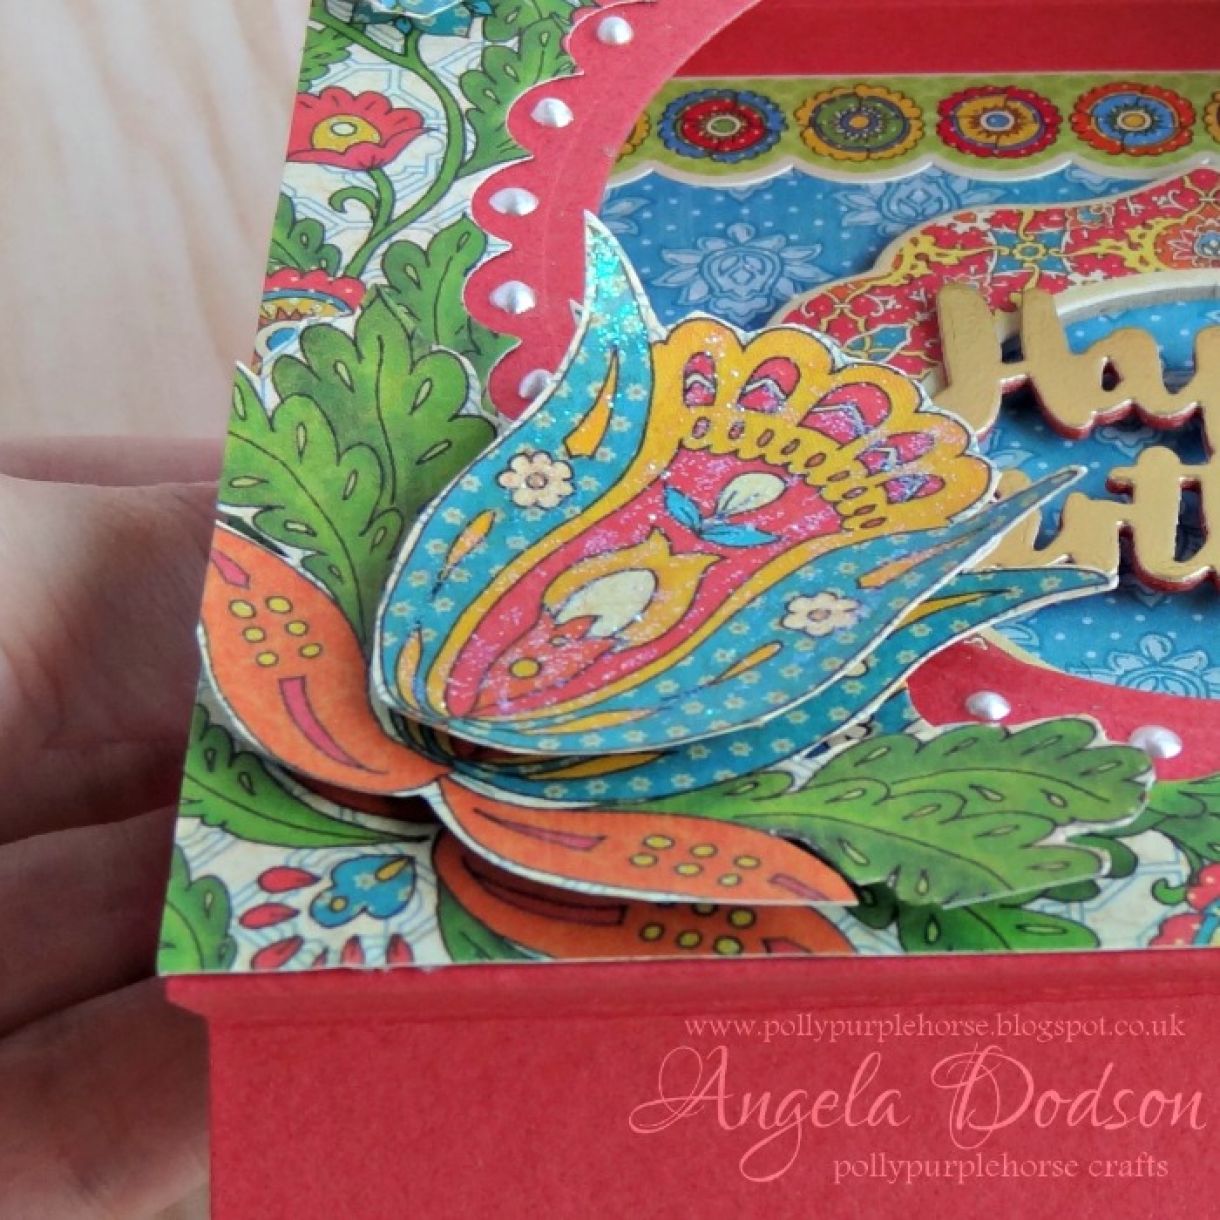
Add Decorations to the front of the card to finish. I have used Liquid Pearls around the scalloped aperture and have fussy cut and decoupaged some of the floral aspects of the vibrant papers, layering up with 3D foam pads. Dabs of glitter add extra highlights.
I have cut the base of this card from PMD Raspberry Pink but there are lots of other bright colours in the Papermilldirect range that will also work well with these bright detailed papers. Most crafters have at least 1 set of nesting dies in their craft stash, if you don't have circles then why not try other shapes, they should all work well to create a focal point for your design.

Materials Used:
Raspberry Pink card – Papermilldirect
Gold Sandgrain card – papermilldirectx
Bohemian Bazaar - papers, stickers & Chipboard – Graphic 45
Happy Birthday - mini die – Dovecraft
White Opal - Liquid Pearls – Ranger
Crystal - Glitter Glue – Dovecraft
Circle Dies -Sizzix
Scalloped Circle Dies - First Edition
Adhesives: d/s tape, glue, 3D foam pads


2 thoughts on “Bohemian Birthday Double Tent Card Step By Step Tutorial”
Angela Dodson
23rd September 2016 at 9:26 a.m.
Jan Marshall
19th September 2016 at 6:07 p.m.