How To Make An Exploding Card
0
Posted on 17th April 2016 by Sylvia Ames
Filed under Card Making Ideas, All Papercraft Tutorials, Projects And Cards By Type
Hi Sylvia here, exploding cards are relatively easy and fun to make. The more folds the more complex the exploding part of the card. My tutorial shows how to make an exploding insert with seven folds, simple but effective.
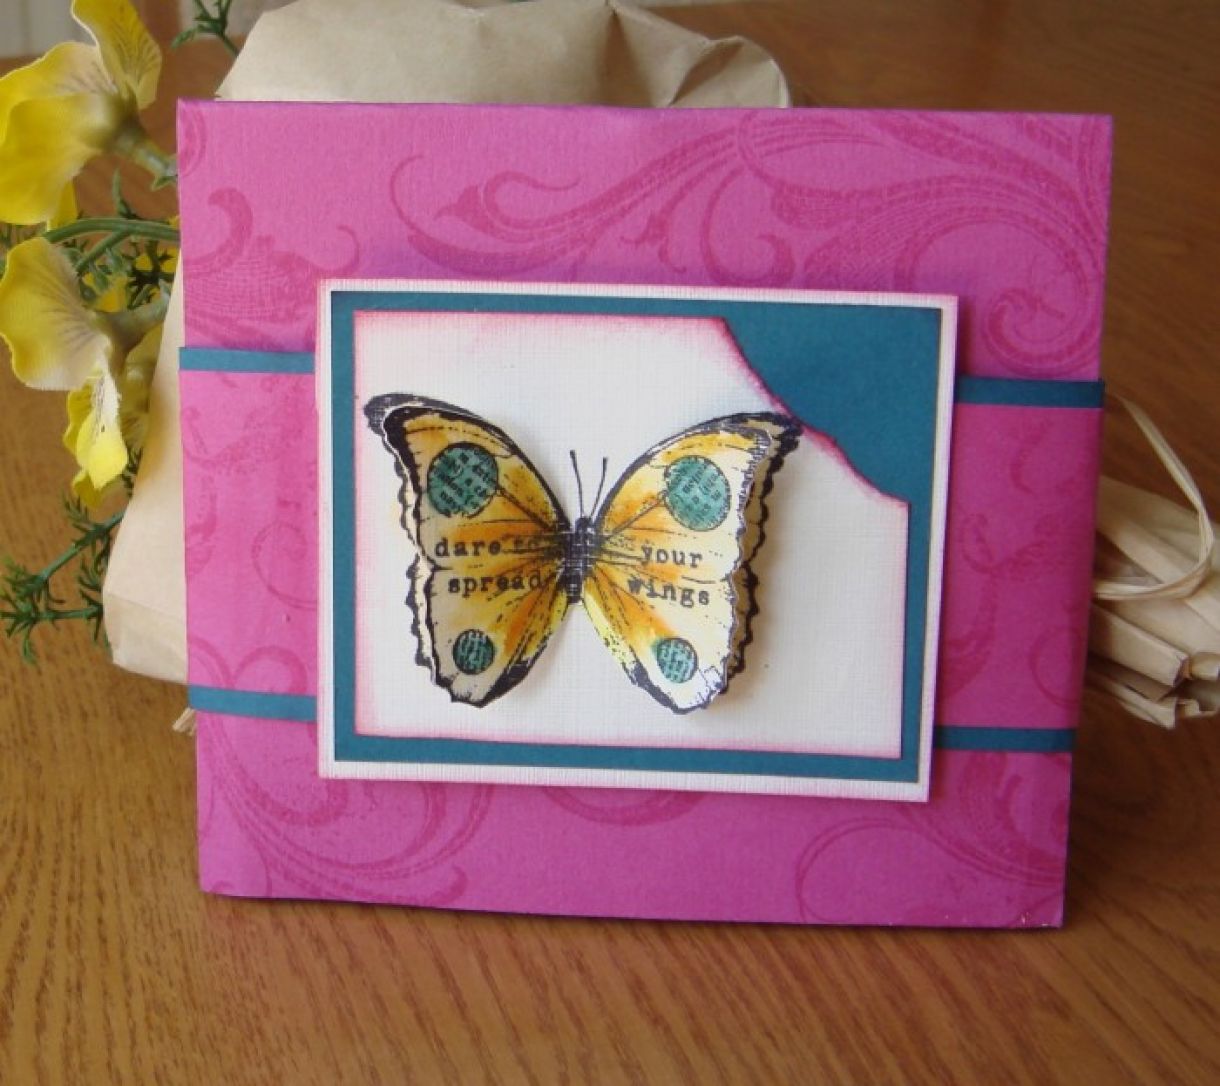
alt="" src="DSC07535.JPG" style="width: 700px; height: 611px;" />'lhMaterials used:
- Papermilldirect raspberry, teal and ivory linen cardstock
- picked raspberry distress ink
- black archival ink
- squeezed lemonade, wild honey, spiced marmalade annd evergreen bough distress markers
- stamps - Hero Arts large flourish, Prima Finnabair butterfly 2 and sentiment stamp from Taylored Expressions
- glue and scissors
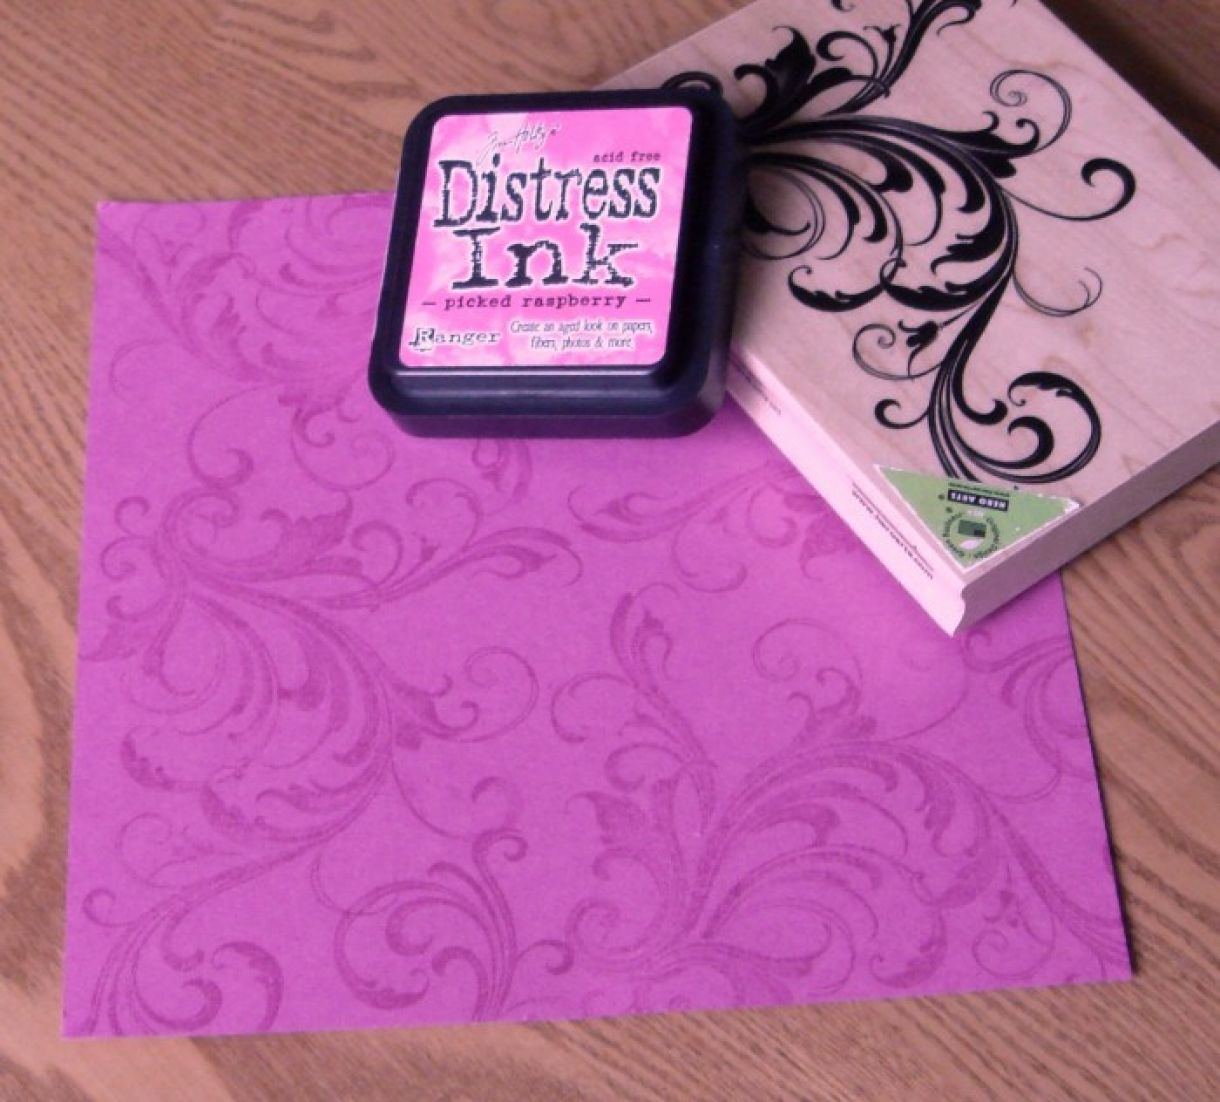
Cut a piece of raspberry pink card 20cm square and stamp both front and back with the flourish stamp and picked raspberry distress ink.
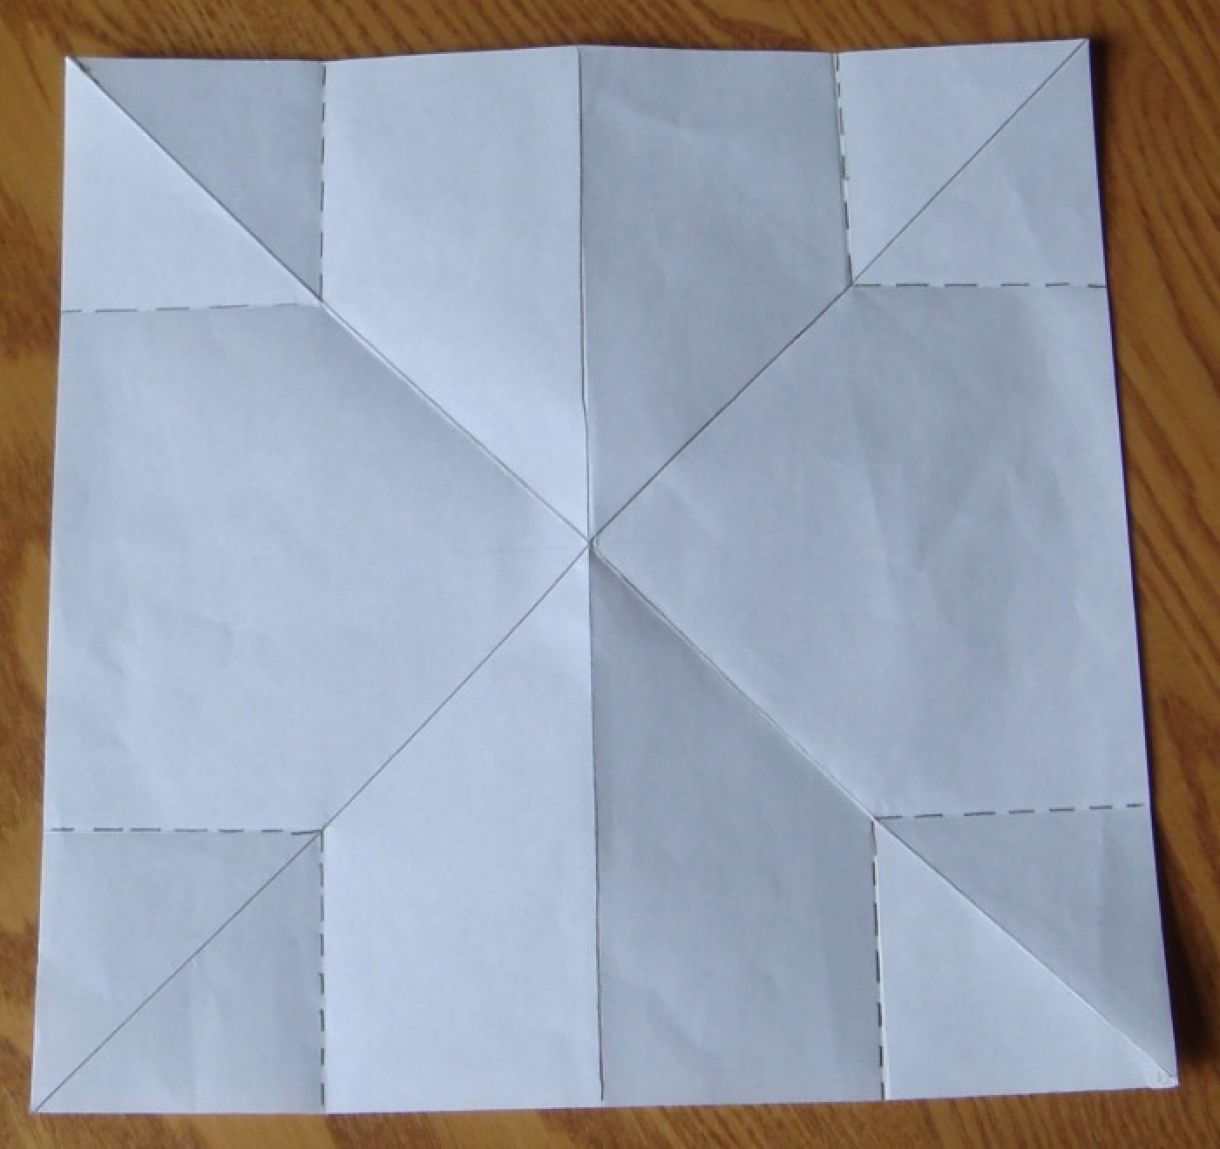
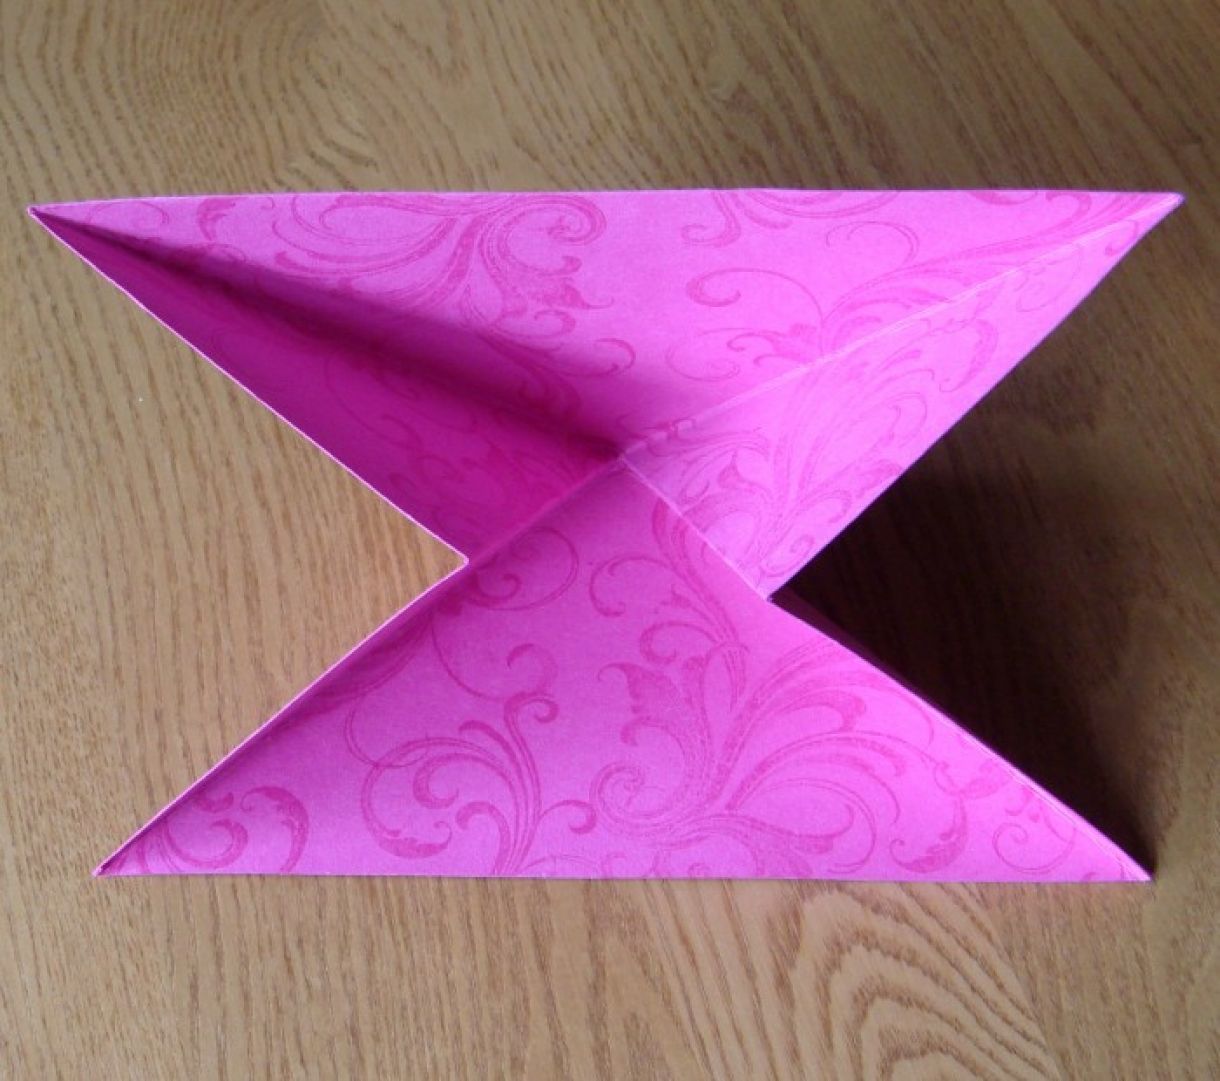
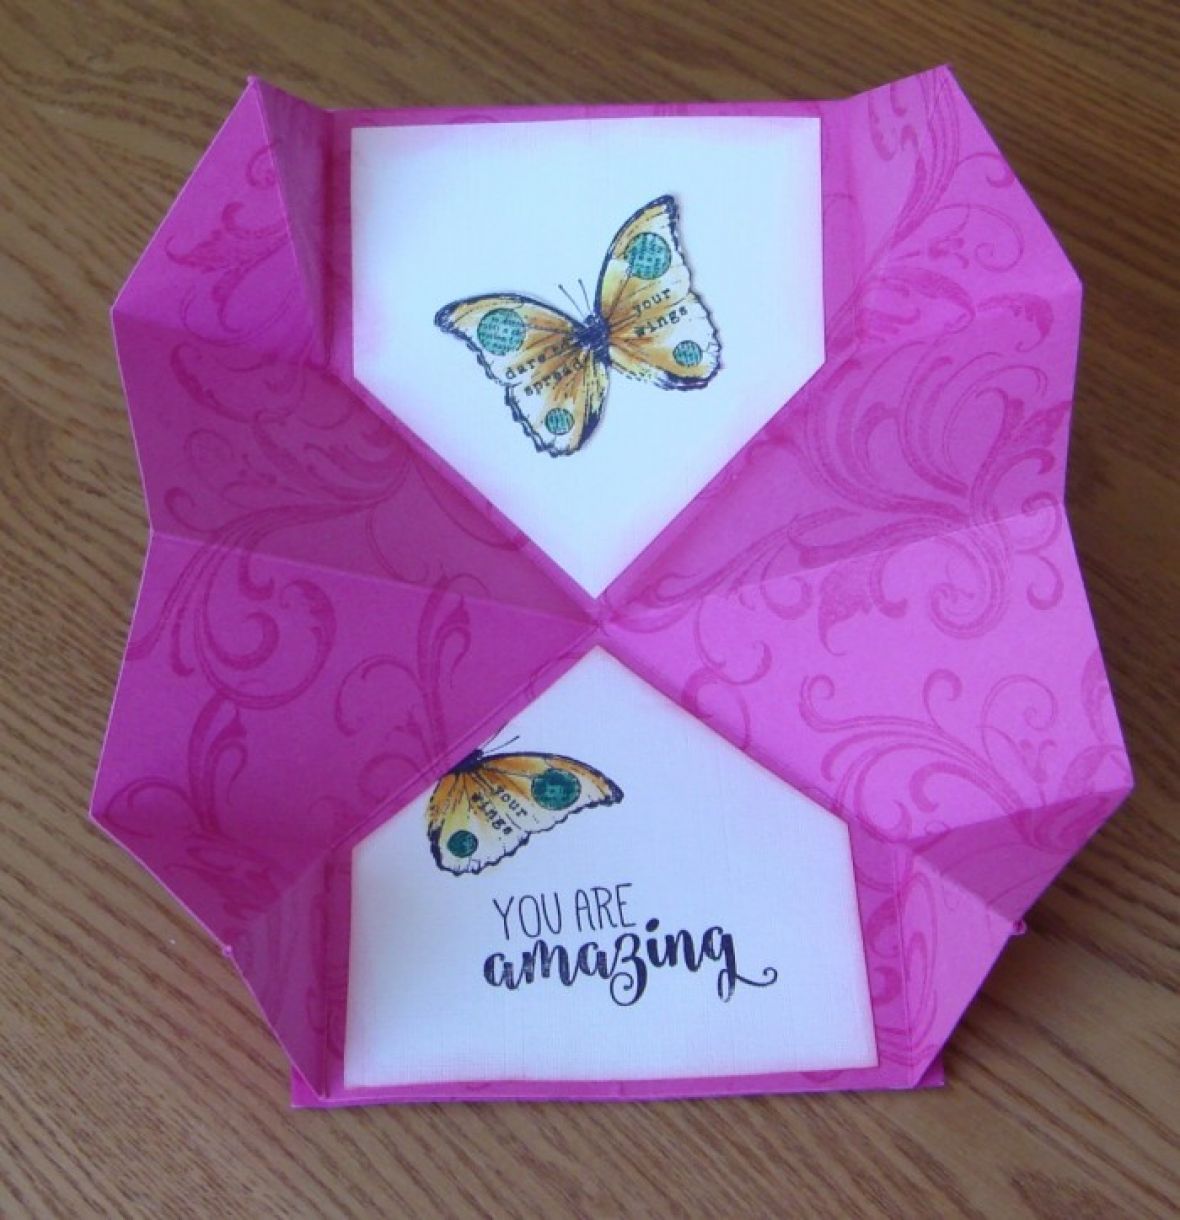
Fold the card diagonally from corner to corner, open and fold diagonally on opposite corners, open and fold in half horizontally. Push horizontal folds inwards and close card into a triangle.
Fold corners into center at front and back. This forms the square at each corner as shown on the fold diagram above.

Open up the card and fold the center fold of the corners to the inside of the insert.
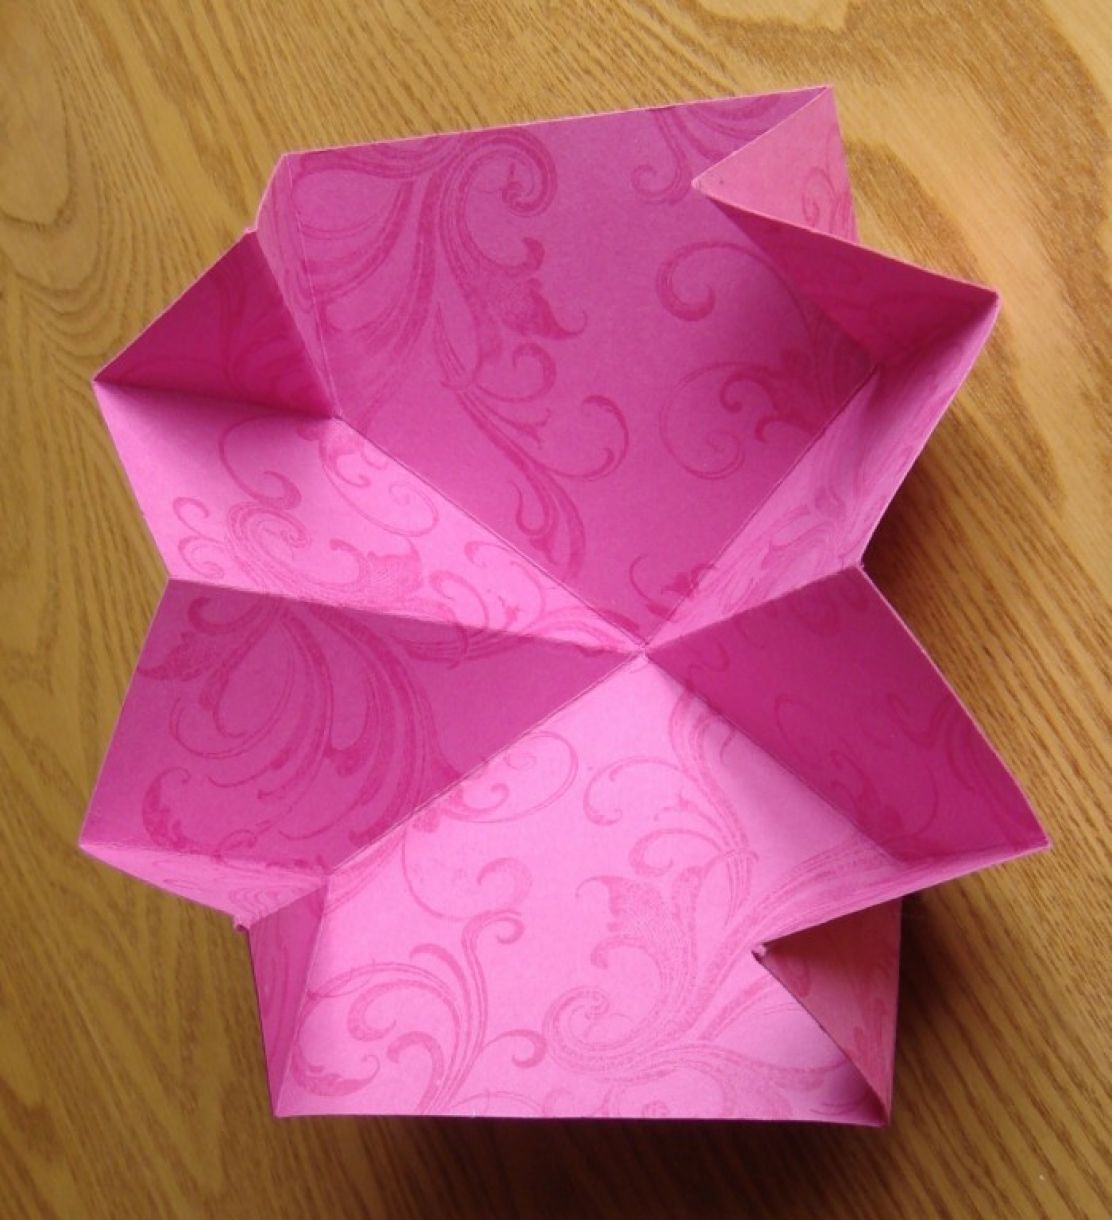
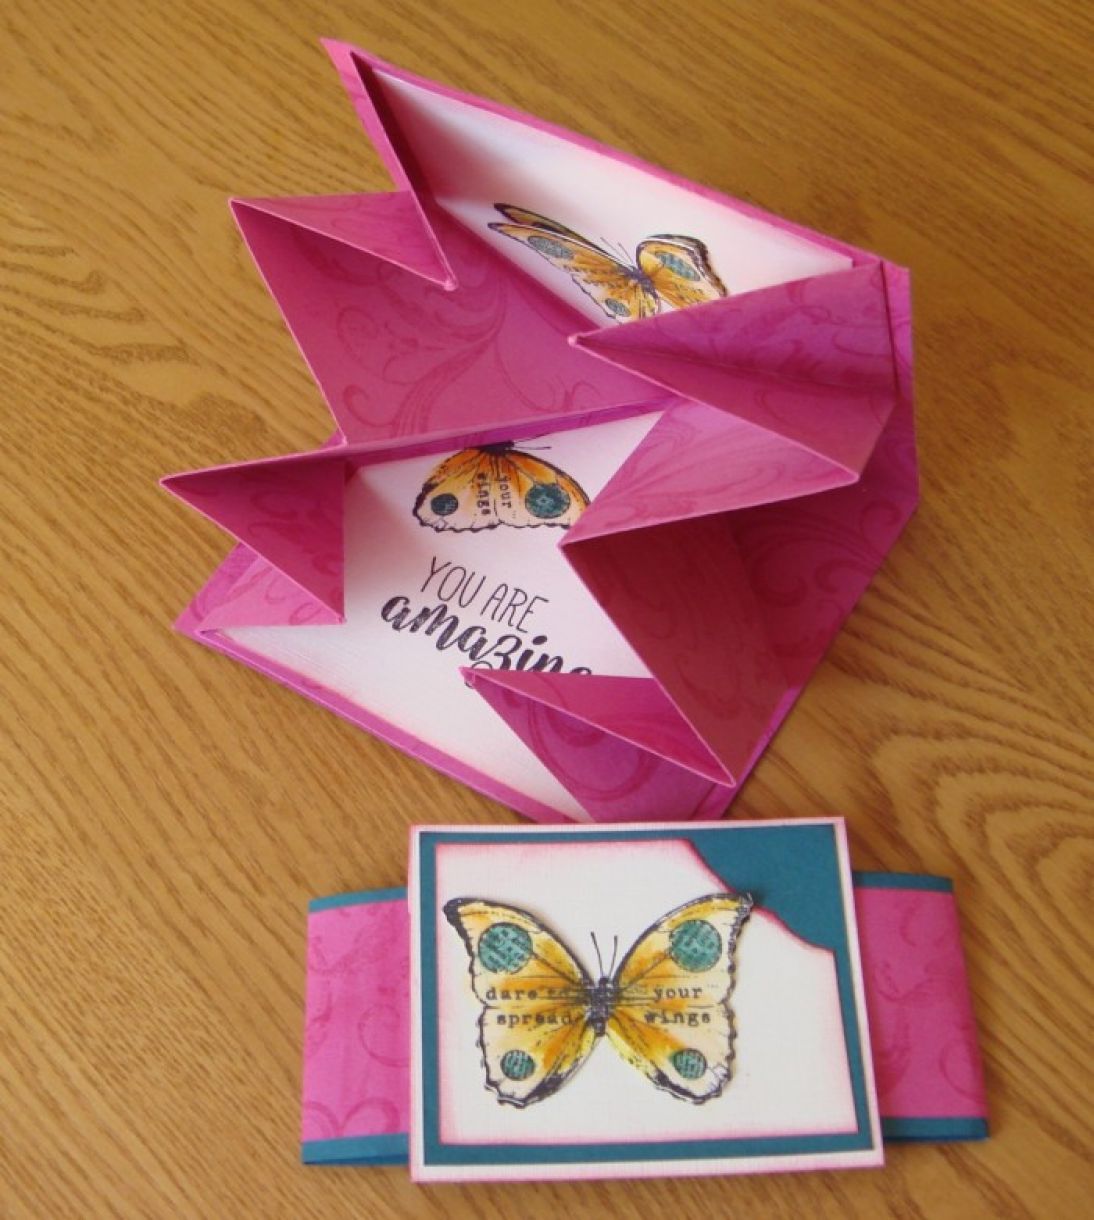
Bring down the top of the insert and the fold will concertina inwards folding on top of one another, this is the exploding insert for your card.

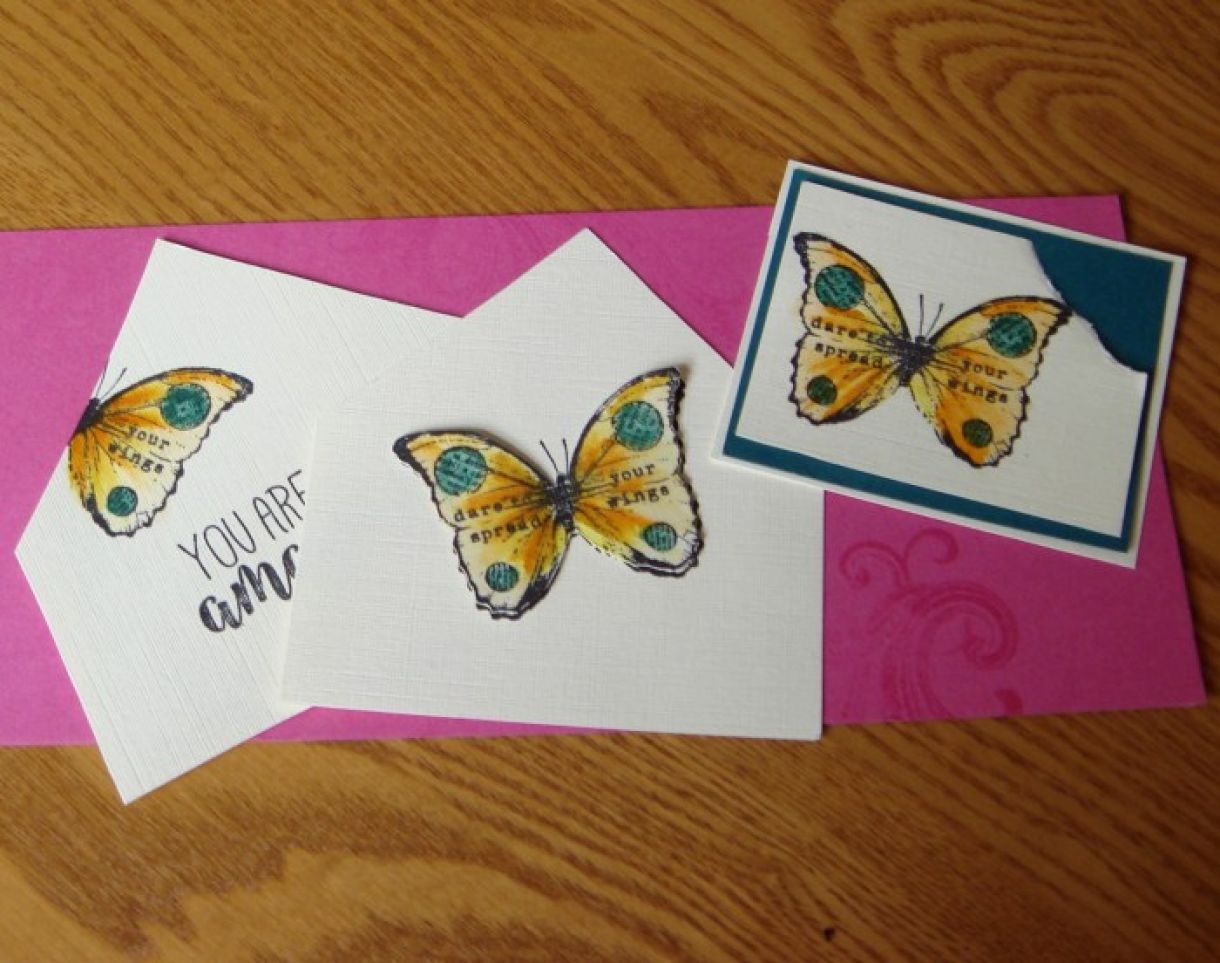
Cut ivory linen card to fit inside the insert and decorate with stamped butterflies and a sentiment, colour with distress markers and blend picked raspberry distress ink round edges.
Cut a 21cm x 10.5cm pices of raspberry card and stamp with flourish and picked raspberry distress ink, fold in half to make a top fold card. Stick the folded insert to the back of the card with the point at the top, glue the top side of the insert and bring the front of the card down to stick it to the insert. Add the decorated inserts to the inside and make a belly band to hold the card closed, decorate this with the same butterfly stamp.
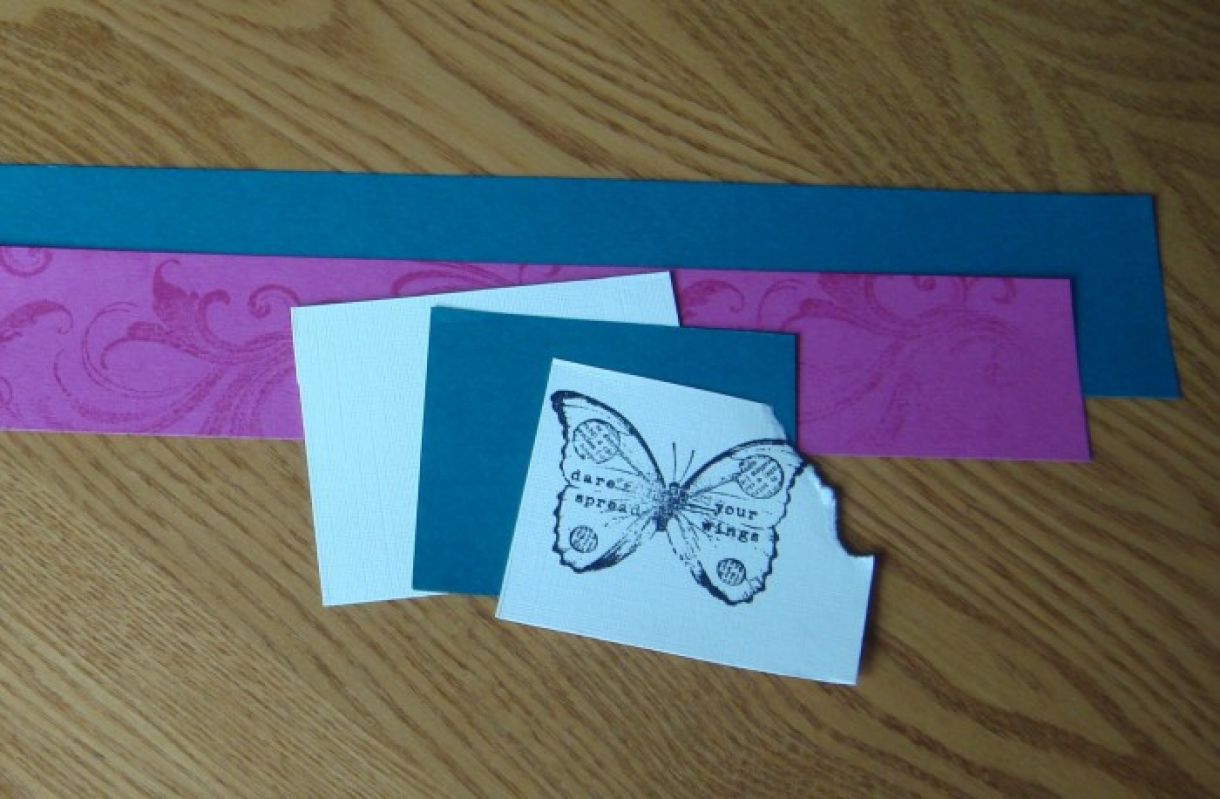
To make the belly band, cut a long strip of raspberry card 4cm deep and stamps as for the card, cut a long strip of teal card 4.5cm deep and mount the raspberry card on top, fold the band round the card and cut to fit with the ends joining. Cut a piece of ivory linen card 7cm x 6.50cm, a piece of teal card slightly smaller and another piece of ivory linen card slightly smaller than the teal card for stamping the butterfly. Layer the teal card onto the ivory linen and the stamped ivory linen card onto the teal card. Stick this panel centrally over the belly band where the two ends meet.
The belly band slides off the card and when opened the folds explode outwards revealing the stamped images and sentiment inside.
I hope you enjoyed reading my tutorial, we would love to see what designs you come up with, post your creations on our facebook page so we can see what you have been making.


Nobody has commented yet
Be the first to comment on this article by using the form below.