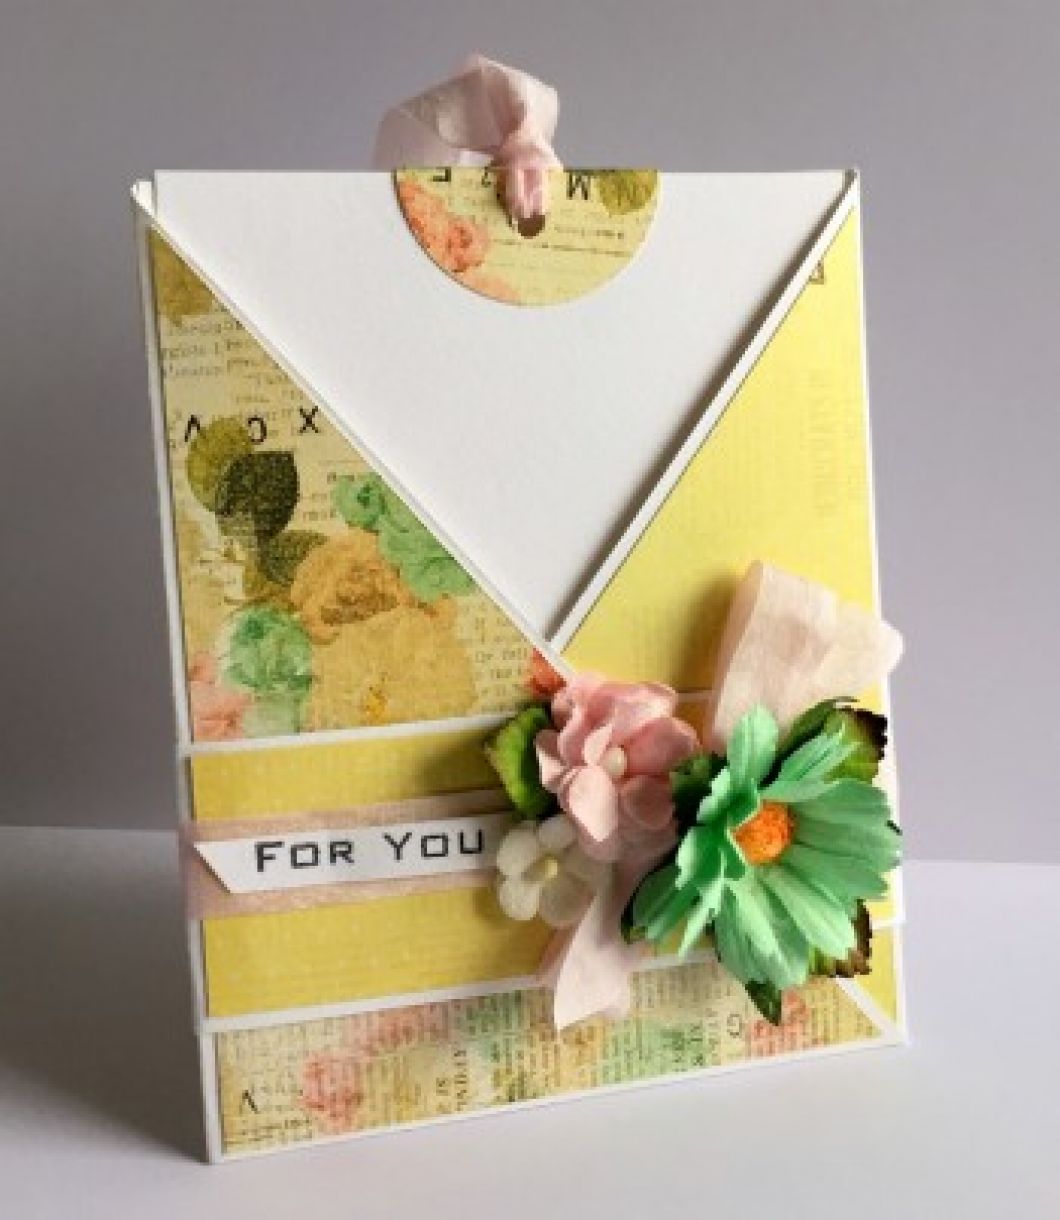
Criss Cross Card with Pull out Tag
1
Posted on 23rd August 2015 by Sandra Dunne
Filed under Card Making Ideas, All Papercraft Tutorials
Hi there! It's Sandie here today and I am sharing how to make a Criss Cross card with a pull out tag.
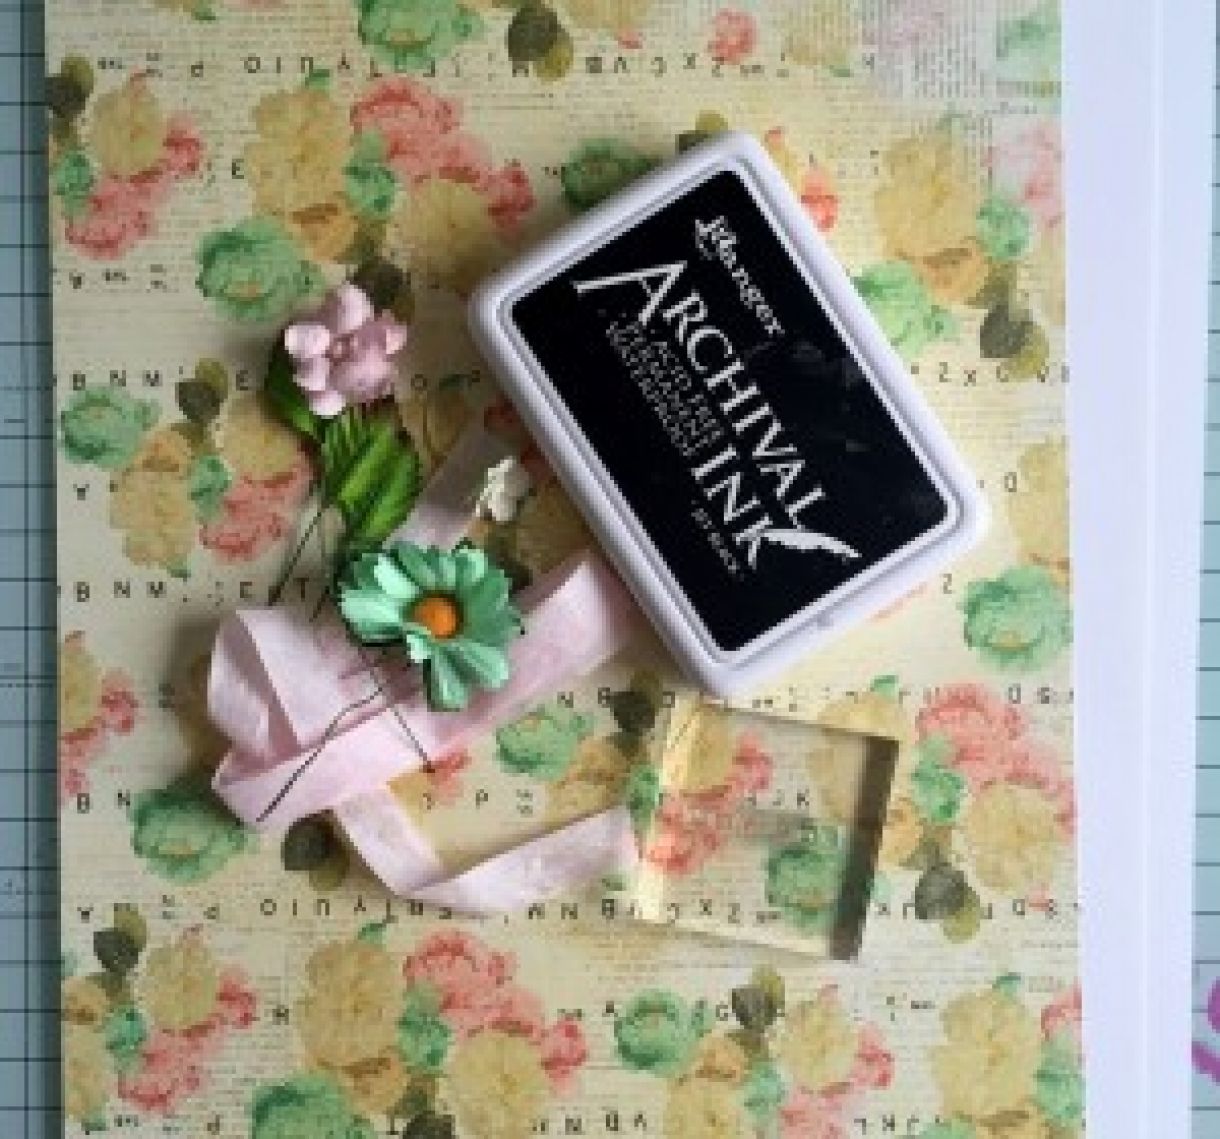
Supplies:
Plain White card
Patterned papers
Ribbon
Paper flowers and leaves
Sentiment
Black ink
Scoring board
Paper trimmer
Adhesive
How to:
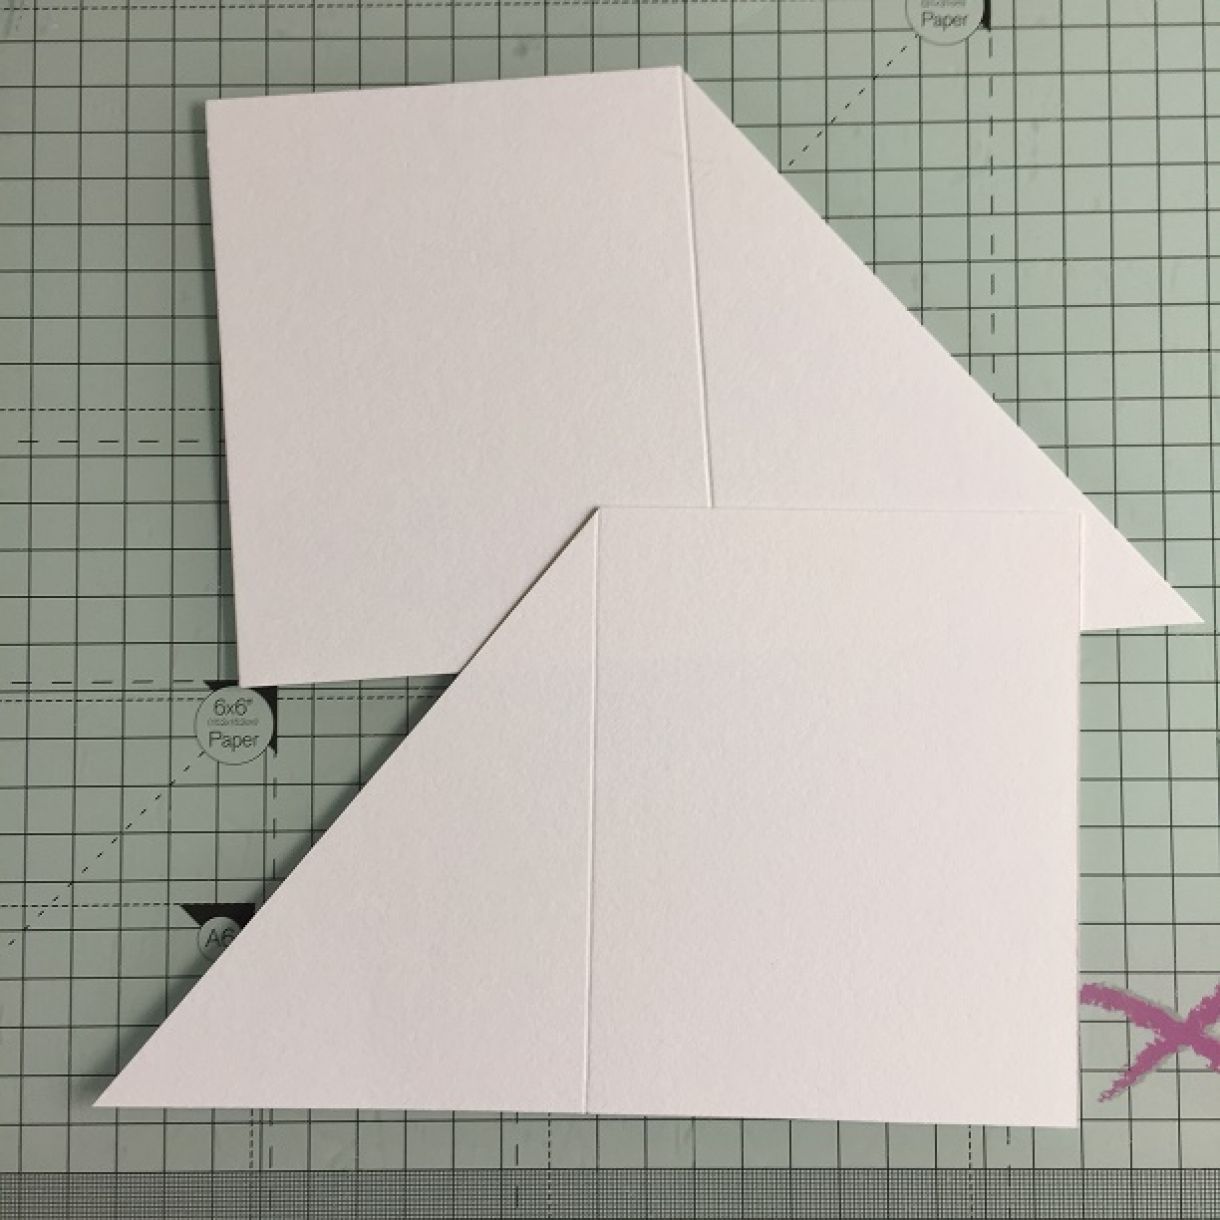
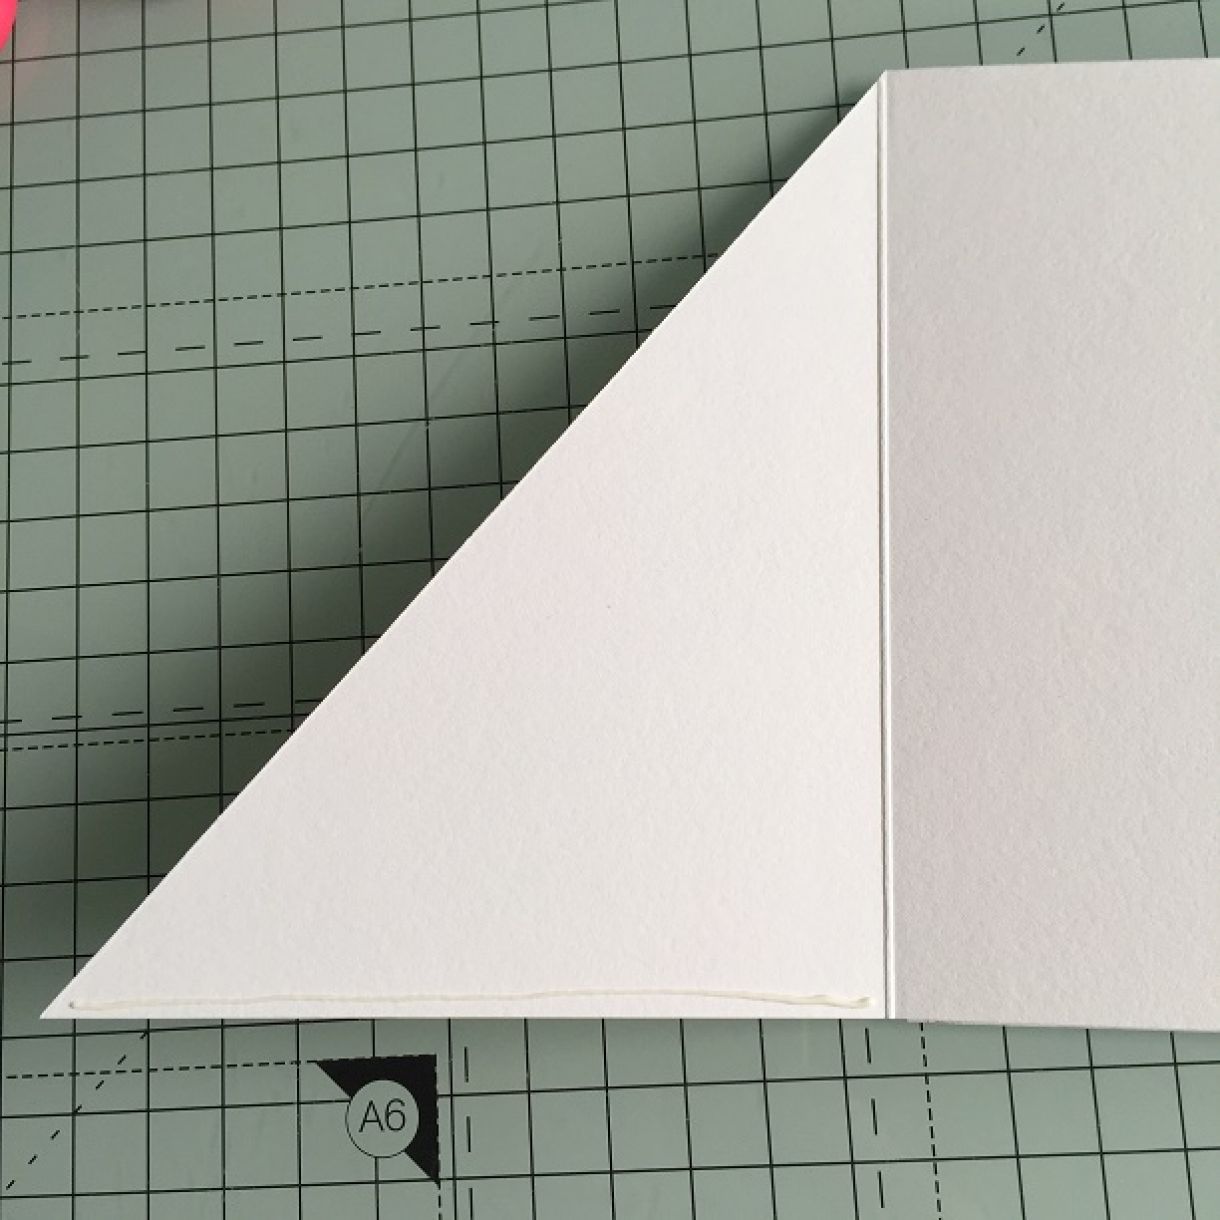
Cut two pieces of white card at 5” x 8” and score the at 4"

Cut diagonally from the scoreline to the outer corner on opposite sides of each piece.
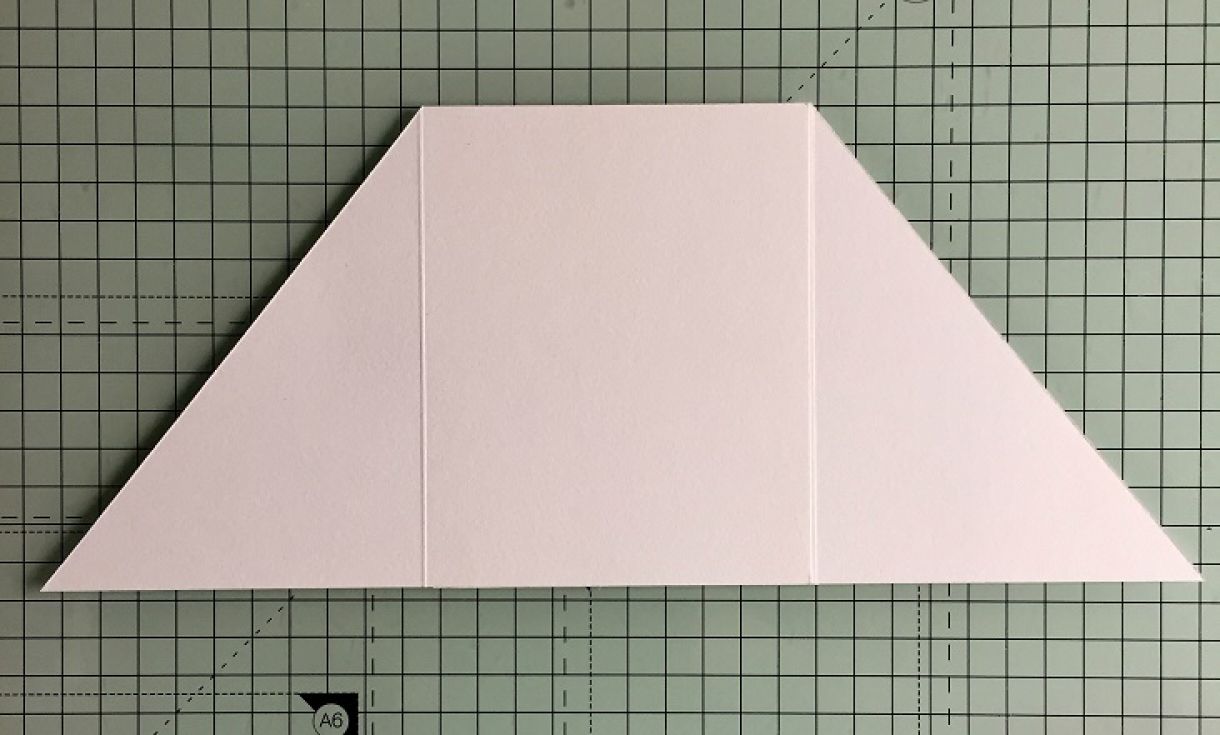
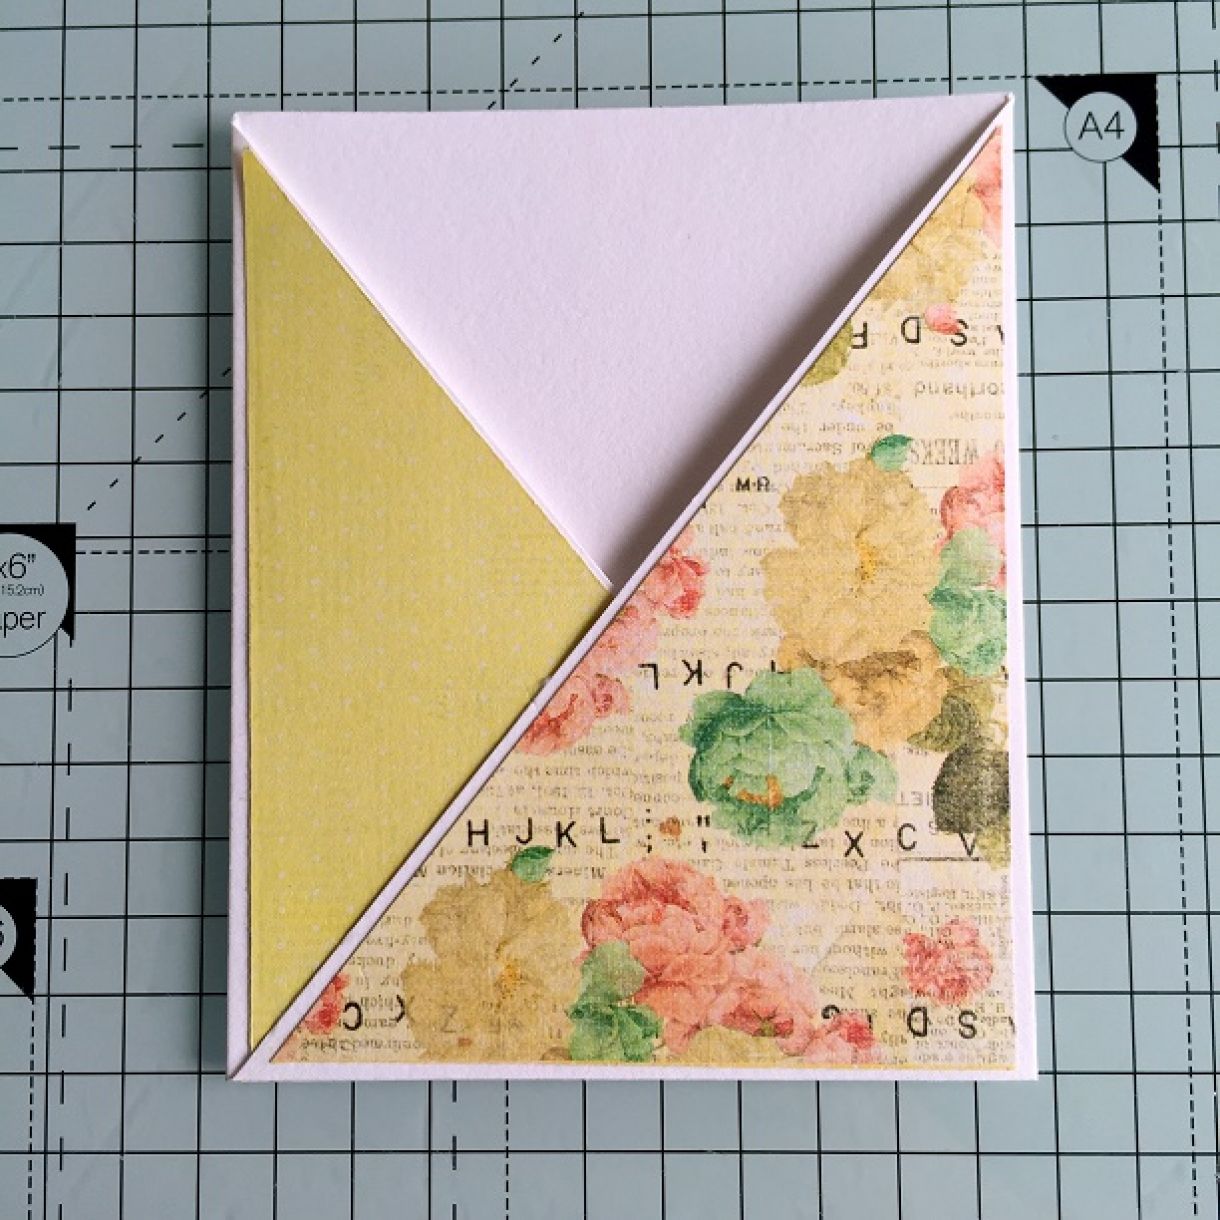
Glue the 2 pieces together by layering the full panels together.
Adhere the patterned paper to the outer flaps.
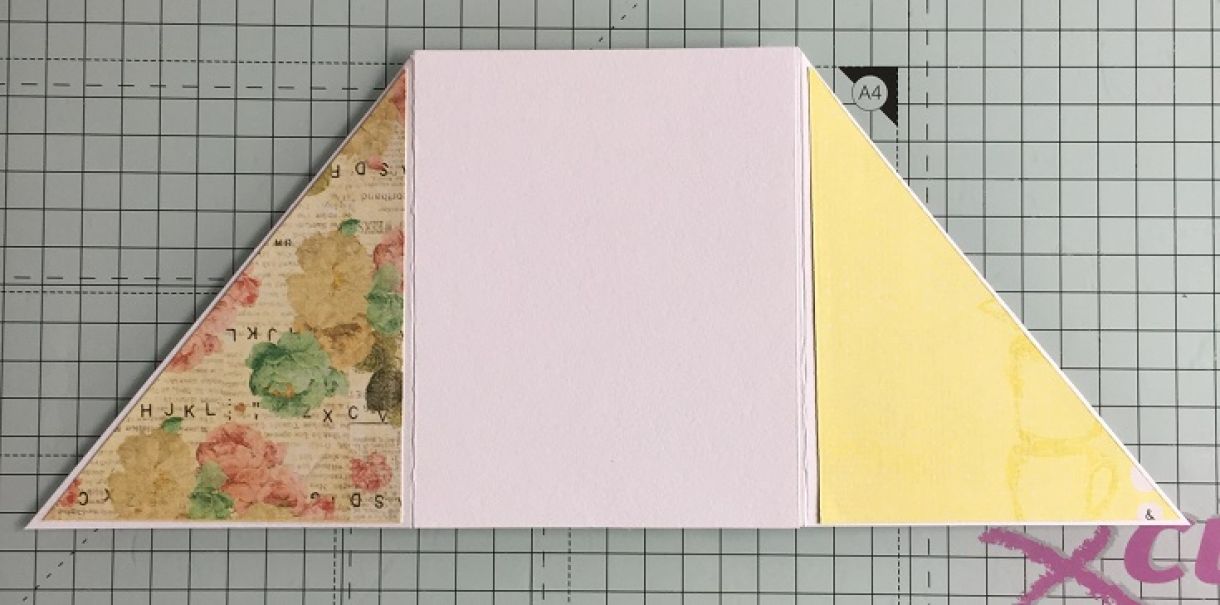
Fold in one flap, gluing across the bottom
Fold in the other flap, applying glue to the bottom, and approx half way up the side.
Cut one piece of 1.5” x 8.25 white card. Wrap it around the card to make a belly band, meeting at the back. It will overlap slightly
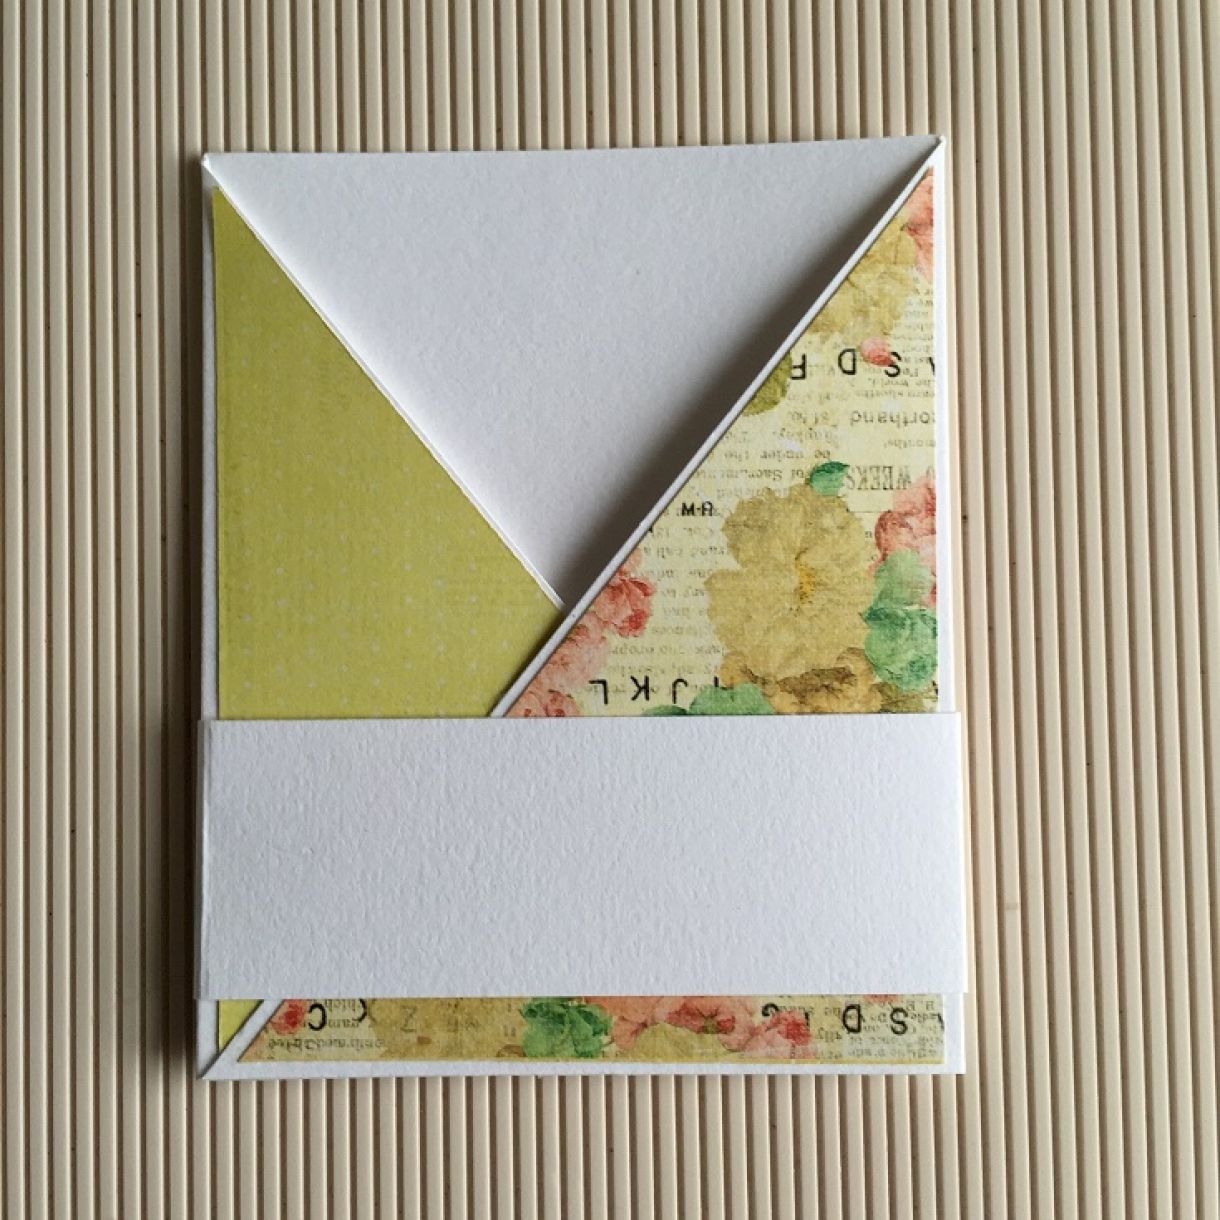
Cut 2 pieces of 1 ⅜” x 3 ⅞” of patterned paper and adhere to the front and back of the belly band.
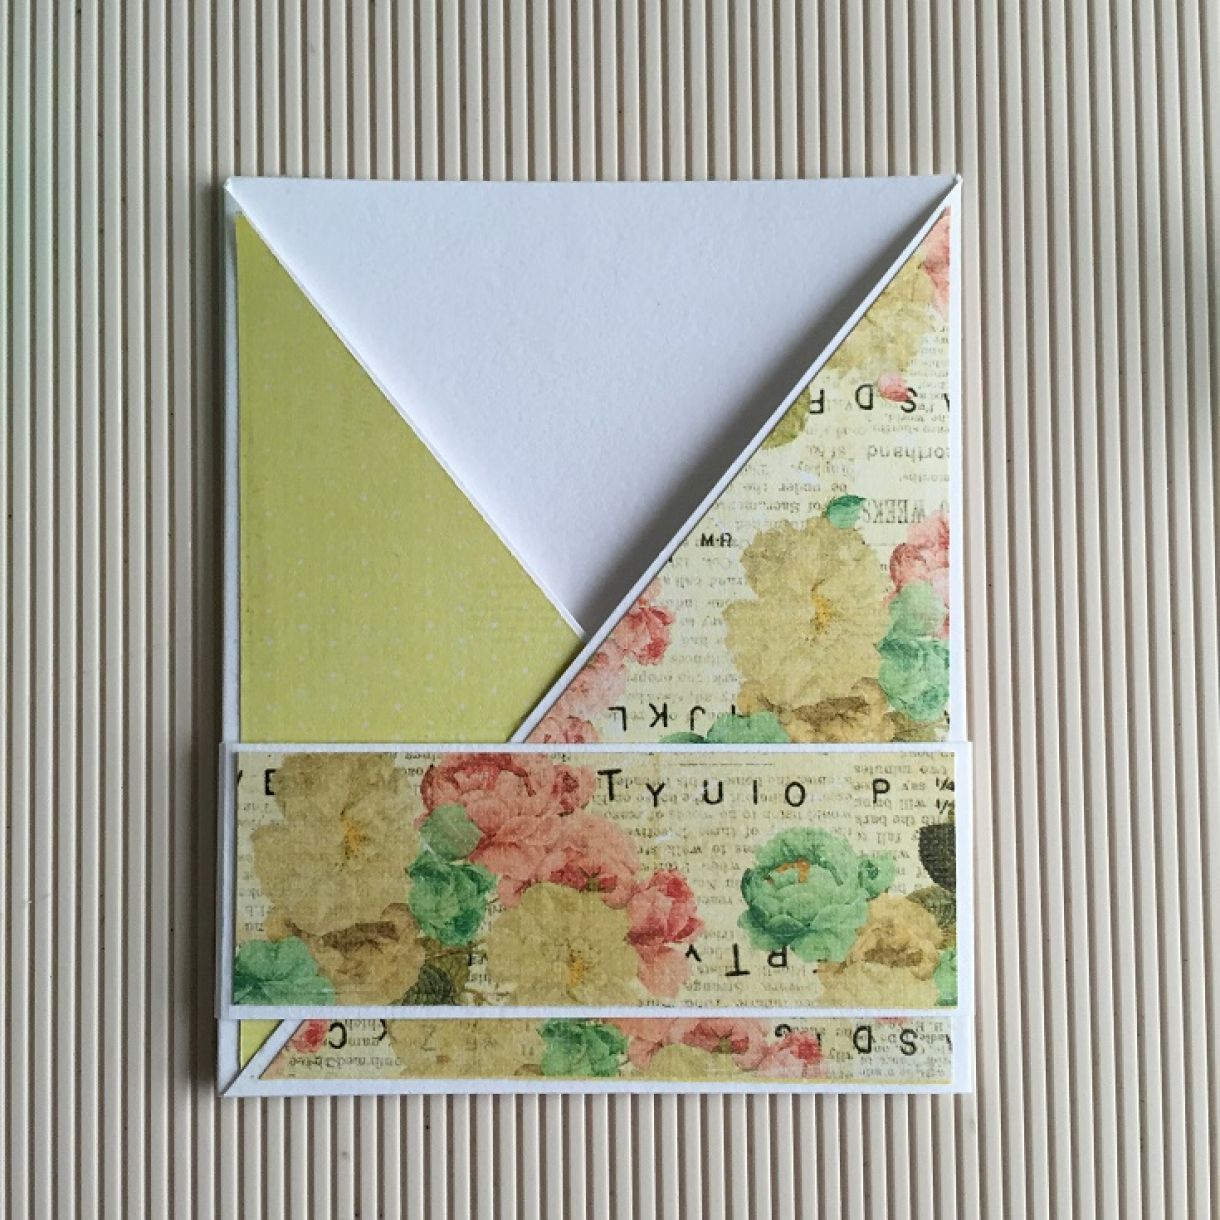
Wrap the ribbon around the belly band and tie in a bow on the right hand side.Adhere flowers and leaves as desired. Add sentiment.
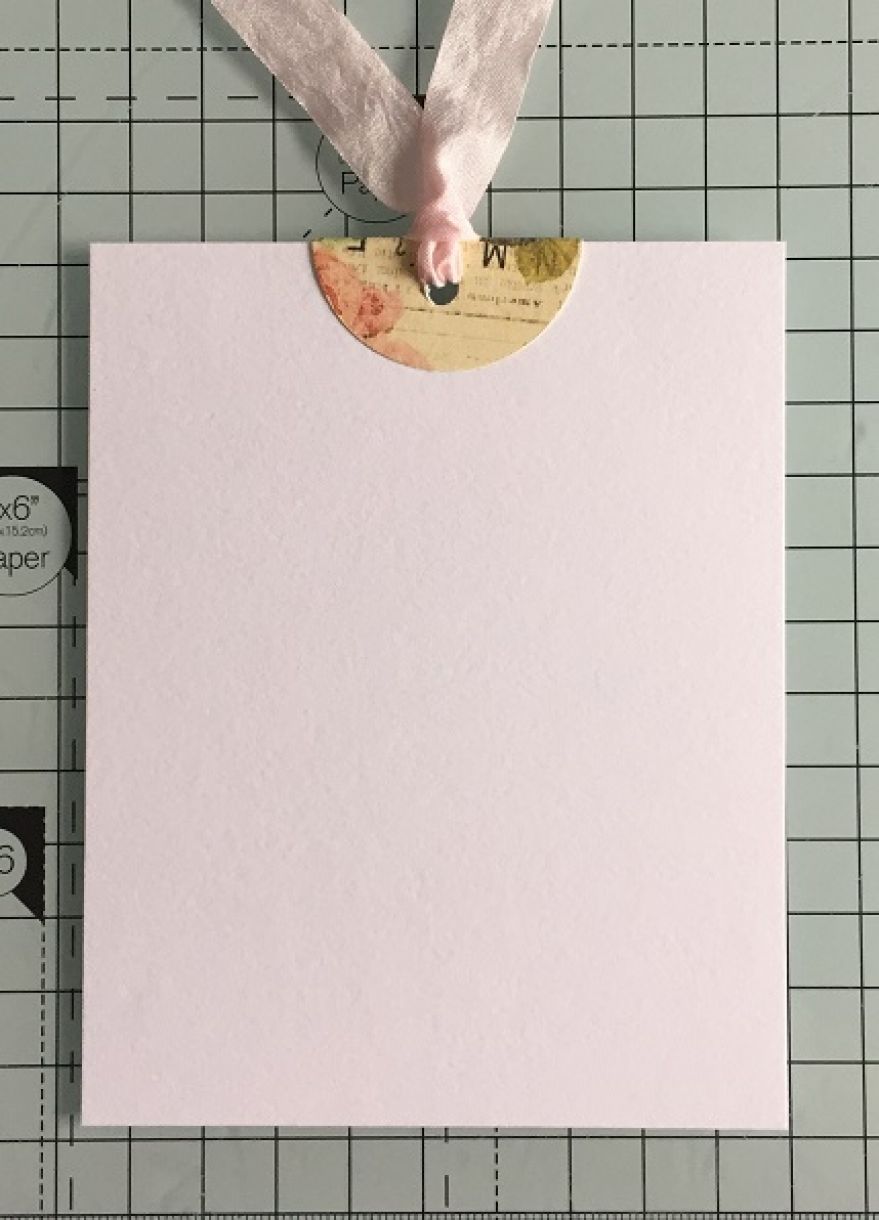
To make the pull out tag, cut a piece of white card at 3 ¾” wide x 4 ¾” long. Punch a circle from the patterned paper, fold in half over the top of the tag. Punch a hole in the centre and thread ribbon through.


1 thought on “Criss Cross Card with Pull out Tag”
Nessa Stokes
24th August 2015 at 8:36 p.m.