Chocolate Egg Shaped Easter Card Idea - Step By Step Tutorial
2
Posted on 11th April 2017 by Angela Dodson
Filed under Card Making Ideas, All Papercraft Tutorials, Seasonal Crafts, Seasonal Crafts, Seasonal Crafts, Seasonal Crafts, Easter Craft Ideas
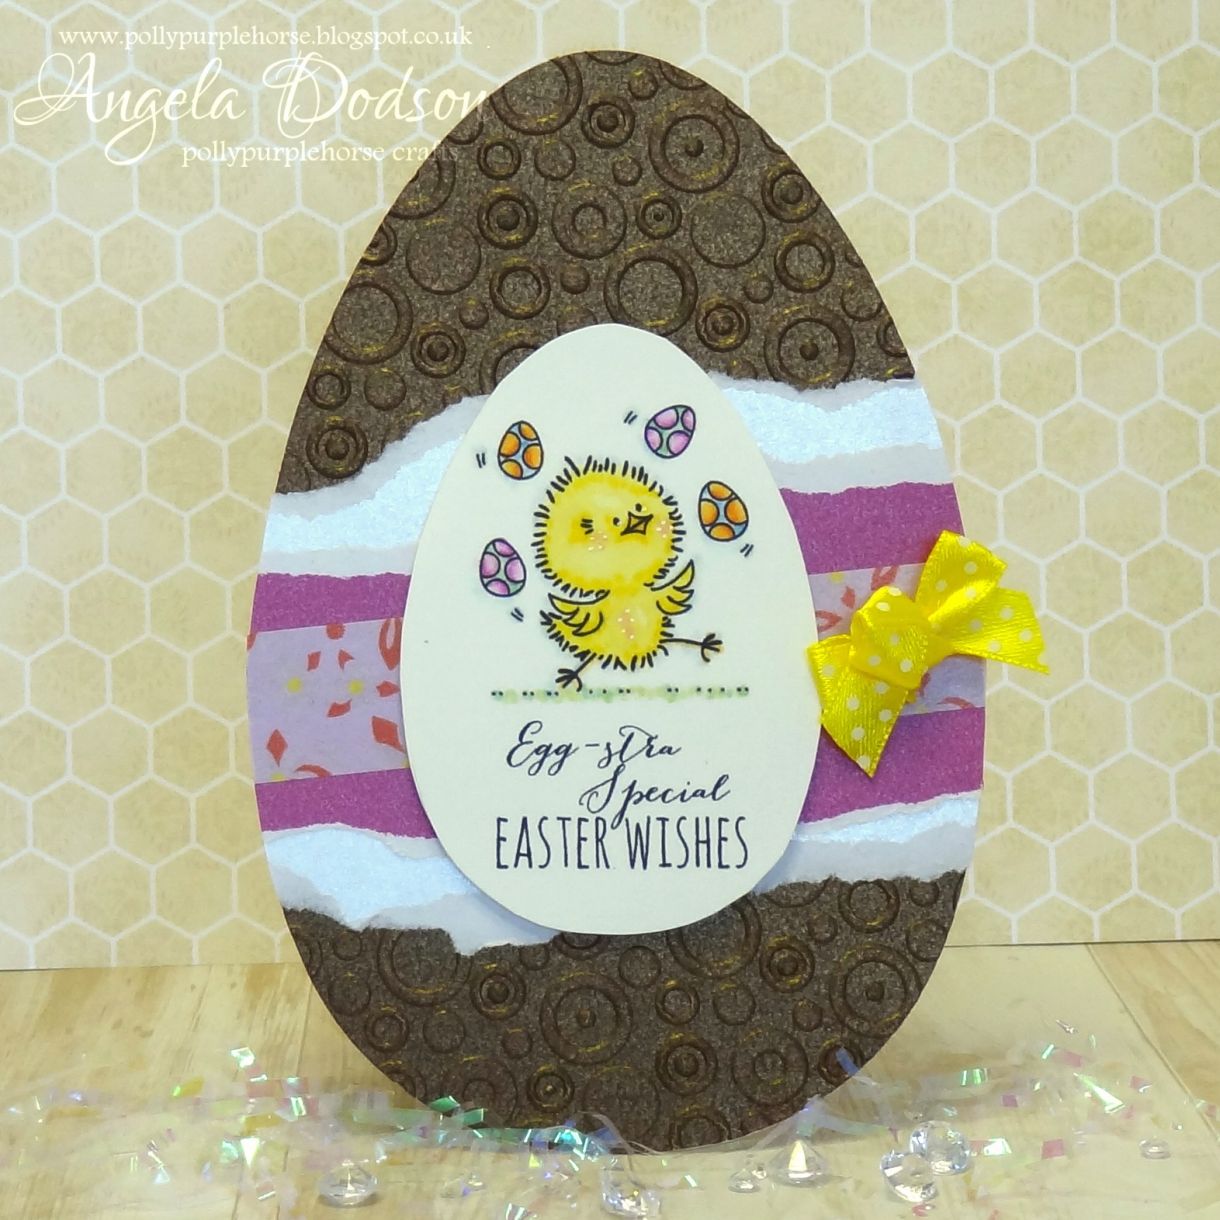
Hello it’s Angela here to share a fun shaped Easter card with you. If like me you are still making your Easter cards then why not print off some inexpensive digi image stamps and create a cute fun Chocolate Egg shaped card? For this card I’m using the PMD Lustre Print Gold in ‘Cocoa Bean’ to resemble a chocolate egg with the wrapper torn off! mmmm cocoa beans! Here’s how I made it:
Step by Step:
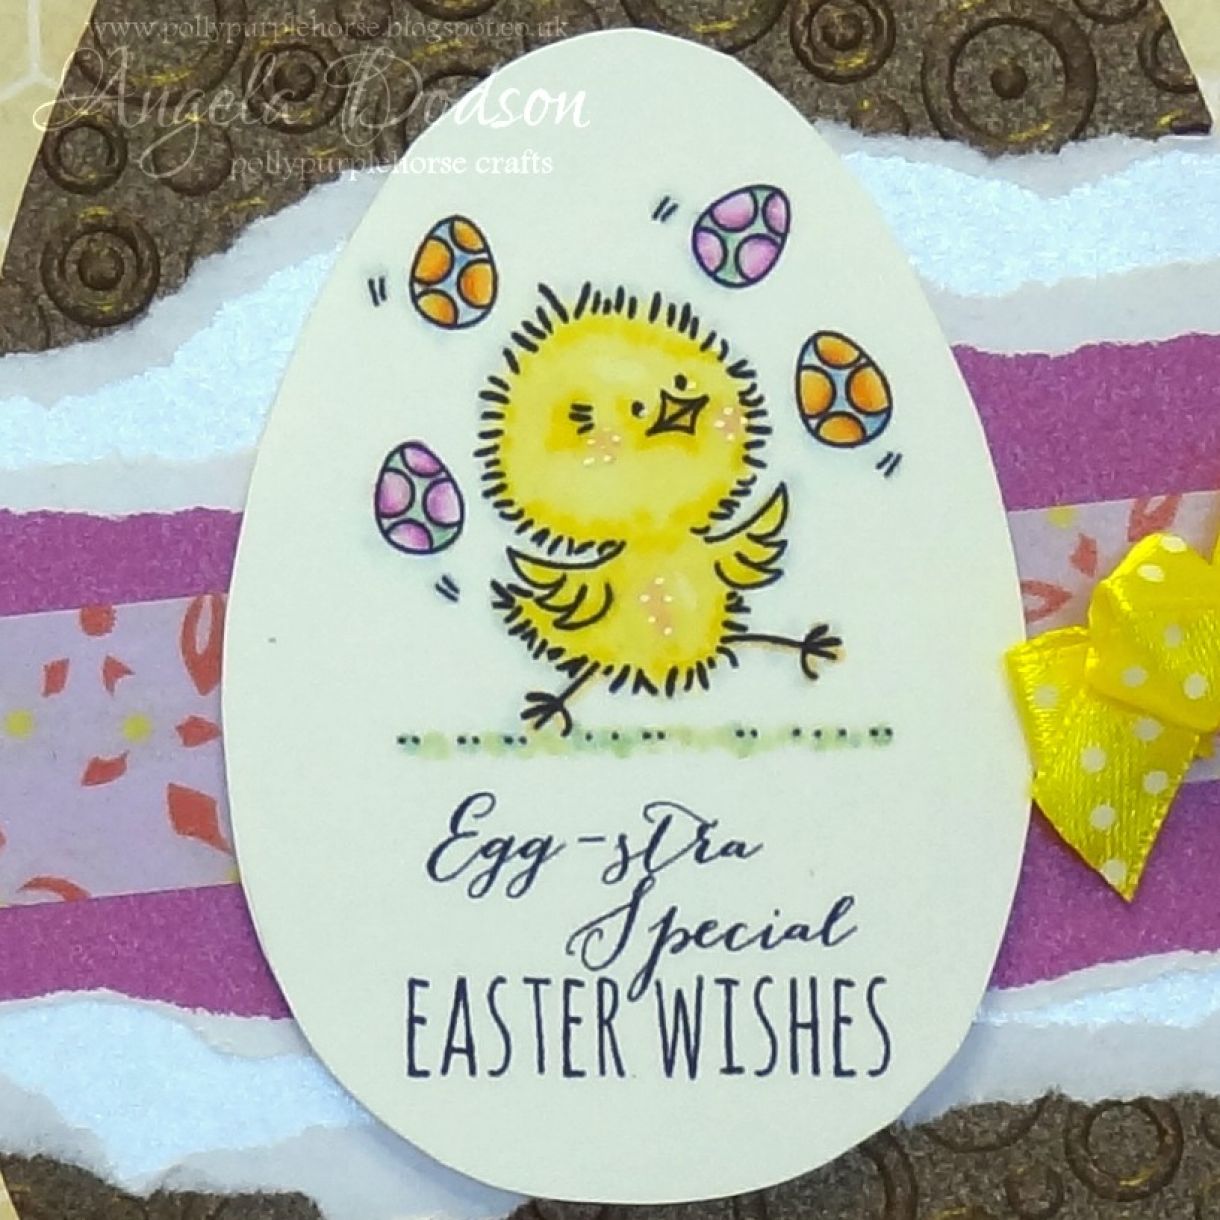
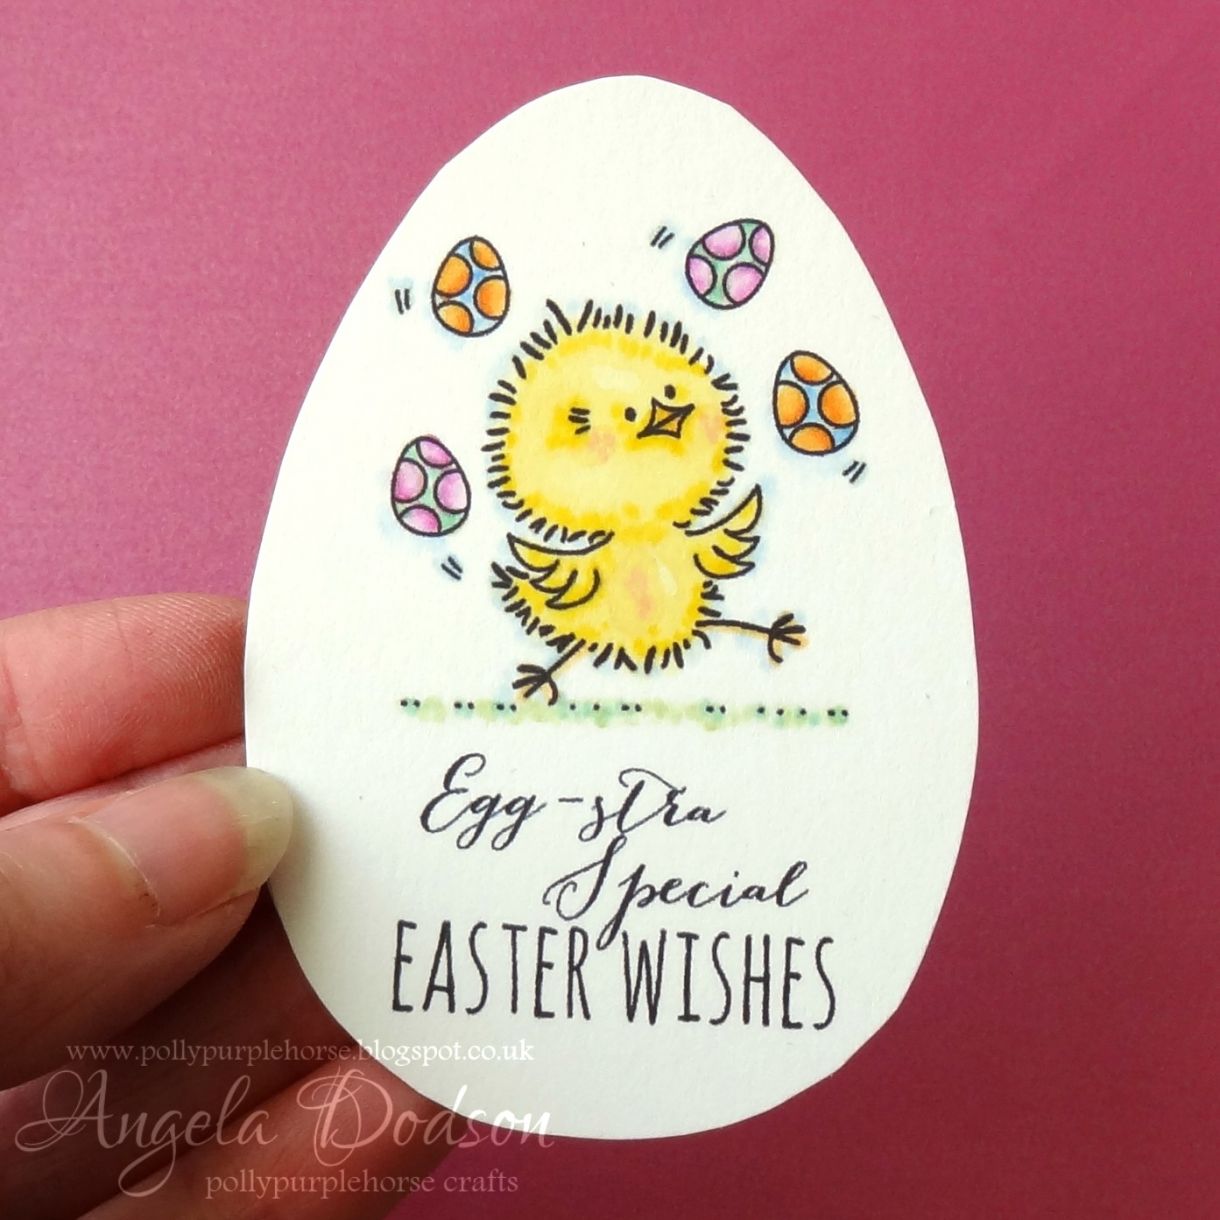
Download the Fluffy Chick Digi Image set from The Lovely Studio (all links at end) choose the designs you want to work with and print them off onto Papermilldirect Smooth Ivory card. I’m using the chick juggling Easter eggs with the sentiment of ‘Egg-stra special Easter Wishes’
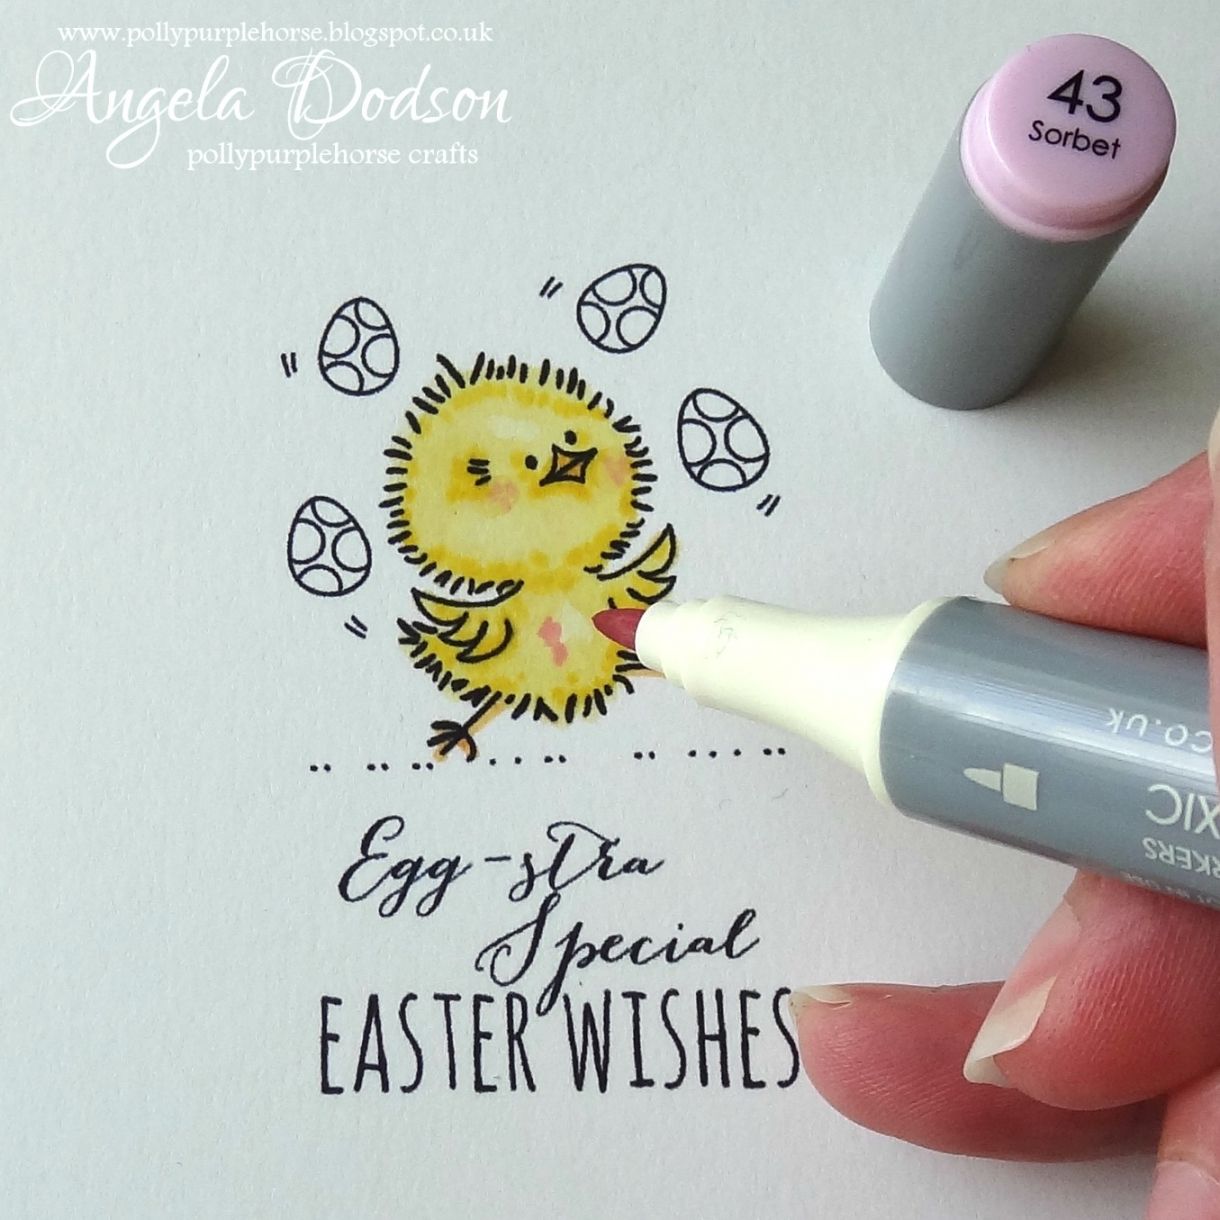
Colour in the digi image as desired, I’m using First Edition marker pens, blender pen and a white gel pen to add extra highlights. Cut out image using a small egg shaped die.
Using the largest Egg shaped die, cut 1 from Papermilldirect Lustre Print Gold ‘Cocoa Bean’ and 1 from PMD smooth Ivory card. These will form the card front and back.

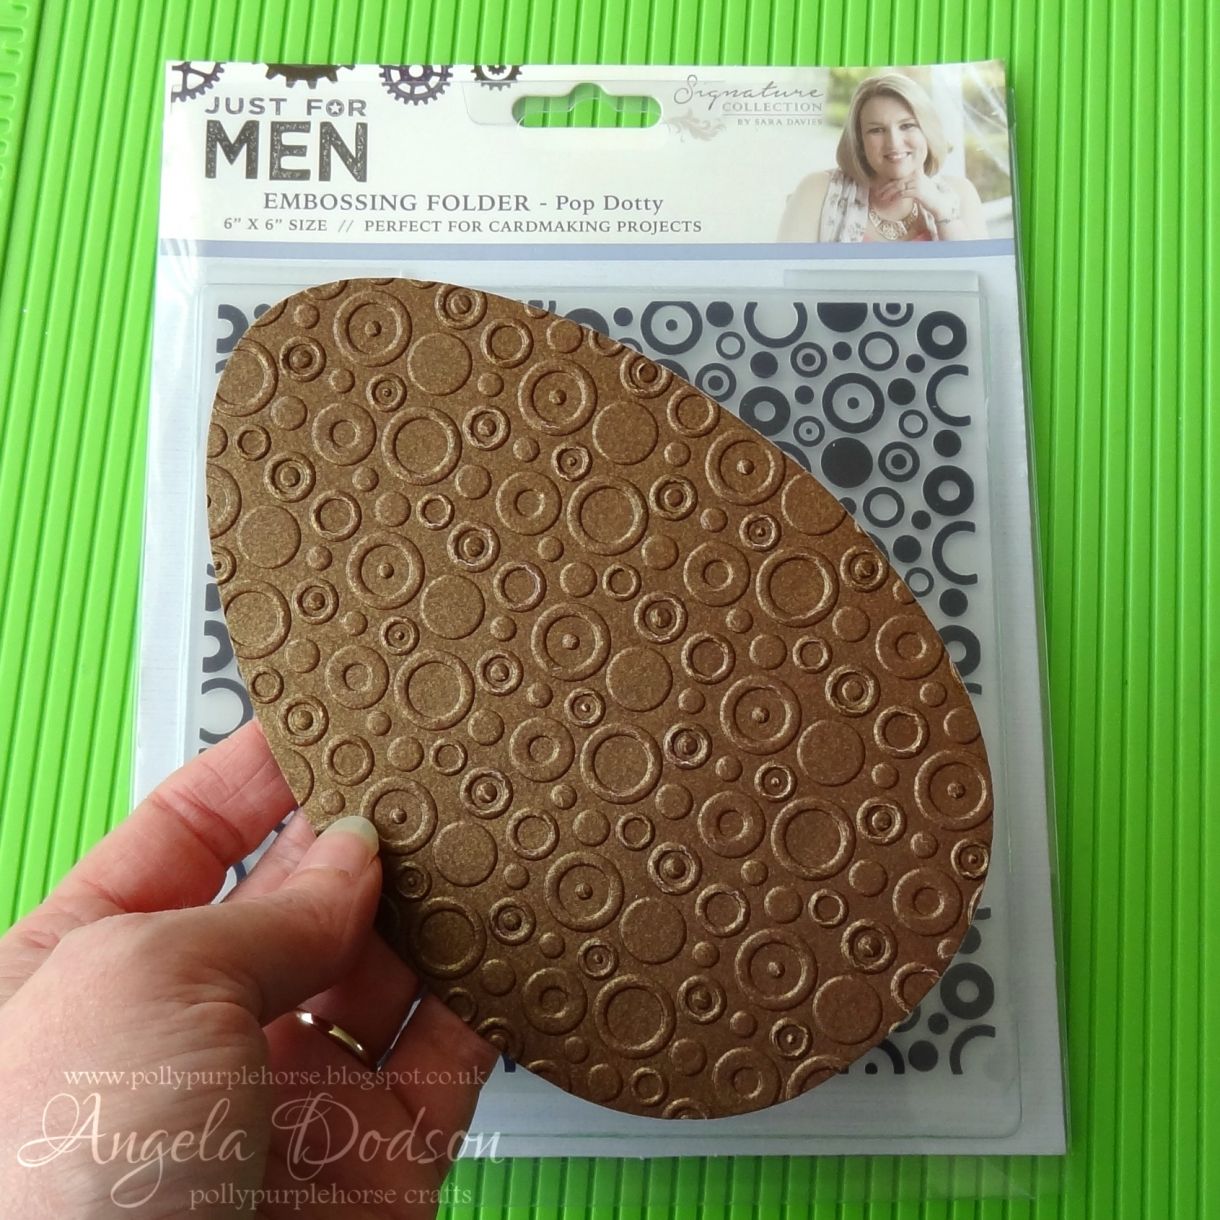
Use a dots embossing folder to emboss the PMD Lustre Print Cocoa Bean card. Score a line on the back of the Smooth Ivory egg shape approx. 3cm from the top. Apply d/stape and / or glue above score line and join to back of embossed card to create an egg shaped card. Slice a small strip off the card back to enable the shaped card to stand easily.
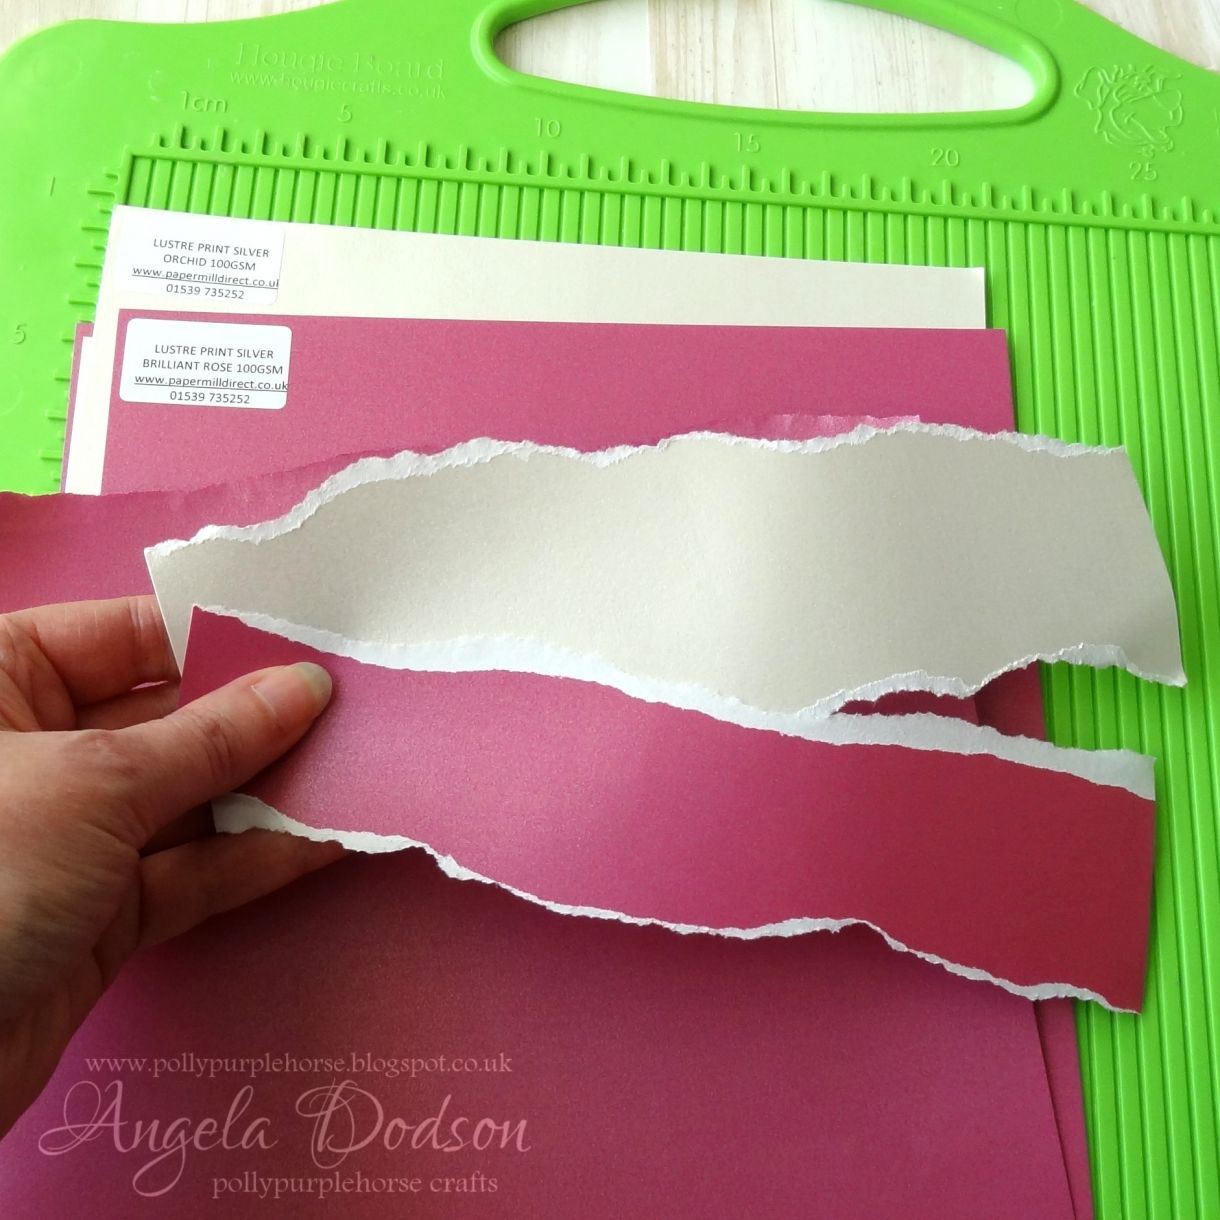
Tear strips of Papermilldirect Lustre Print Silver 100gsm paper: 1 strip of ‘Brilliant Rose’ and a slightly wider strip of ‘Orchid’. Adhere the smaller torn strip onto the larger strip using d/s tape.
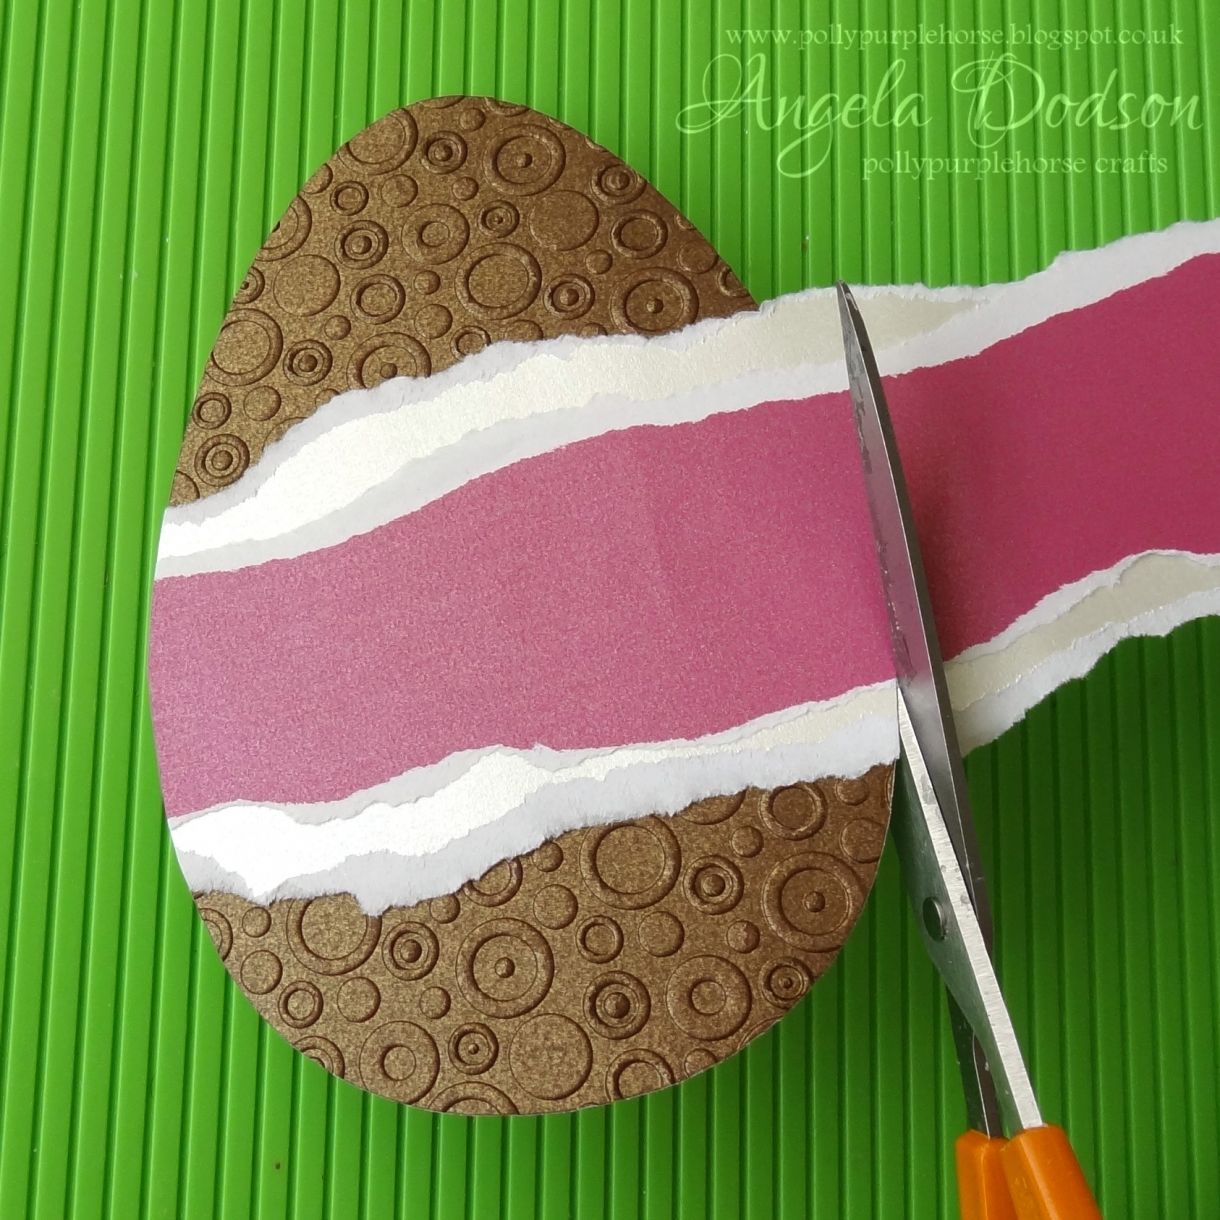
Use d/s tape and glue to adhere layered strip across embossed card front. Trim flush with card edges.
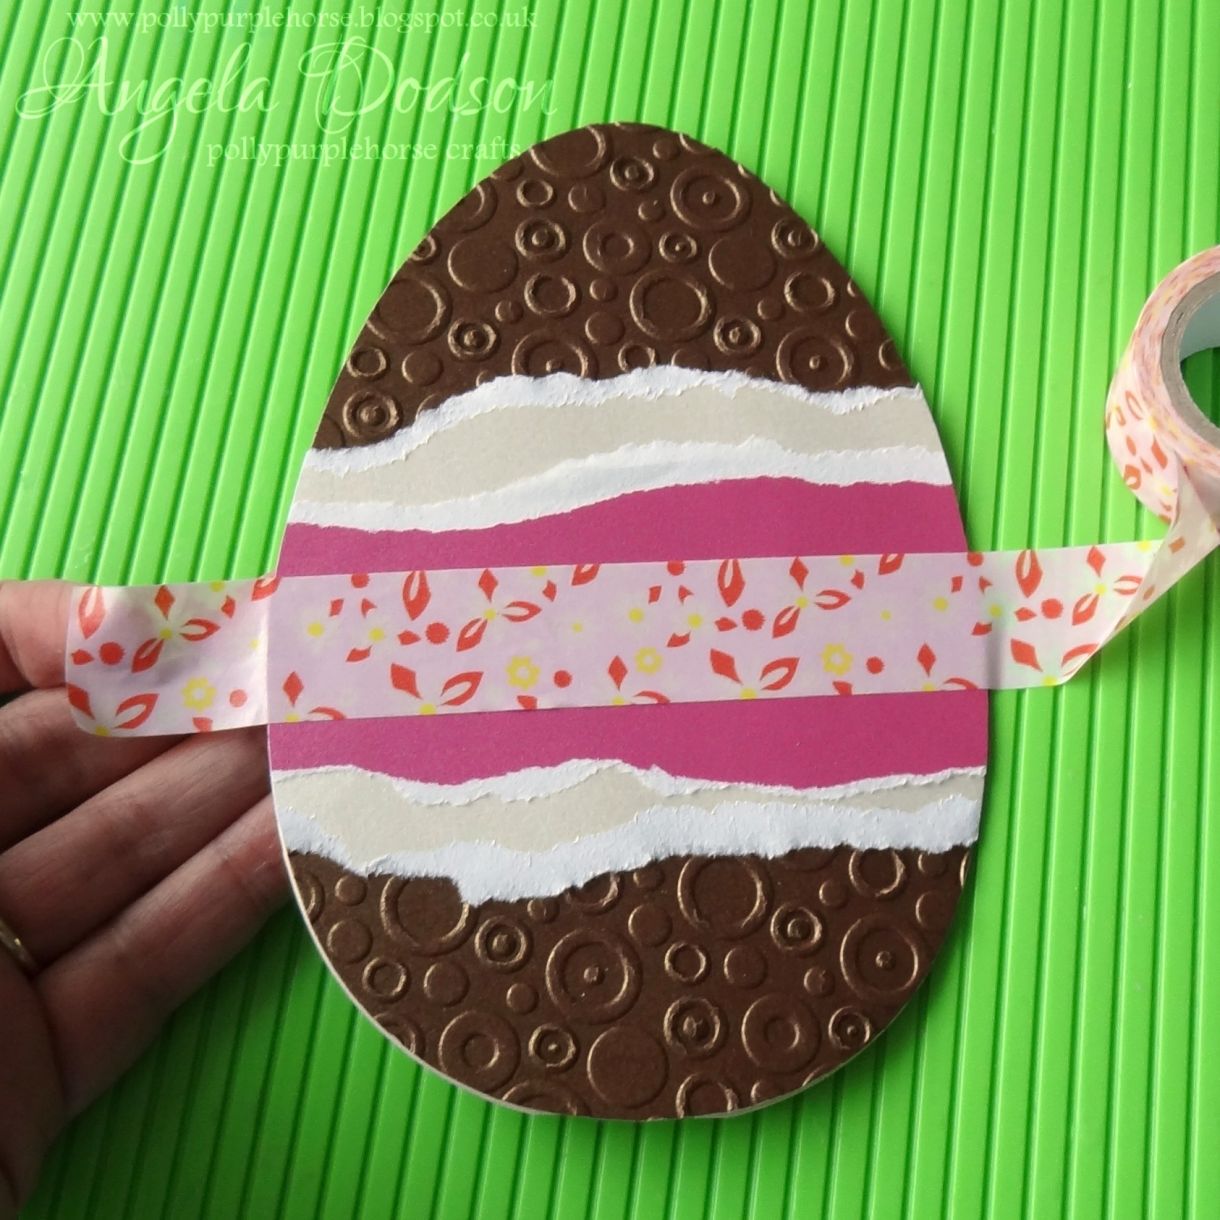
Take a strip of decorative washi tape and adhere across the paper strip, again trimming flush with card edges.
To finish, add Digi Image to card front using 3D foam squares to give height, and glue a bright yellow bow to right hand side.

These Digi Images from The Lovely Studio (Pink Petticoat) are not only cute but excellent value and very convenient, you can use them over again and they save space as you only need to print what you need. I will be sharing another card created with these image stamps next time, until then don’t forget to share your makes over on the Papermilldirect facebook page, we’d love to see them, Angela x
Craft Supplies
Smooth Ivory Card – Papermilldirect
Lustre Print Gold – Cocoa Bean 300gsm – Papermilldirect
Lustre Print Silver – Brilliant Rose 100gsm - Papermilldirect
Lustre Print Silver – Orchid 100gsm – Papermilldirect
Fluffy Little Chicks Image Stamps - Pink Petticoat Portfolio - The Lovely Studio
Nesting Egg Dies or Oval dies
Alcohol Marker Pens & Blender Pen – First Edition
Just for Men embossing folder – Pop Dotty – Crafters Companion
Washi Tape & Bow – Blooming Lovely collection – Dovecraft
Adhesives: d/s tape, clear drying glue, 3D Foam Squares


2 thoughts on “Chocolate Egg Shaped Easter Card Idea - Step By Step Tutorial”
graphic designing companies
02nd May 2017 at 5:07 a.m.
institut massage lyon
15th April 2017 at 2:35 p.m.