Be Happy Card - Step By Step
0
Posted on 20th February 2018 by Angela Dodson
Filed under Card Making Ideas, Design Team
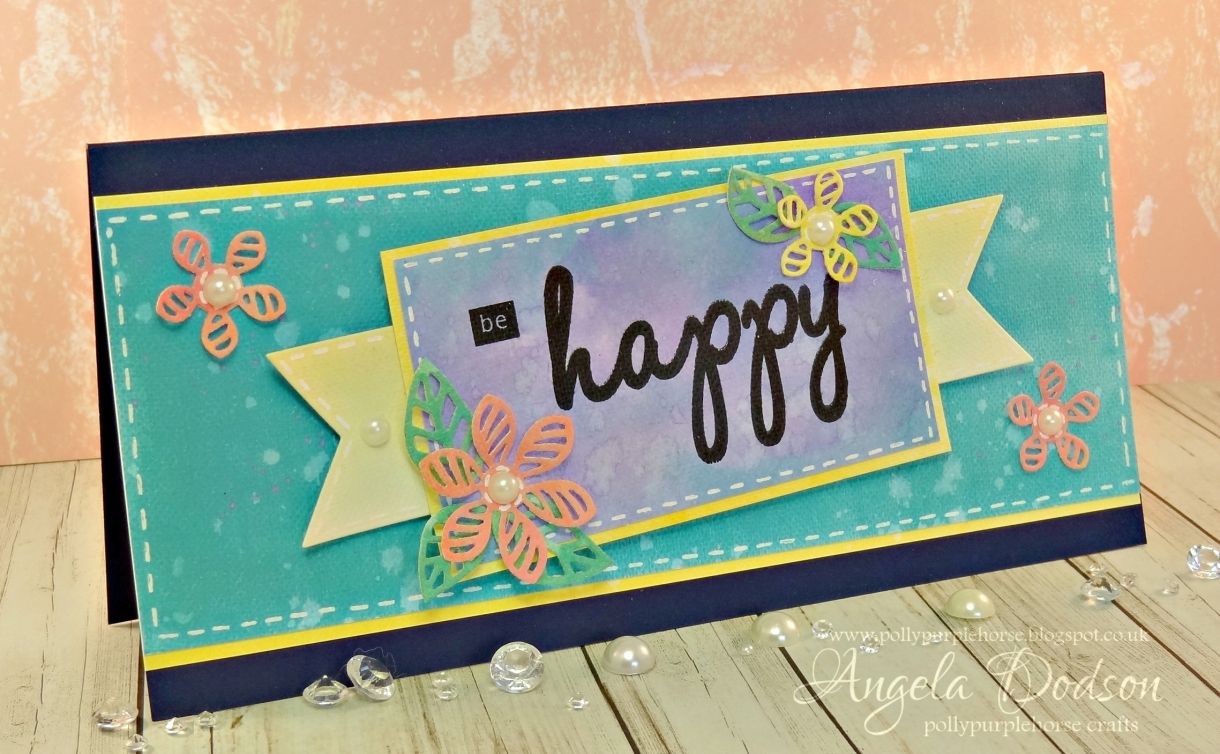
Be Happy Card – Step By Step:
Hello, It’s Angela here to share an easy card make with you. Papermilldirect’s lovely Hopsack textured card is the perfect base for some light ink blending. I’ve also used one of the new PMD DL Card Blanks in navy which really sets the bright ink colours off nicely. Here’s the ‘how to’
Step By Step:
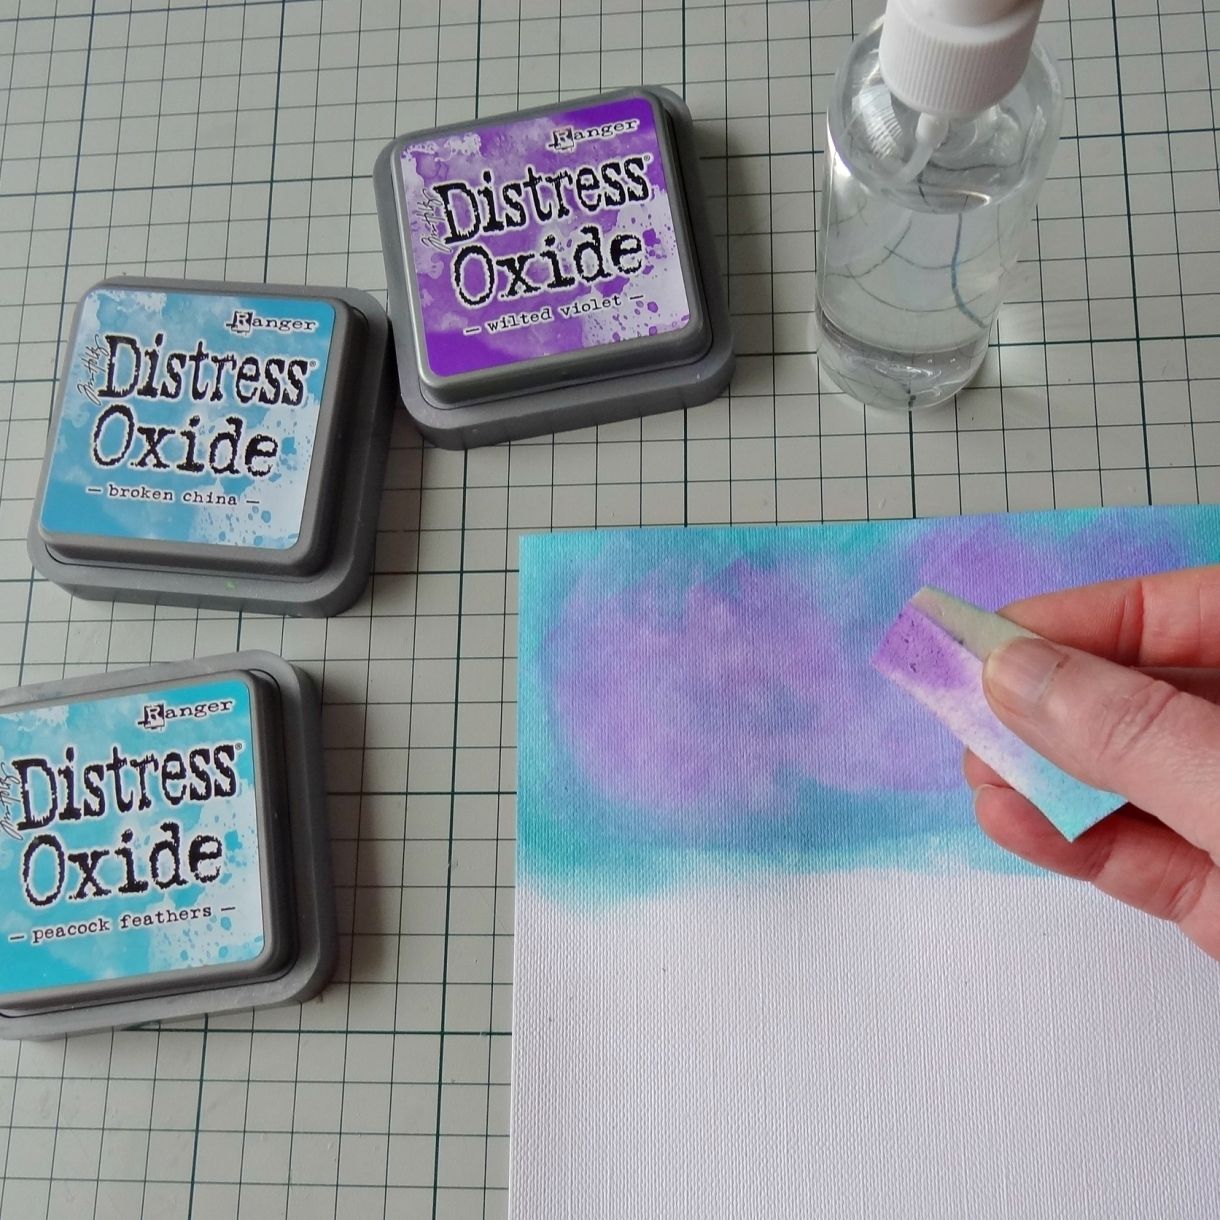
Take a sheet of white Hopsack textured card and ink a section roughly about 13cm wide x 8cm using a combination of blue lilac toned inks. (I used Broken China, and Wilted Violet) Splash the inks with water and blot to create a unique background.
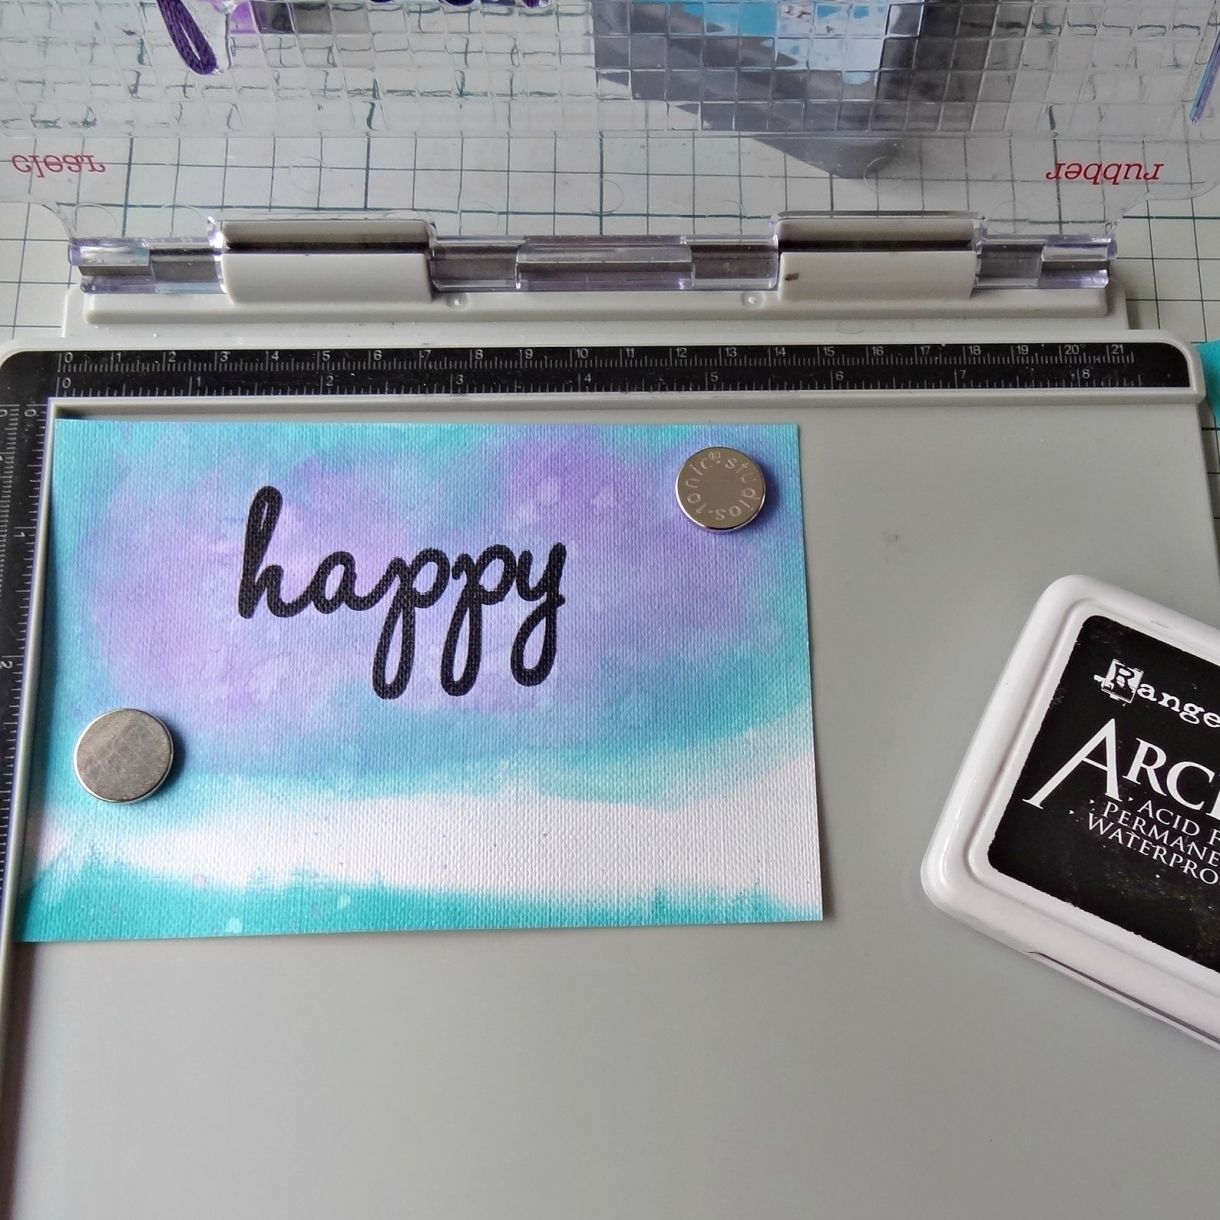
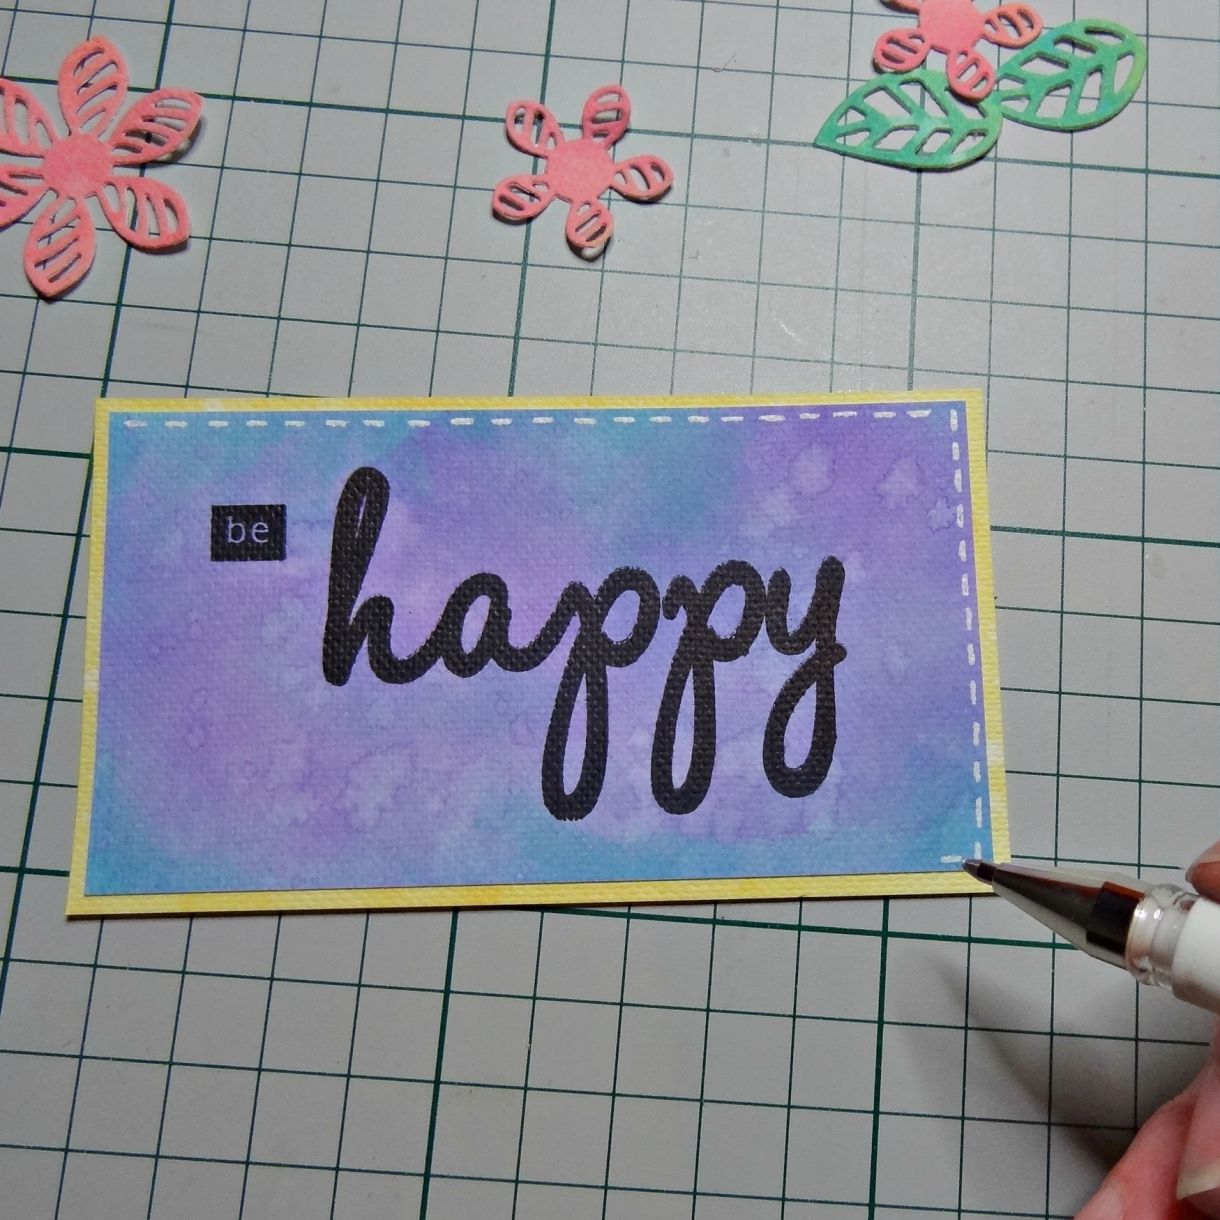
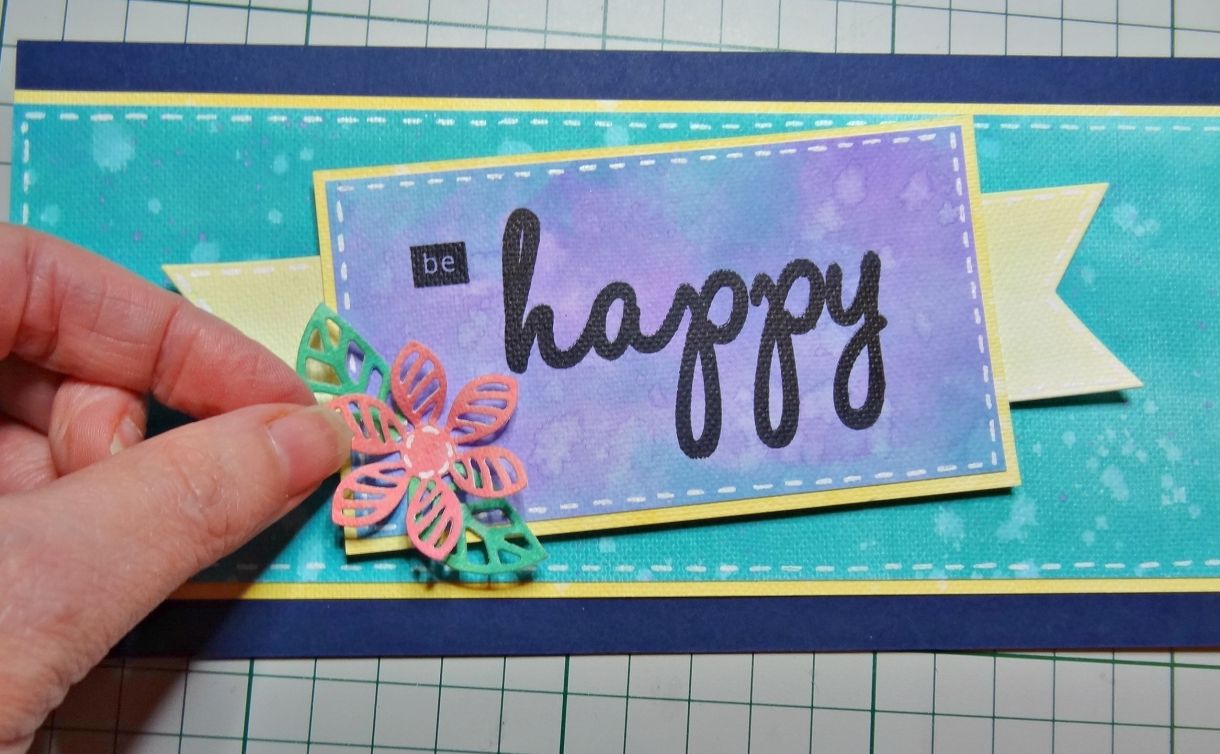
When dry, stamp the ‘happy’ sentiment into the centre of the inked panel using black Archival Ink, then add the smaller ‘be’ sentiment to top left.
Ink another piece of Hopsack card as before, this time using pinky yellow shades (I’m using Picked Raspberry, Spiced Marmalade, and Fossilised Amber) splash with water and blot as before. When Dry die cut flowers. Ink a scrap of hopsack with green inks to cut leaves.

Trim the ‘happy’ panel down to approx. 10.5cm x 5.5cm, layer onto yellow inked hopsack using d/s tape. Doodle some faux stitching around the panel.
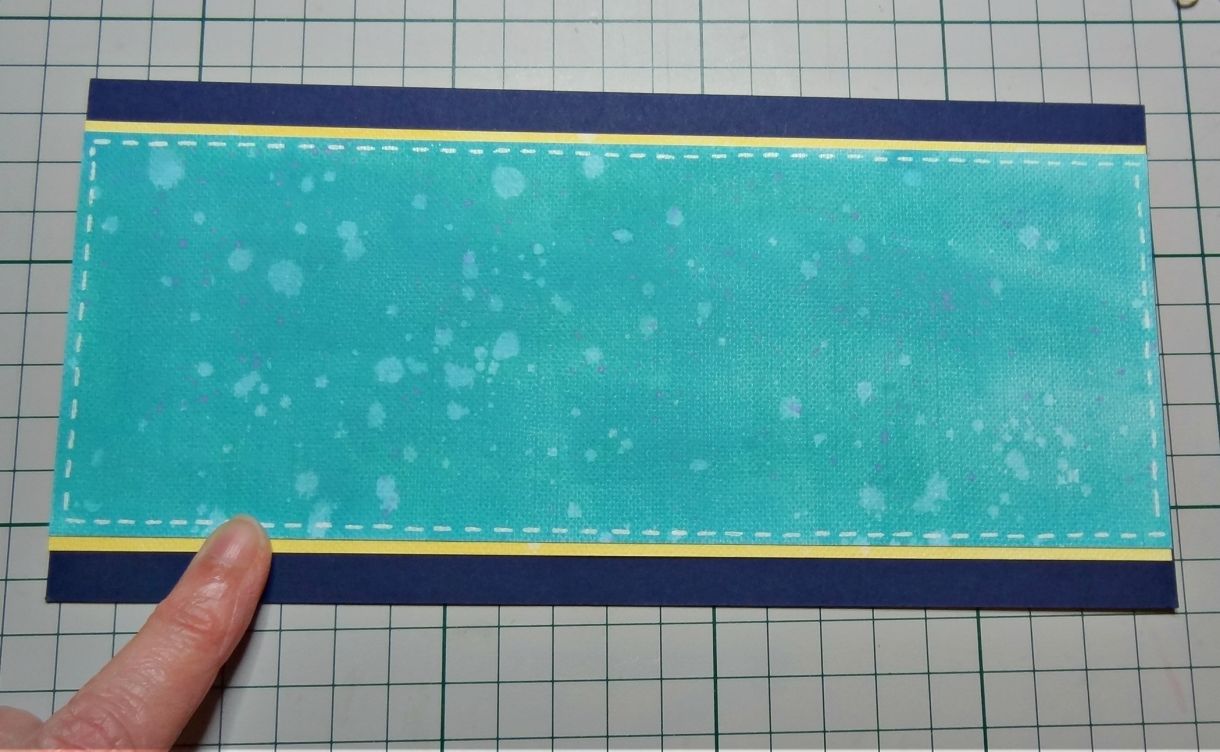
Ink another piece of Hopsack card, this time using a green-blue colour (I used Peacock Feathers), this piece needs to be large enough to span the DL card base. When dry layer onto hopsack card that has been inked yellow along the top and bottom edges. Add some white pen faux stitching before mounting the panel across the centre of a DL Navy card blank.
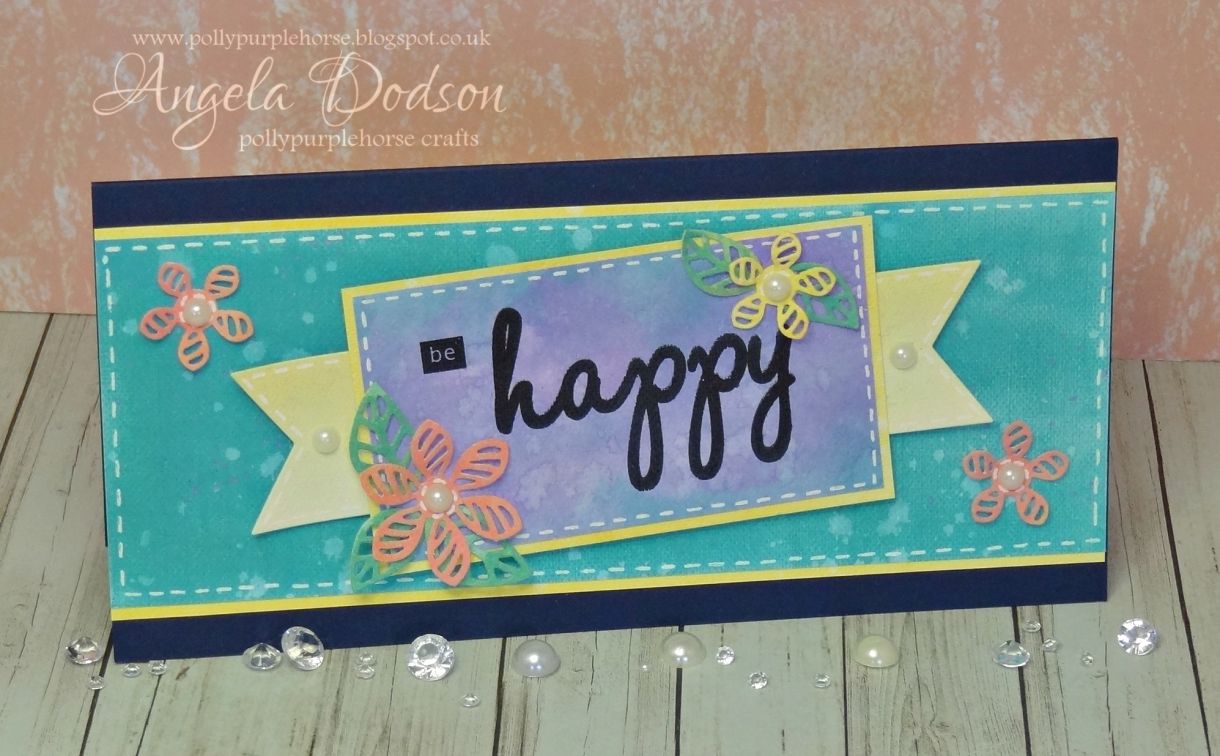
Add a yellow inked banner to either side of the ‘happy’ panel, and adhere at an angle across card front. Shape flowers and leaves before adding to card front.
To finish, add adhesive pearls to flower centres and either side on sentiment banners
Materials List:
DL Navy Card Blank
White Card Hopsack 255gsm
Distress Oxide Inks:
Broken China, Peacock Feathers, Wilted Violet
Picked Raspberry, Spiced Marmalade, Fossilised Amber
Lucky Clover, Cracked Pistachio
Flower Dies:
Creative Expressions – Sue Wilson – Finishing Touches – Faux Quilled Blooms
Plus:
Black Archival Ink Pad
White Pen
Adhesive Pearls
D/S Tape, Clear drying Glue, 3D Foam Squares
Ink blending is a simple technique to create backgrounds for your cards, PMD’s textured cardstocks are ideal for this and give a lovely effect. Team with one of the new DL card blanks, add your favourite Ink colours, a stamped greeting and some die cut flowers for an easy card make. Why not create a batch of inked backgrounds so you can use them in future makes?
Angela x


Nobody has commented yet
Be the first to comment on this article by using the form below.