Back to School Card - Step by Step Tutorial
0
Posted on 22nd August 2016 by Angela Dodson
Filed under Card Making Ideas, All Papercraft Tutorials, Projects And Cards By Type, Handmade Teachers Gift Ideas, Design Team
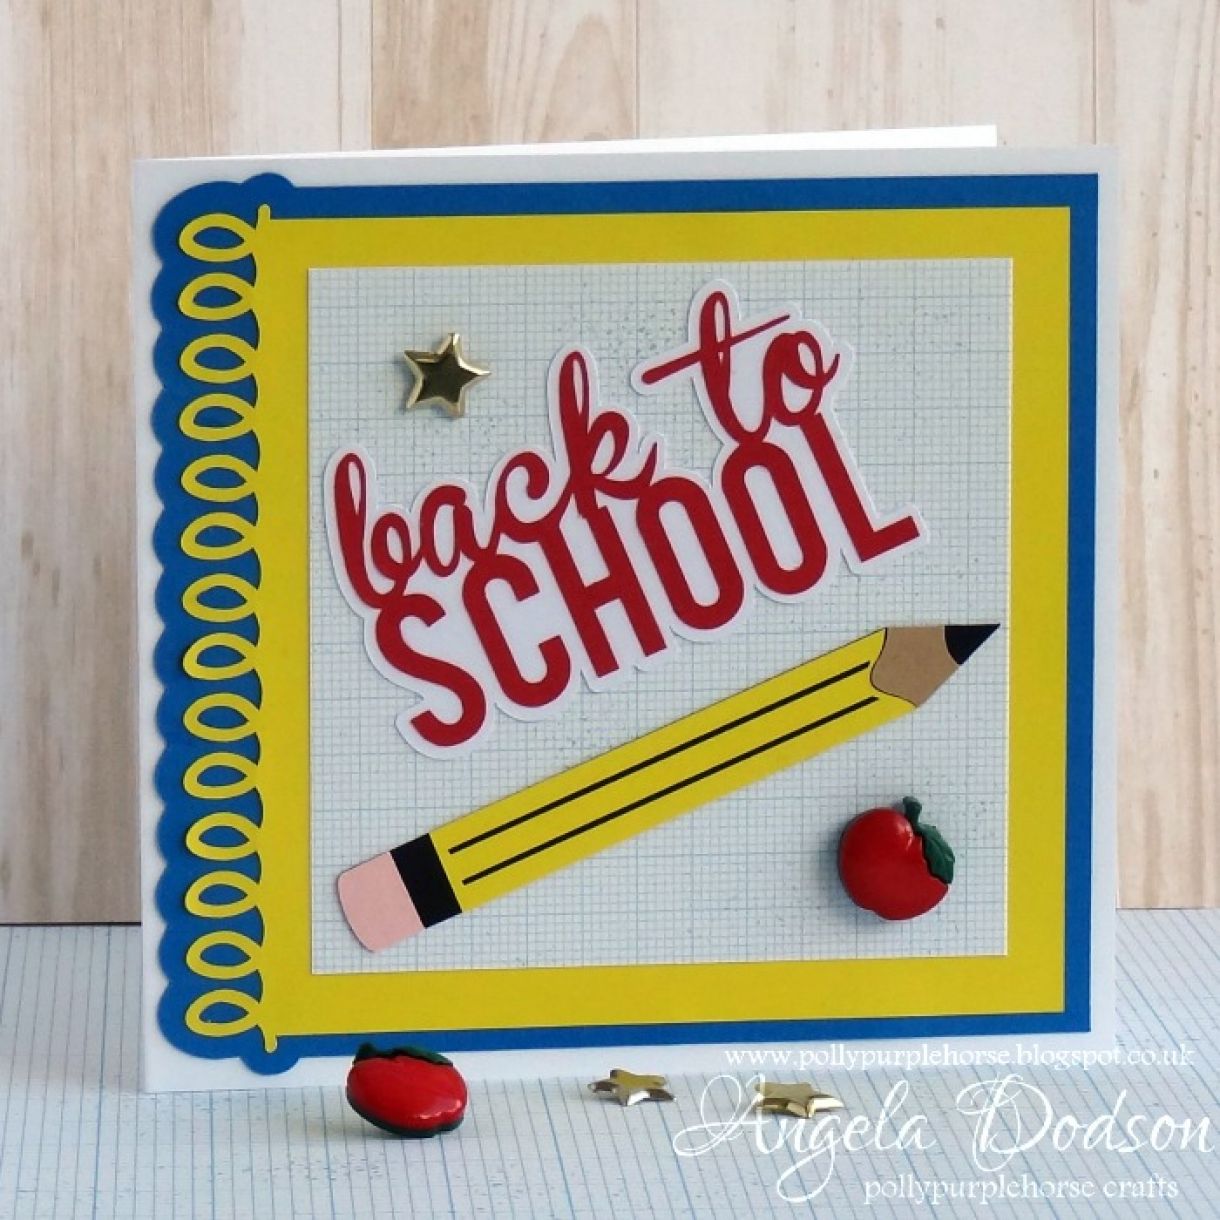
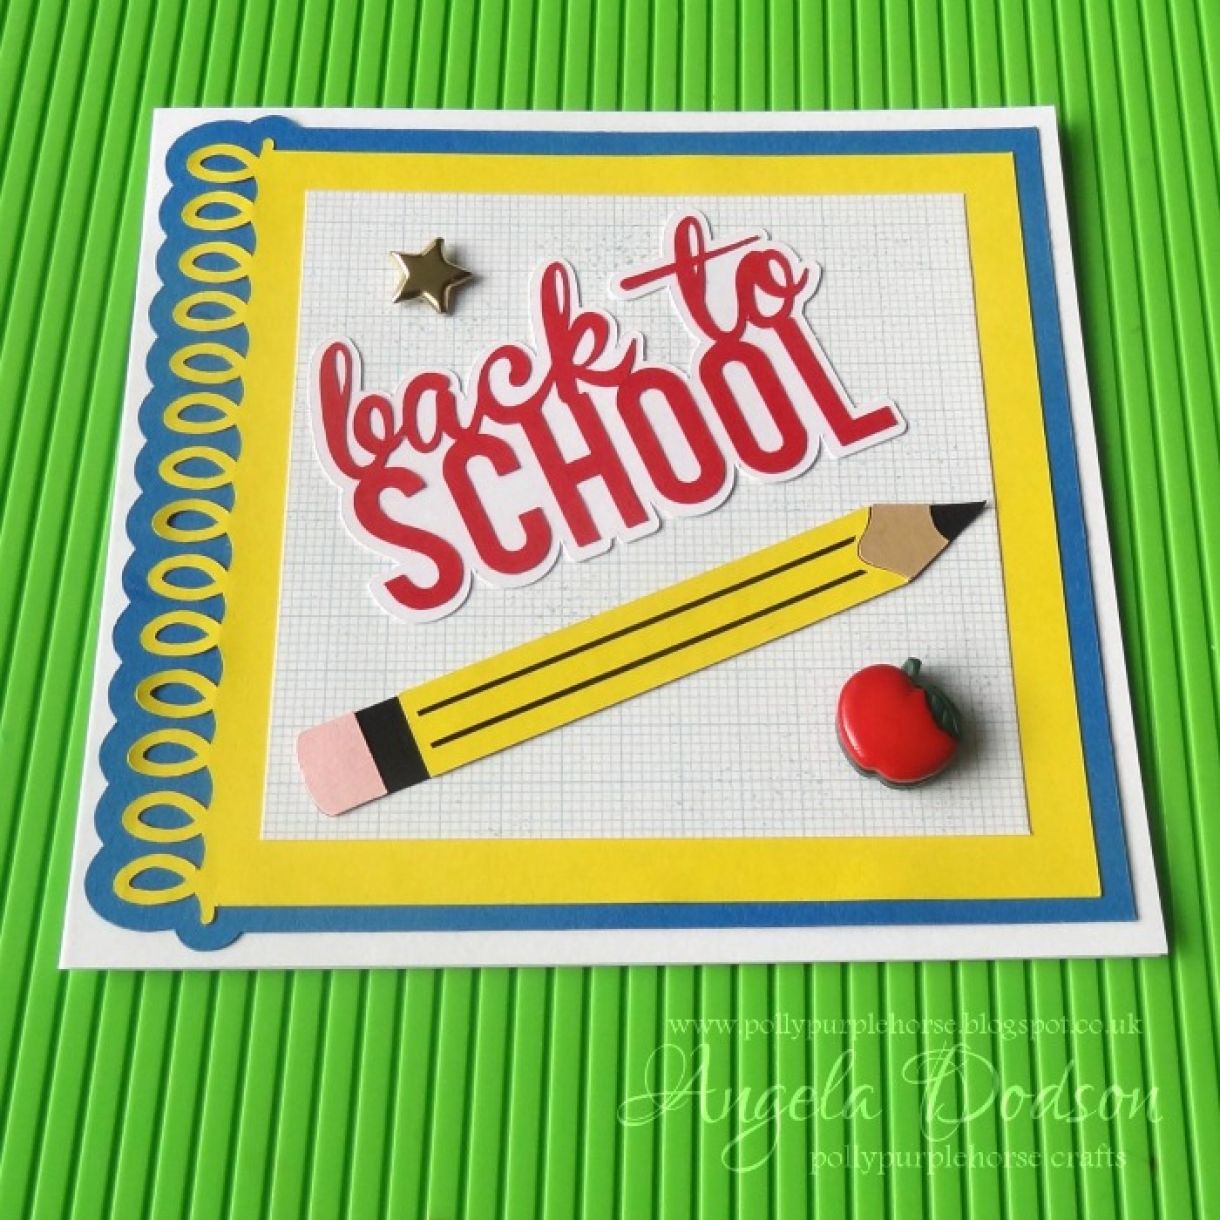
Back to School Card
Hello, it’s Angela here to share another card with you. This week the Design Team are working on the themes of Back to School. As I have been shopping for my son’s school uniform this week I thought I would choose the ‘Back to School’ theme to work with and have created this simple back to school card.
What You'll Need for this Back to School Card:
I have cut the main elements on my Cricut Explore and can share my Design Space link with you here: https://cricut.com/en-gb/ Which will take you direct to the project already sized for you (I have also included paper plane and apple motifs in the hidden layers in case you wish to use those too). If you don’t have an explore then you can use die cut letters, alphabet stickers or stamps to create the wording and the pencil shape is easy to create.
Step by Step Back to School Card Method:
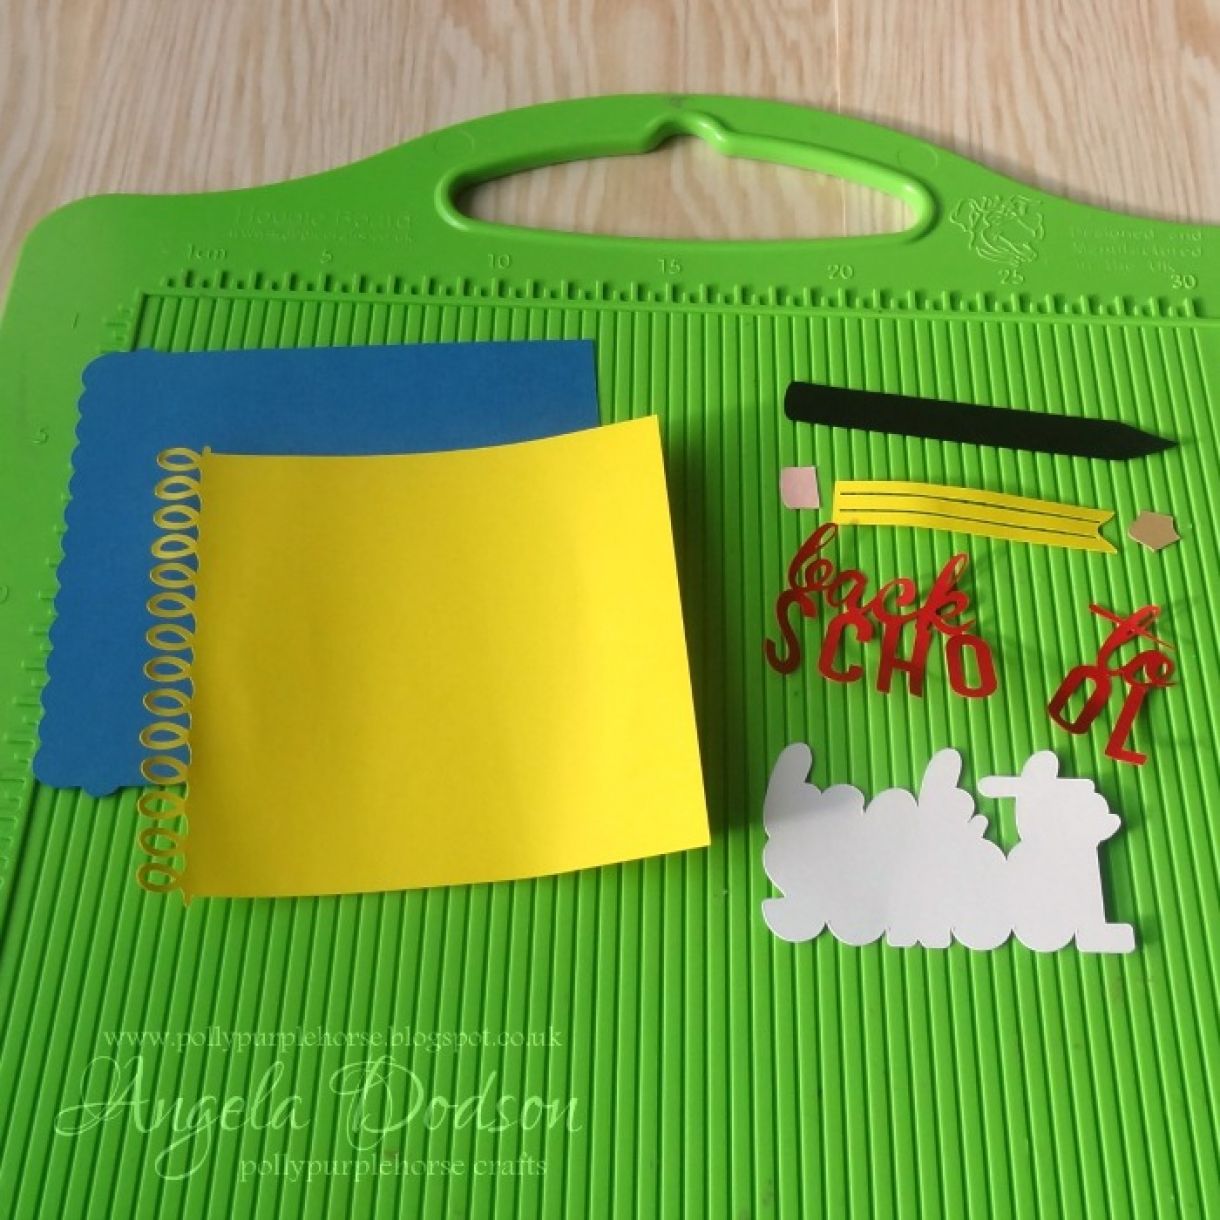
Step 1:
Load mats and cut the elements using the Design Space link above. I have used Azure Blue 280gsm and Intensive Yellow 120gsm for the notebook layers. Black, Buff, Baby Pink, and Intensive Yellow for the pencil. Intensive Red 160gsm and plain white card for the sentiment.
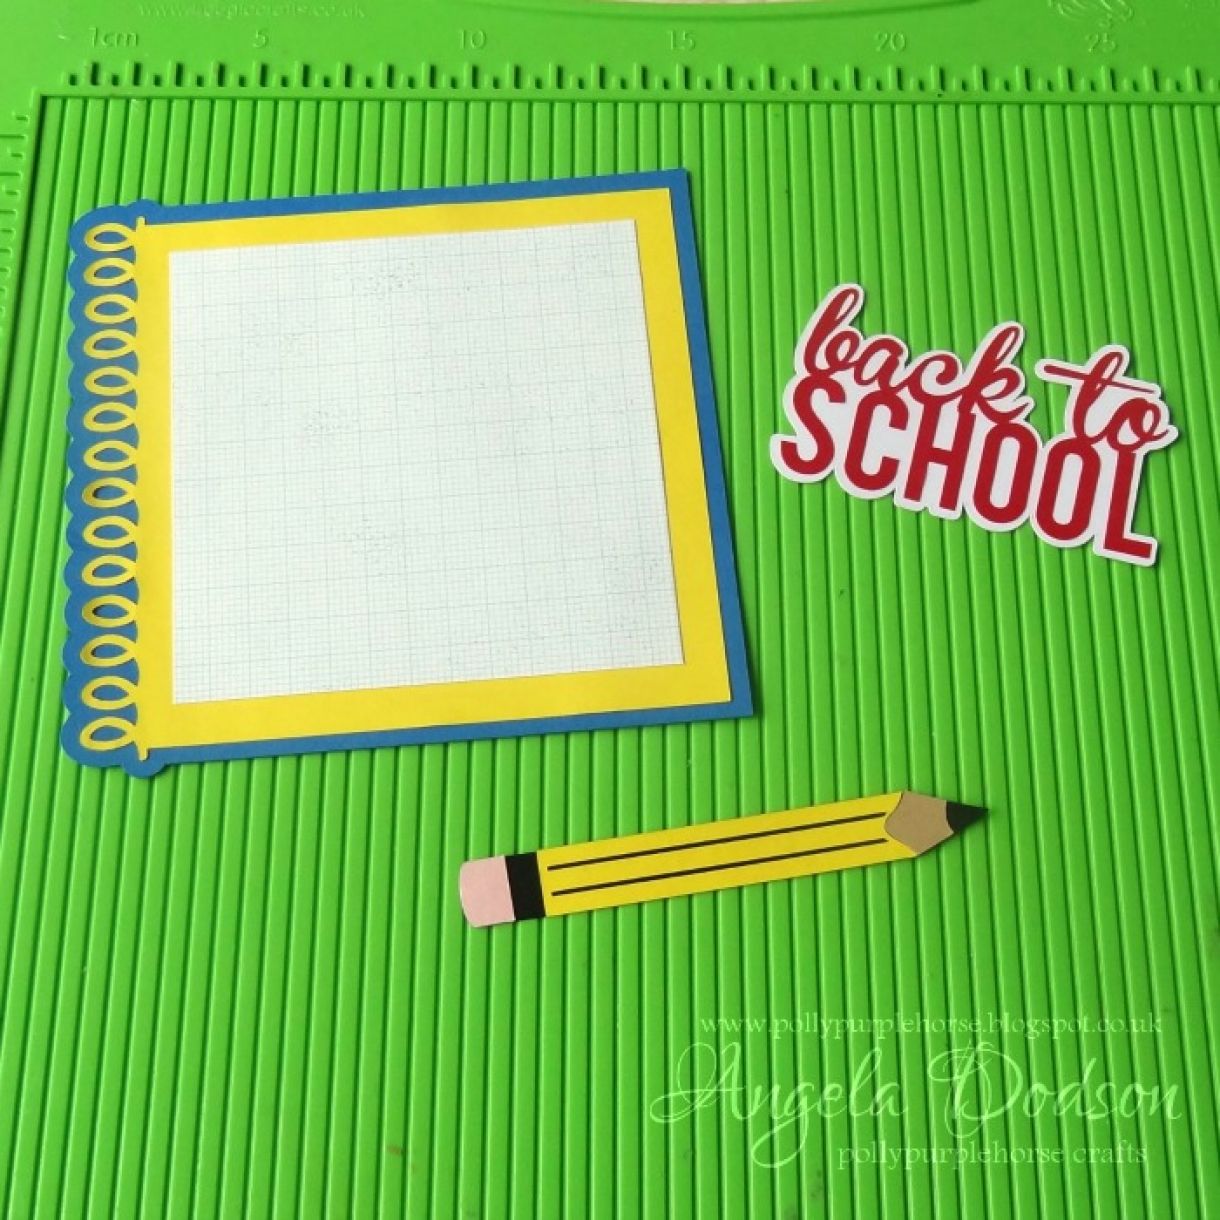
Step 2:
Assemble layers to complete the notebook, pencil and sentiment using clear drying glue. A combination of d/s tape and glue works well for the notebook layer. Cut a 10.5cm square of graph patterned paper to add to notebook.
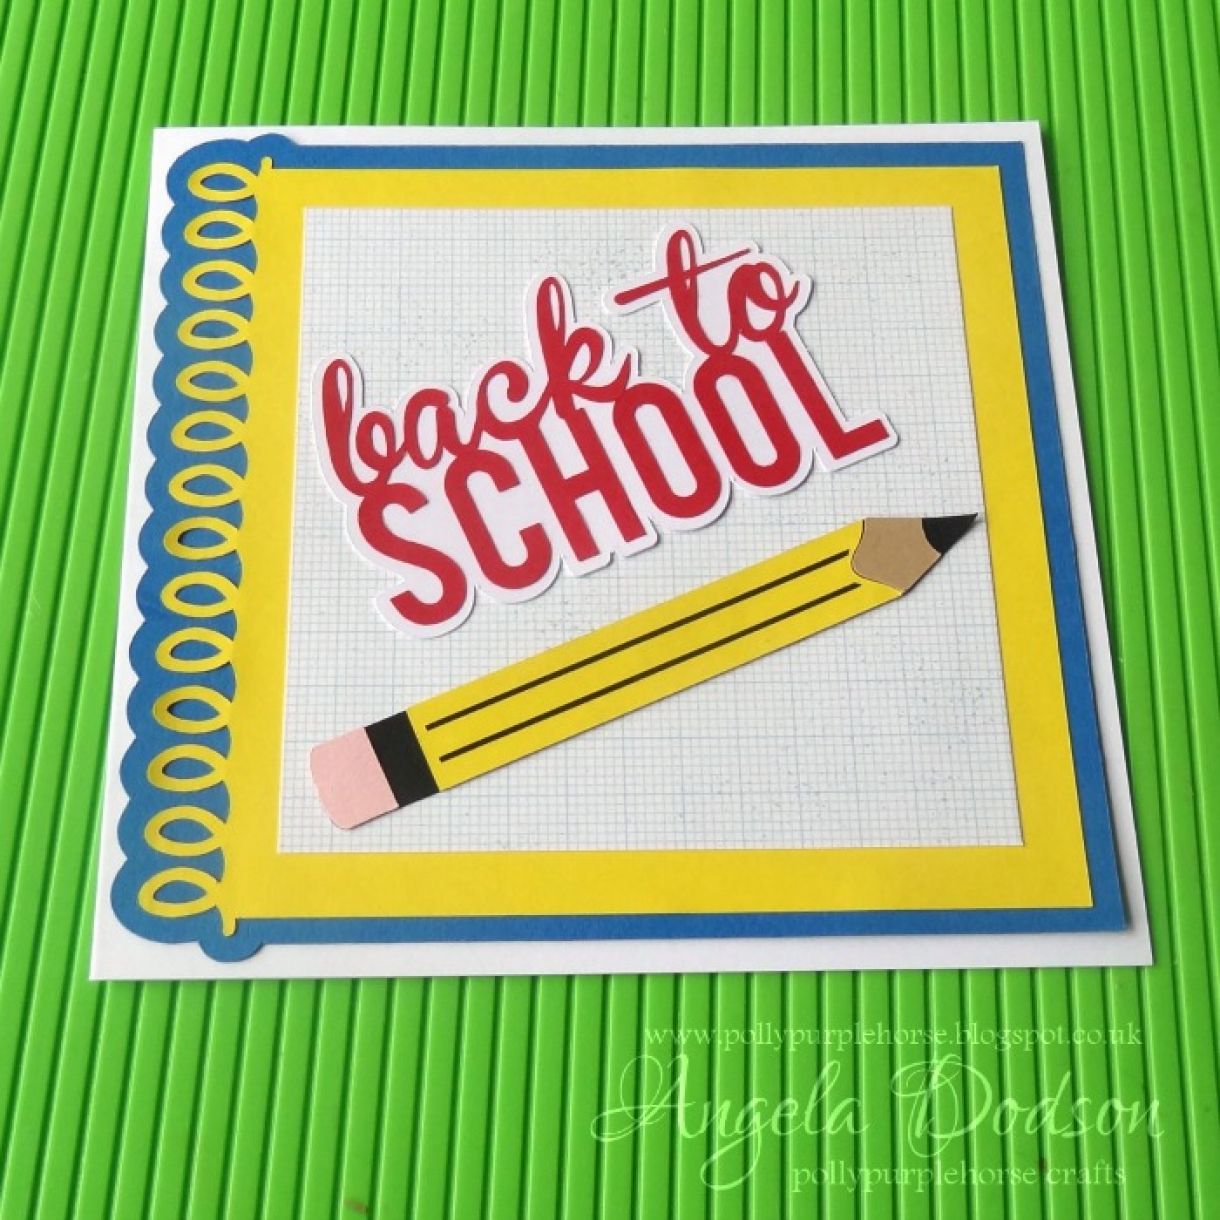
Step 3:
Create a card blank by scoring and folding a sheet of A4 PMD Plain White cardstock and trim down to approx. 14cm x 14.75cm with fold to left. Adhere layered notebook centrally to card front using d/s tape and glue. Glue ‘Back to school’ sentiment and pencil element to card front at an angle.
Step 4:
Add extra embellishments (or personalisation) if desired. I have used a metal gold star brad and apple button from my stash. (There is also an apple and paper plane icon included in the DS link above if you wish to use those).
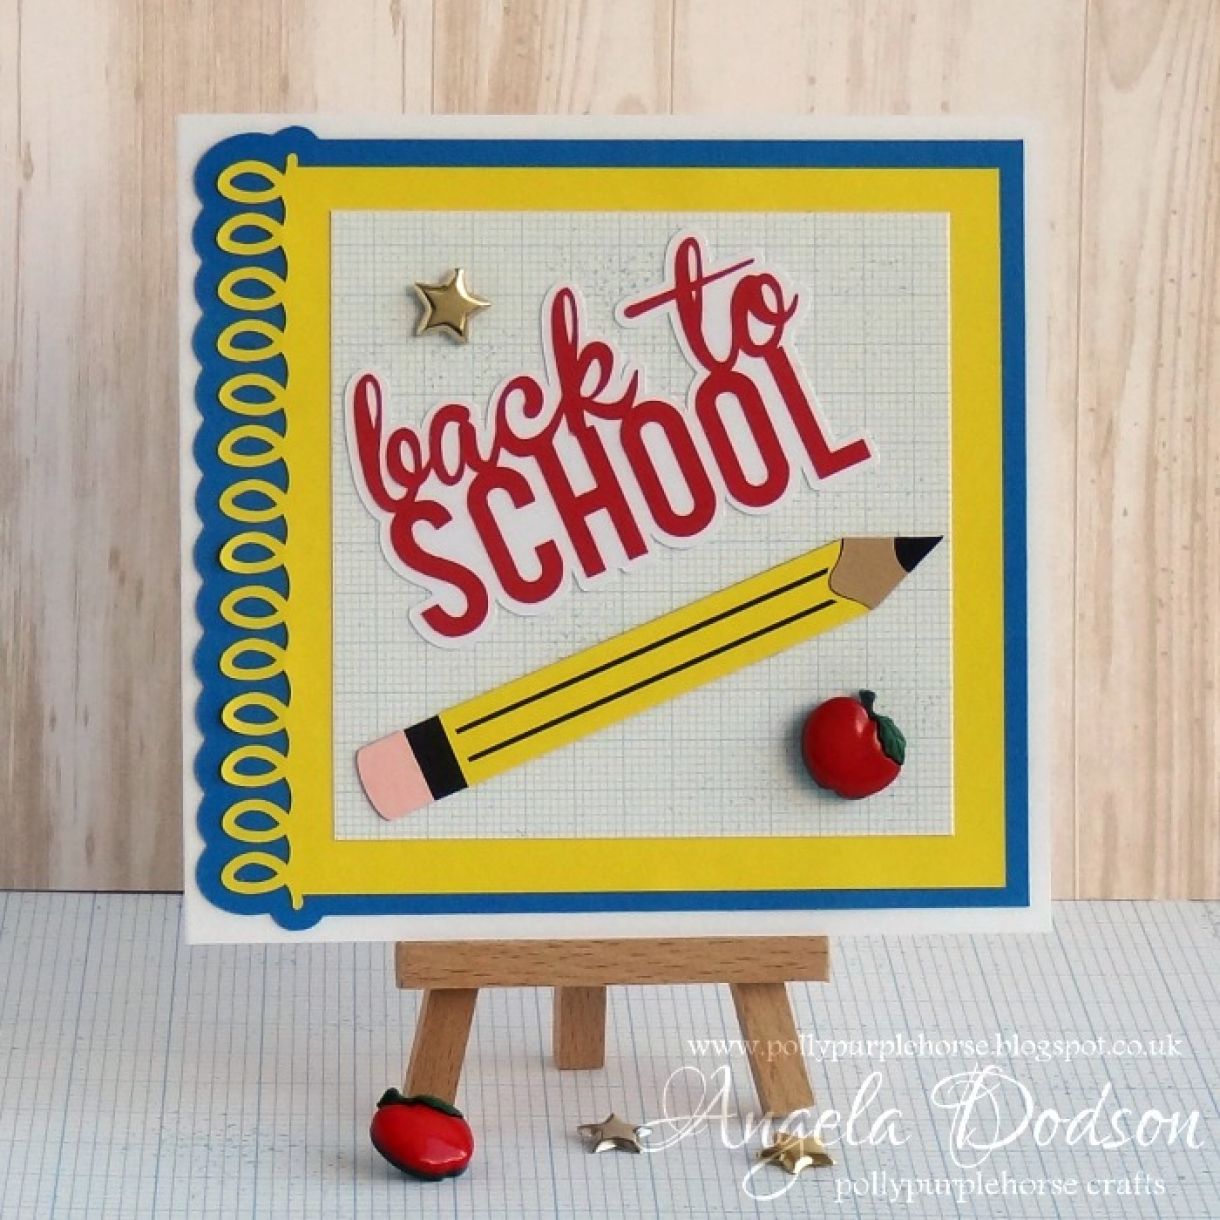
I used bright colours for this fun school themed make and it is suitable for a boy or a girl. By changing the embellishments you could theme this card towards younger children too.
Materials Used for Back to School Card:
Plain White, Black, Buff, & Baby Pink card - Papermilldirect
Graph Pattern paper - Whiz Kids 6x6 paper
Adhesives: Clear Drying Glue, Double Sided Tape
Embellishments from stash
Do you make ‘back to school’ cards or paper projects? Don’t forget to share them over on the Papermilldirect facebook page.
More ideas for using Papermilldirect products can be found over on my blog, link here: pollypurplehorse.blogspot.co.uk


Nobody has commented yet
Be the first to comment on this article by using the form below.