Tutorial - How to Make 6x6 Noel Christmas Cards
0
Posted on 28th June 2015 by Craig Laird
Filed under All Papercraft Tutorials, Projects And Cards By Type, Design Team
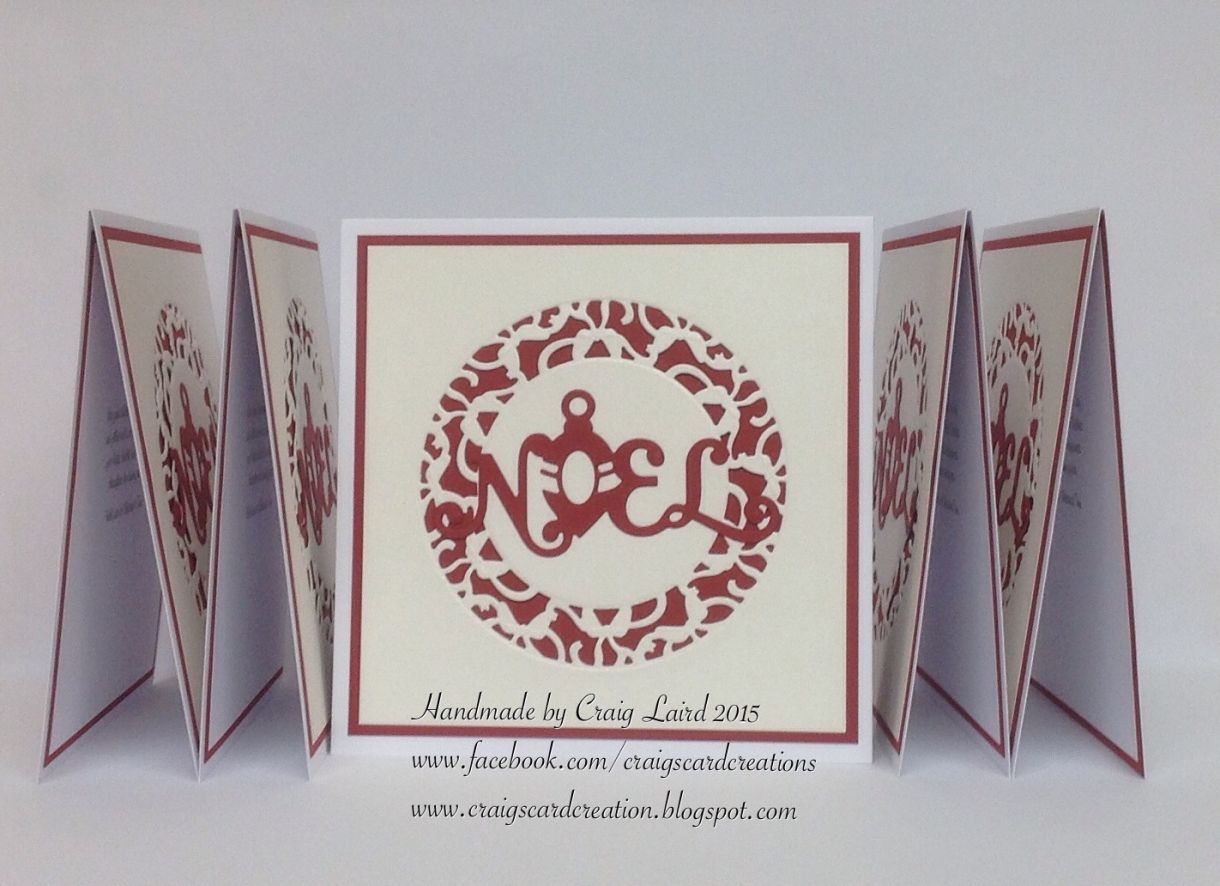
Thank you for popping across and having a read my blog post. This blog post comes from myself - Craig and is themed around gearing up for christmas, well maybe gearing up isnt the right word but at least starting to think about getting a head start with christmas card making. These cards have been made in batches to help make your christmas cards alot quicker to make, however it doesnt take away the wow factor or the fact that every single one has been handmade with lots of love and time having been put into making each one.
We send Christmas cards to friends and family to wish them the best for the Christmas season and also to friends and family who you may not be in contact with throughout the year. Why not ensure your Christmas card is extra special. A handmade card will make the recipient feel you have gone to alot of trouble to create a card for them, when in reality, it was quite straight forward to make.
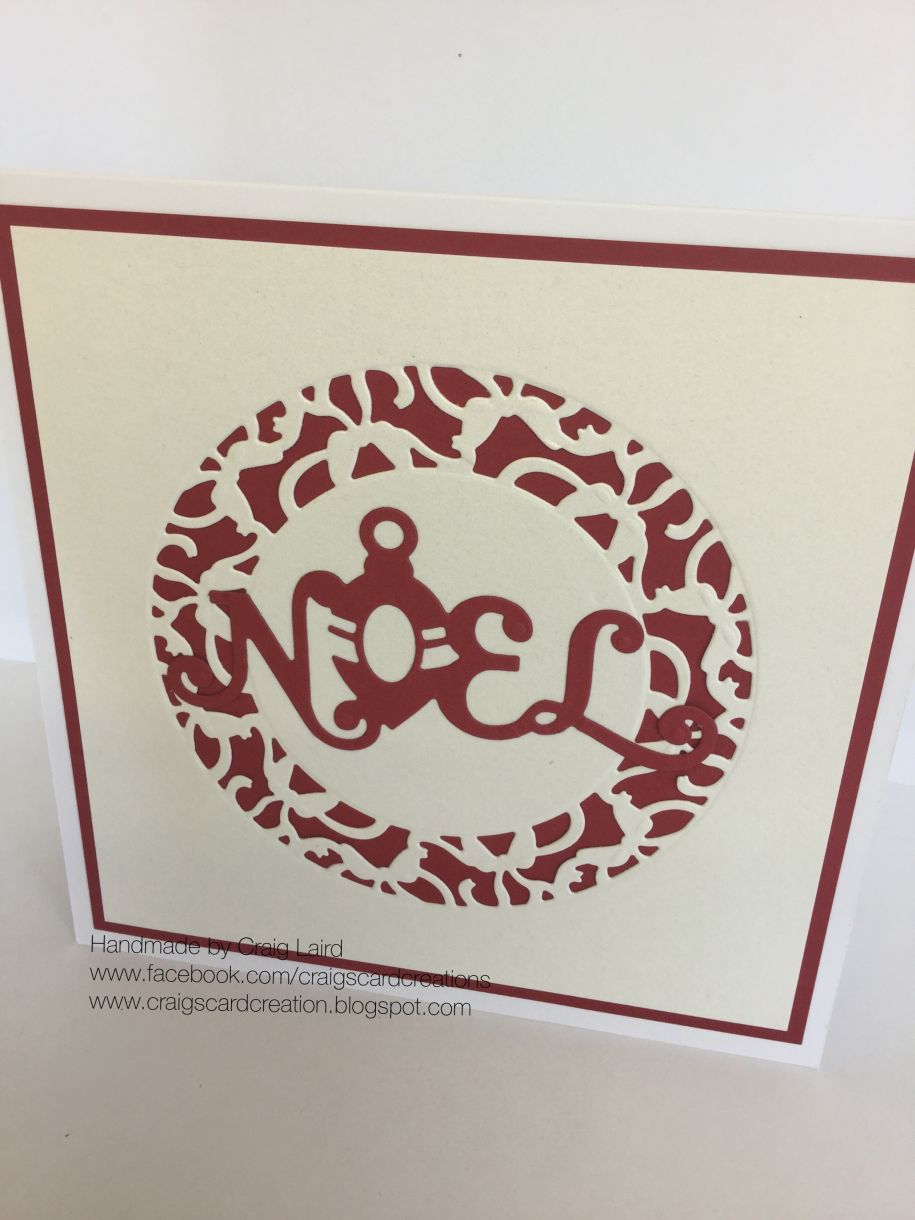
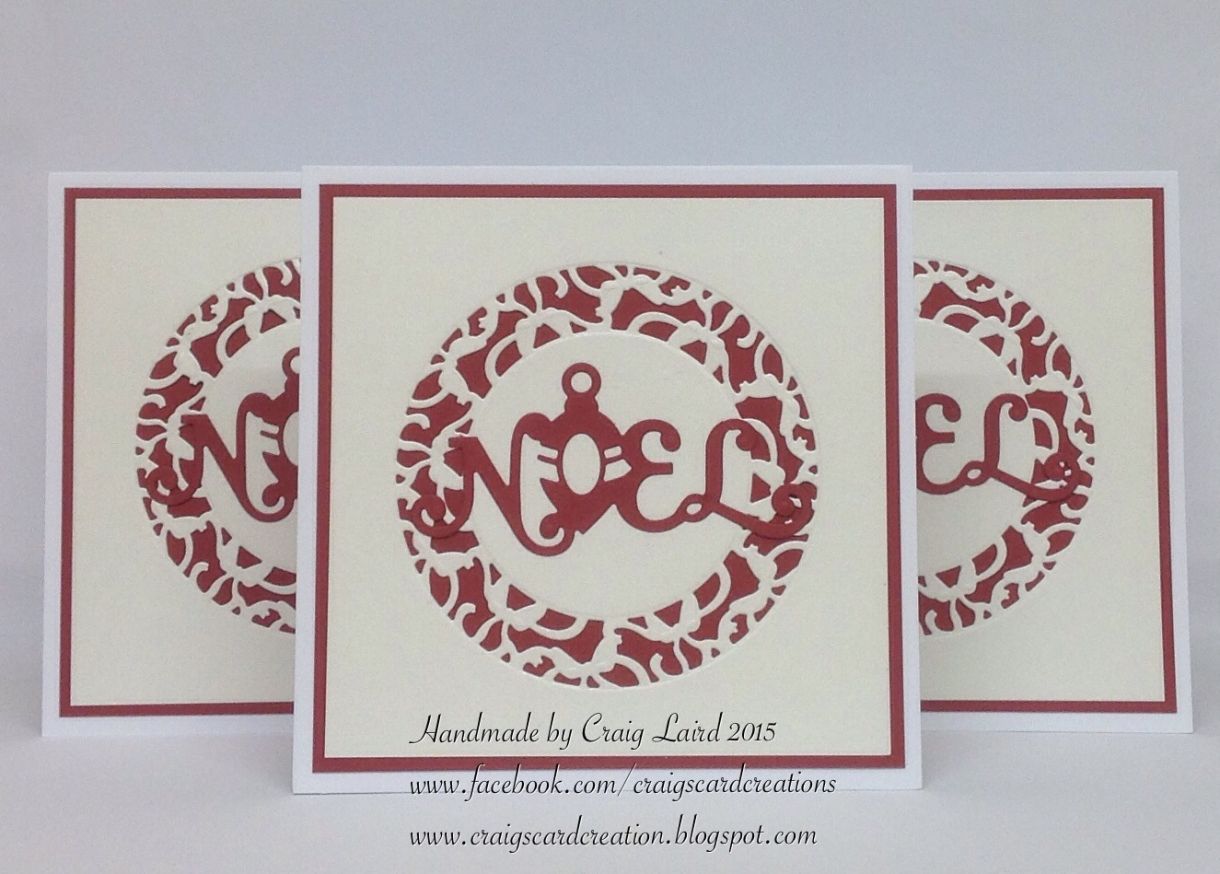
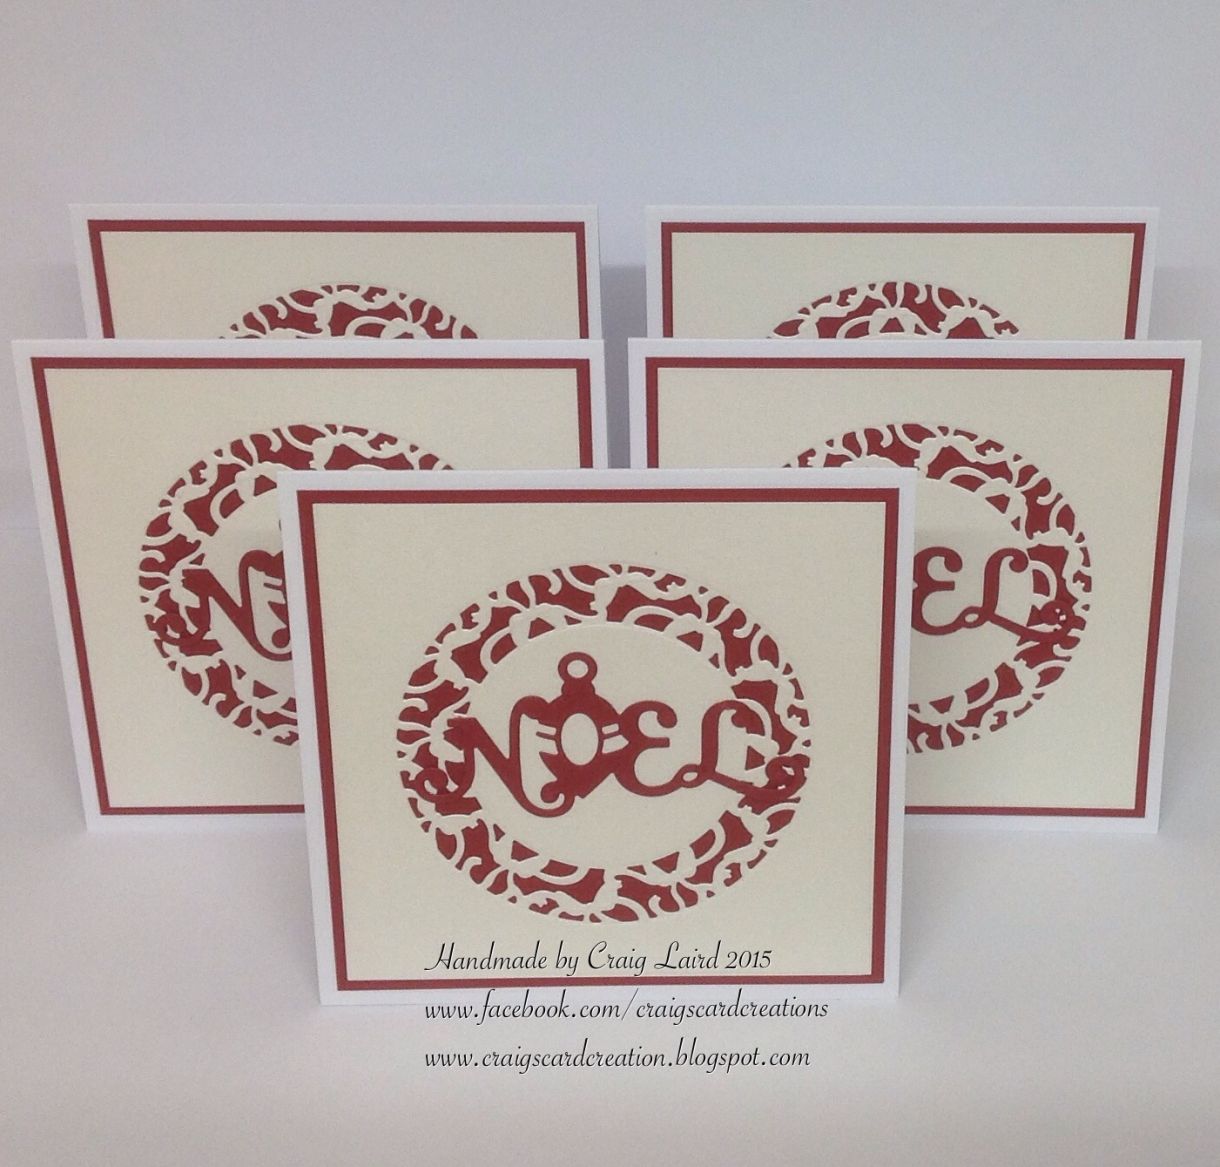
Christmas Card Idea
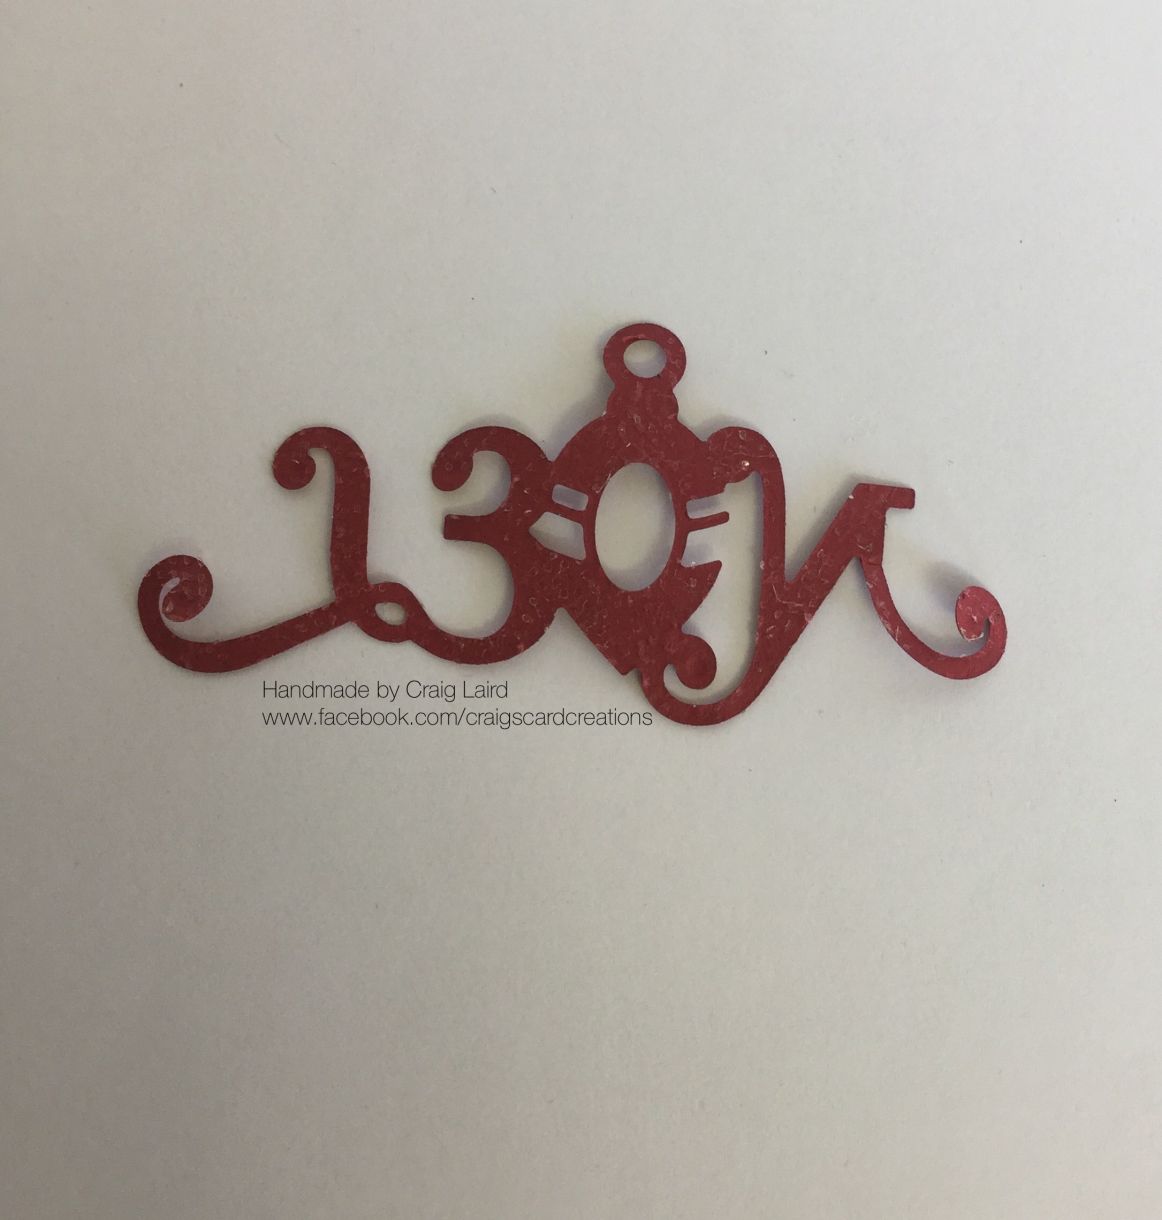
These batch cards are based around 2 metal dies and 1 mat and layer. You can cut all the mats out in advance and spend an hour die cutting the circle design. By die cutting the "Noel" at the same time as the circle, you will be cutting down on your time die cutting. There are mixed feelings regarding die cutting more than 2 dies at a time. Personally, I do run 2 or 3 dies through my die cutting machine at the same time. This of course does depend on the size. Ensure the dies are secured with tape.
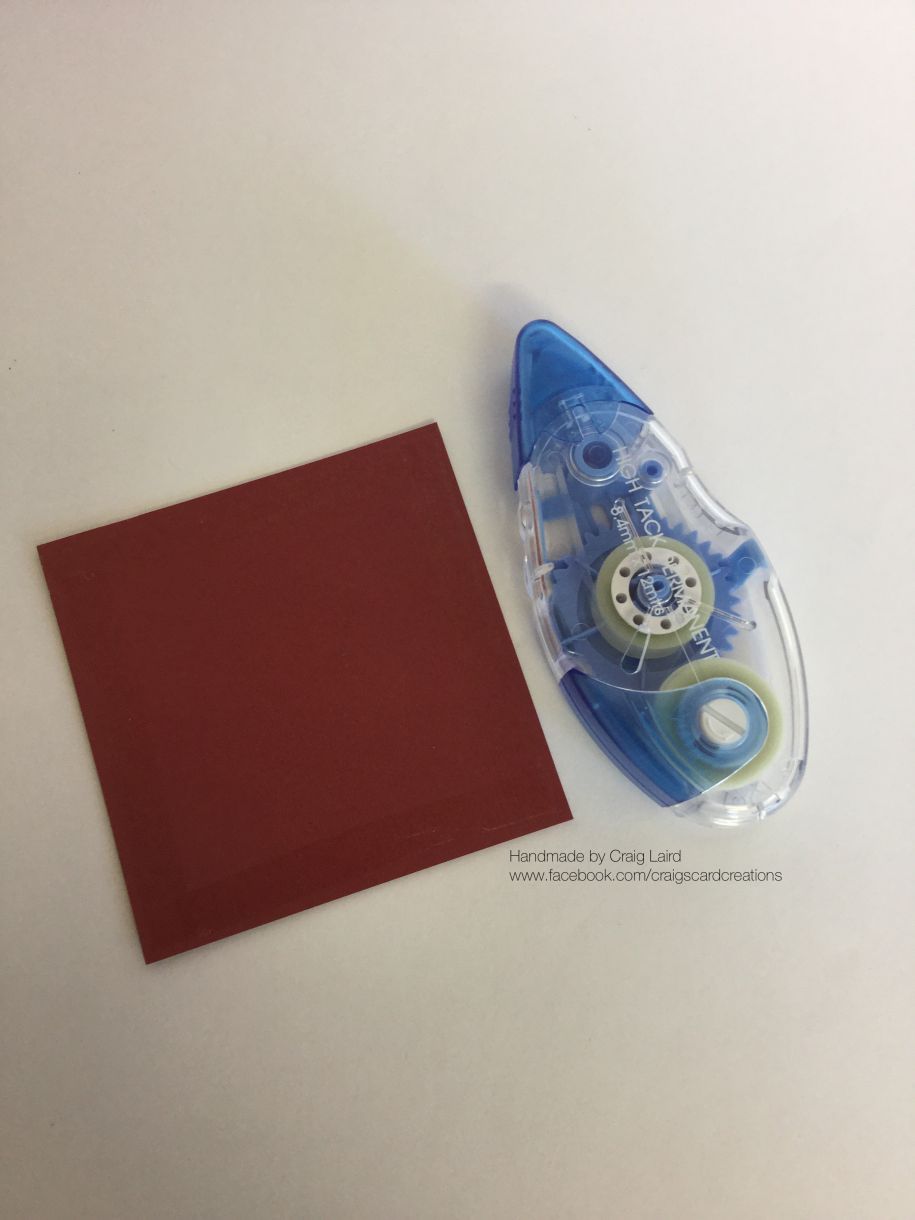
I like to stick to 2 colours. I find 2 colours when batch making not only helps to keep your time making them at a minimum, it also helps to create a more striking and elegant design. Its not just the design you need to think of when wanting to batch make cards, you have to think of how you construct your cards. You want to use products that will enable you to assemble your cards quickly. For example, when it comes to your adhesives, use a blue tape runner for your mats and layer. When using double sided tape - which I love, this all adds to the time from placing your tape on the backs of the layers aswell as having to peel the layers off. By using a Blue tape pen, its instant. The same goes for your centre greeting, you want to use an adhesive that is quick but fixes instantly. This is the reason I use Micro-dots. If you dont get the greeting in the correct spot first time round, you do have a chance to reposition it before the bond becomes permanent.
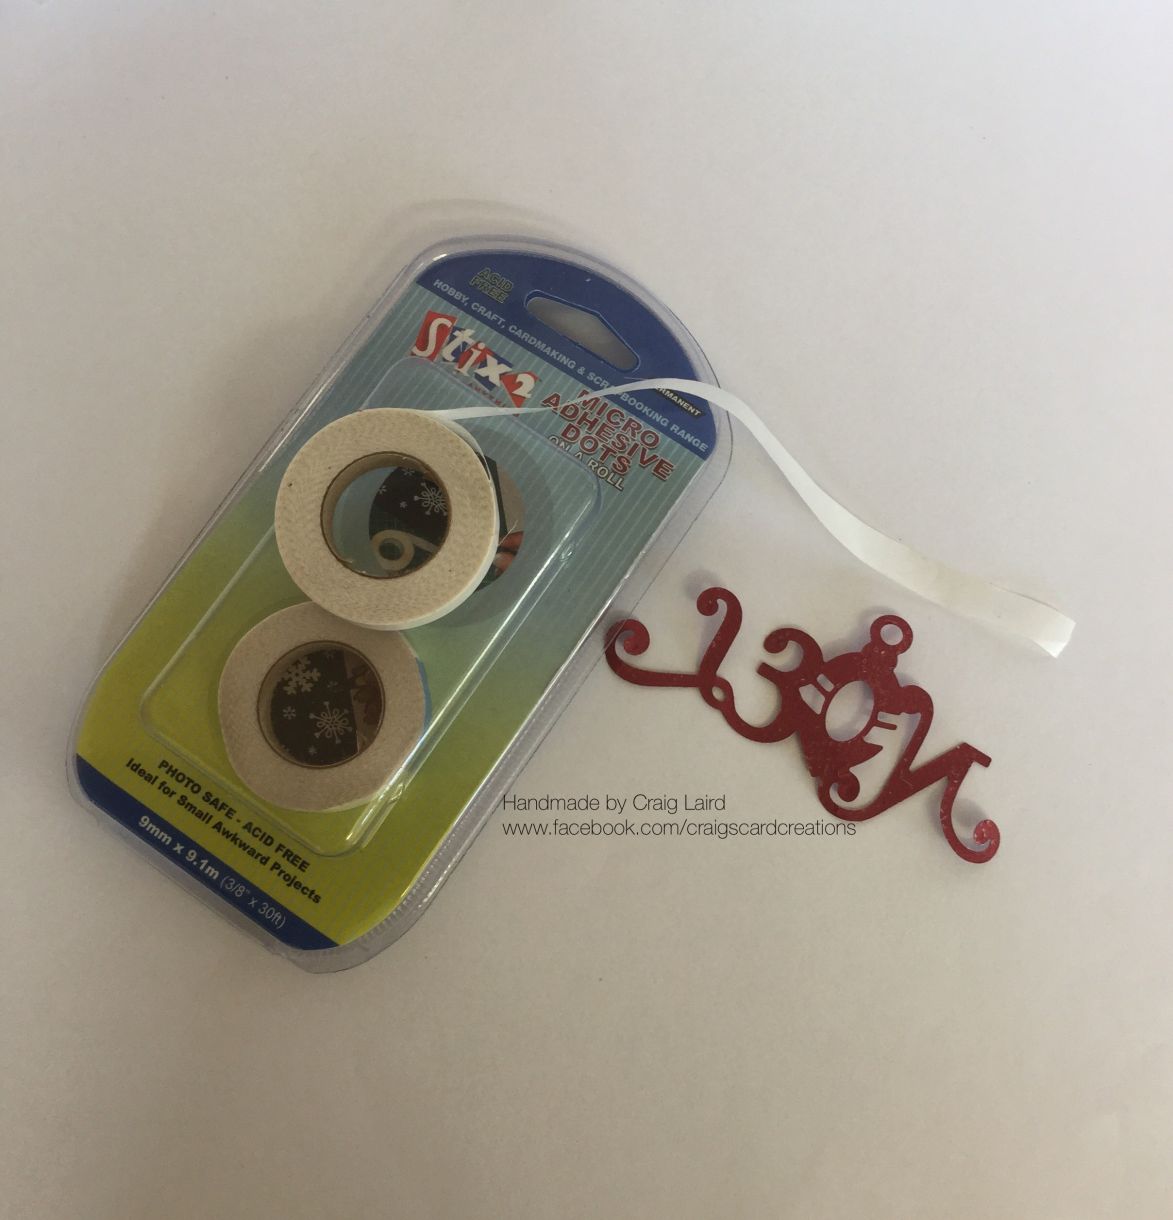
Materials used:
Papermilldirect - Ruby red plain card 240gsm. Natural white pearlised card 300gsm. White Supersmooth card 300gsm.
Stix2 anything - Blue tape runner S56986. Micro-dots (twin pack) S57124. 6x6 card blank and envelopes (6pack) S57339. A4 die cut release sheets S57326. Non Stick craft sheet S57132. Low tack stencil tape S56994.
Additional Items - Bow verso die - Tonic Studios. Noel greeting die - Tonic Studios.
Card Making Tutorial
1- Take a piece of the Natural white pearlised card and cut to 5 1/2" x 5 1/2".
2- Place your chosen die into the centre of your Natural white pearlised card and run through your die cutting machine. This die has some embossing detail so I personal would also run this through again but this time embossing it using your tan embossing mat, if like myself your using a Grand Calibur.
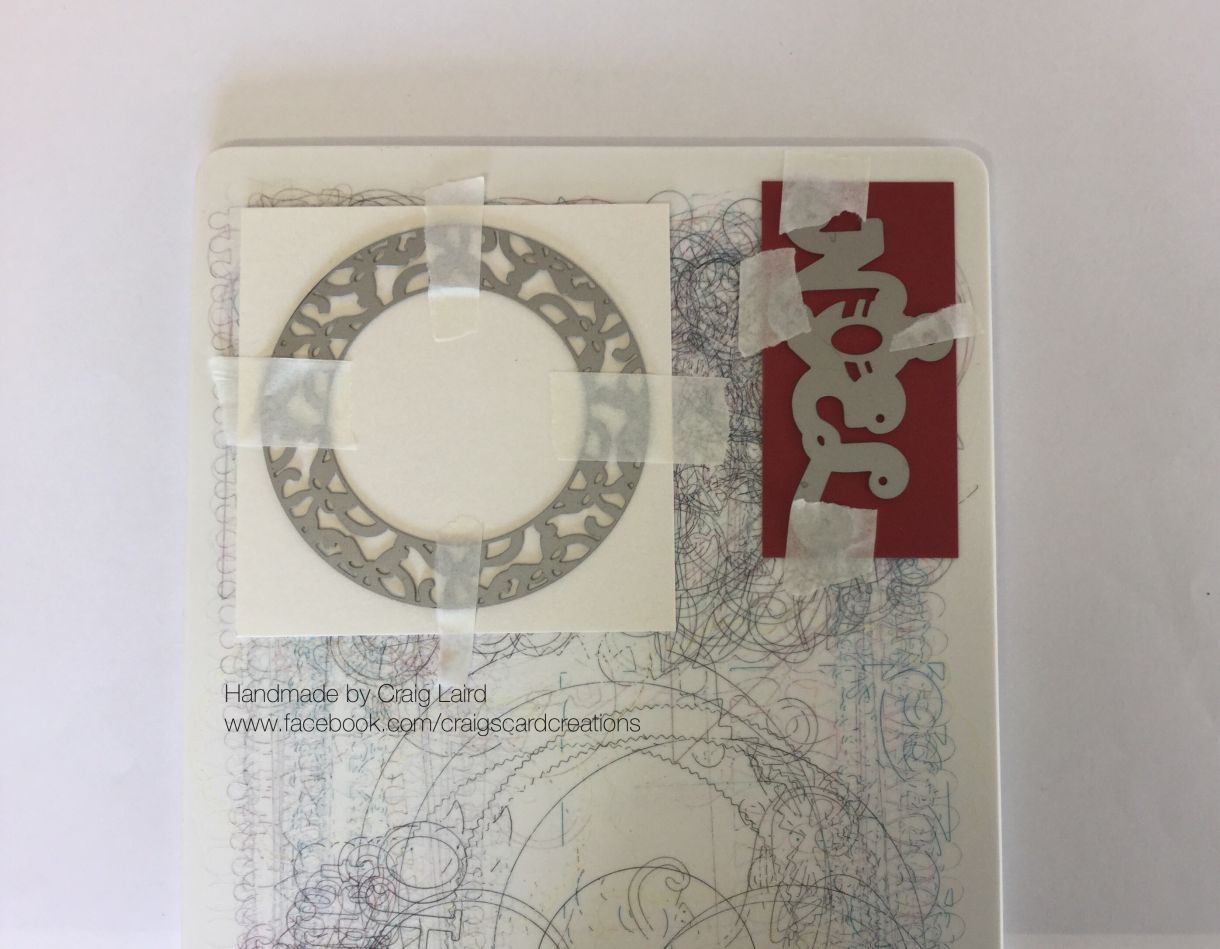
3- At the same time as when you die cut the centre, die cut your greeting onto a piece of Ruby red card. As mentioned, securly fix the dies using masking tape, this will ensure the dies don't move and will avoid damage. This die also has some embossing details so run it through again, this time using your embossing mat. As you can see from my cutting mat, it is well loved.
3- Take a piece of your Ruby red card stock and cut to 5 3/4" x 5 3/4".
4 - Matt and layer your Natural white pearlised die cut card onto the Ruby red mat using your Blue tape pen. Now layer onto the card blank, also using your Blue tape pen.
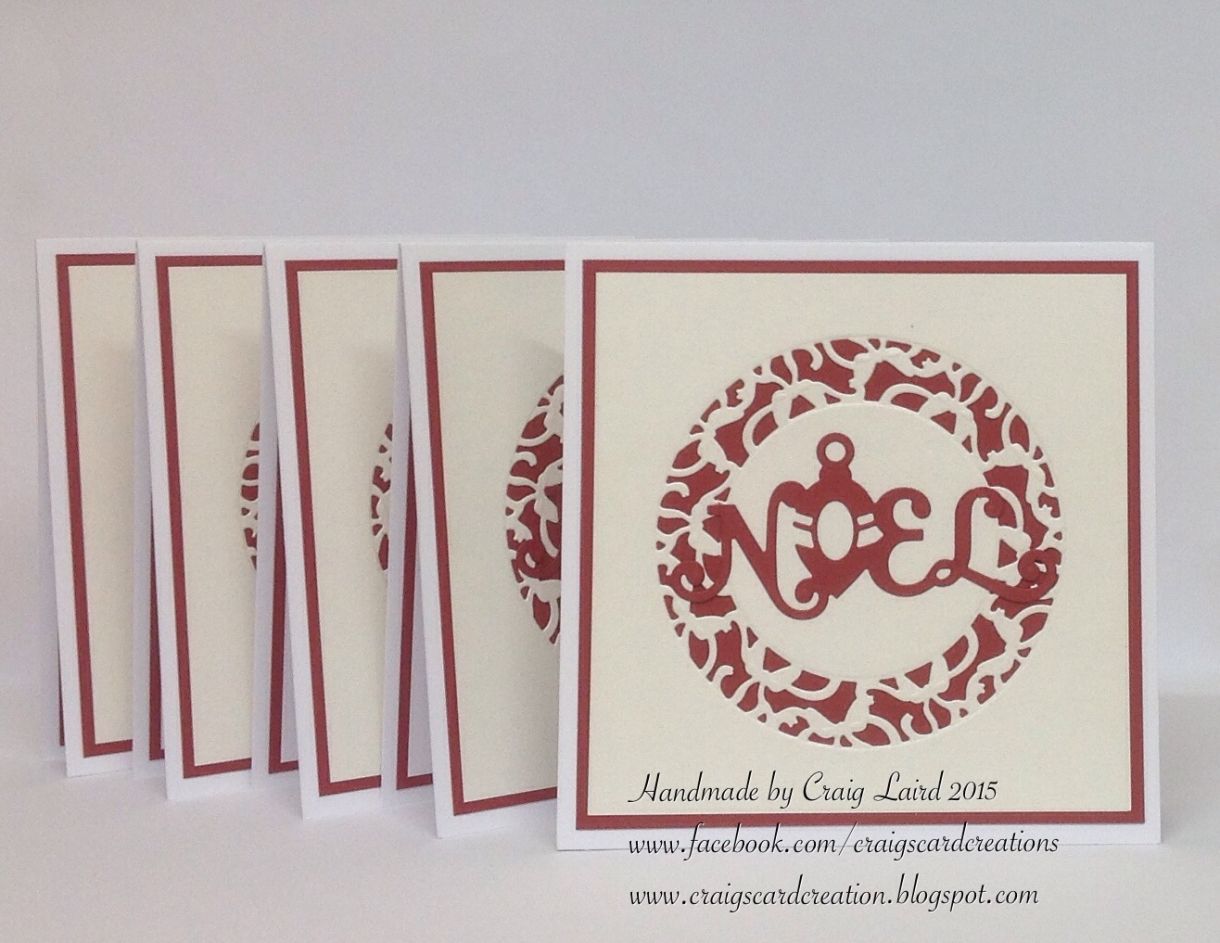
5- Take your Noel die cut and using your Micro-dots, press the adhesive dots on to the back of the die cut greeting.
6- Place the Noel greeting with the Micro-dots onto the centre of the die cut centre. When happy with the position of the greeting, place extra pressure onto the greeting, this will ensure the Micro-dots become a permanent bond.
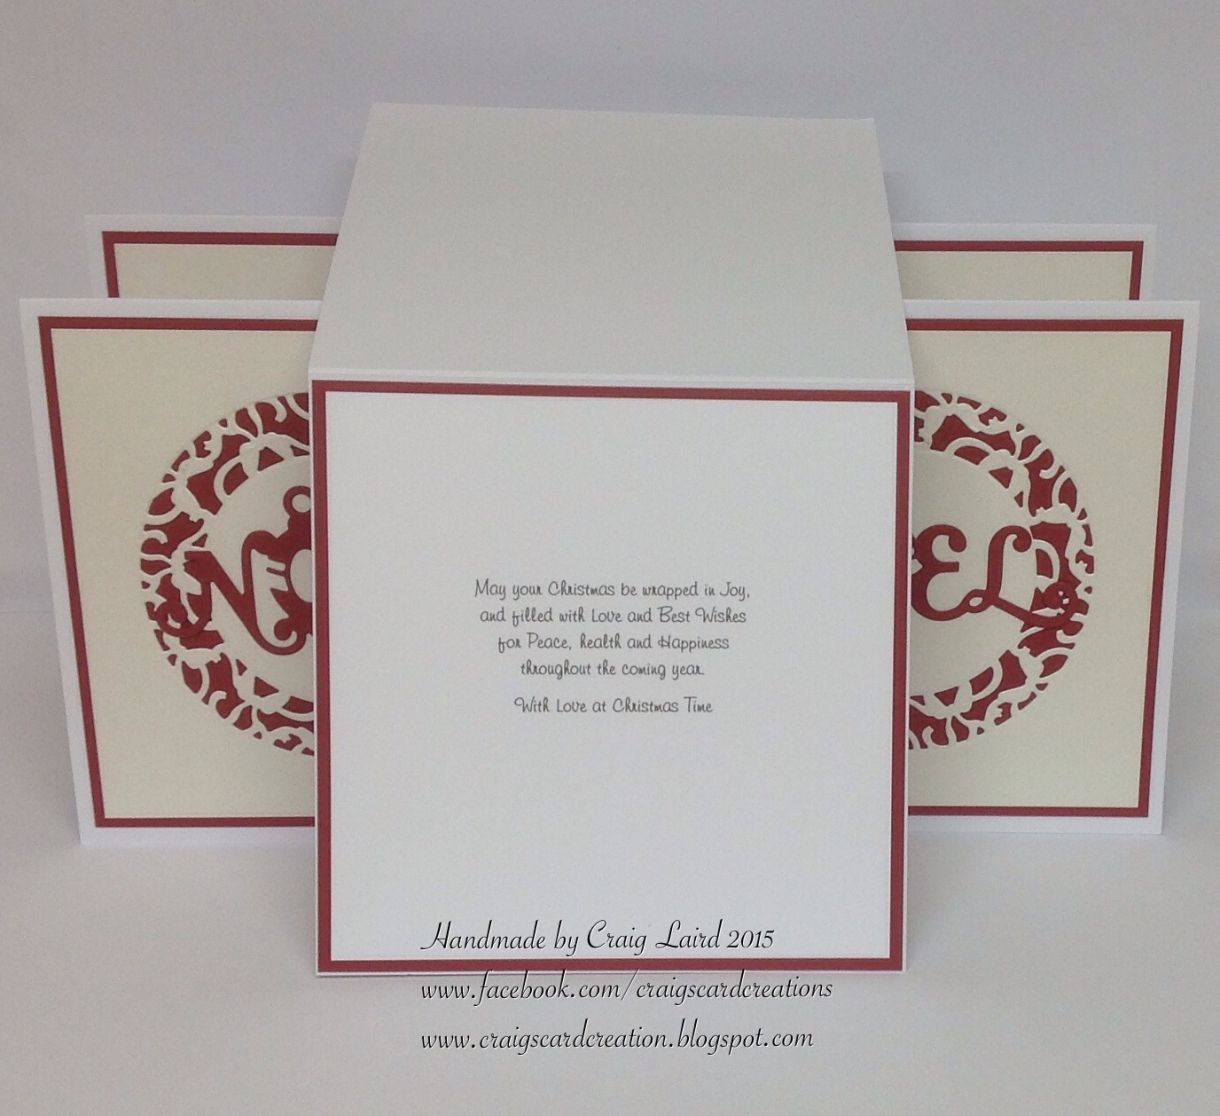
7- Just as a finishing touch, I have printed a Christmas verse onto White supersmooth and layered it onto a piece of Ruby Red plain card then placed inside using the Blue tape pen.
Thank you
Craig


Nobody has commented yet
Be the first to comment on this article by using the form below.