How to make birthday banners with photos
1
Posted on 9th June 2017 by STACEY BONE
Filed under All Papercraft Tutorials
Todays blog post is about homemade birthday banners.
It was my friend's daughter's birthday recently and she came to me with a request for some birthday banners. She wanted to add photographs to the banner showing how the girls have grown each year.
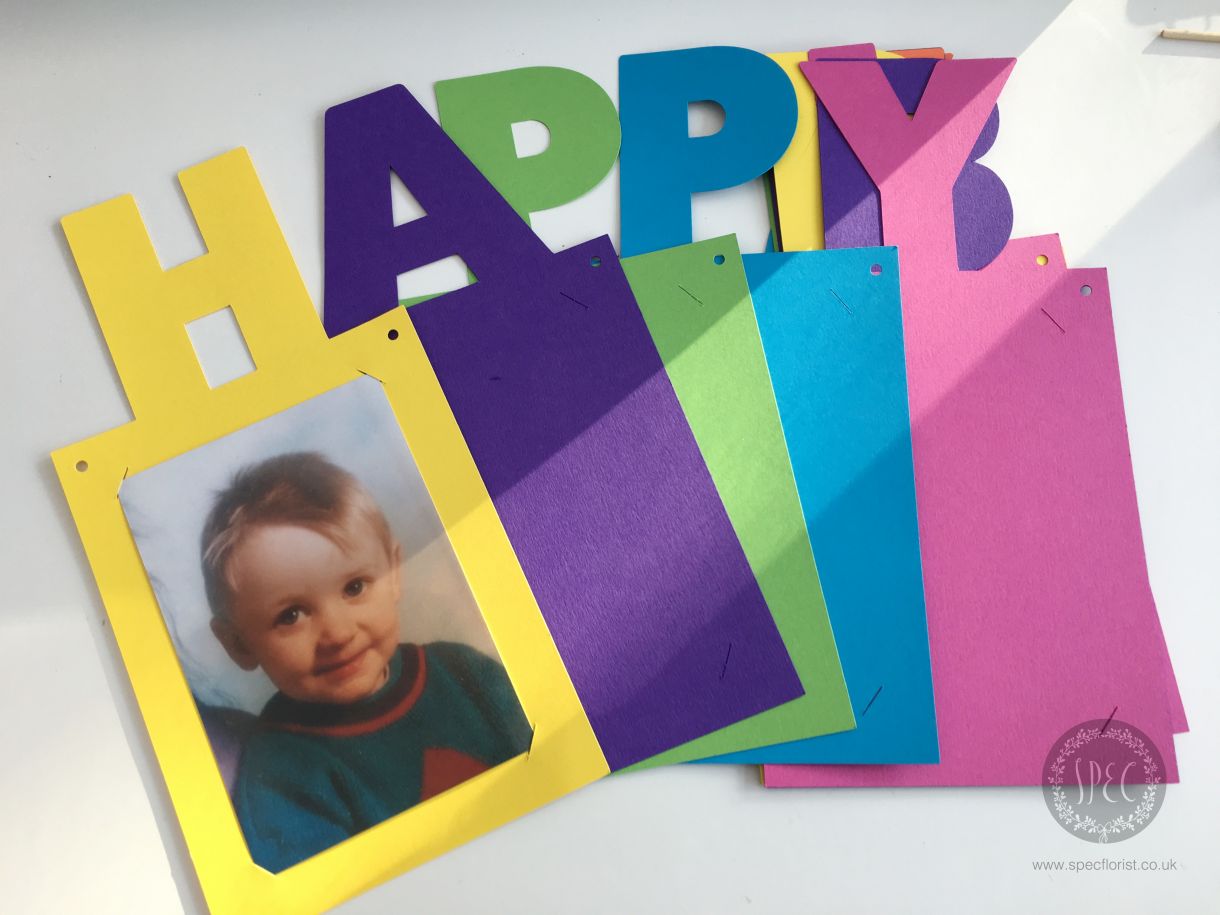
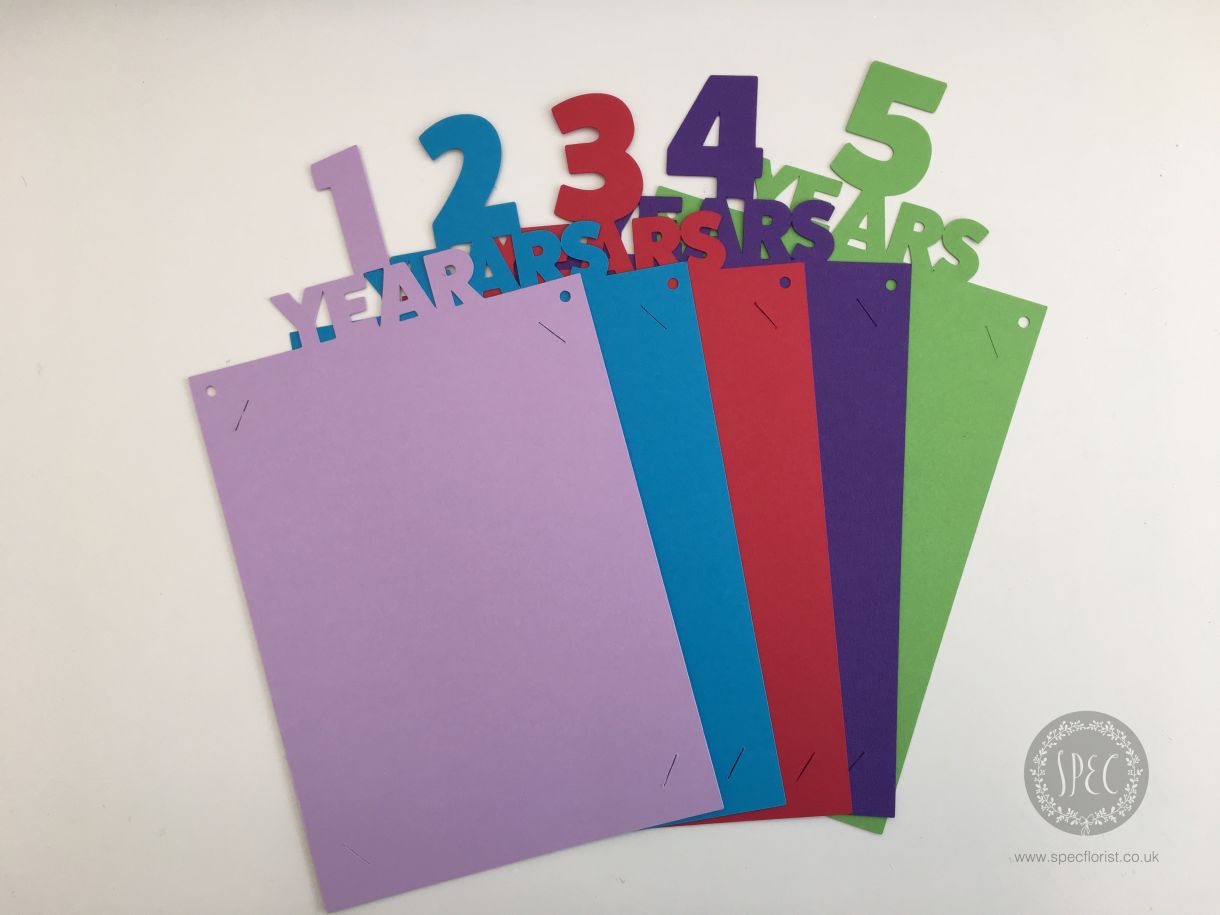
I created two styles for her, an age banner with room for 5 x 7 photos and a generic happy birthday banner with room for 6 x 4 photos. Both multi-coloured banners were made using Papermilldirect’s fabulous card colour range.
Card colours used:
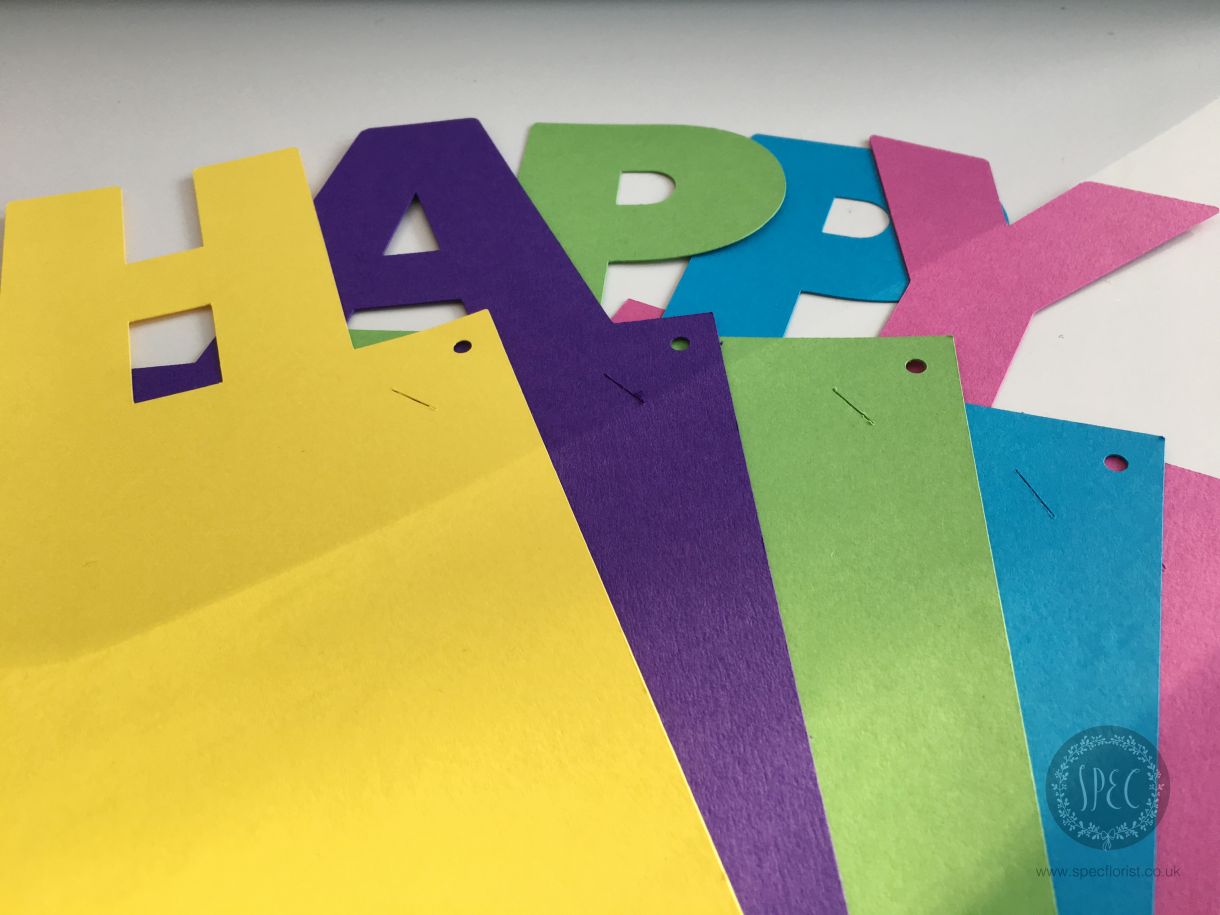
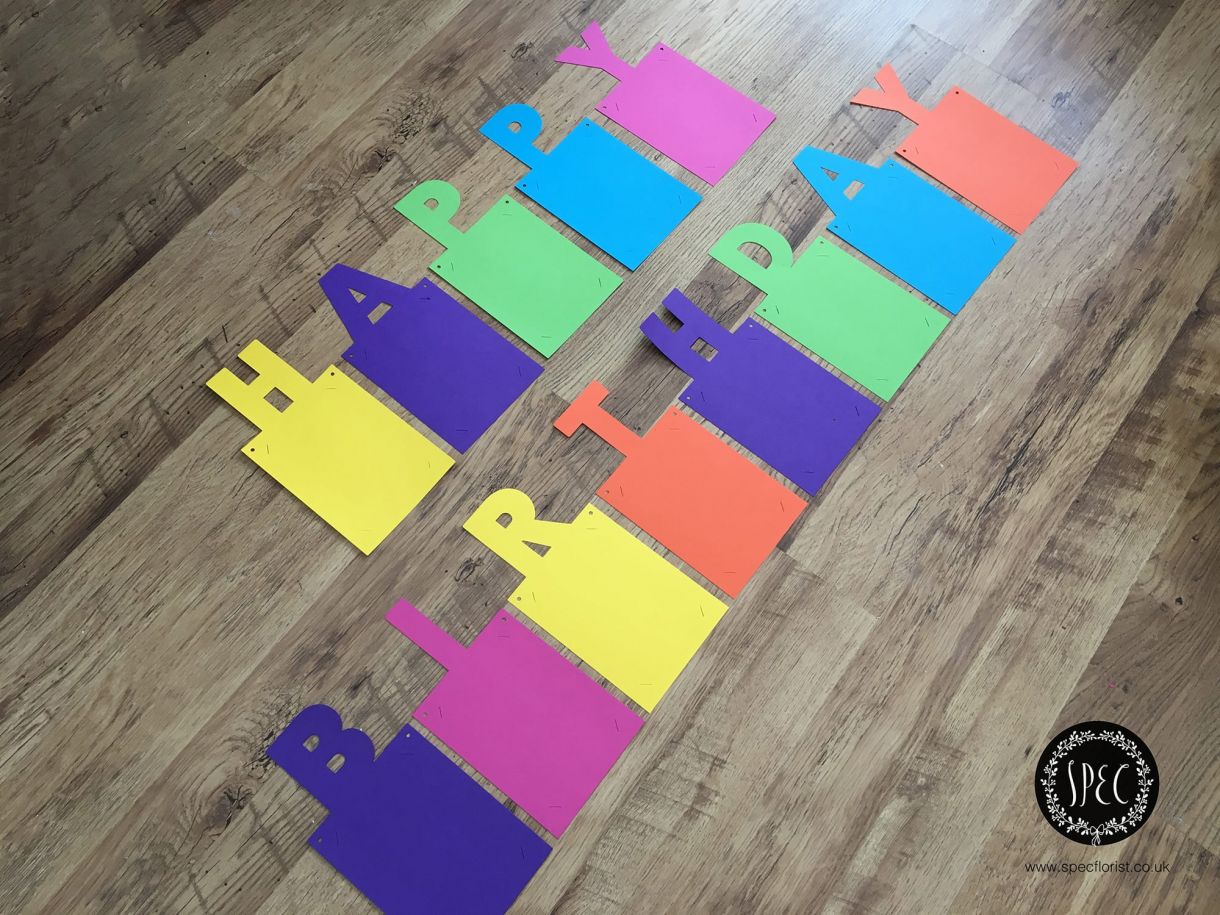
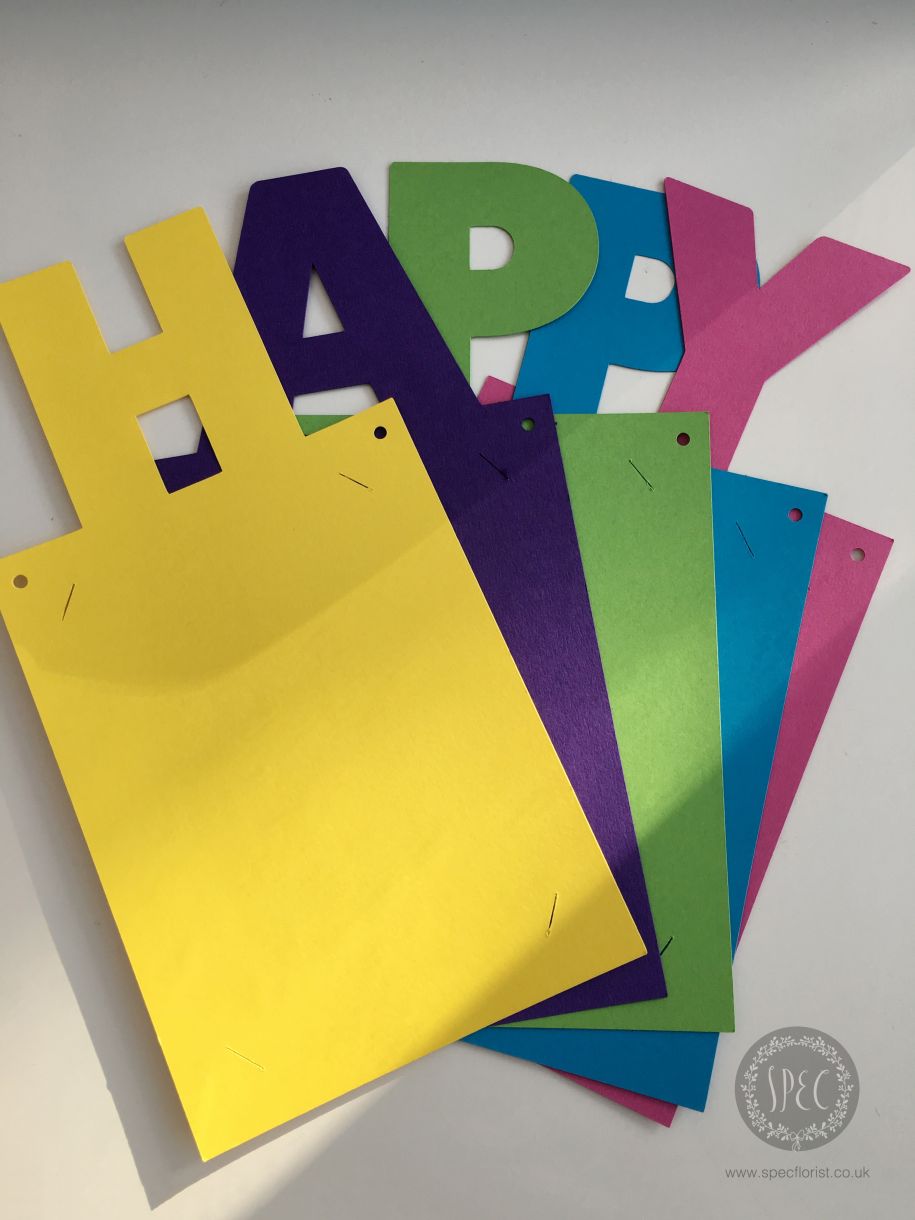
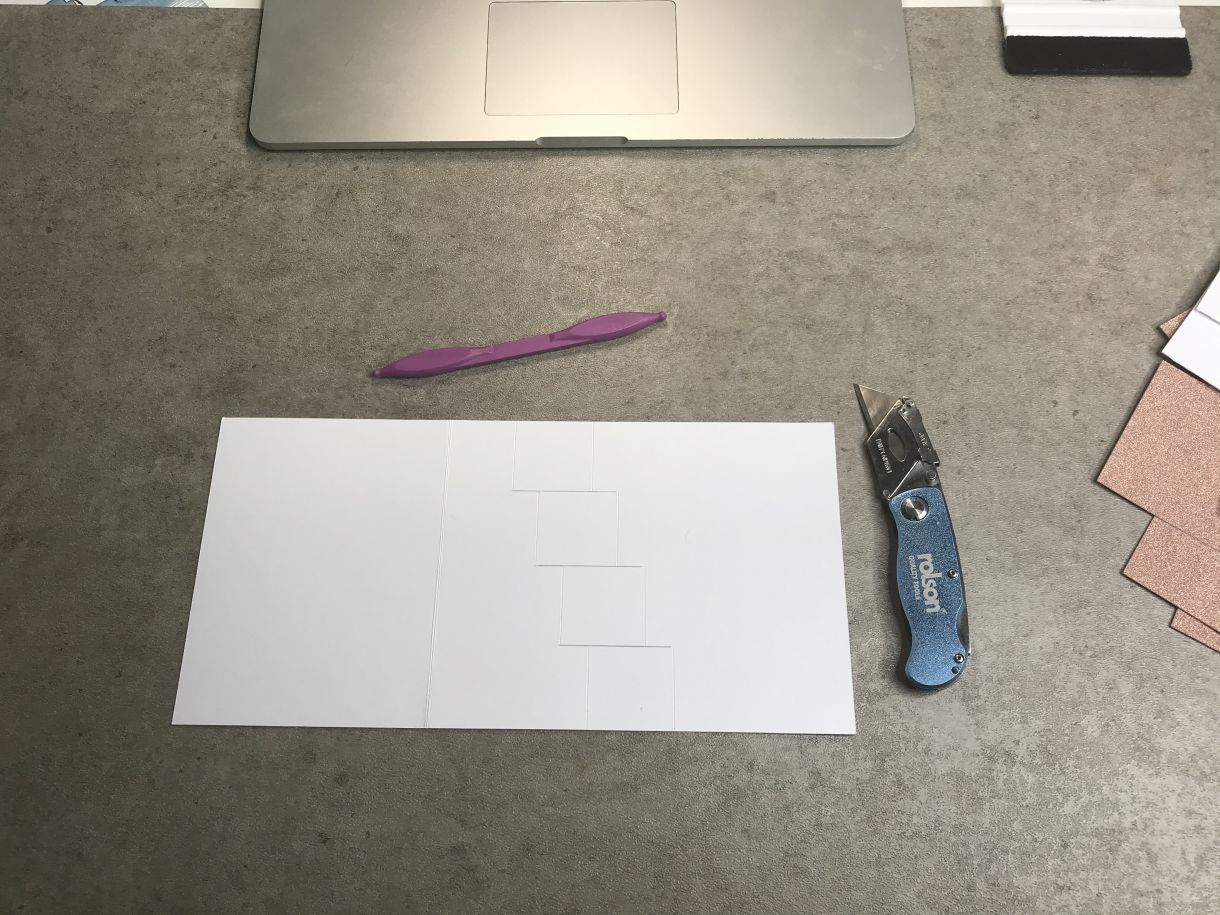
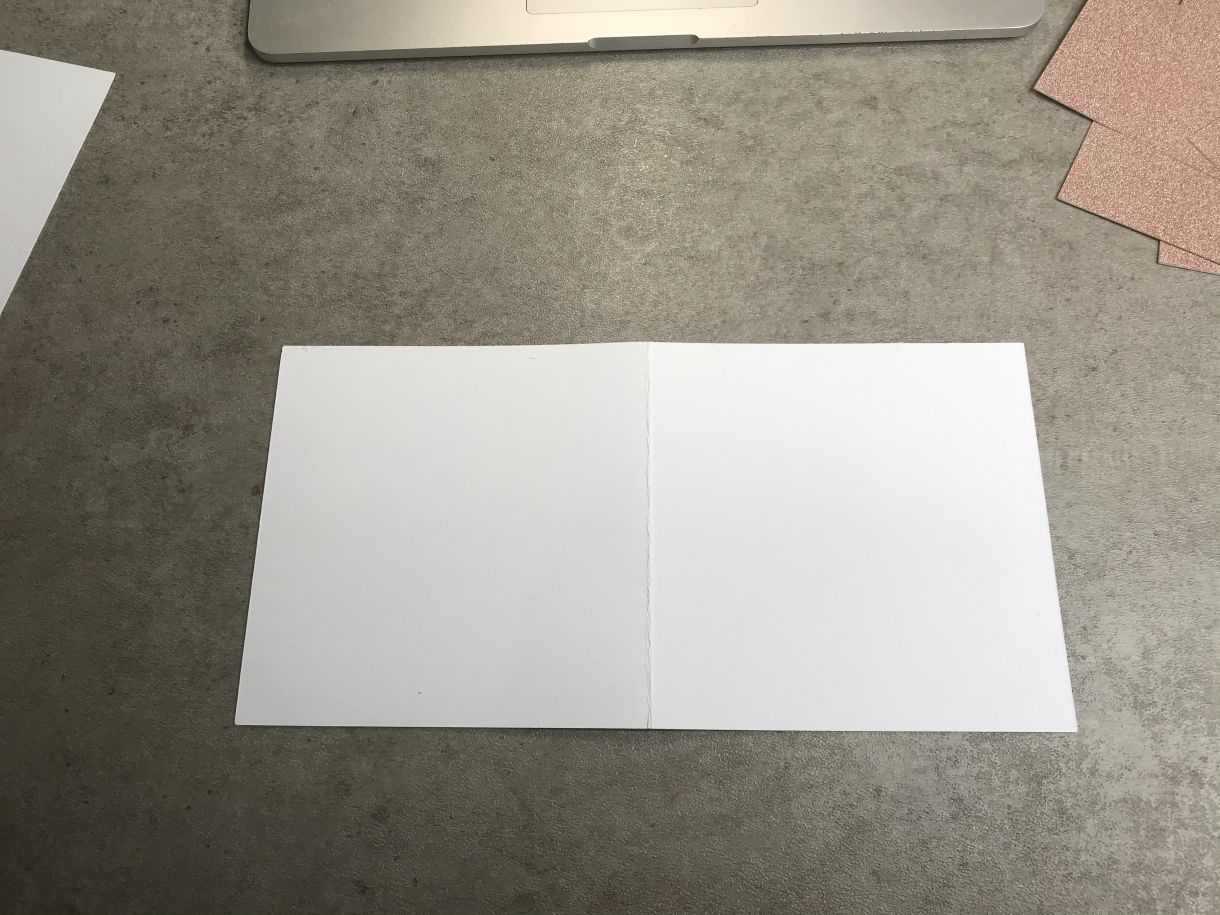
To allow my friend to add photographs, I made four small diagonal cuts to all corners so she could pop her photographs in place. I added two holes one to each top corner so that twine or ribbon could be threaded through for hanging. Both designs were cut using my Cricut machine and designed in Adobe Illustrator.
Please do share any birthday creations you’ve been creating, we’d love to see them!


1 thought on “How to make birthday banners with photos”
Claire Hayden
09th June 2017 at 12:25 p.m.
What a fantastic project. My son is 18 this year and this style of banner would be just perfect. Thank you for the inspiration.