How to make a fun stamped Bookmark - Papercraft Tutorial
1
Posted on 24th May 2015 by Angela Dodson
Filed under All Papercraft Tutorials, Projects And Cards By Type, Kids Craft Ideas, Easy Bookmark Ideas
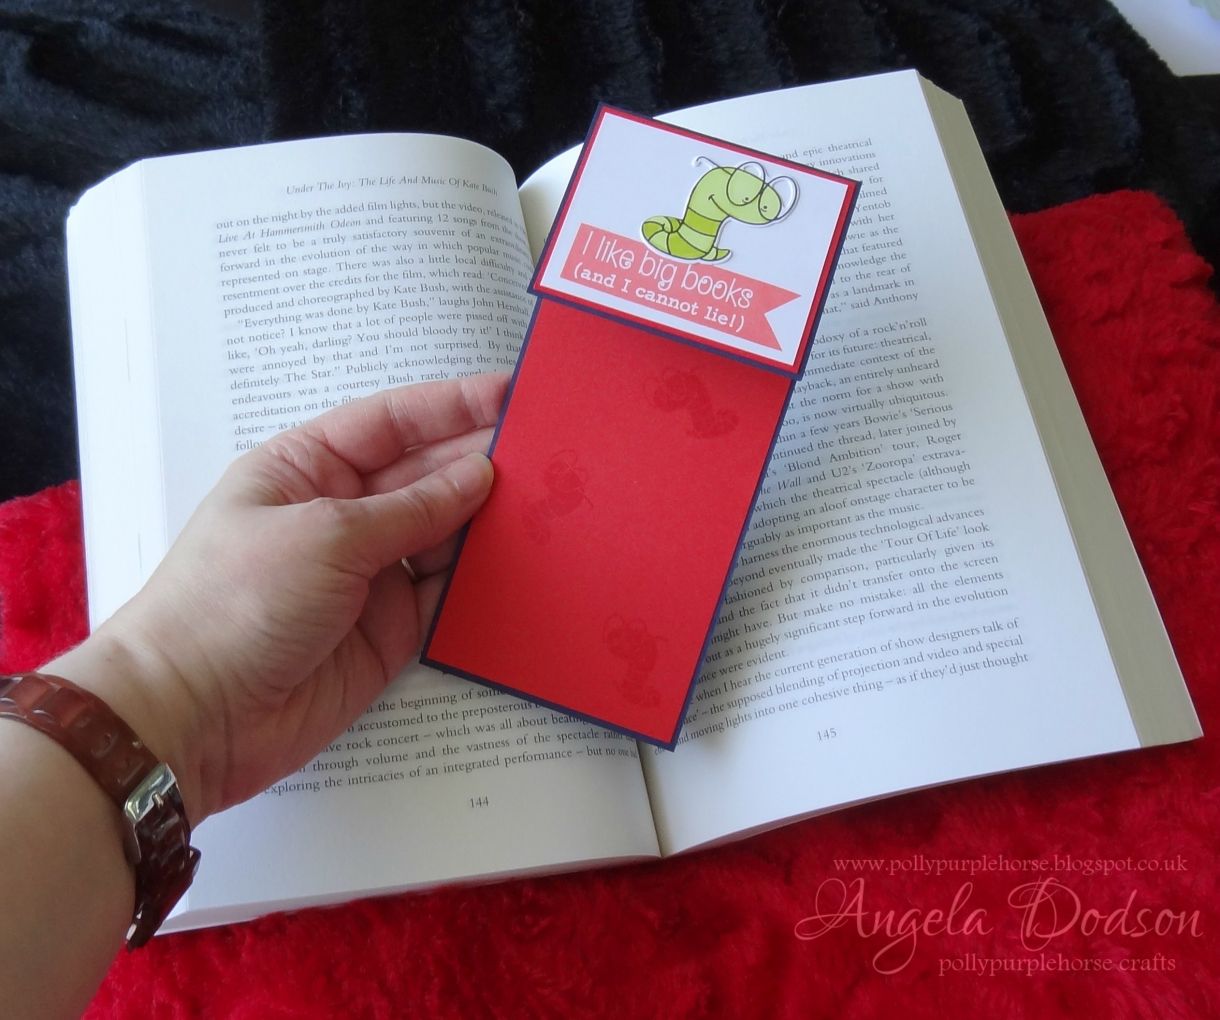
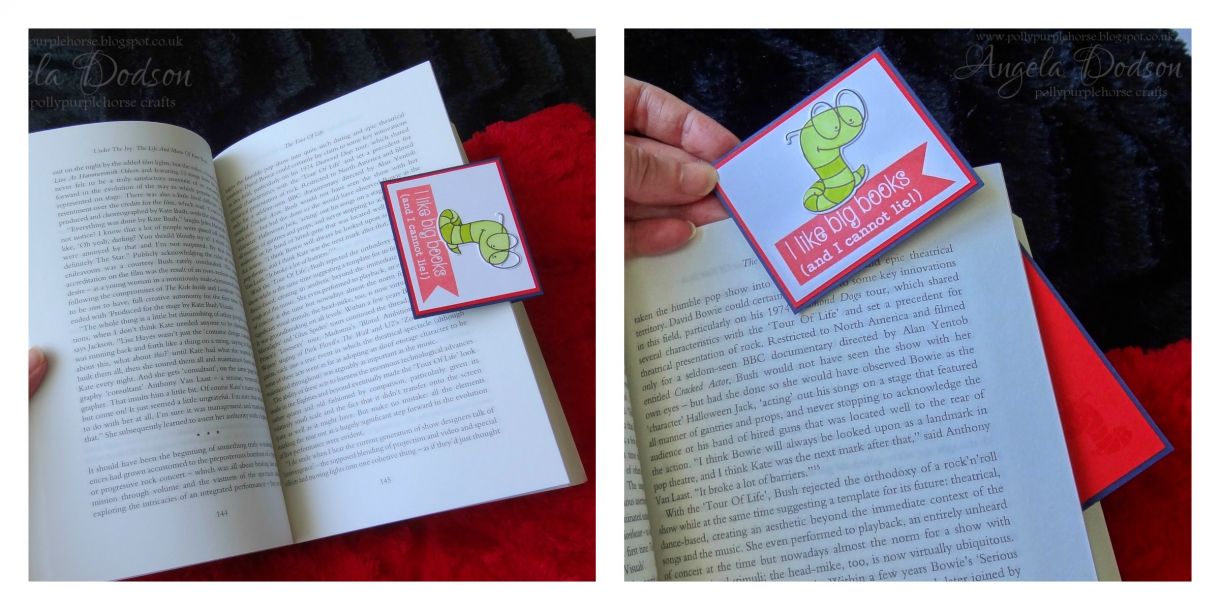
Hello, it's Angela here with a simple tutorial for making a stamped bookmark. Clearly Besotted have some lovely inexpensive clear stamps often with matching dies and they feature unique modern designs. I was particularly taken by the fun Bookworm additions stamps, a small set which had a matching die set to accompany it. The little set features a large and small Bookworm and also some fun phrases, I chose to use the ‘I Like Big Books (and I cannot lie!)’ phrase for this bookmark but there are 2 others you could choose from in the set if you prefer.
For this simple bookmark I cut strips of papermill direct cardstock as follows:
Navy Blue: 3” wide x 9” long
Post Box Red: 2 7/8” wide x 6 3/8” long and 2 7/8” wide x 2 3/8” long
Smooth White Card: 2 3/4” wide x 2 ¼”
Step by Step instructions to Make Your Own Bookmark
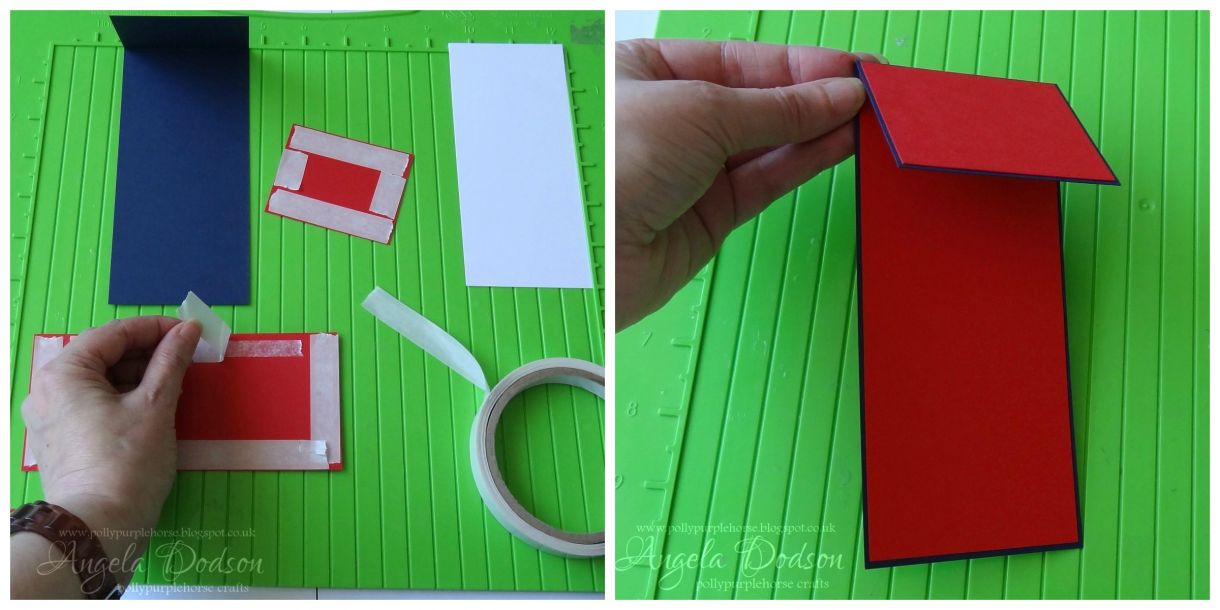
Using a scoreboard score the Navy Blue strip at 2 ½ “ this will provide the base and flap front of your bookmark.
Add double sided tape to the back of the Post Red Card strips and adhere to the Navy Blue bookmark base as shown in the pic. The larger strip will be inside on top of the blue card and the small red strip will be on top on the flap section.
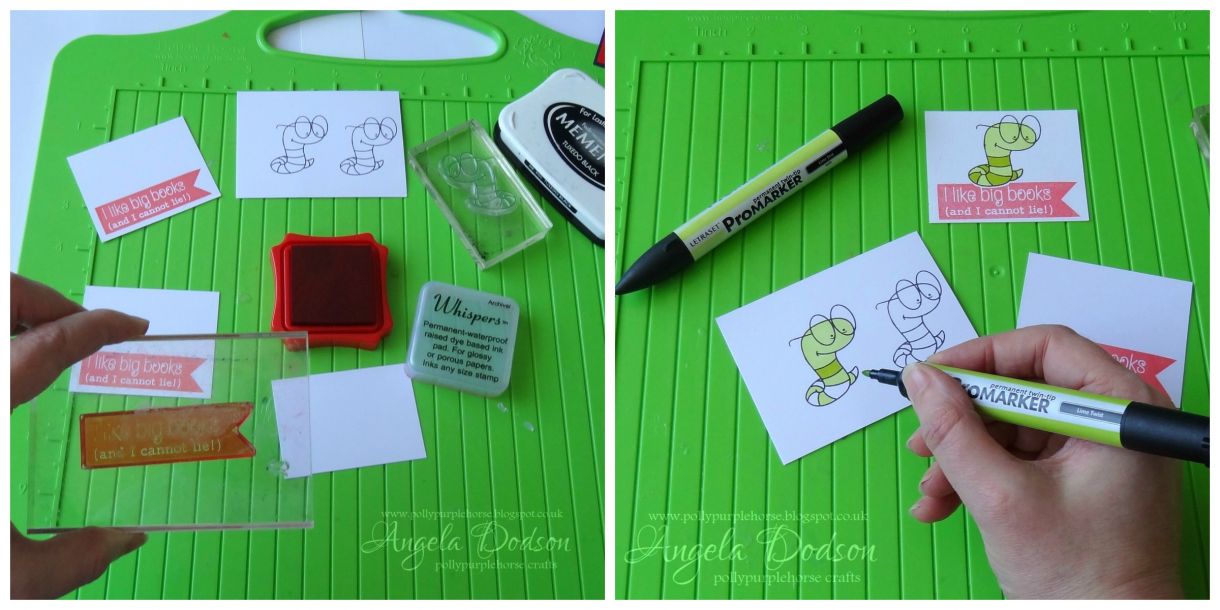
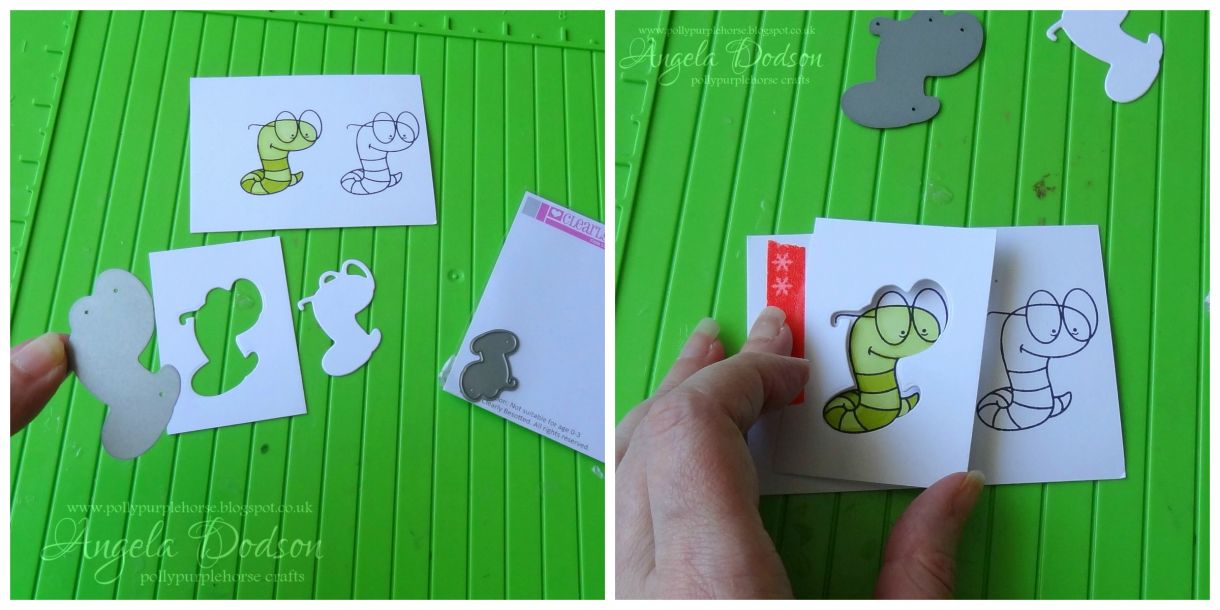
Using red ink stamp one of the sentiments across the bottom of the Smooth white Card piece. (You may prefer to stamp this first and then trim the card to size, whichever is easier for you). Using Black memento Ink stamp the largest bookworm onto another piece of smooth white card and colour in using promarkers. I chose 2 shades of green to keep the design simple.
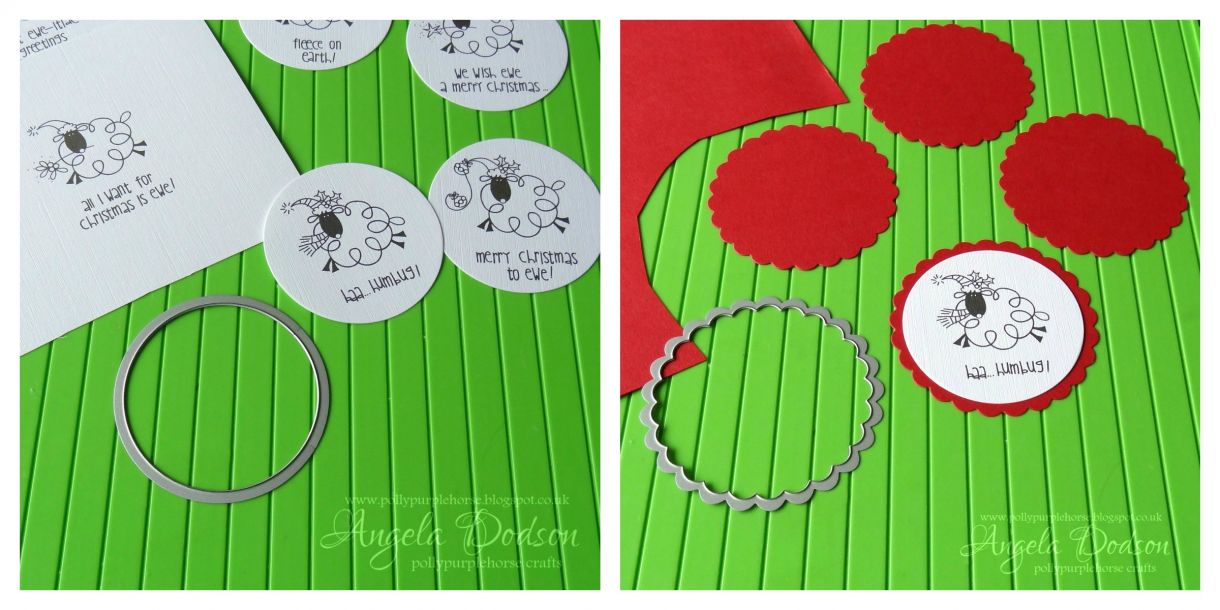
You can cut out the bookworm with scissors or if you have the matching die set then here is how I line up my dies with my stamped images. First I cut the die through some plain scrap card which gives me the cut out shape outer. I trim this down and carefully place over my stamped image lining it up carefully. I hold it in place with a small piece of washi tape on an outside edge.
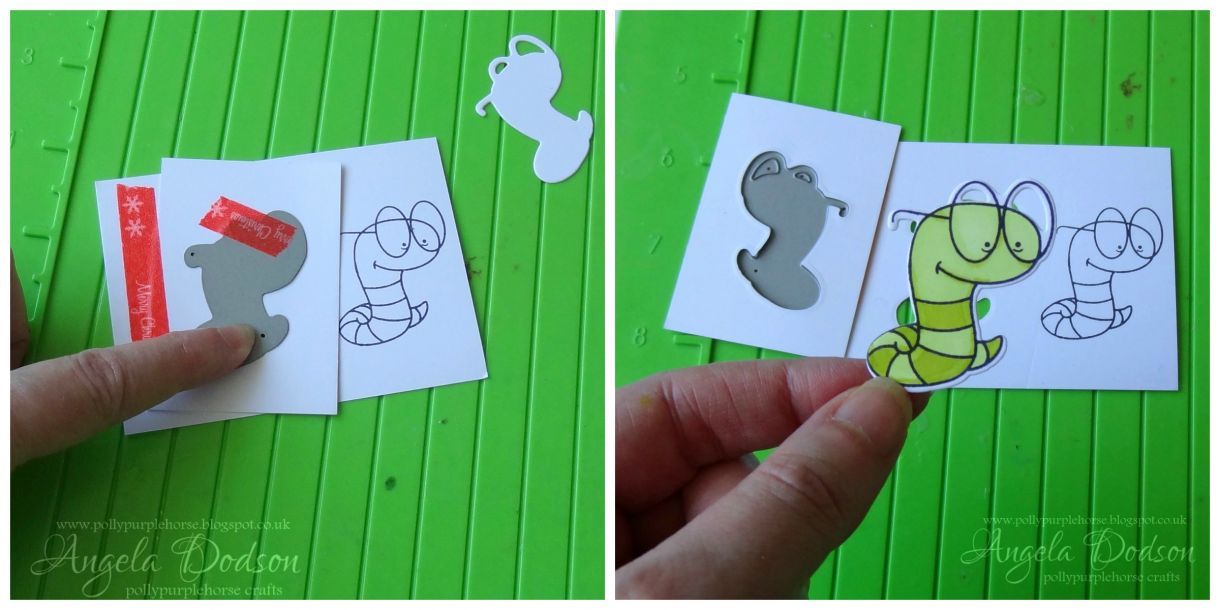
I then pop the die in place using this frame cut-out as a guide to help the die sit in place over the stamped image, securing again with a little piece of washi tape and then run it through the die cutter. Carefully remove washi tape, die and cut out guide and you should have a lined up cut out stamped image. (Don’t throw away your little cut-out guide though, I always keep them with my dies so they are ready to use next time).
You may wish to decorate the plain Red card panel with some stamping, I chose to add some subtle detail by using the small bookworm stamp from the set and Versamark ink which gives a watermark effect. Versamark is a sticky clear ink and when it dries it will dry a darker colour, it adds a nice effect that isn’t overpowering.
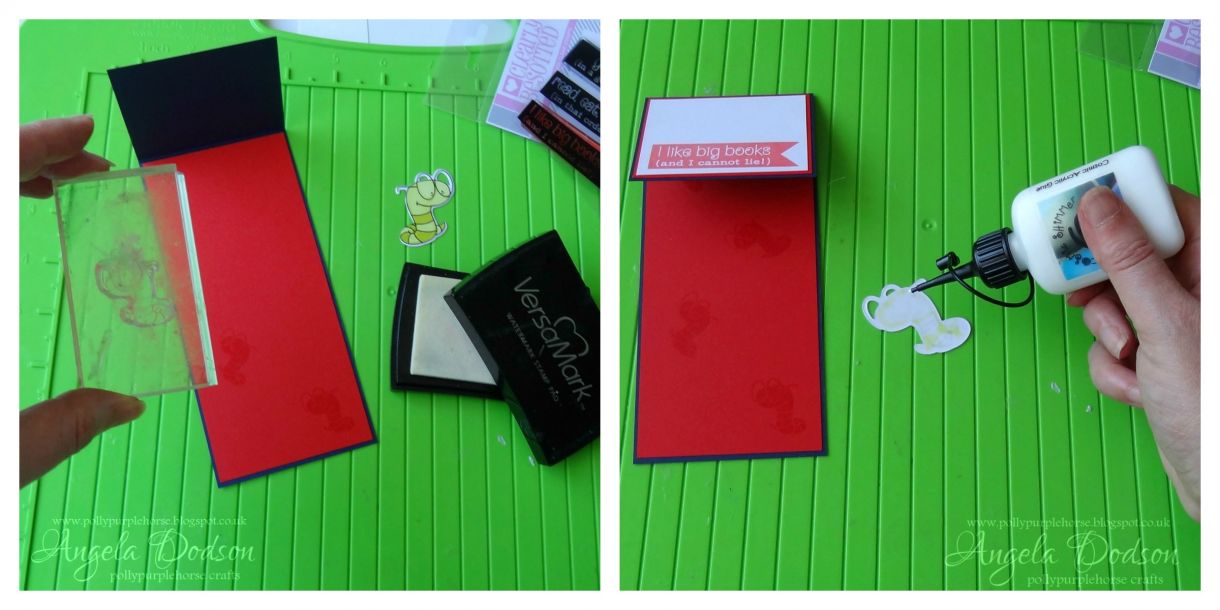
Okay so we now have our stamped & coloured Bookworm image, either die cut or cut by hand, add a little clear drying cosmic shimmer glue on the back and position into place so he’s sitting on top of the Sentiment and we now have a fun little Bookmark.
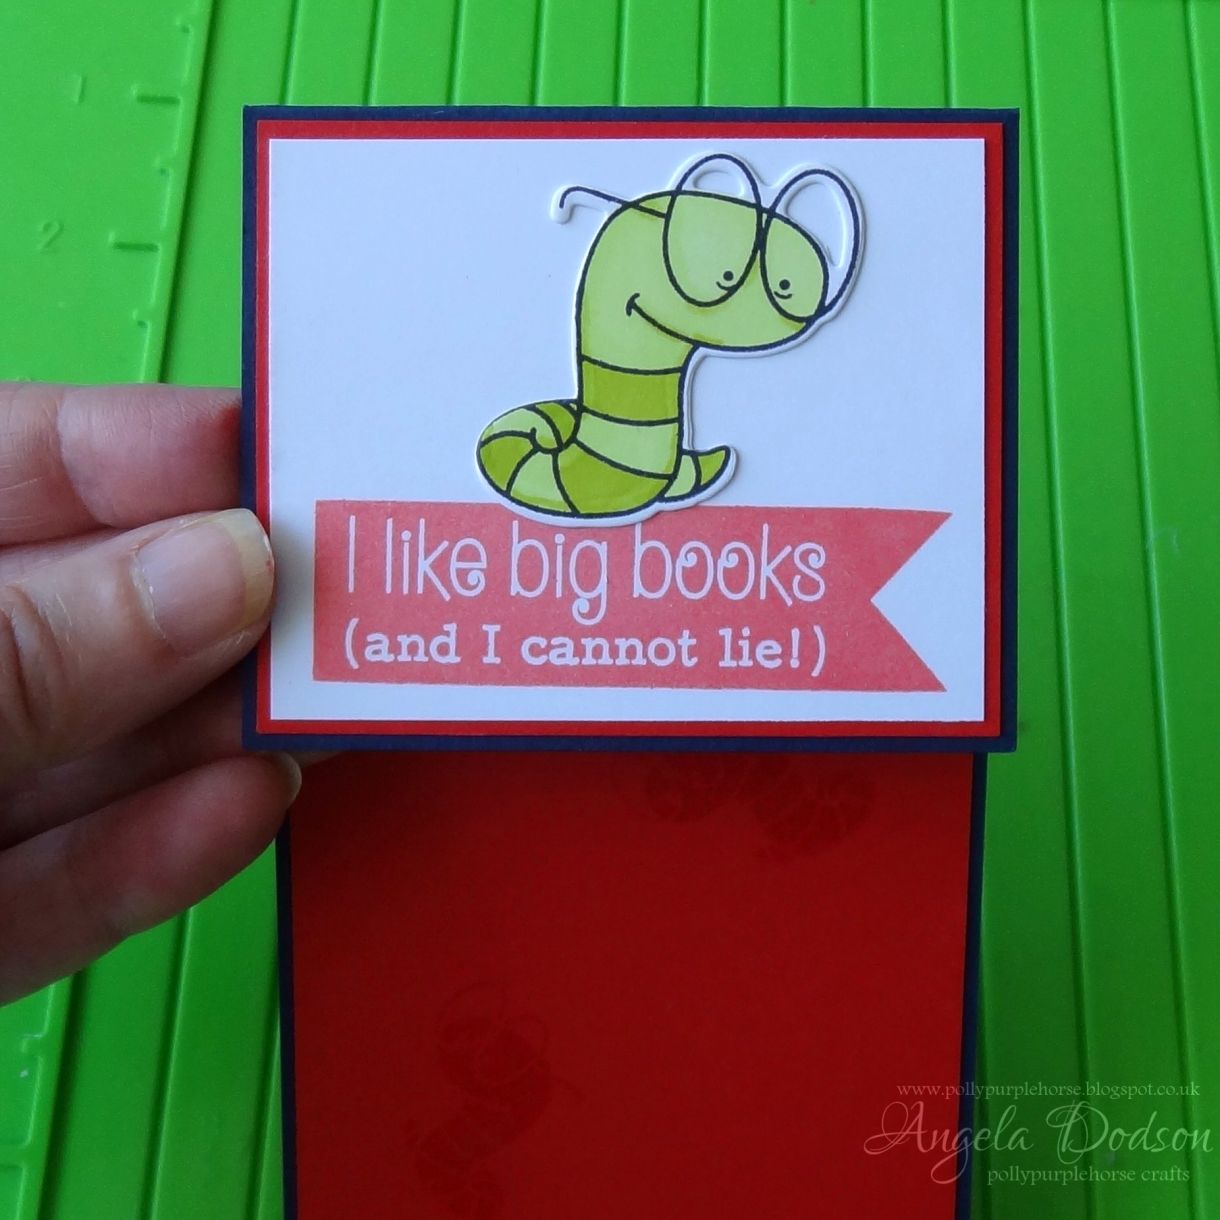
Of course it’s easy to change the colours, sizes and images to personalise it. I just couldn’t resist the ‘I like big books (and I cannot lie!) teamed with a cute Bookworm though. The simple design of this bookmark means it can be used with the flap at the top or at the side for larger books.
Materials Used:
Navy Blue Card, Post Box Red Card, Smooth White Card – Papermill Direct
Bookworm Additions stamp set – Clearly Besotted
Bookworm Dies – Clearly Besotted
Lime Zest & Lime Twist Promarkers - Letraset
Tuxedo Black Inkpad – Memento
Cherry Red Archival Inkpad – Whispers
Versamark Inkpad – Tsukineko
Double Sided Tape
(clear drying) Cosmic Shimmer Glue


1 thought on “How to make a fun stamped Bookmark - Papercraft Tutorial”
Rocco
07th June 2015 at 8:52 a.m.