DIY Mini Pizza Box Gift Box
0
Posted on 13th May 2015 by Sandra Dunne
Filed under All Papercraft Tutorials, Design Team
Today I'd like to show you how I make these wonderful little pizza gift boxes which can be used to give everything from cookies to gift cards. They are really simple to make and require only one sheet of cardstock for the base.
Step-by-Step
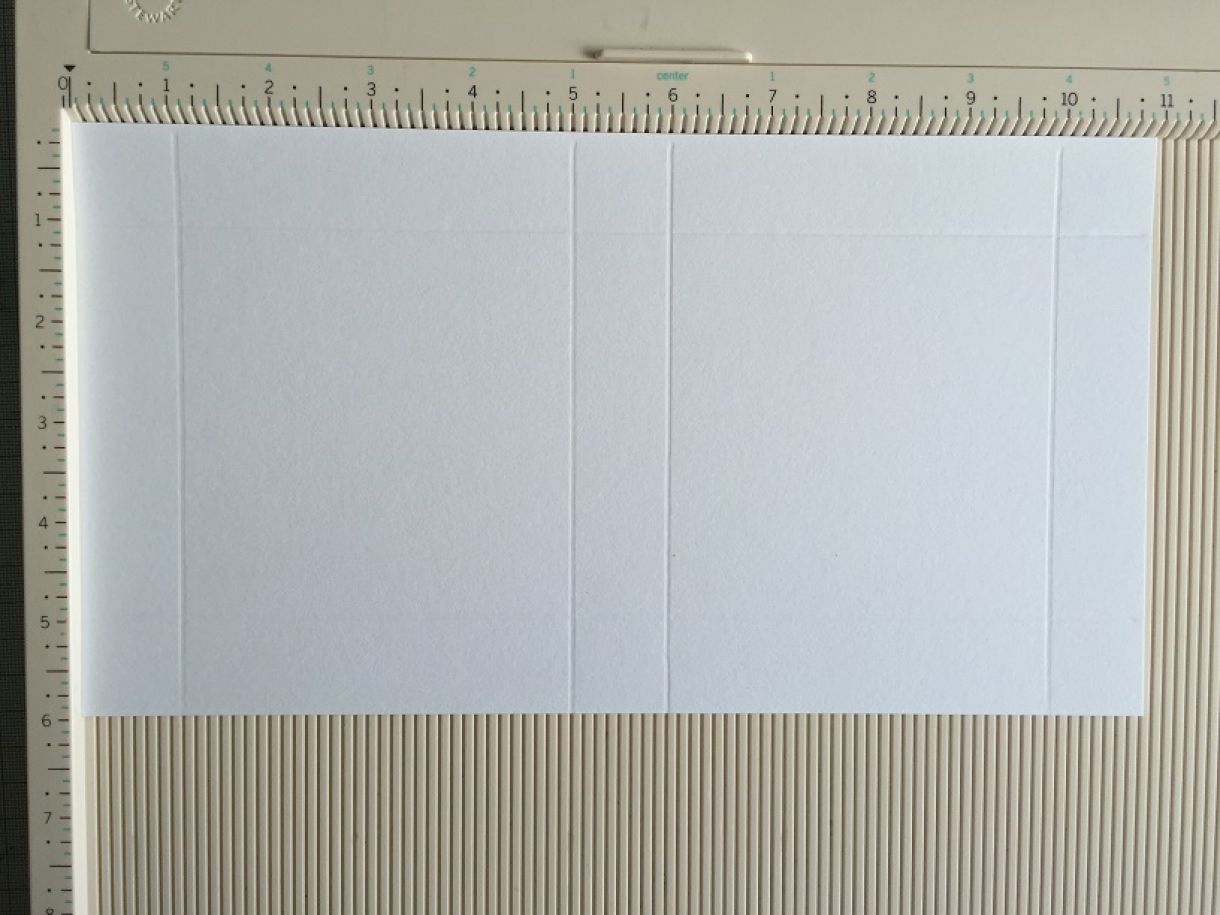
Step 1 - With short side of 6" x 11" cardstock at the top of the scoring tool, score at 1" and 5".
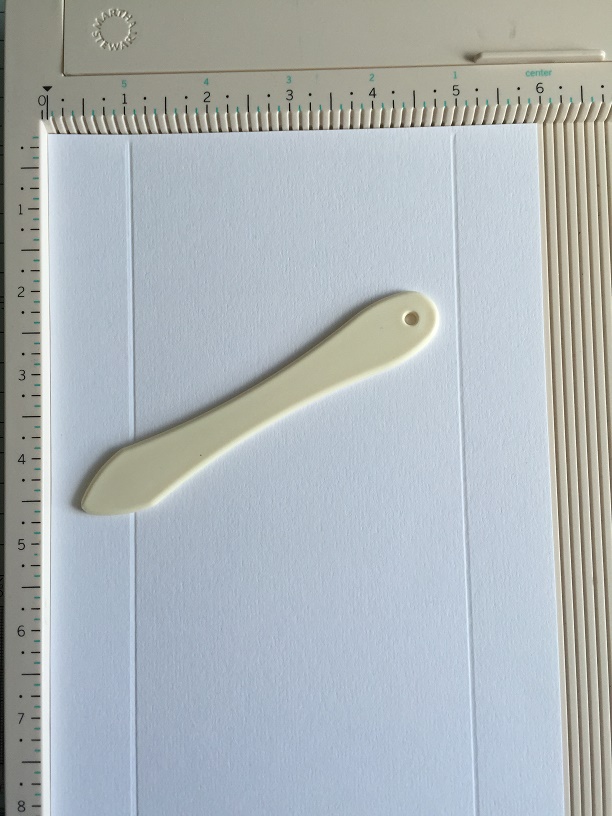
Step 2 - Turn cardstock, and on the 11" side of your cardstock, score at 1", 5”, 6” and 10”.
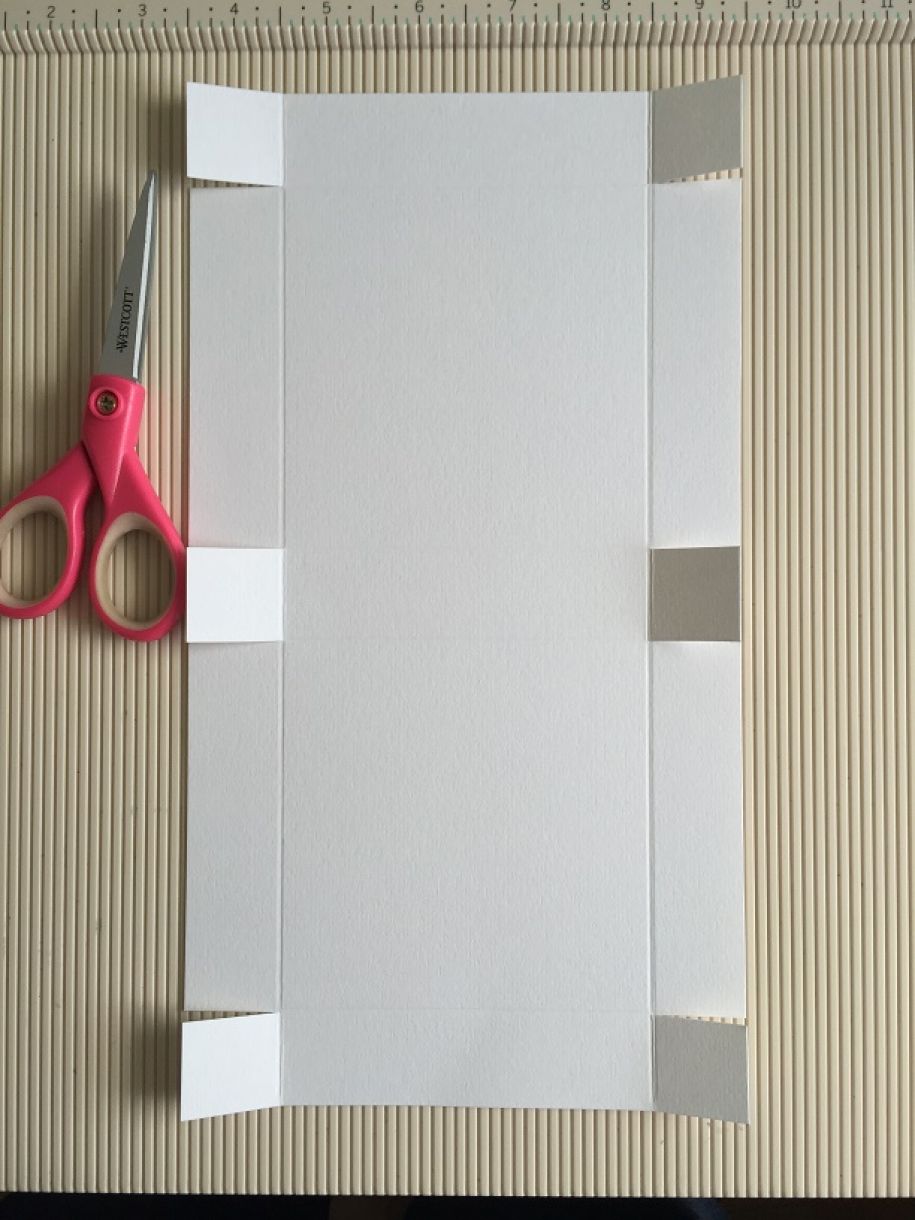
Step 3 - Following the scored lines along the 11” side, use scissors to cut flaps.
Begin cut on outer edge of paper and stop at the perpendicular scored line as shown.
Step 4 - Ink the edges of the box if desired.

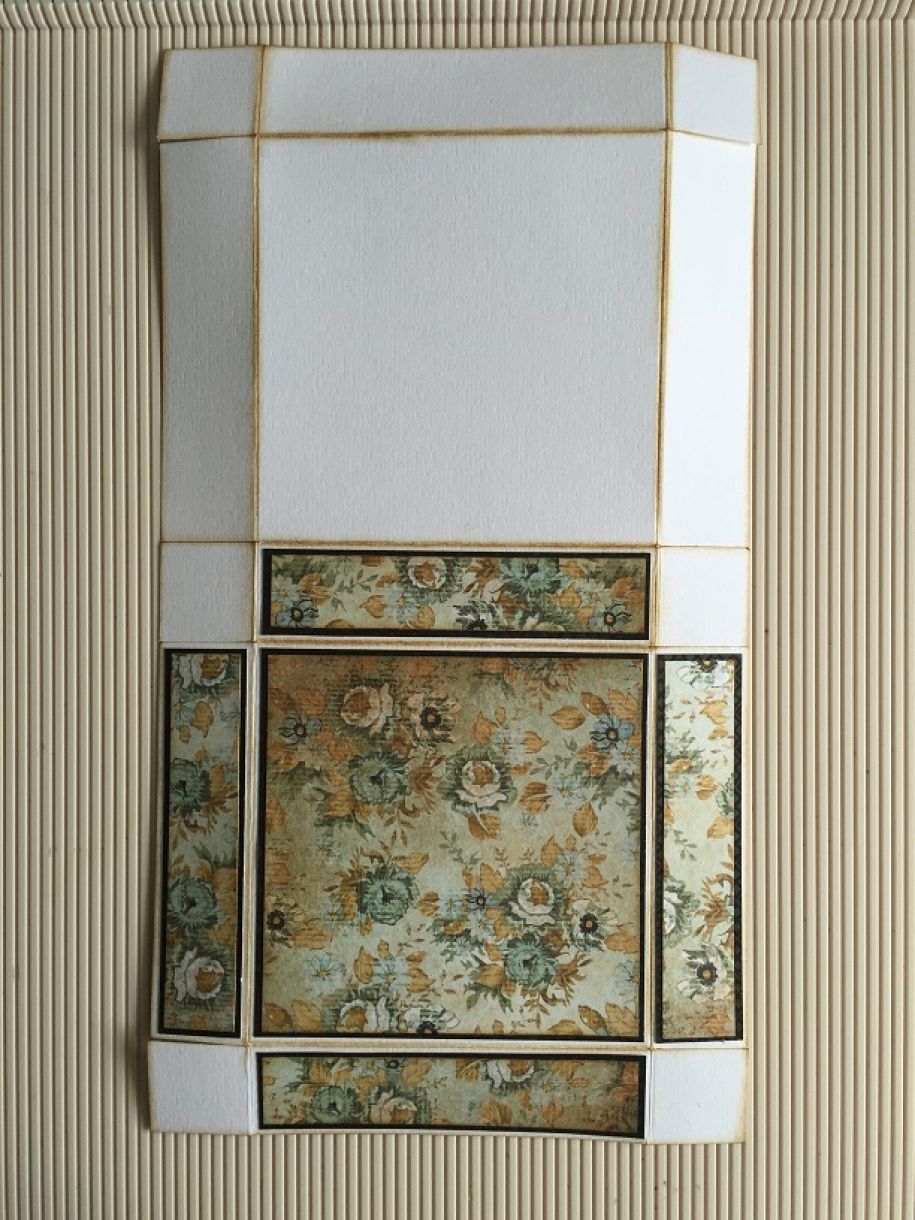
Step 5 - At this point you can either assemble the box or adhere decorative panels while it's still flat. I like to add the panels first.
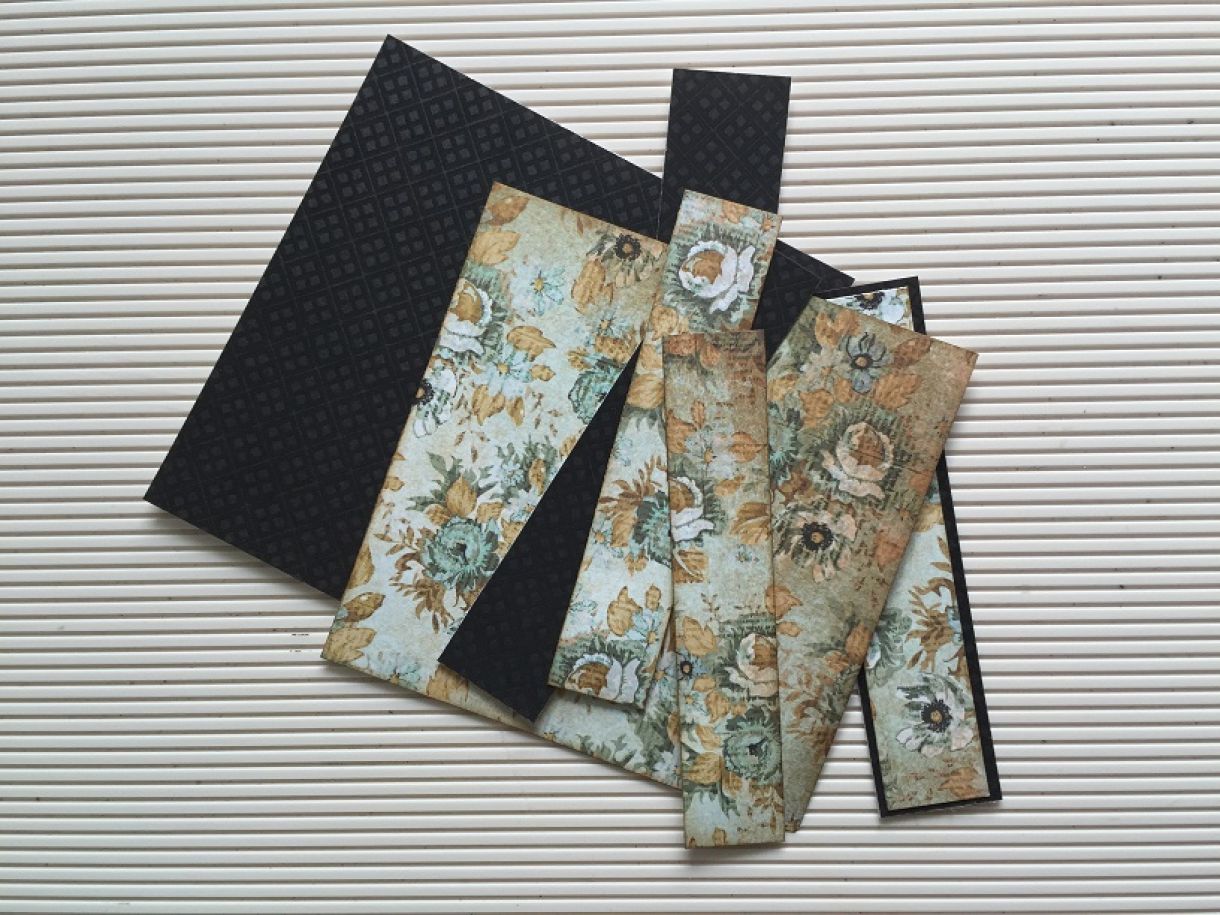
Cut a black panel of 3 7/8" square and four side panels at 7/8" x 3 7/8"
Cut patterned papers leaving 1/8" border around all sides
Step 6 - Layer the patterned papers onto the black base panels and adhere to the top and sides of the pizza box top.
It's not necessary to embellish the bottom as the top lid closes down over it.
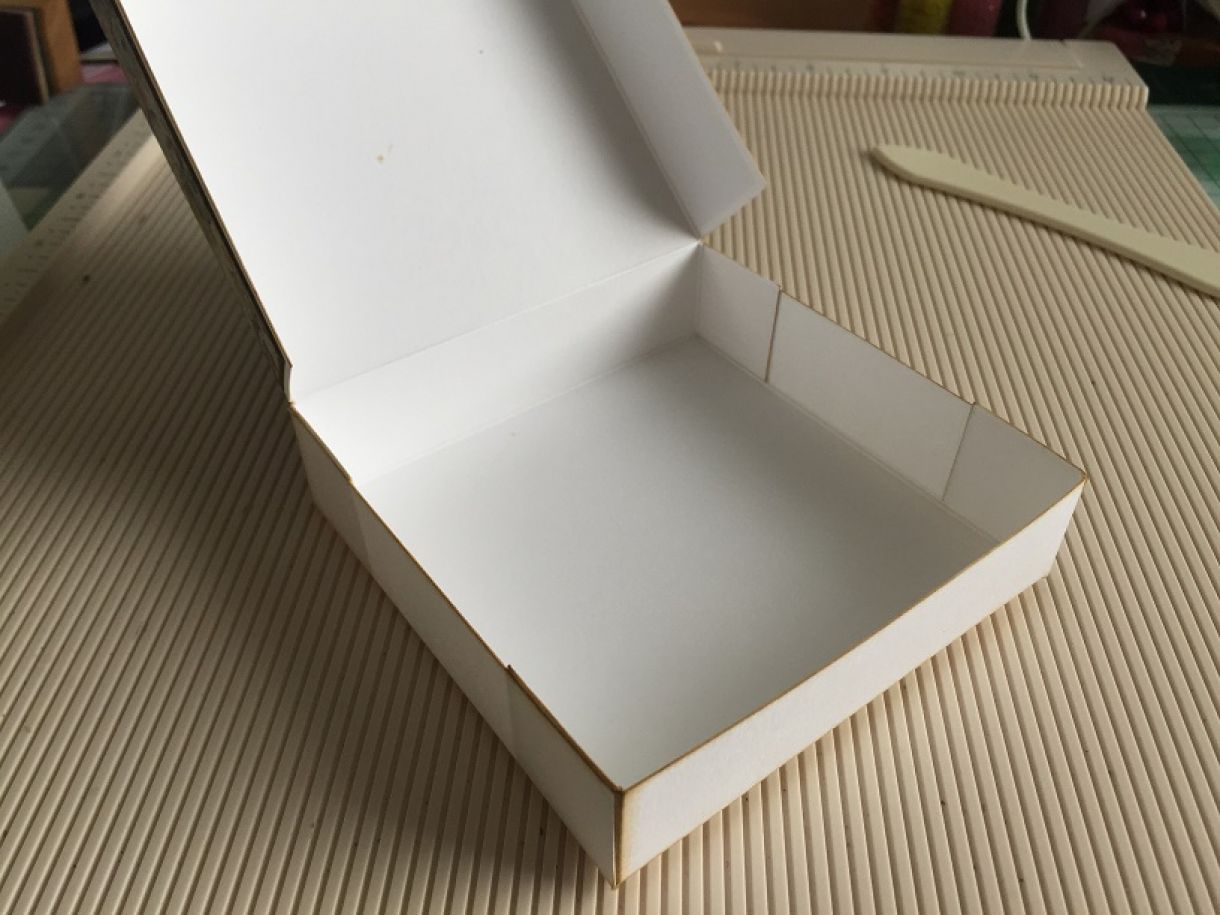
Step 7 - Adhere all the flaps to the inside and close the box
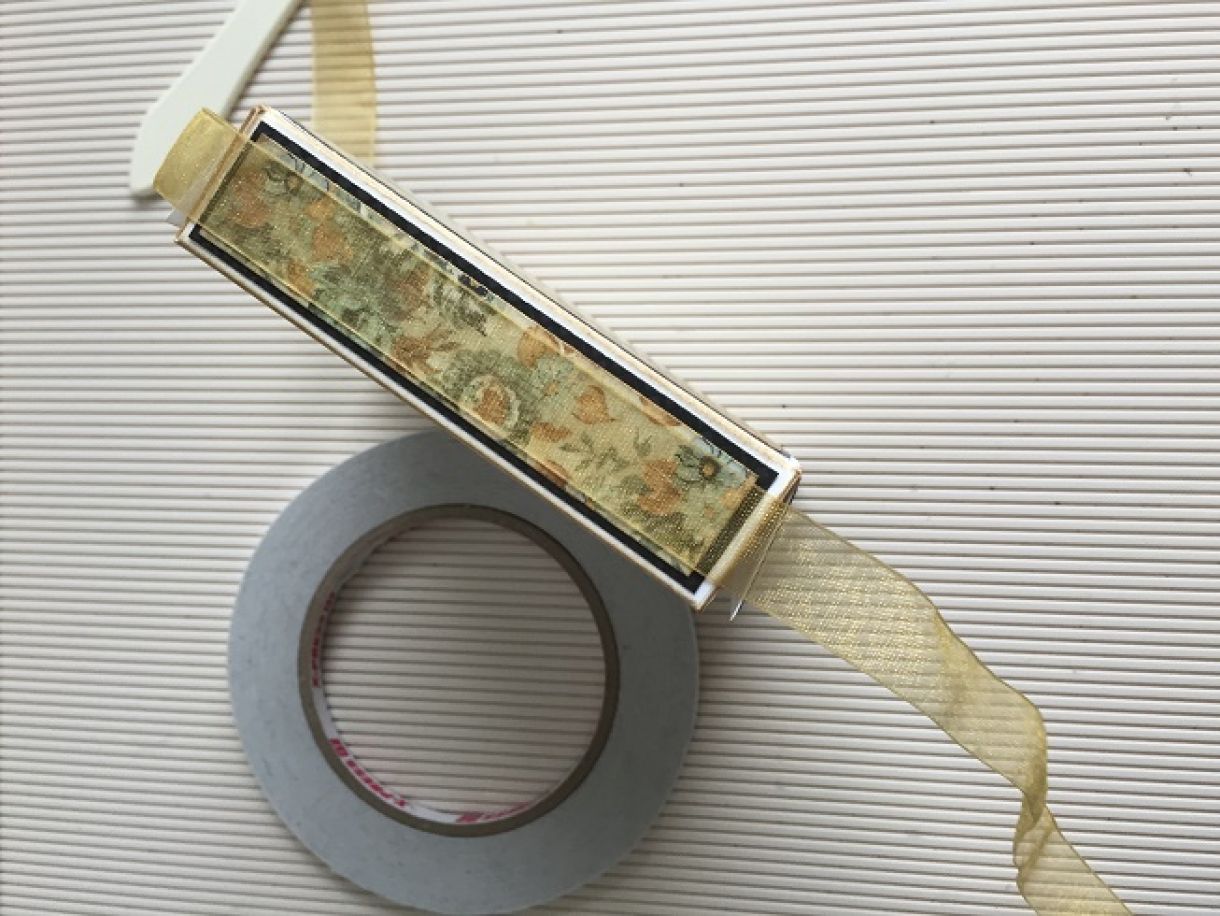
Step 8 - Apply some double sided tape to both sides of the box and adhere a length of ribbon to each, tying it into a bow at the front.
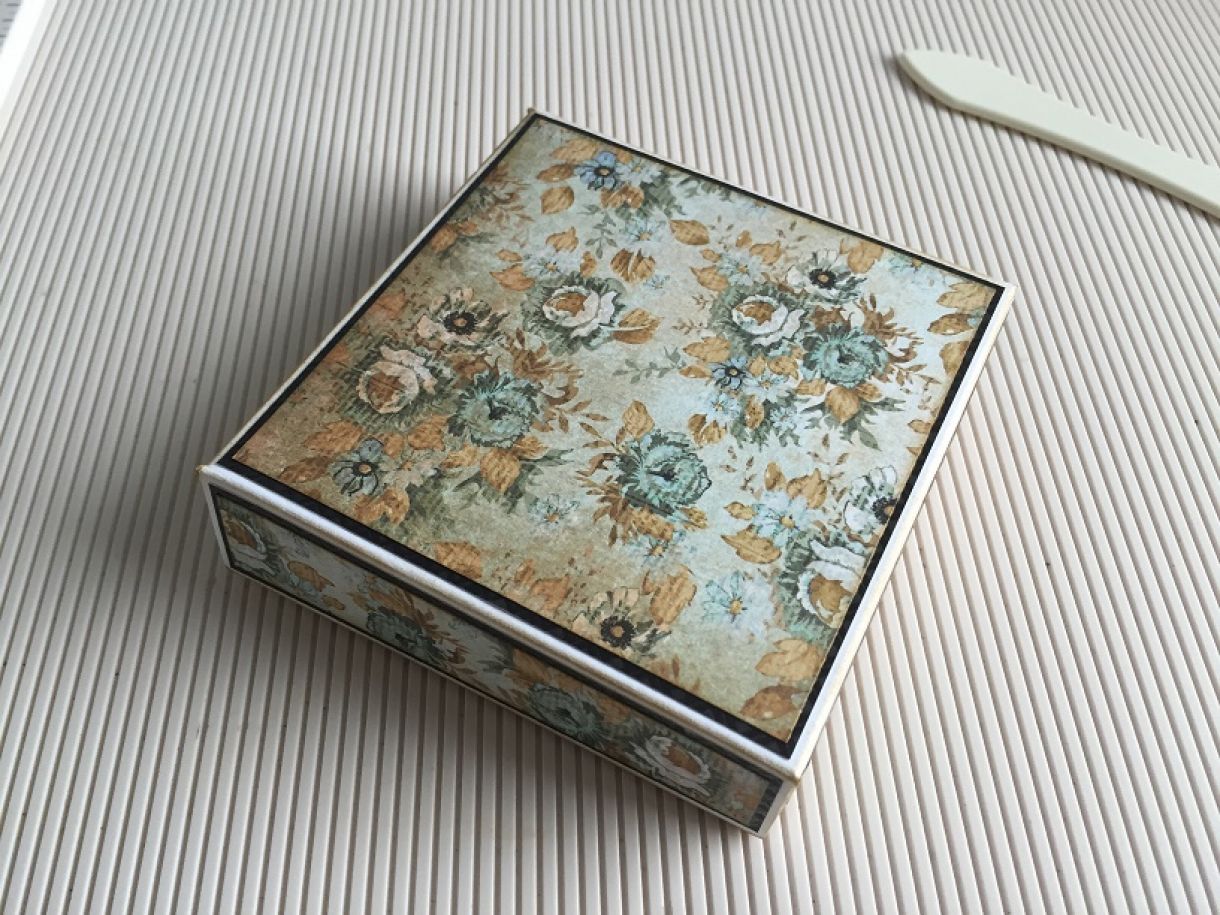
Step 9 - Embellish as desired.
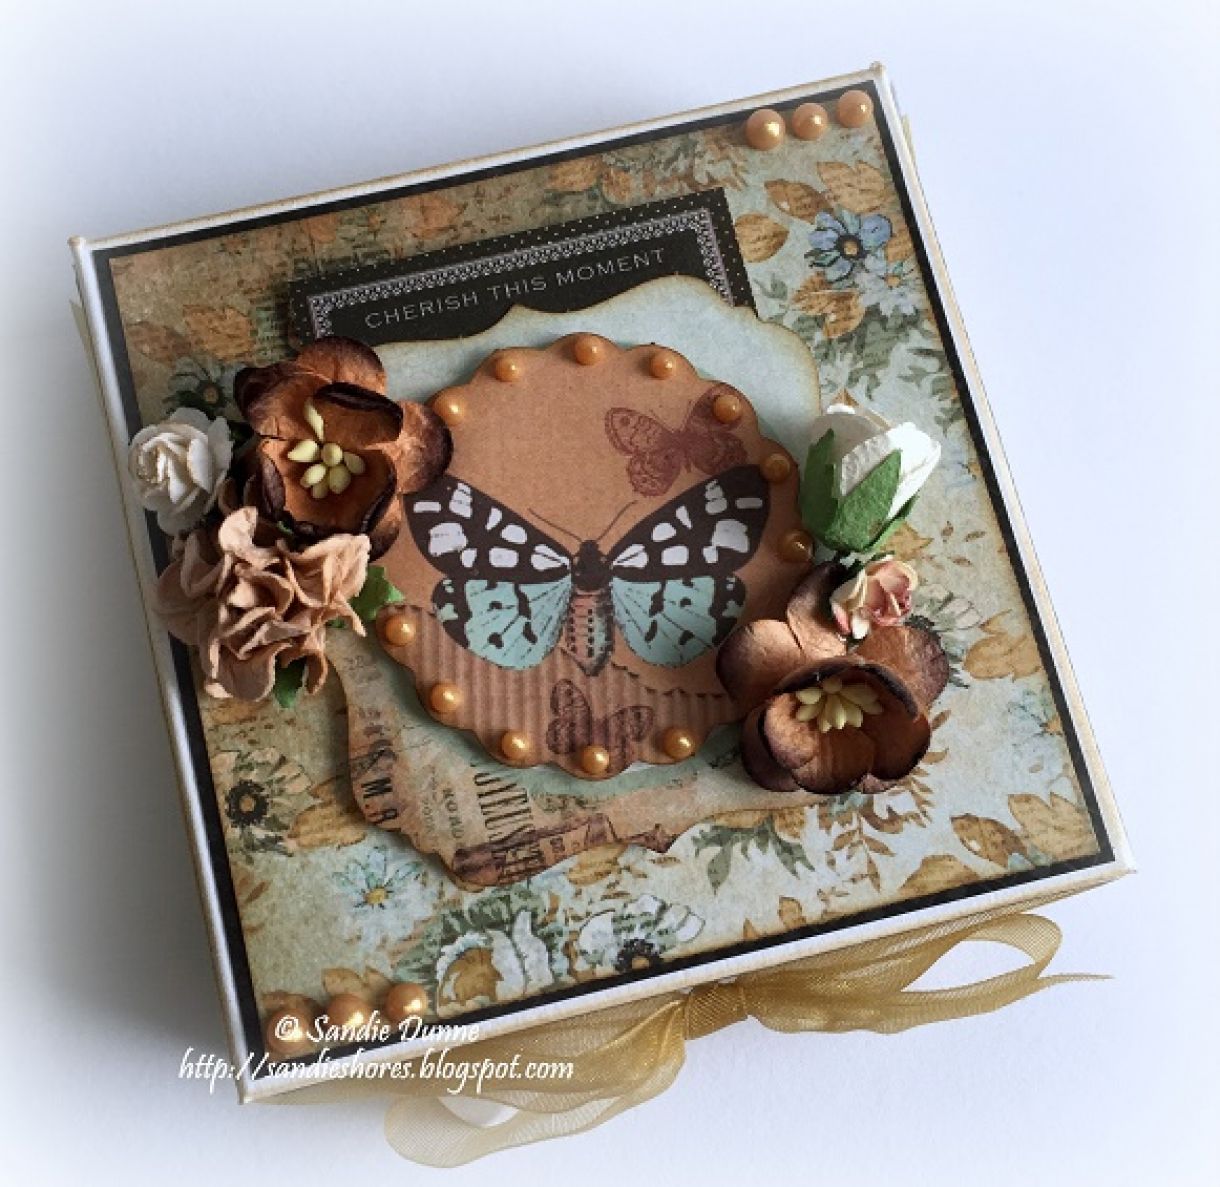
Supplies used:
Card - Plain White
Designer Papers - 75 Cents by Kaisercraft
Die Cut - 75 Cents by Kaisercraft
Flowers - Wild Orchid Crafts
Viva Decor Gold Pearl Pen
Brushed Corduroy Distress Ink
Gold Organza Ribbon


Nobody has commented yet
Be the first to comment on this article by using the form below.